While doing the oil change on the G35 Coupe, I realized like several other folks on the internet, that the plastic skidplate or undershroud gets in the way of taking off the oil filter (Figure 1a). The plastic skidplate breaks after a while and mine was cracked and damaged. The bolts holding it were rusted too. I saw someone on reddit install an aluminum skidplate, so I bought one on eBay for $115 and decided to install it. The installation is really easy.
Note that in the G35 the oil drain plug is easily accessible (the larger bolt in Figure 1a) without removing the skidplate but changing the oil filter requires removal of part of the skidplate.
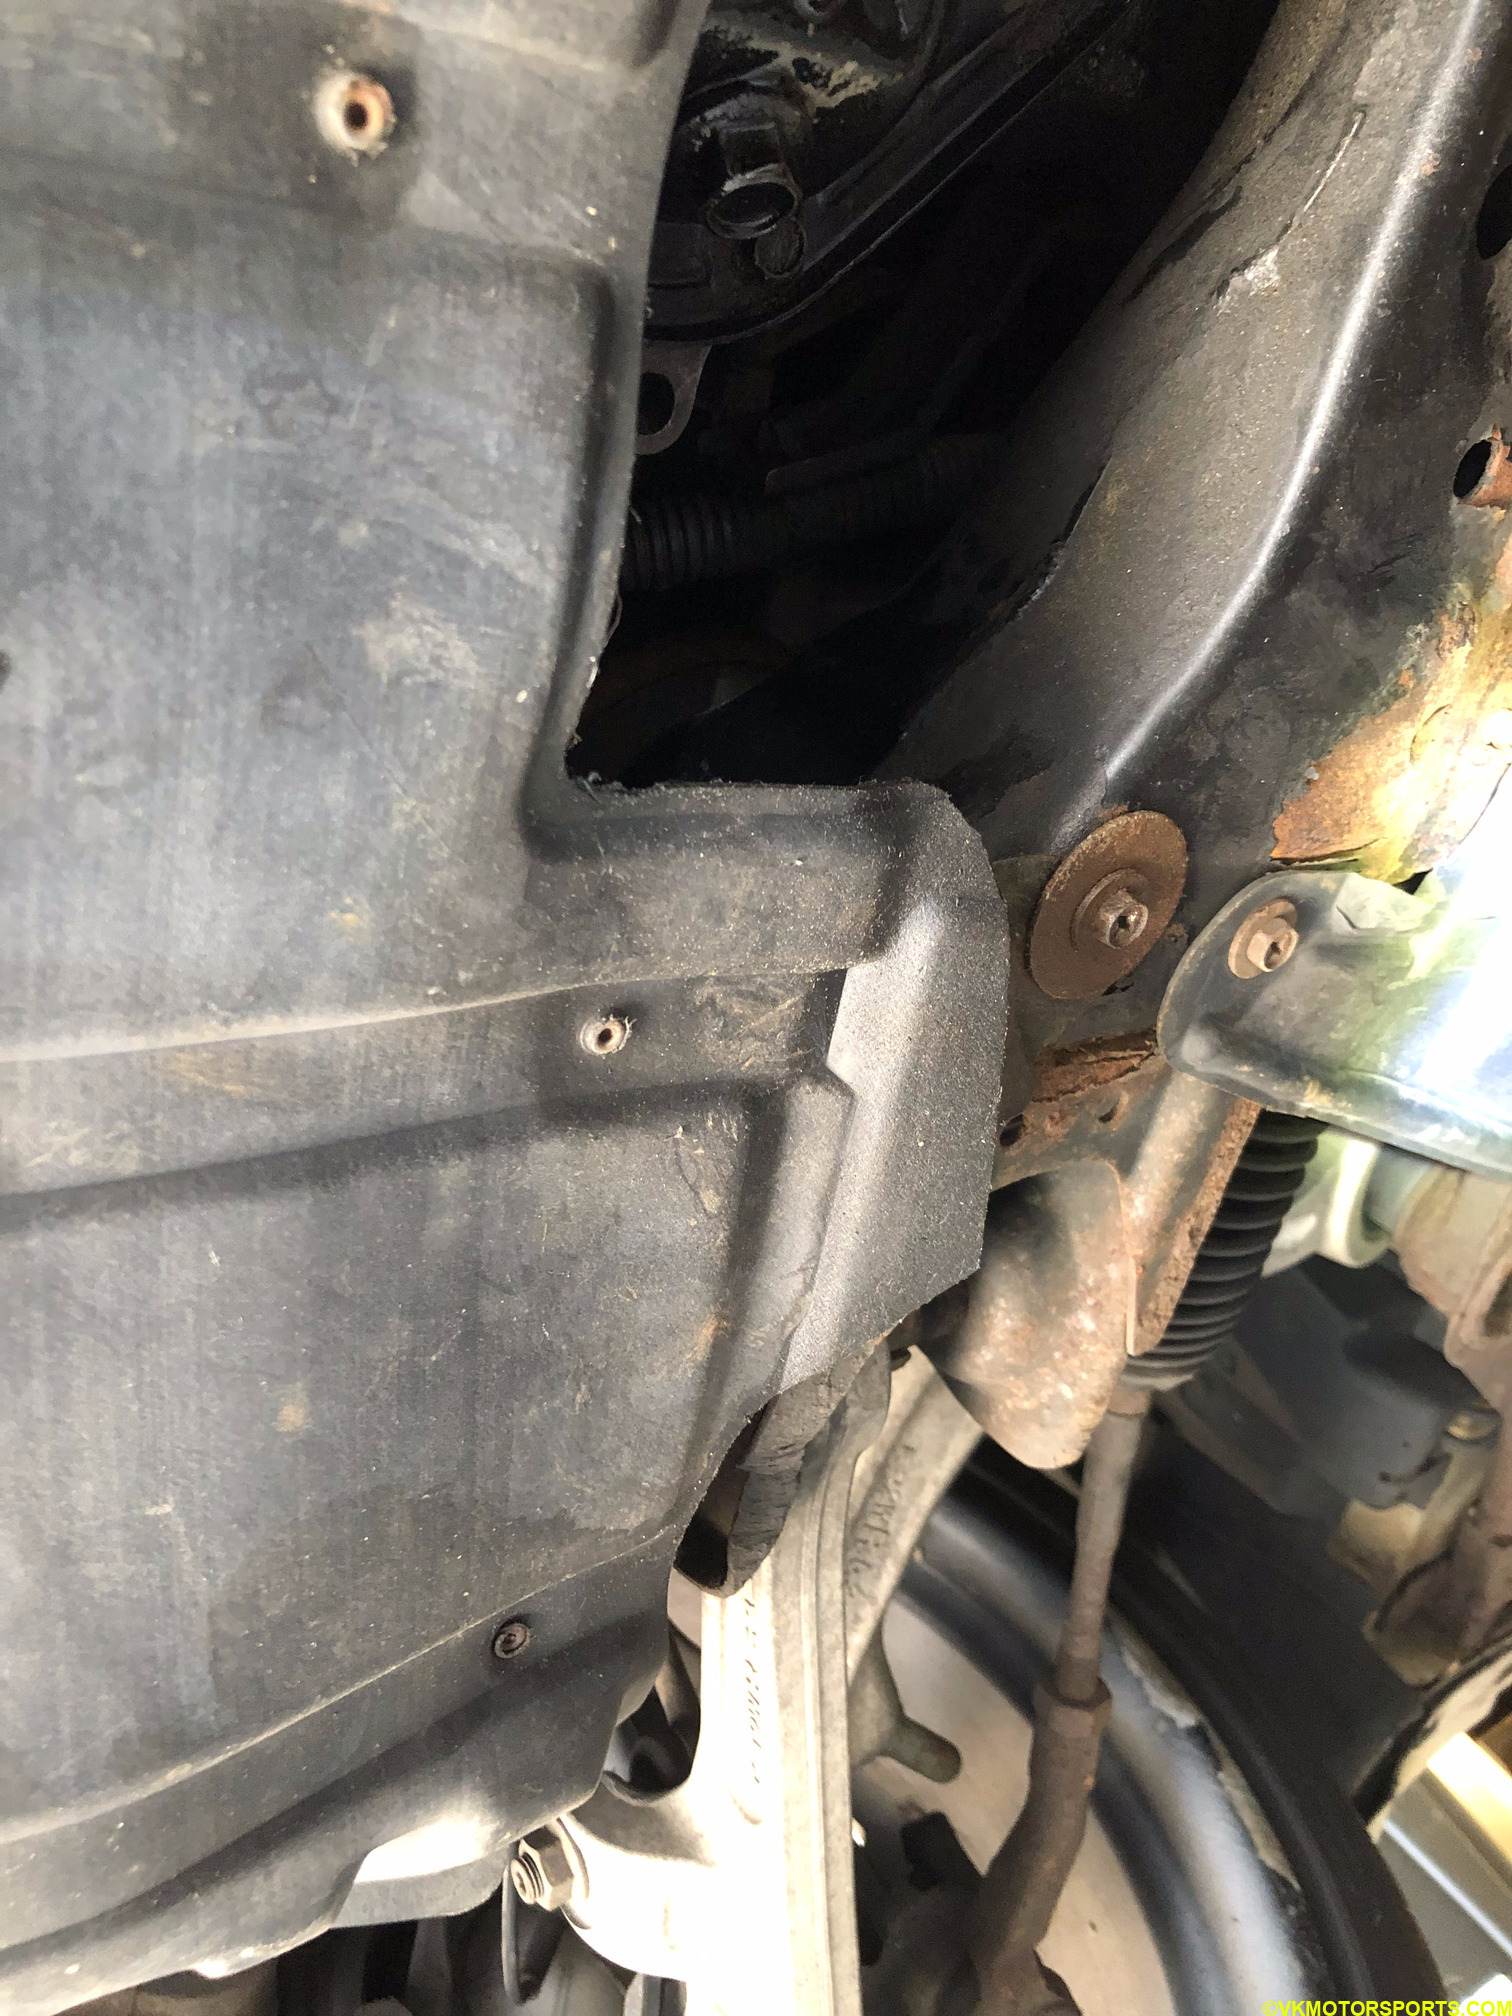 Figure 1a. Oil drain plug is behind the skidplate
To remedy this issue, the aluminum skidplate comes with a removable cover (Figure 2d) just for accessing the filter, which is much easier.
Step 1: Raise the car on jack stands, ramps or on a lift safely.
Step 2: Locate all the rusty bolts/screws that need to be removed using either a screwdriver or 10mm socket/wrench as necessary. All the screws in my car were very rusted (Figure 01b).
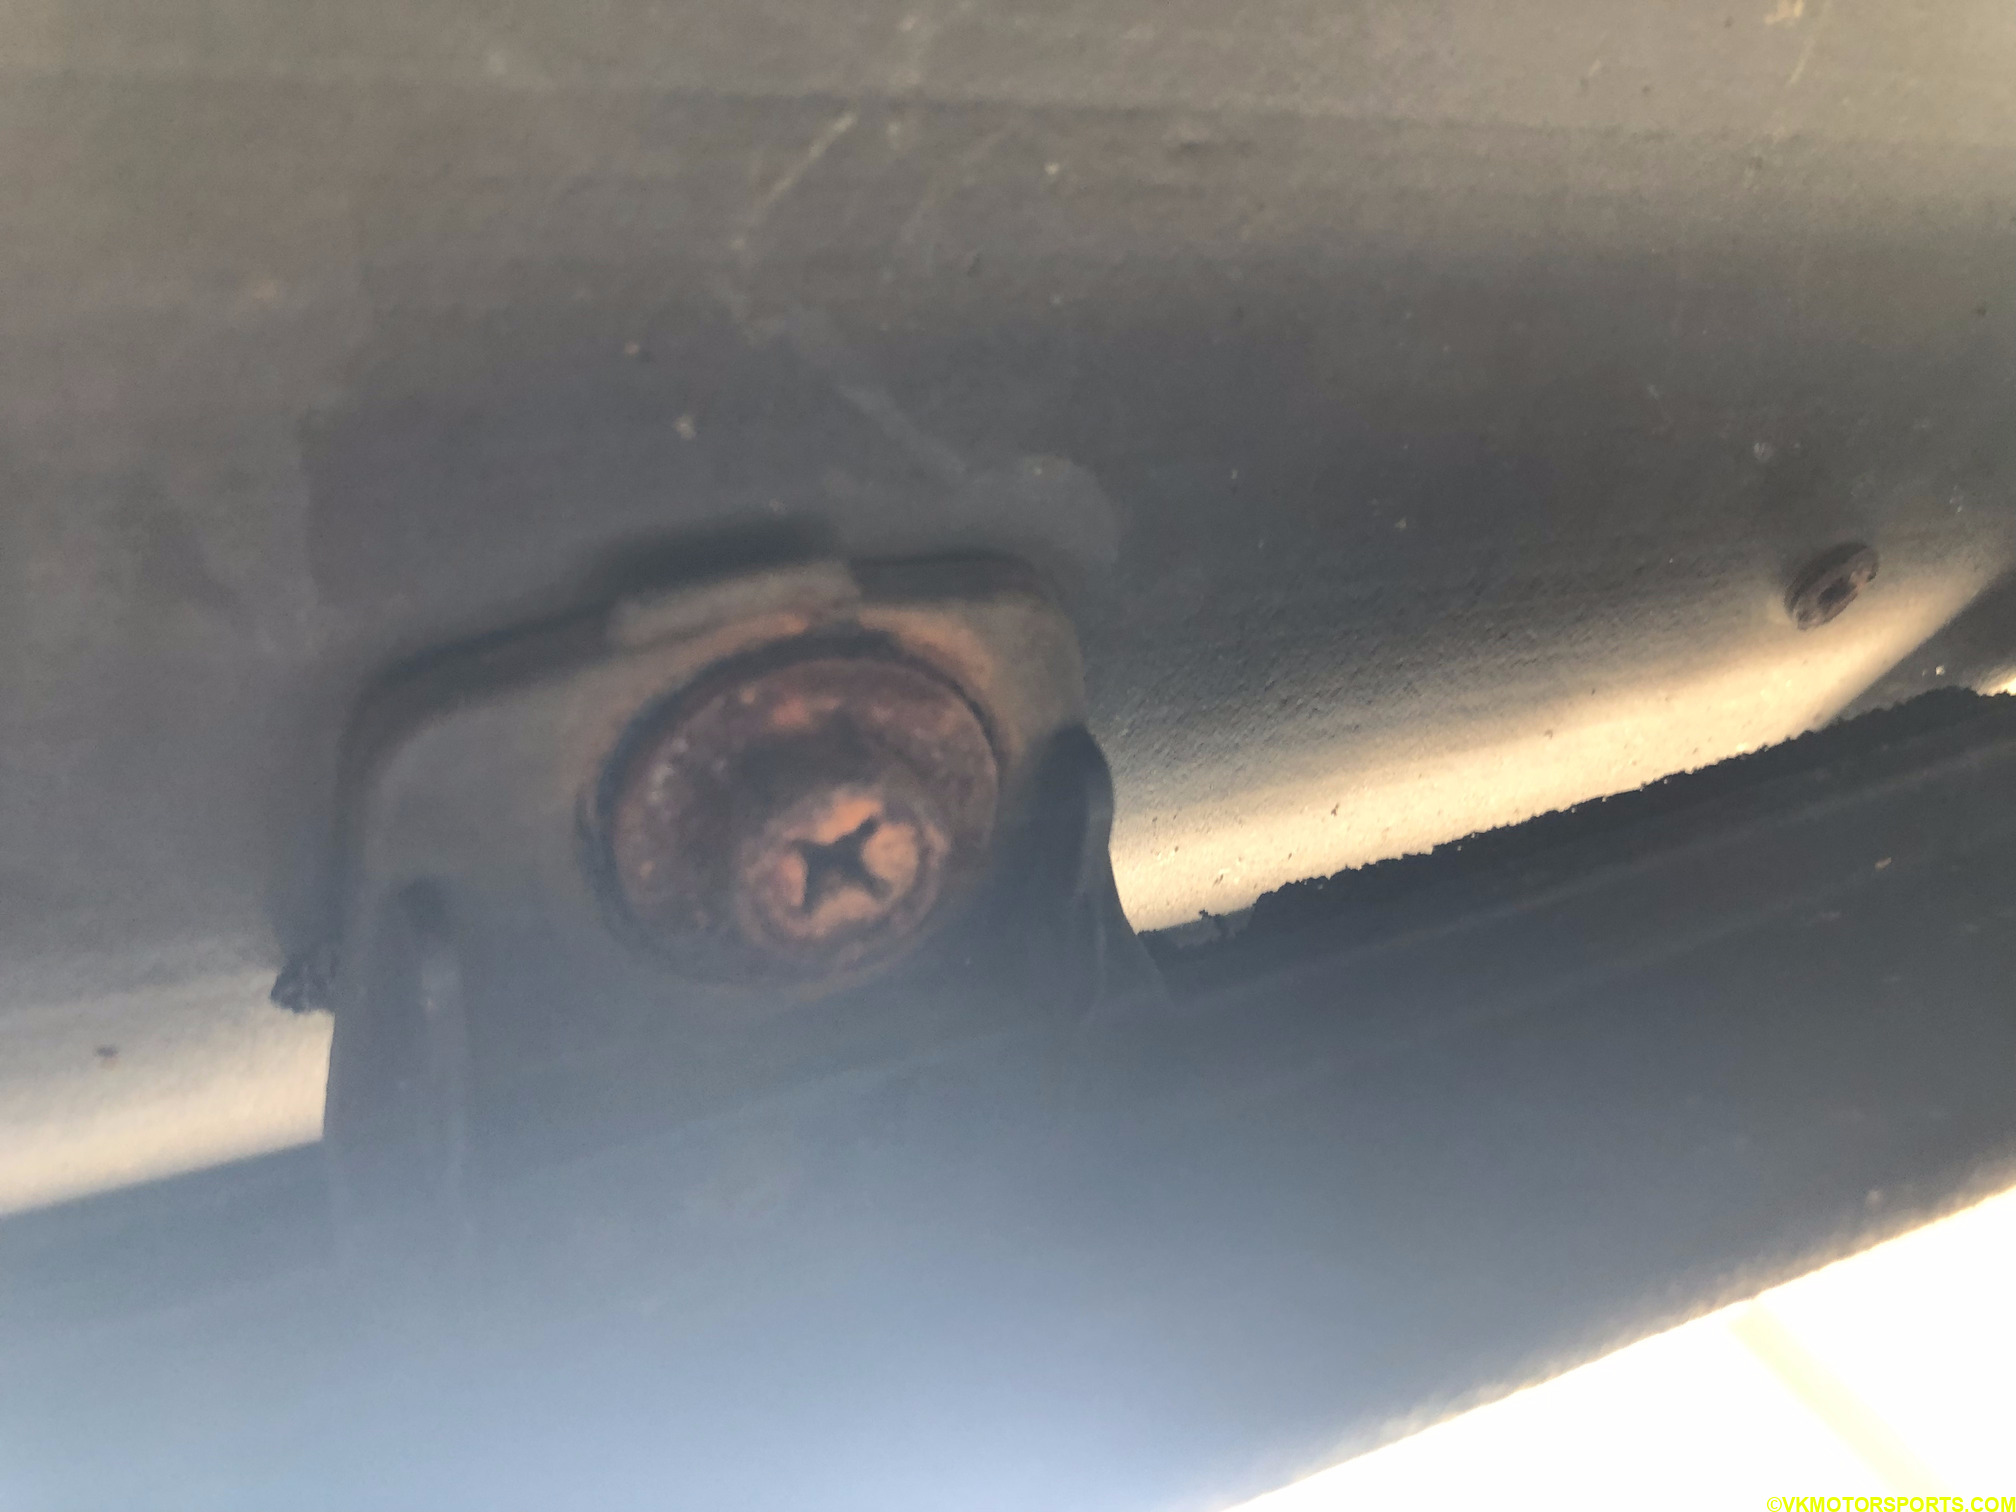 Figure 1b. Rusted bolts on my skidplate
Step 3: After all the bolts/screws are removed, carefully take out the old skidplate (Figure 1c) so that you don’t break any other attachments or find any items in there that may fall onto your face/body.
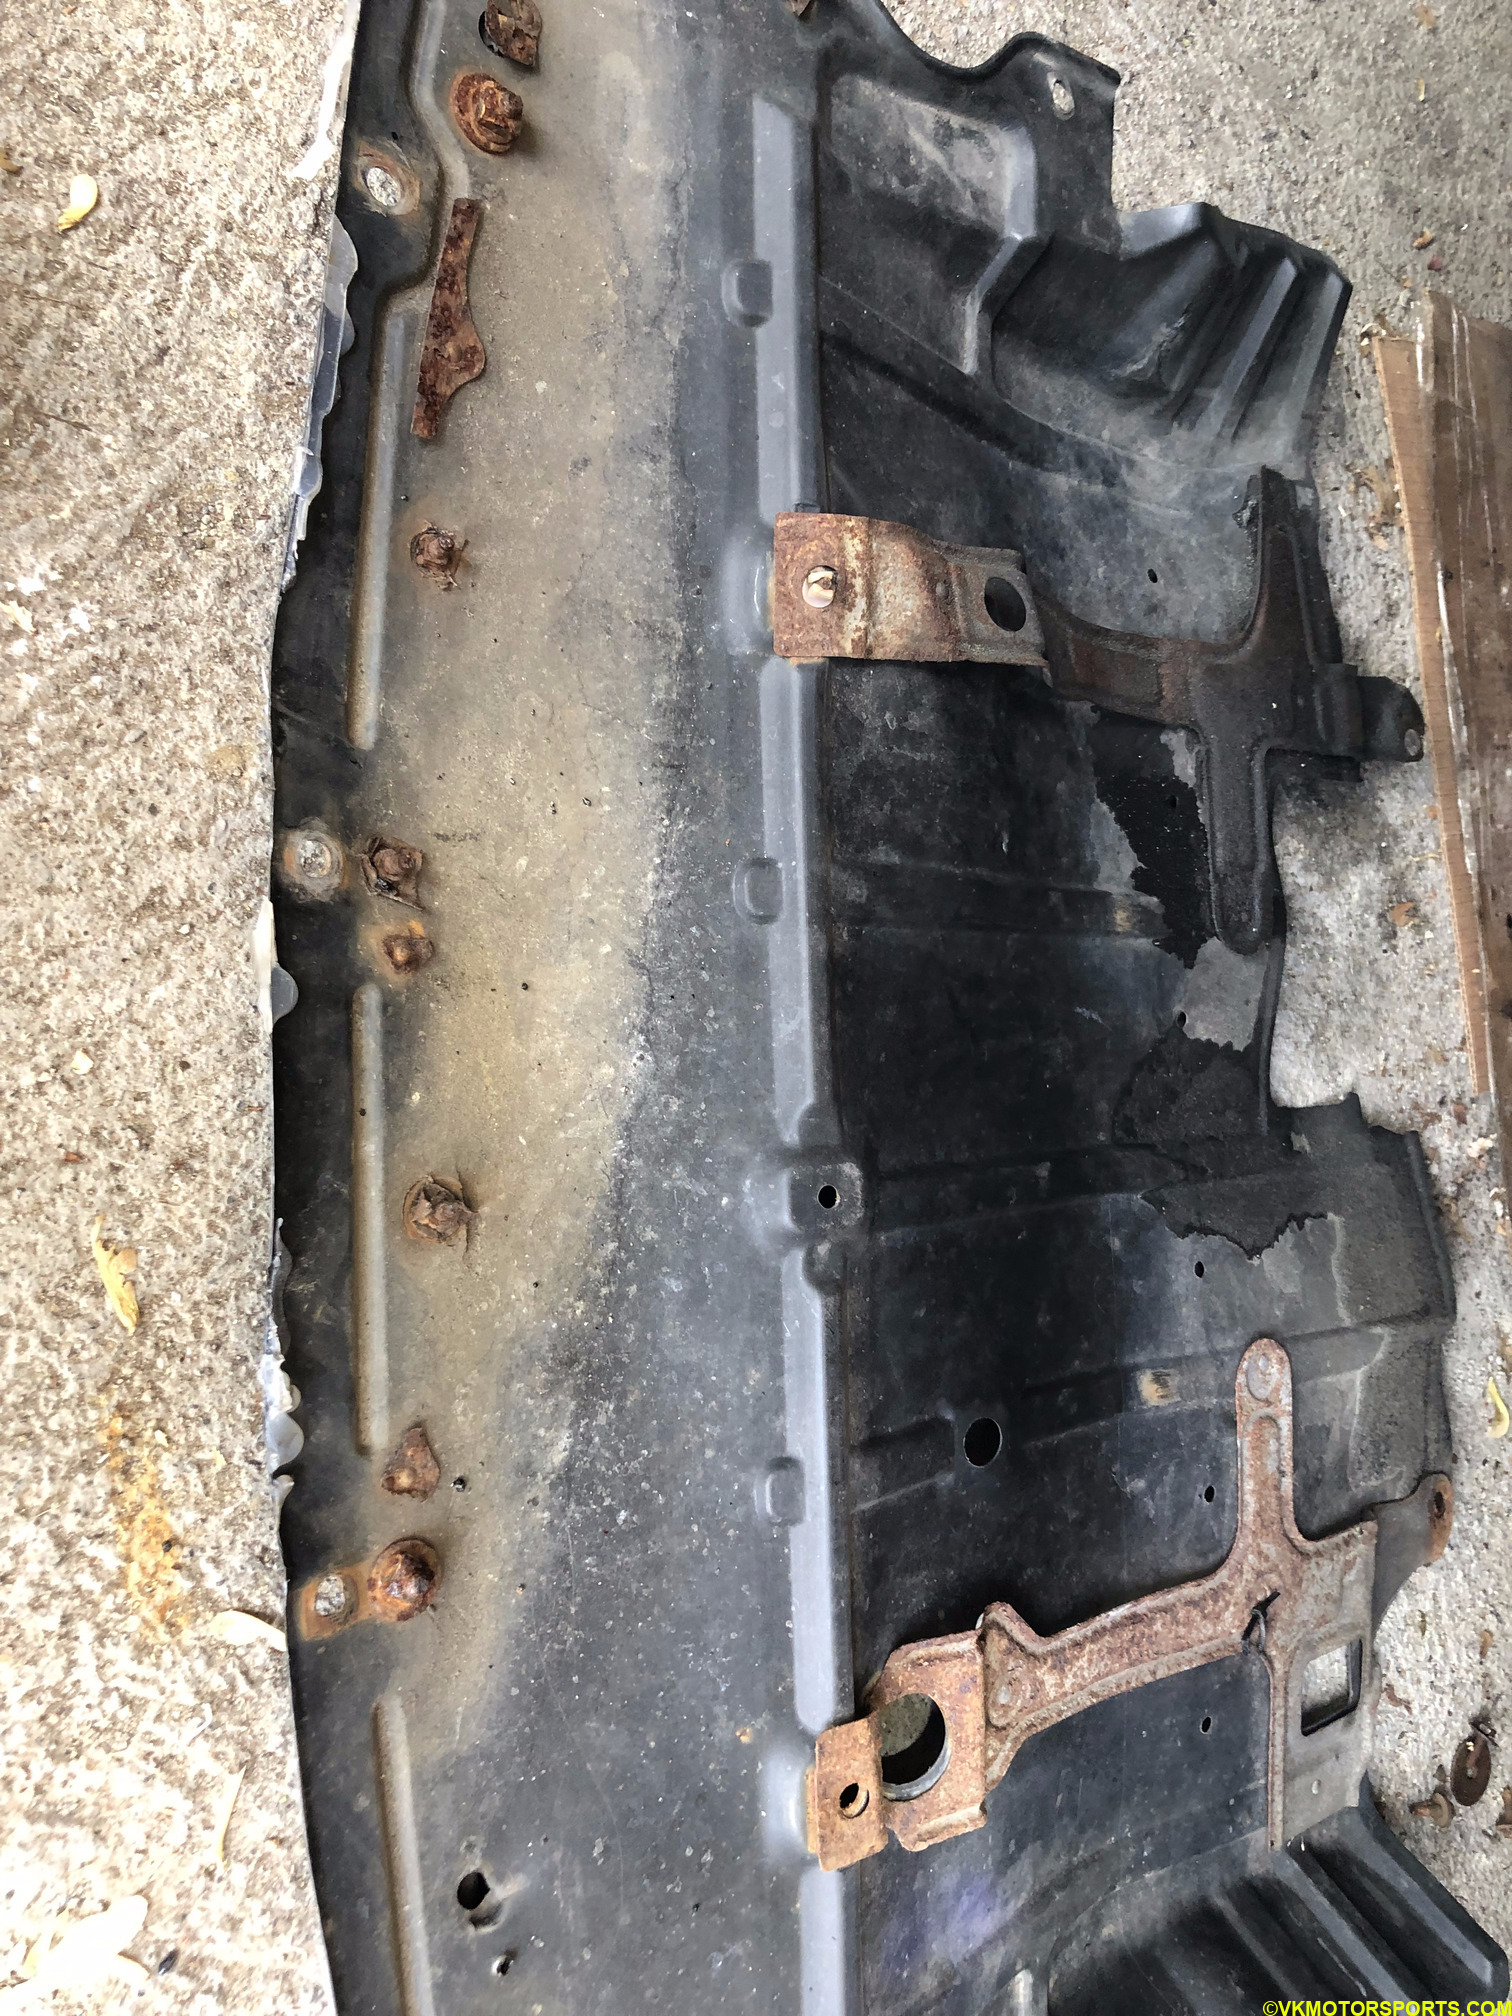 Figure 1c. Old skidplate has been removed
Step 4: The aluminum skidplate kit comes with 3 plates: front plate that attaches to the bumper(Figure 2b), rear plate that connects to the front plate(Figure 2c), the oil filter cover that fits onto the rear plate (Figure 2d) and a set of painted bolts and clips (Figure 2a). All the plates align with each other very easily and you can use the old skidplate to match the positioning of the plates.
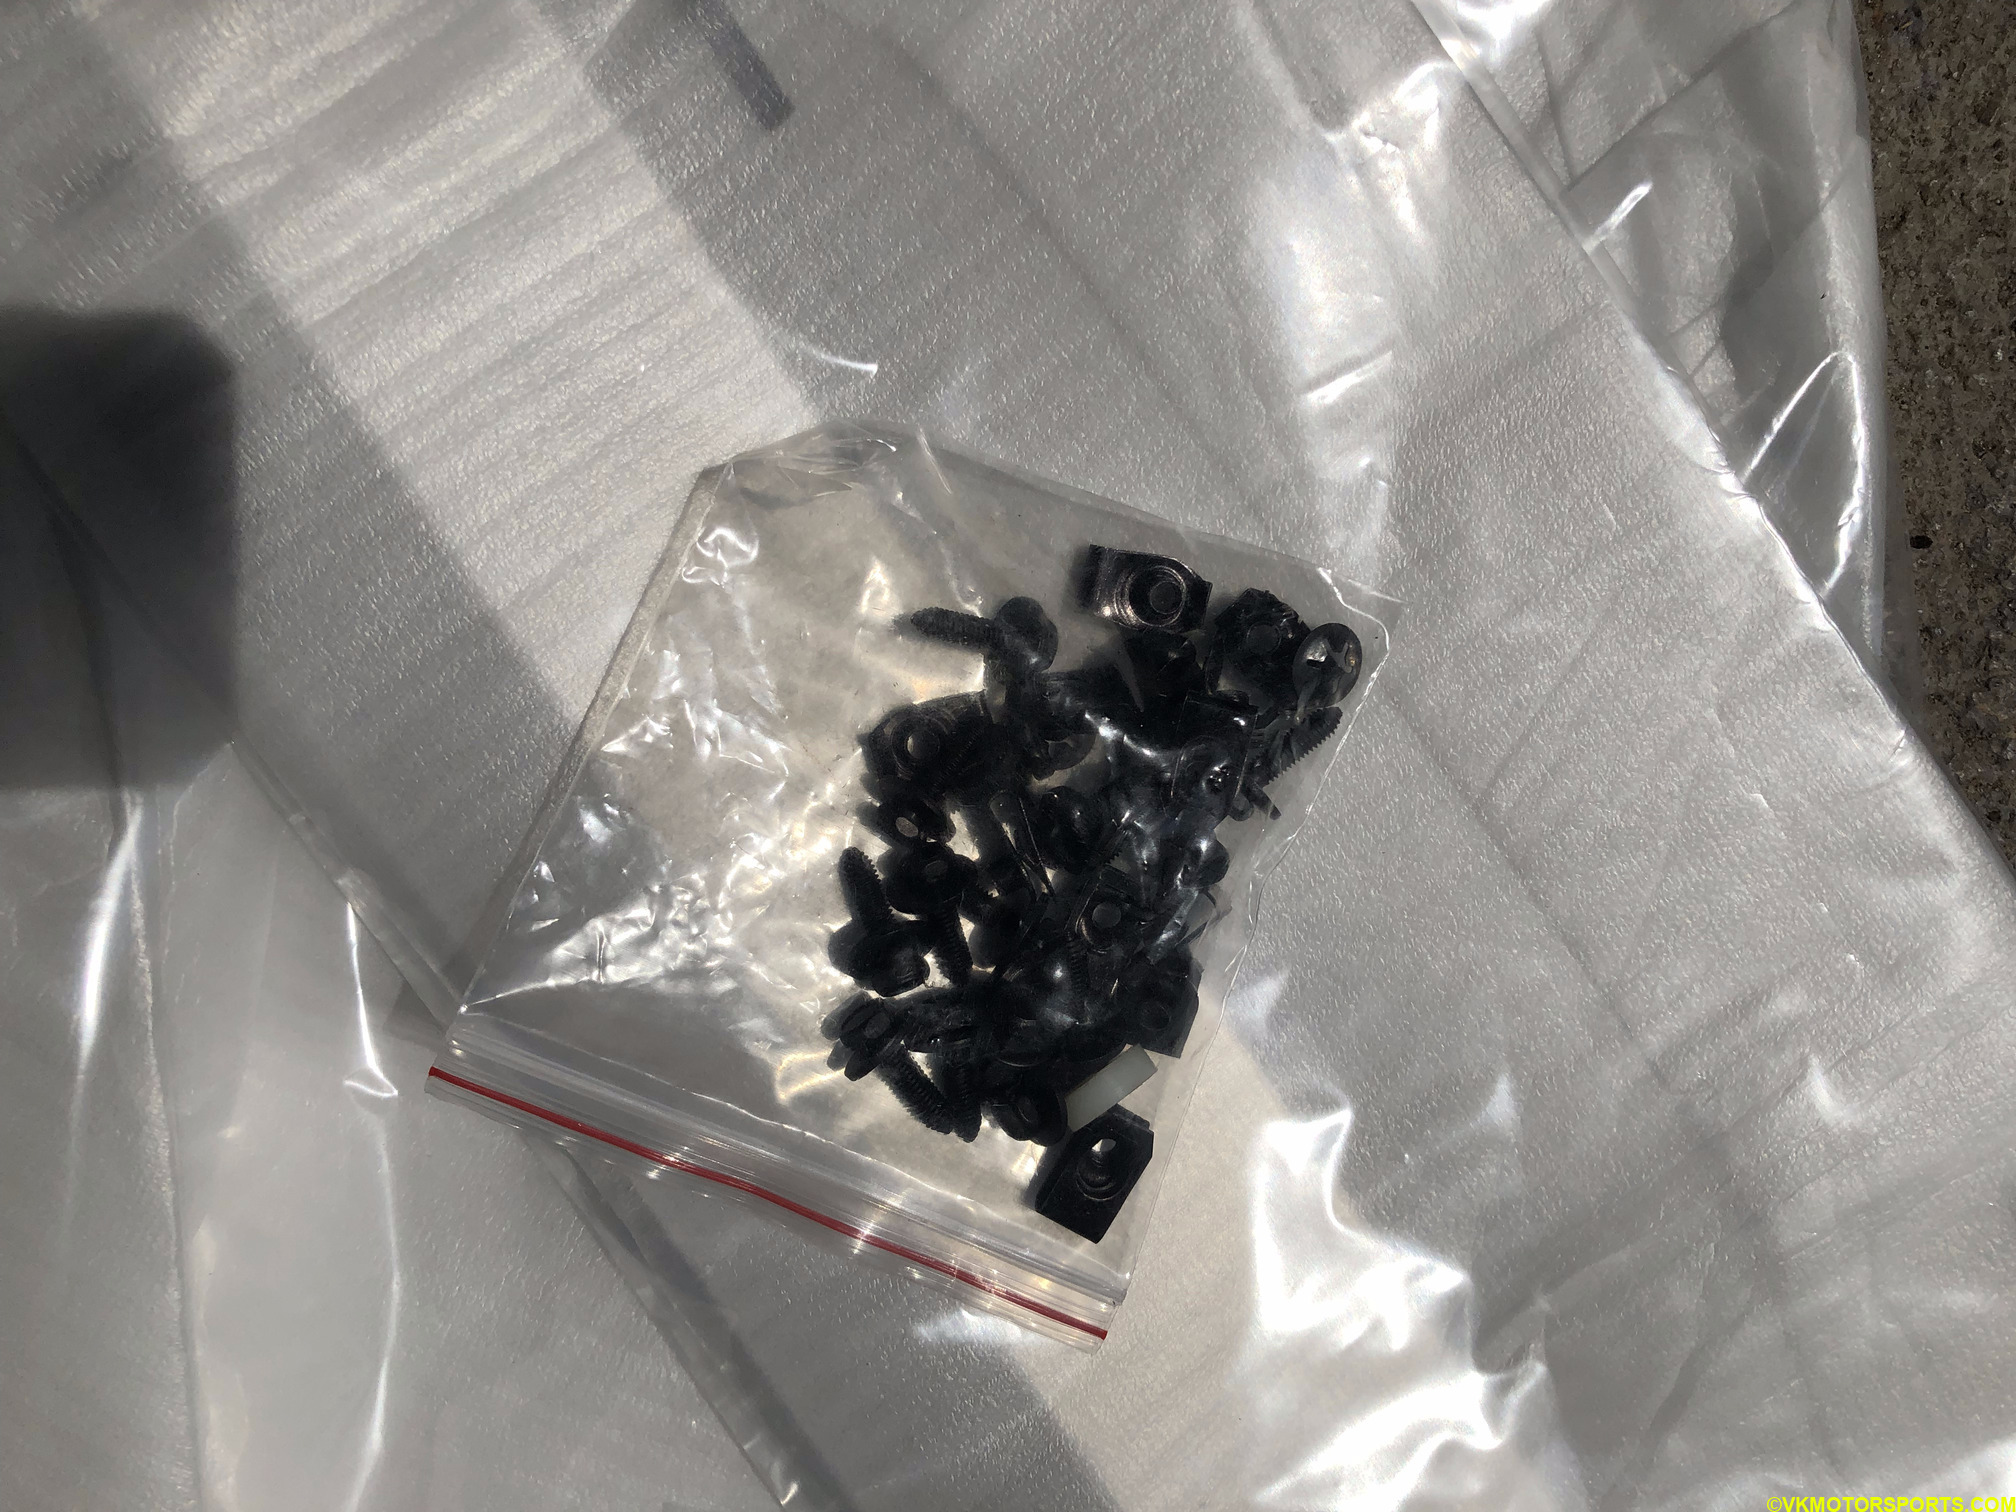 Figure 2a. Set of screws and clips
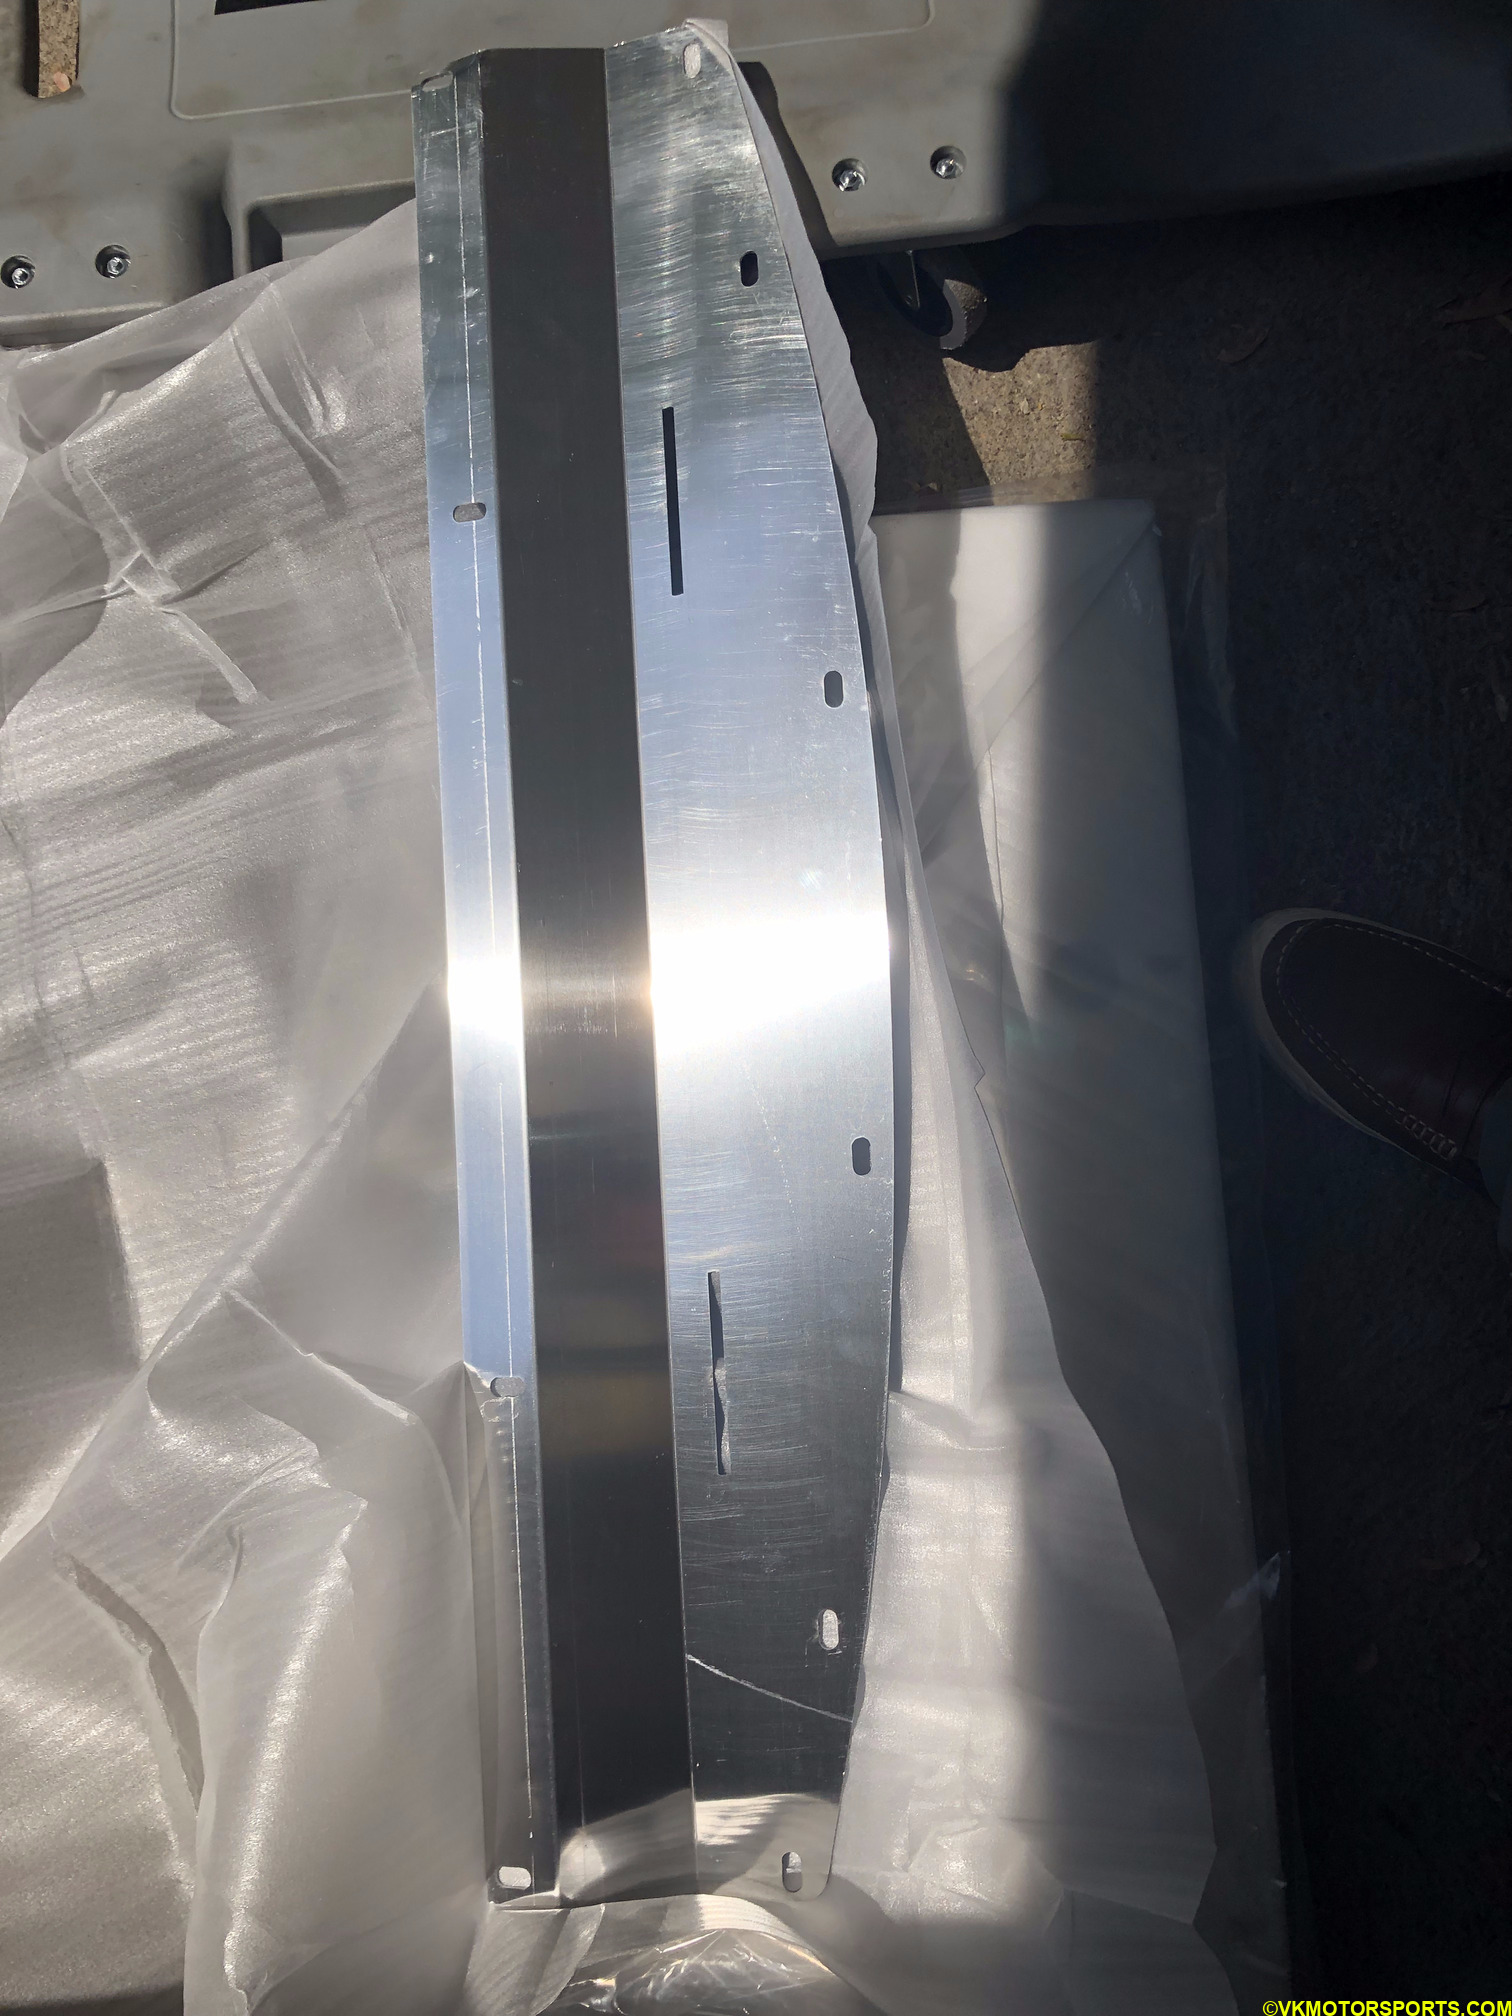 Figure 2b. The front plate
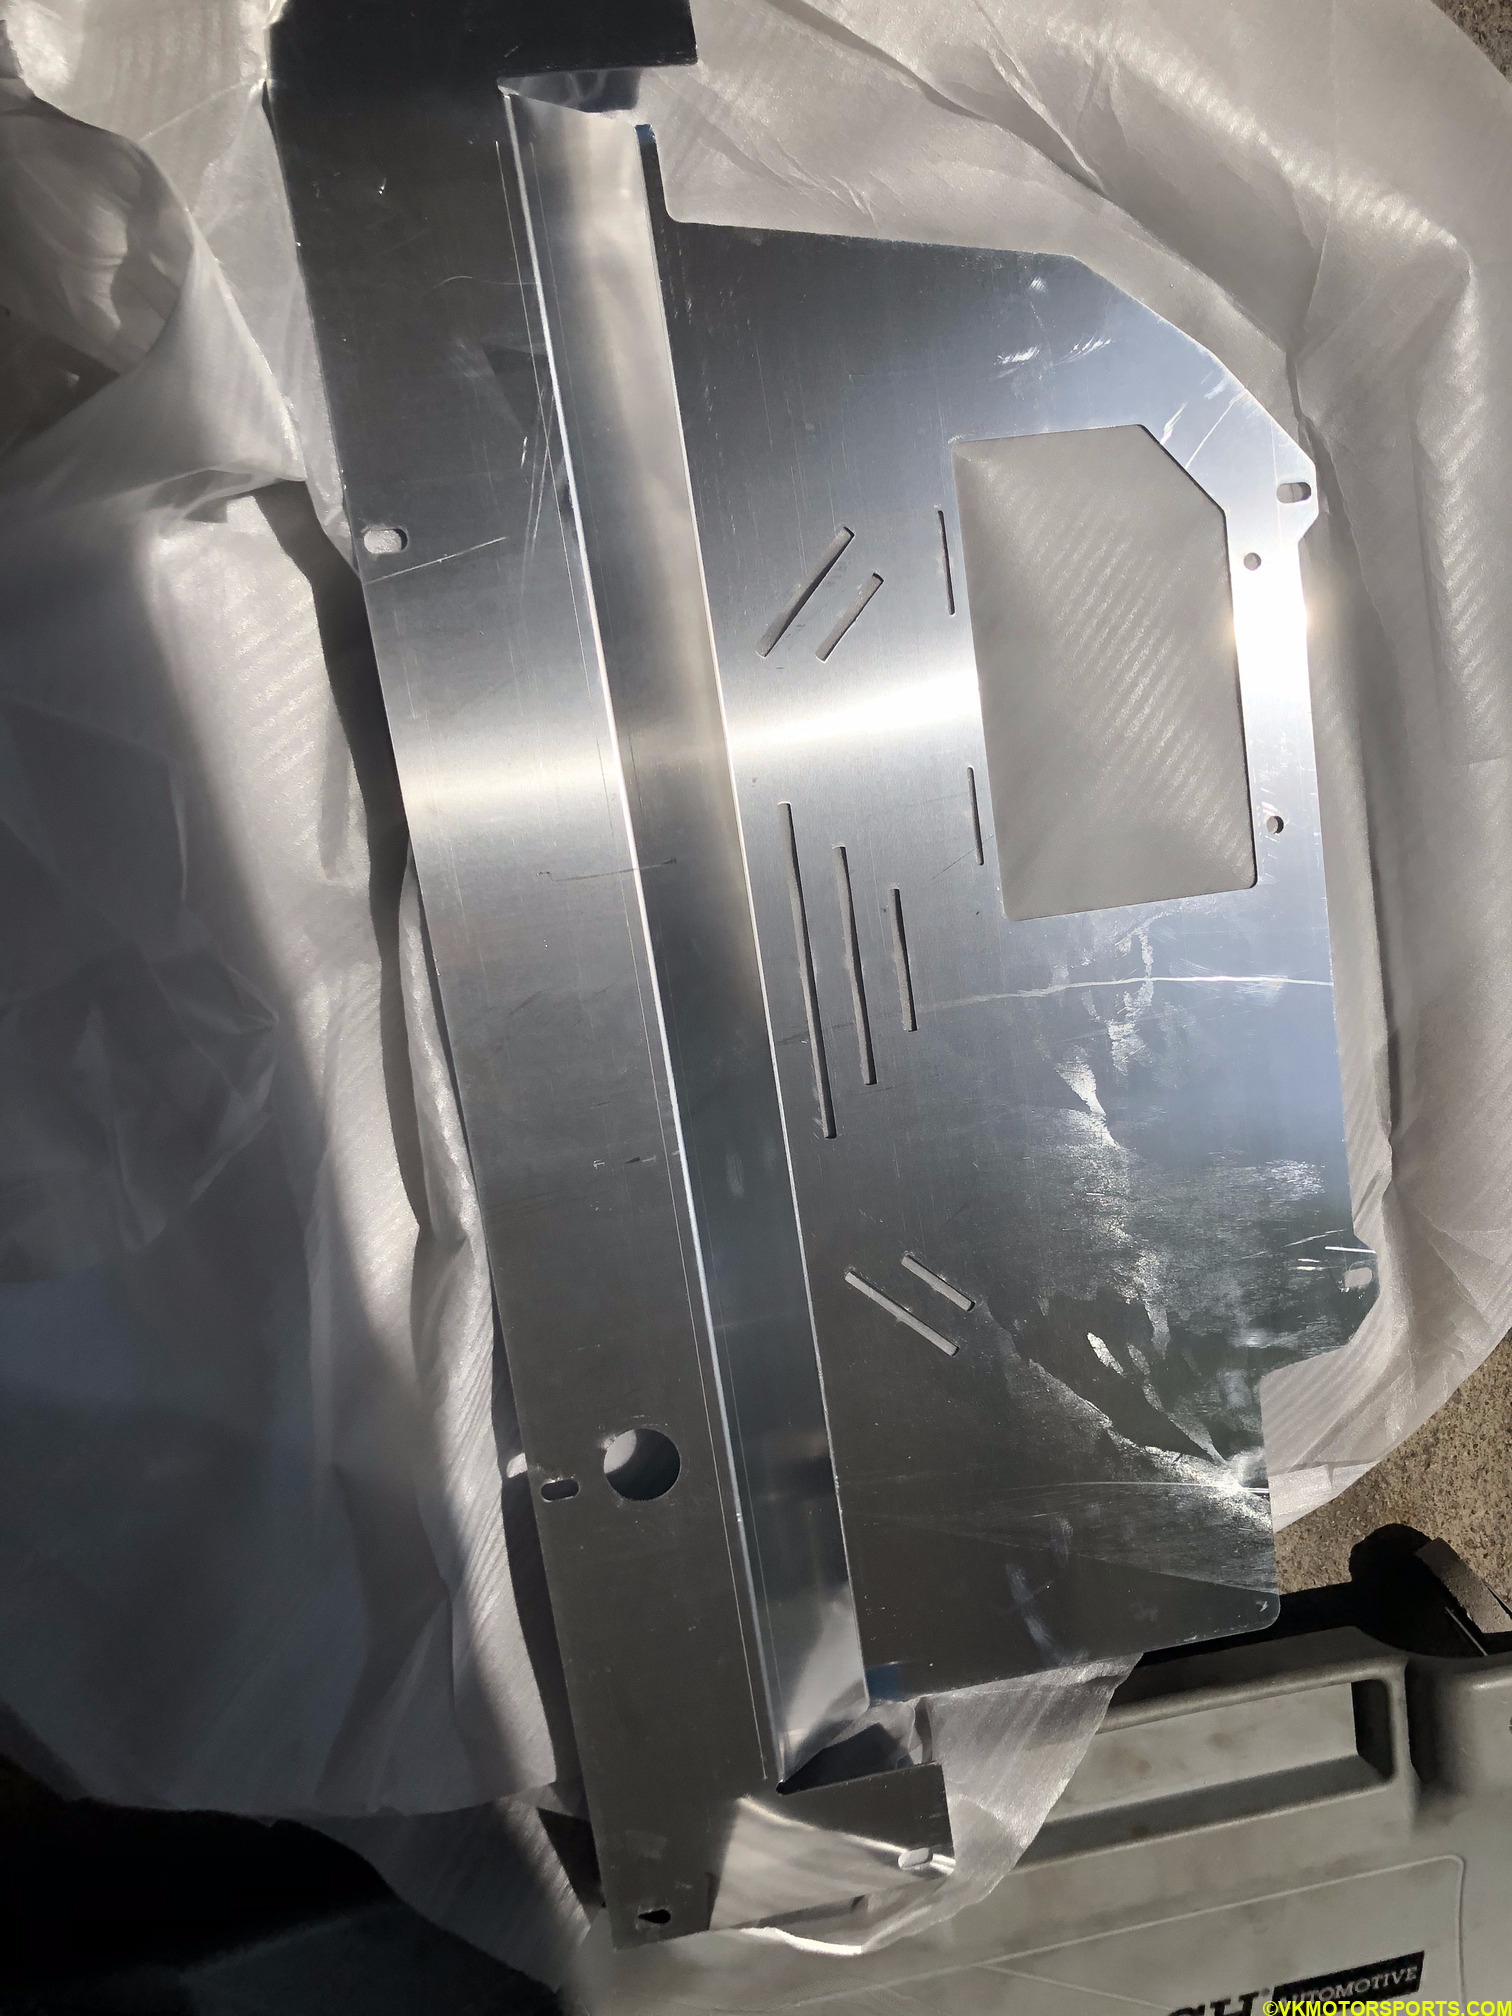 Figure 2c. The rear plate
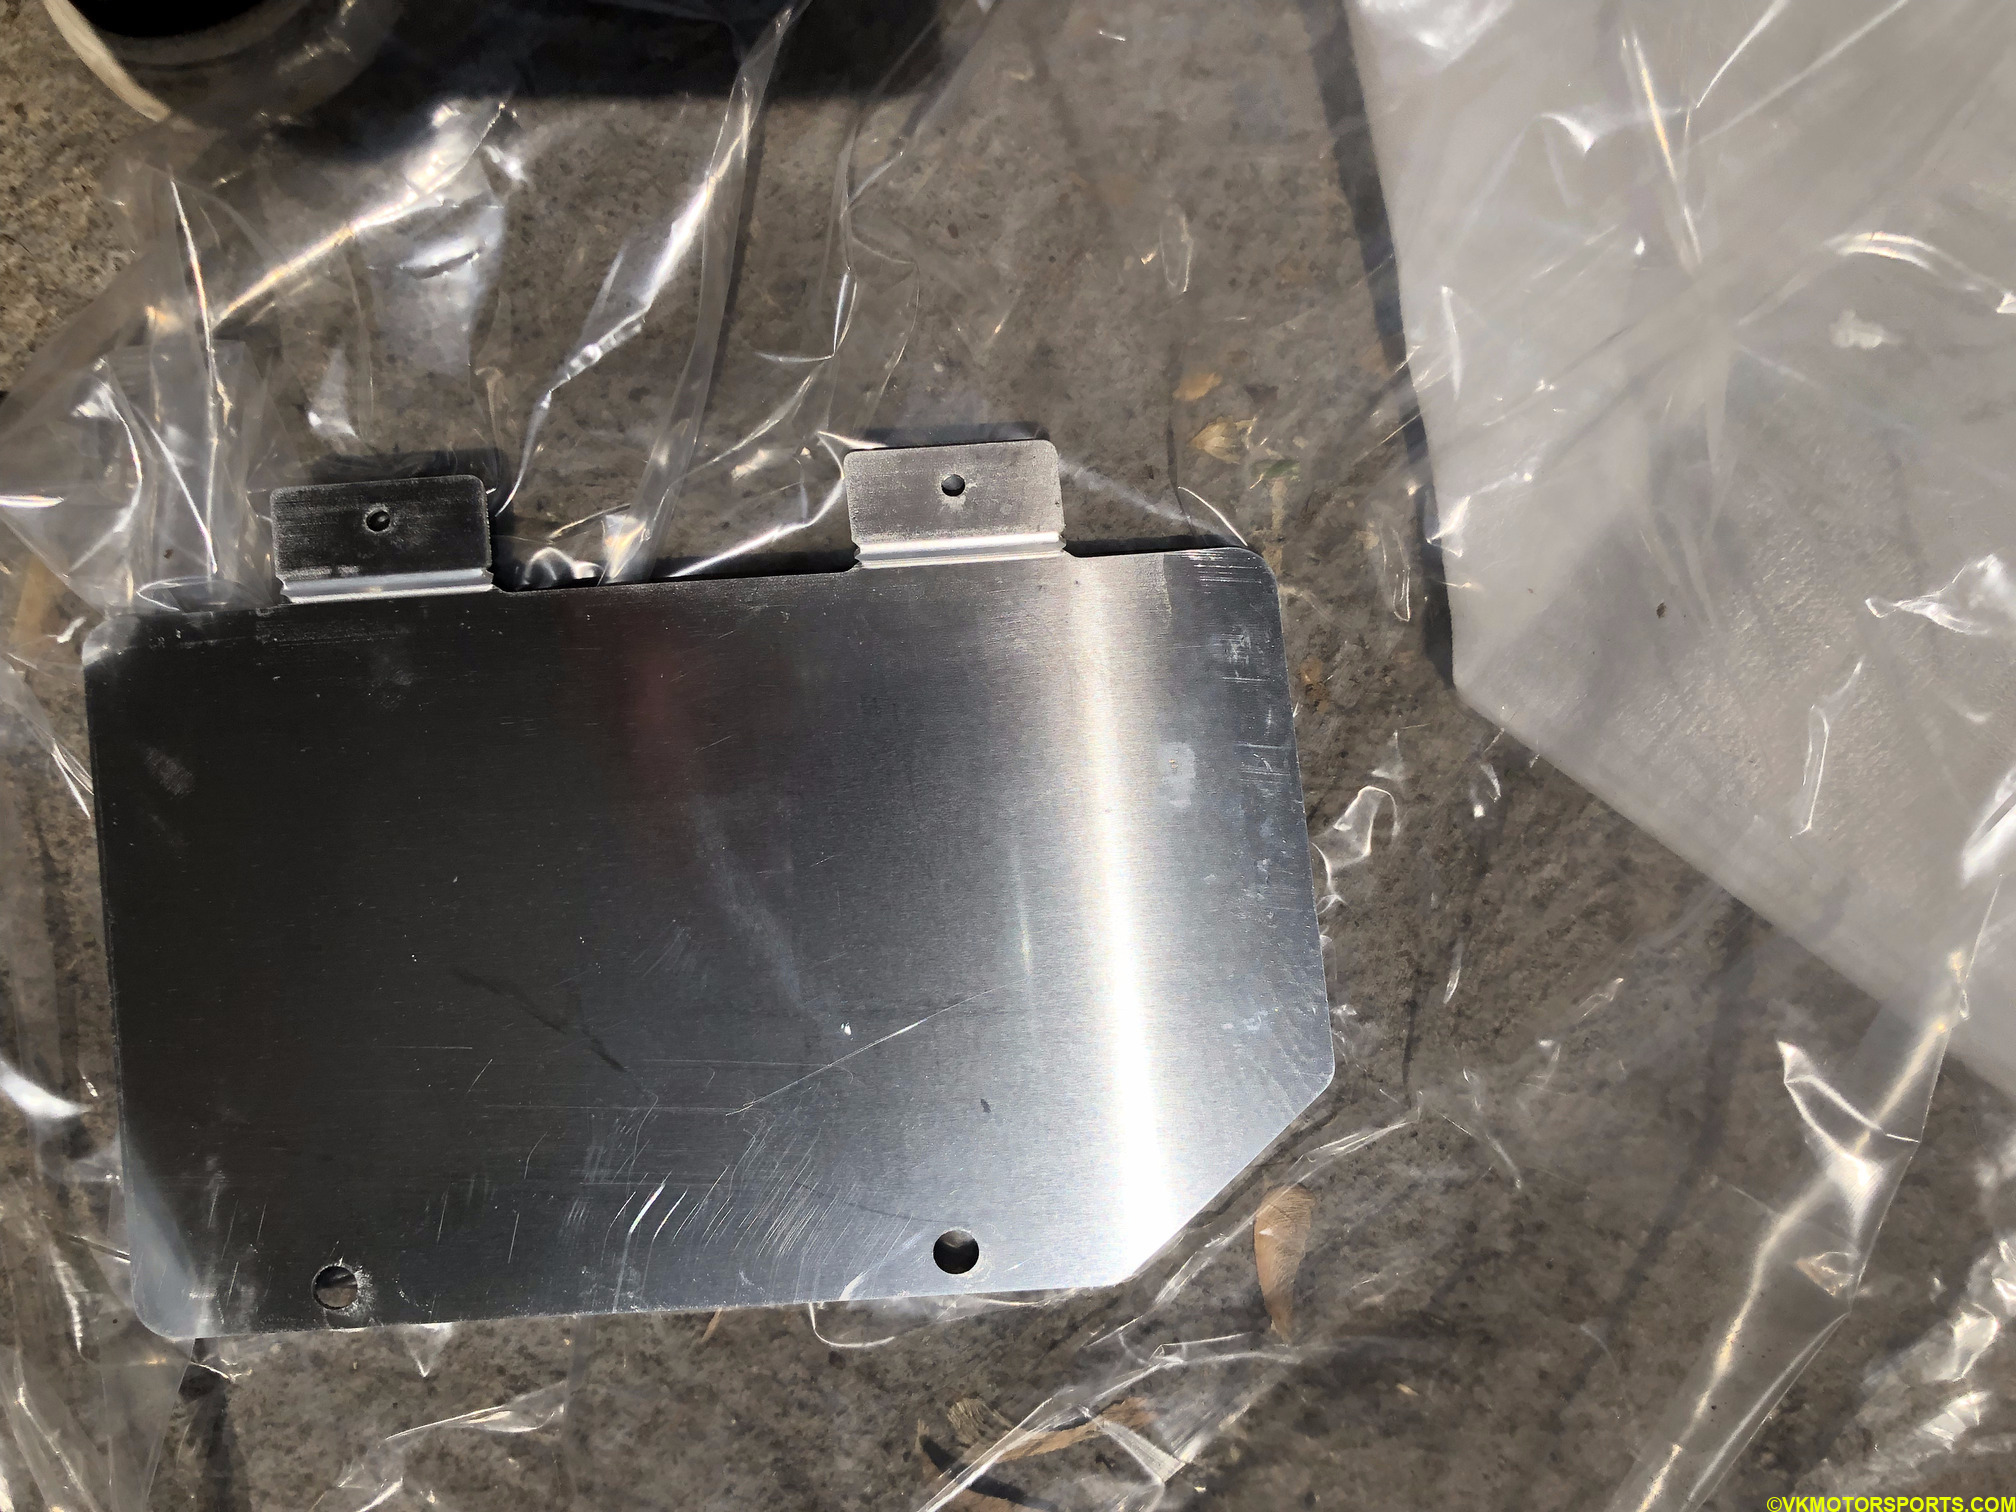 Figure 2d. The oil filter cover
Step 5: Screw the oil filter cover onto the rear plate with 2 bolts and 2 clips. Then screw the rear plate onto the car chassis in the same holes as the previous skidplate was installed in. Then attach the front plate to the bumper holes and to the rear plate with bolts and clips. In my case, several of the holes into which the bolts were supposed to go into were damaged, and I had to use zipties to hold some of them.
NOTE: Use antiseize on the bolts to prevent them from getting stuck.
Overall, the skidplate looks great. It will be interesting to see if the zipties hold it together and for how long.
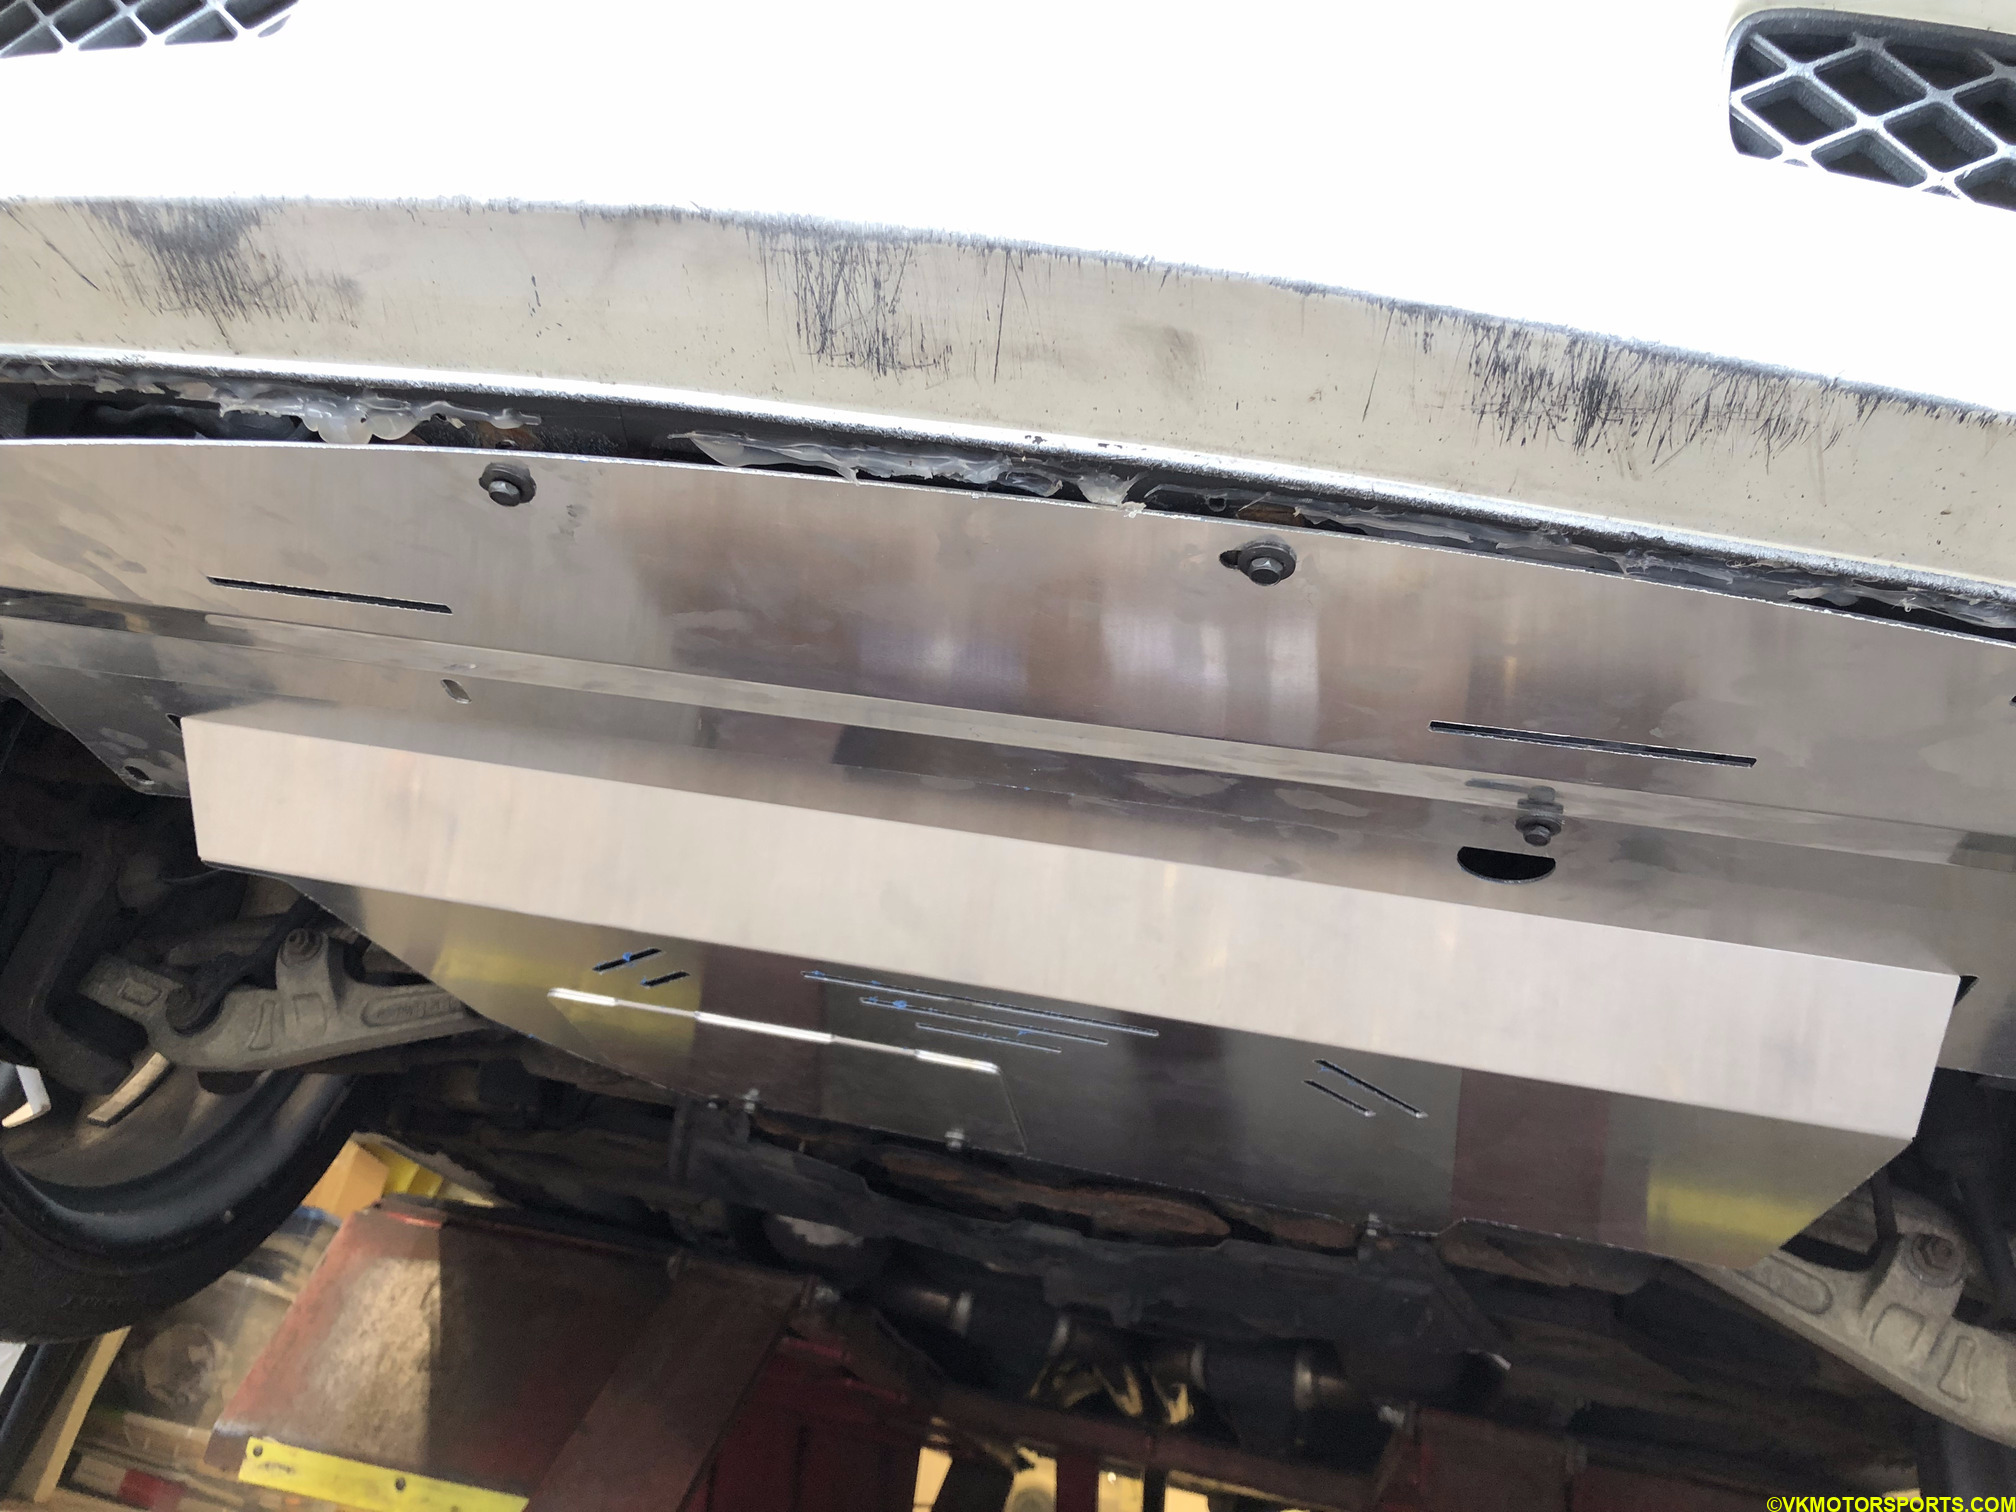 Figure 3a. Front view of installed aluminum skidplate
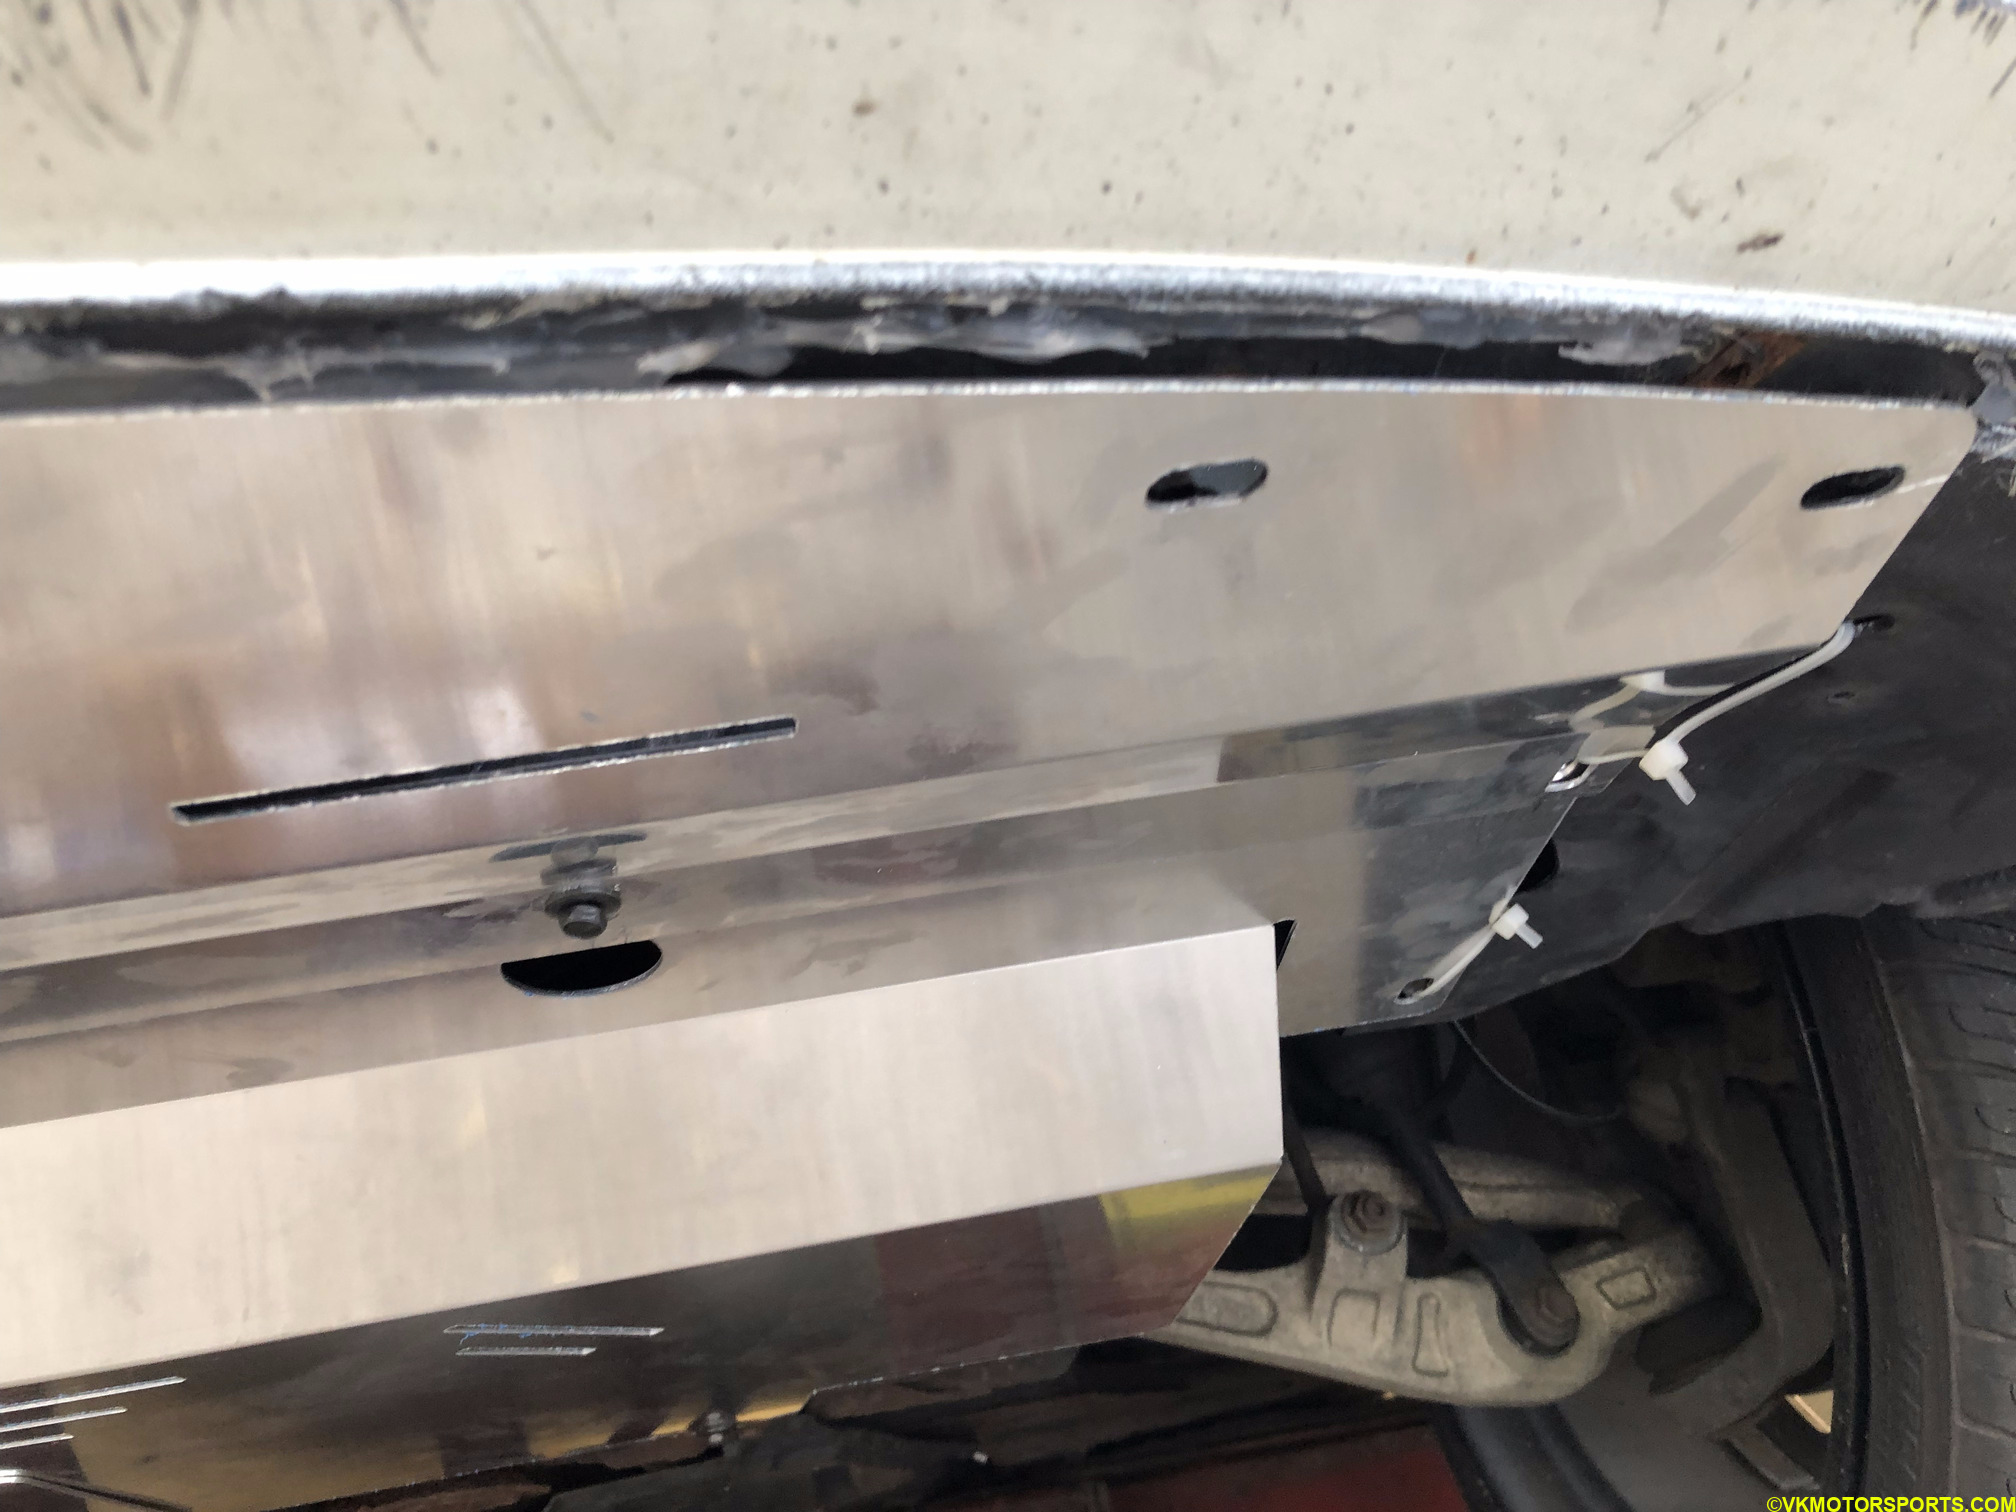 Figure 3b. Front plate did not attach to the bumper nicely (driver side)
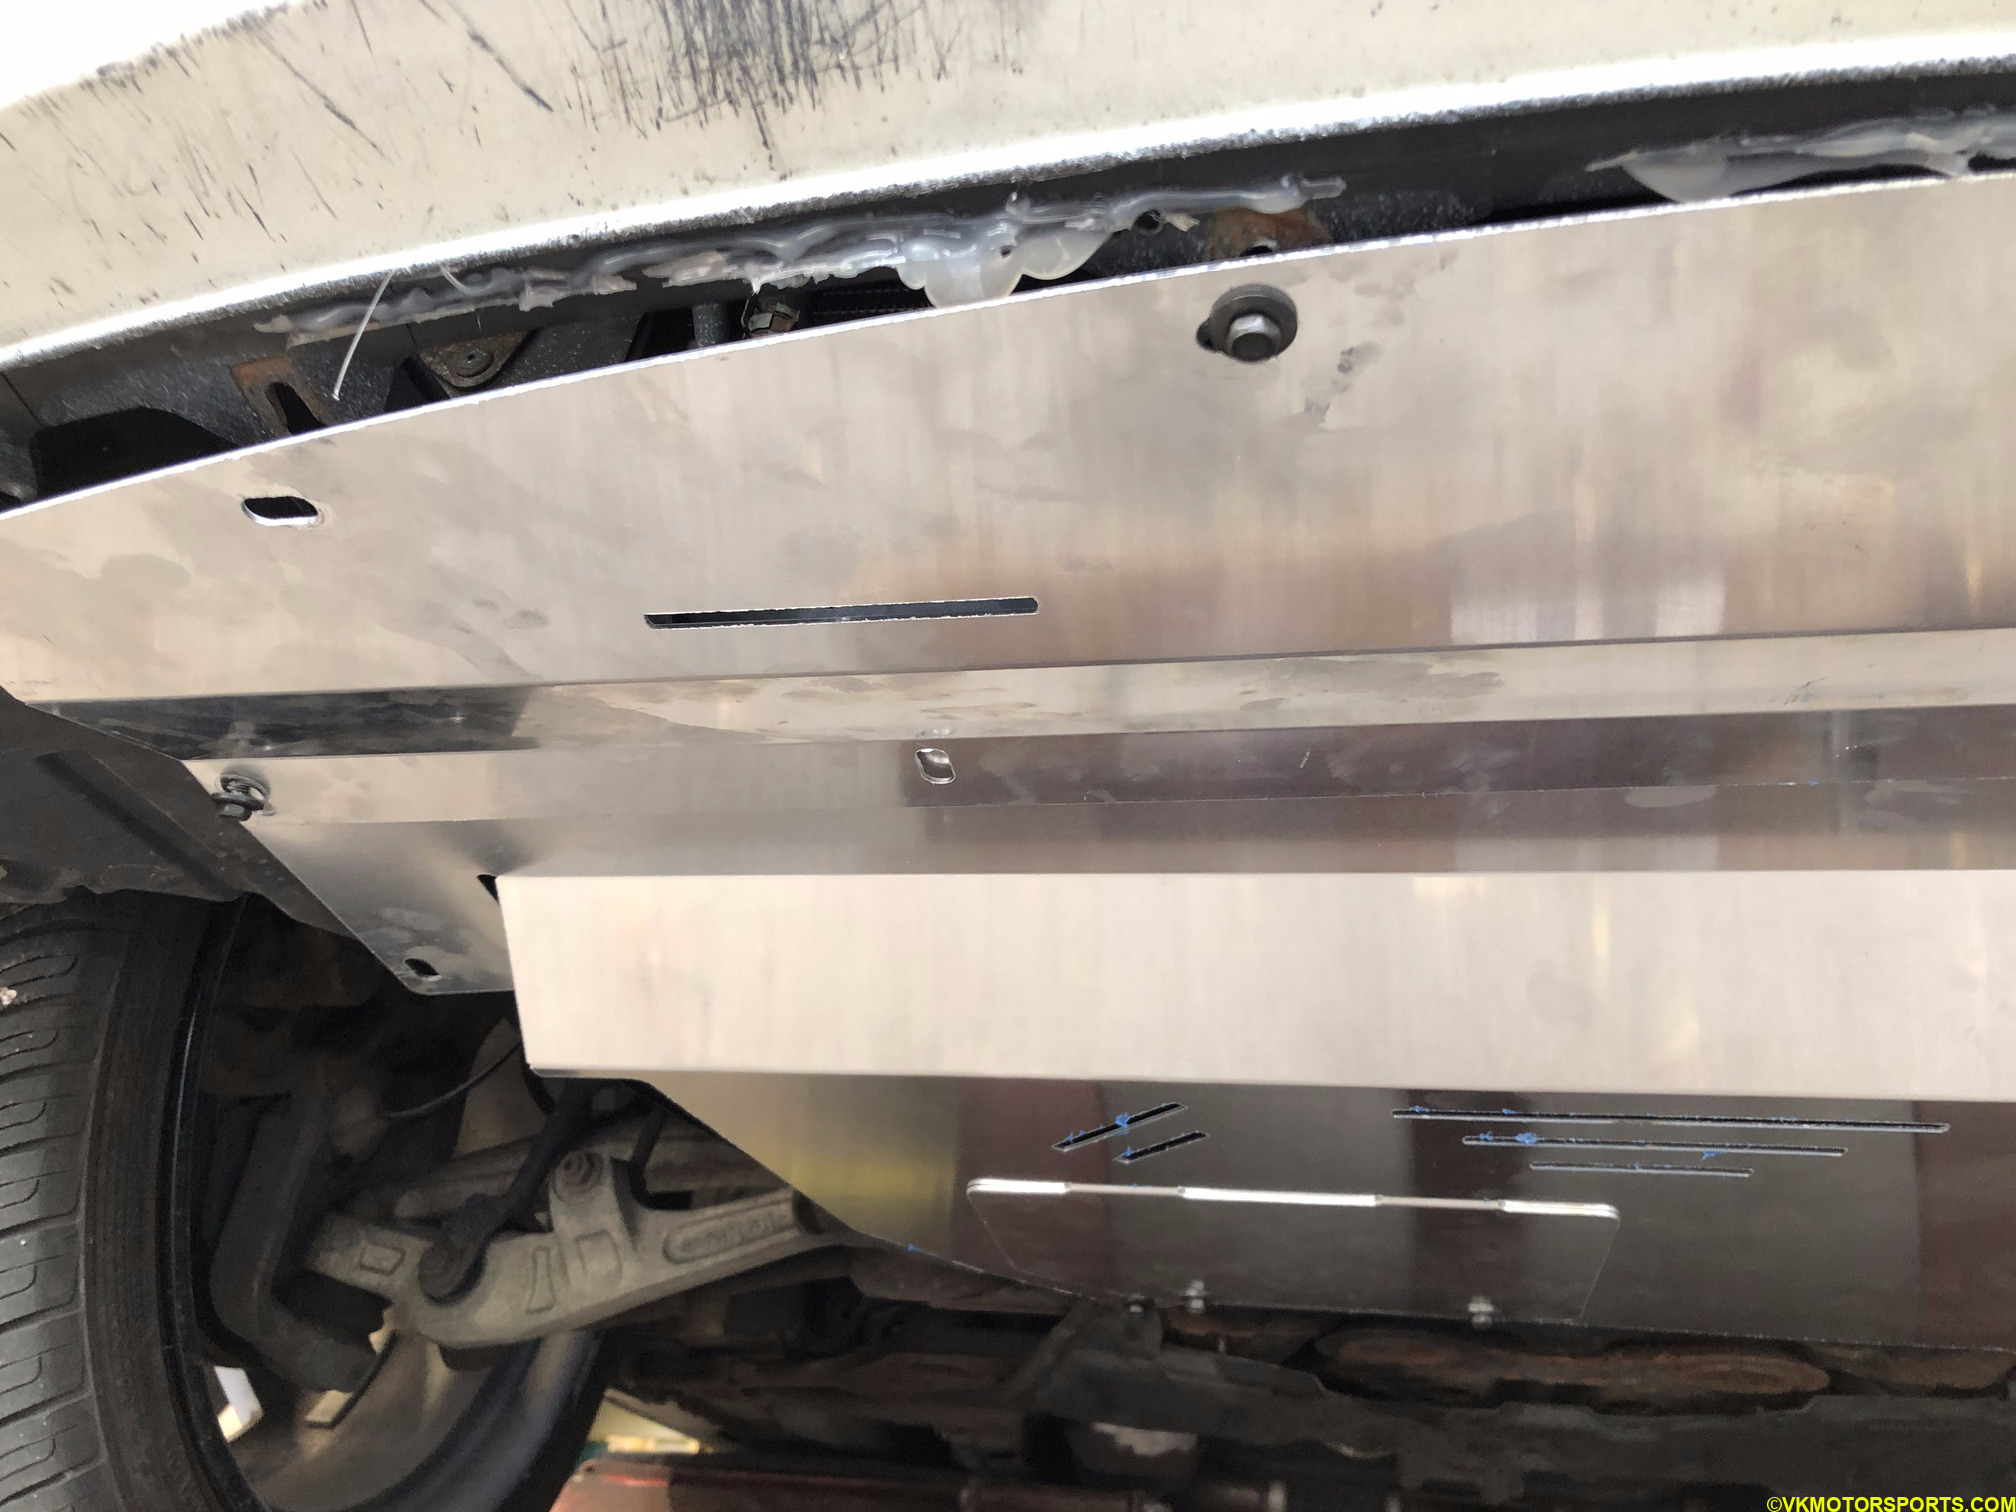 Figure 3c. Front plate did not attach to the bumper nicely (passenger side)
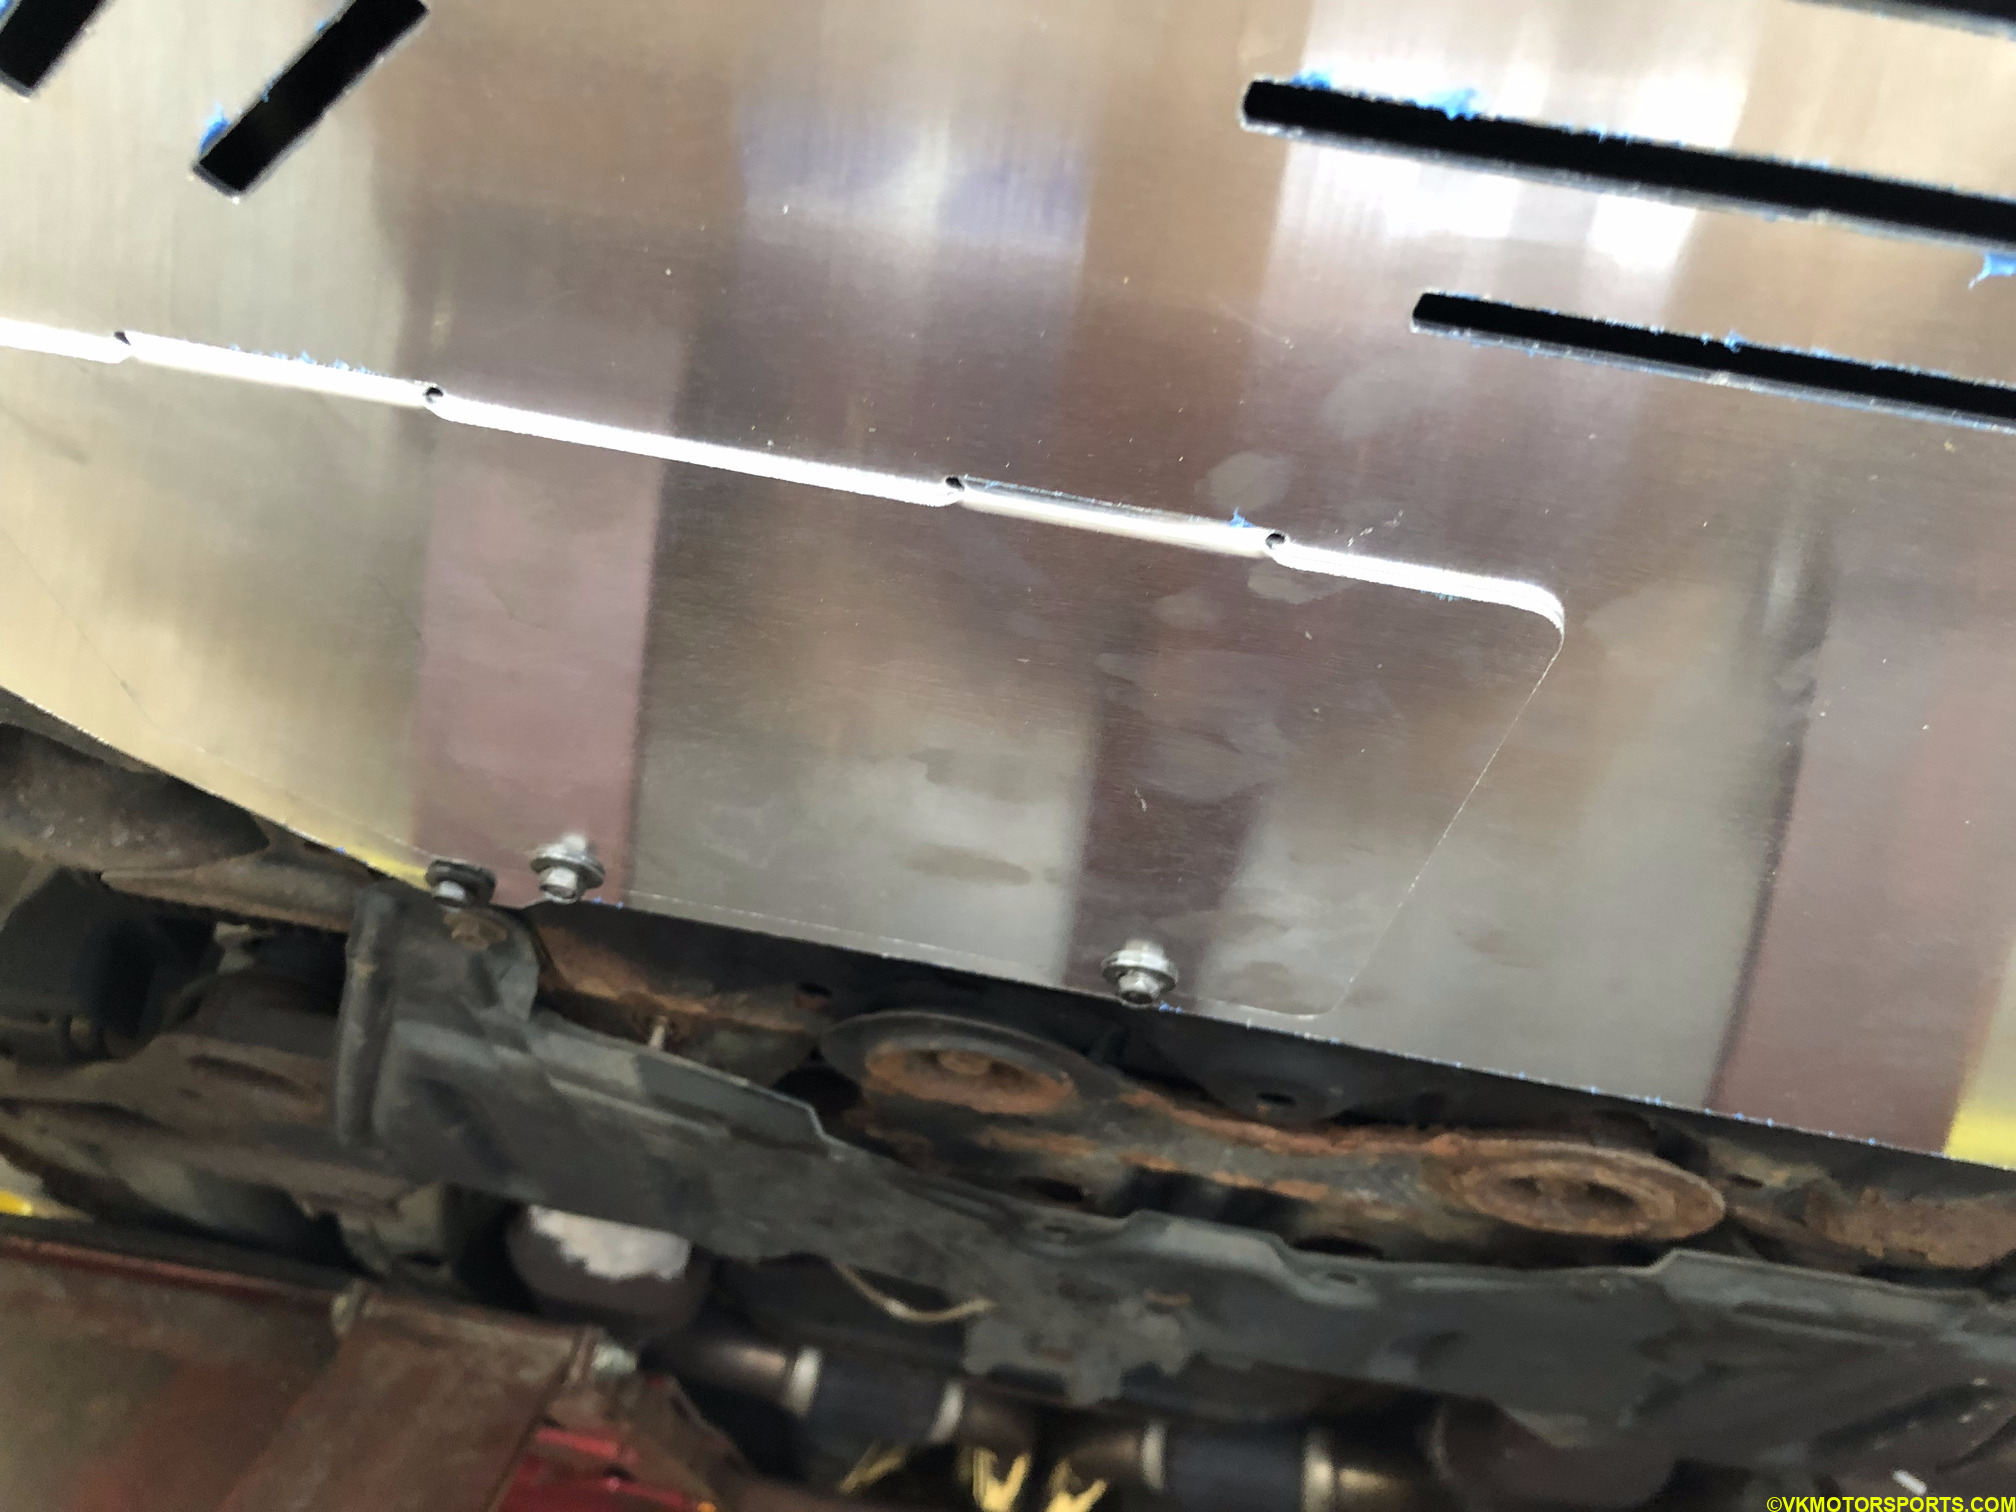 Figure 3d. Oil filter cover on the rear skidplate portion
Now we drive the car for a few 100 miles and see if the skidplate stays on or falls off.