The 2005 Infiniti G35 Coupe came with a check engine light (CEL) code of P0462 (Figure 1). The fuel gauge always showed empty and I watched a few Youtube videos on how to clean the two fuel level sensors below the rear seats in the car to fix the
problem. Apparently, after a while the fuel level sensors tend to collect grime over themselves that leads to the fuel gauge reading a zero value.
This post describes that process to clean it out. However, it turns out that the previous owner did try the same process, as the fuel level sensors were already clean. So this meant that the issue was probably the sensor electrical connection or the dashboard fuel gauge itself. I did the fuel level sensor cleaning/checking on August 3rd, and on August 10th (today) I filled up the tank fully. But it was a disaster. The fuel tank was leaking non-stop (Figures 25 and 26) and so I had to accept my limited abilities at this point and got the car towed to the dealer. The dealer wants me to install a new fuel tank since the current one is dented and has too much rust. 😞
Anyway, this post still describes the fuel level sensor cleaning in case you may benefit from it.
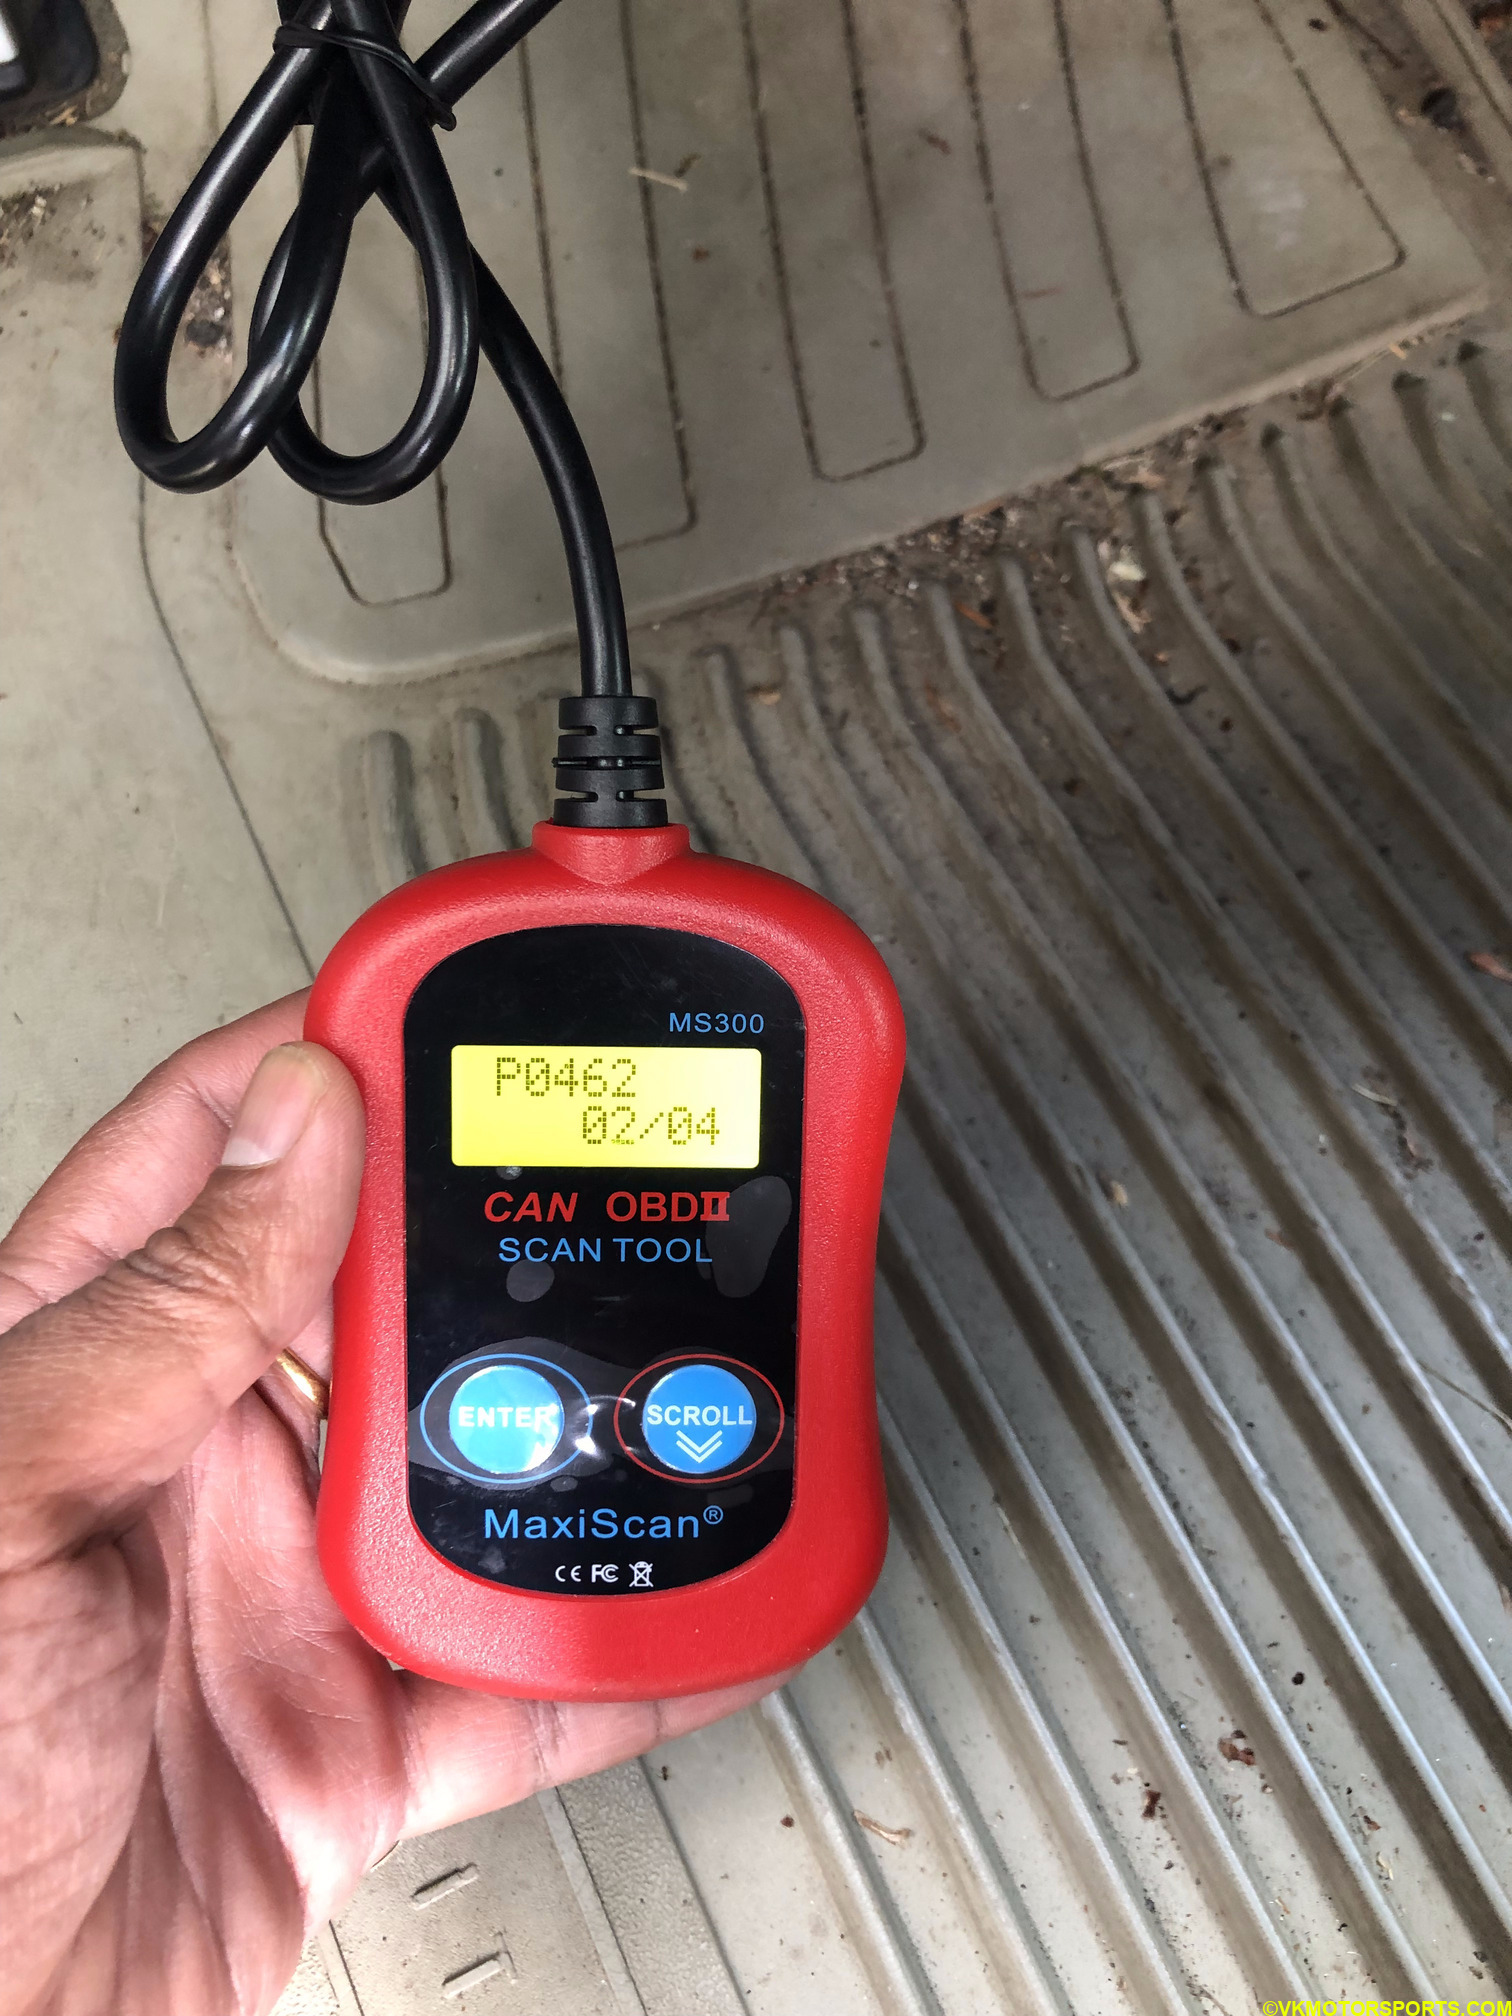 Figure 1. P0462 Check Engine Light code
Fuel Sensor Cleaning on Driver’s Side
On the driver’s side there is a single fuel level sensor and on the passenger’s side there is a fuel pump with a fuel level sensor in one. Let’s do the driver side first followed by the passenger side.
Step 1: Remove the rear seat first (Figure 2) to expose the fuel sensor covers and connectors. There are two clips (not shown) that you need to pull to lift the rear seat out. In my case, those clips were broken already and I just lifted the rear seat out. The car is quite old.
NOTE: You may optionally disconnect the battery terminal. I did not do that.
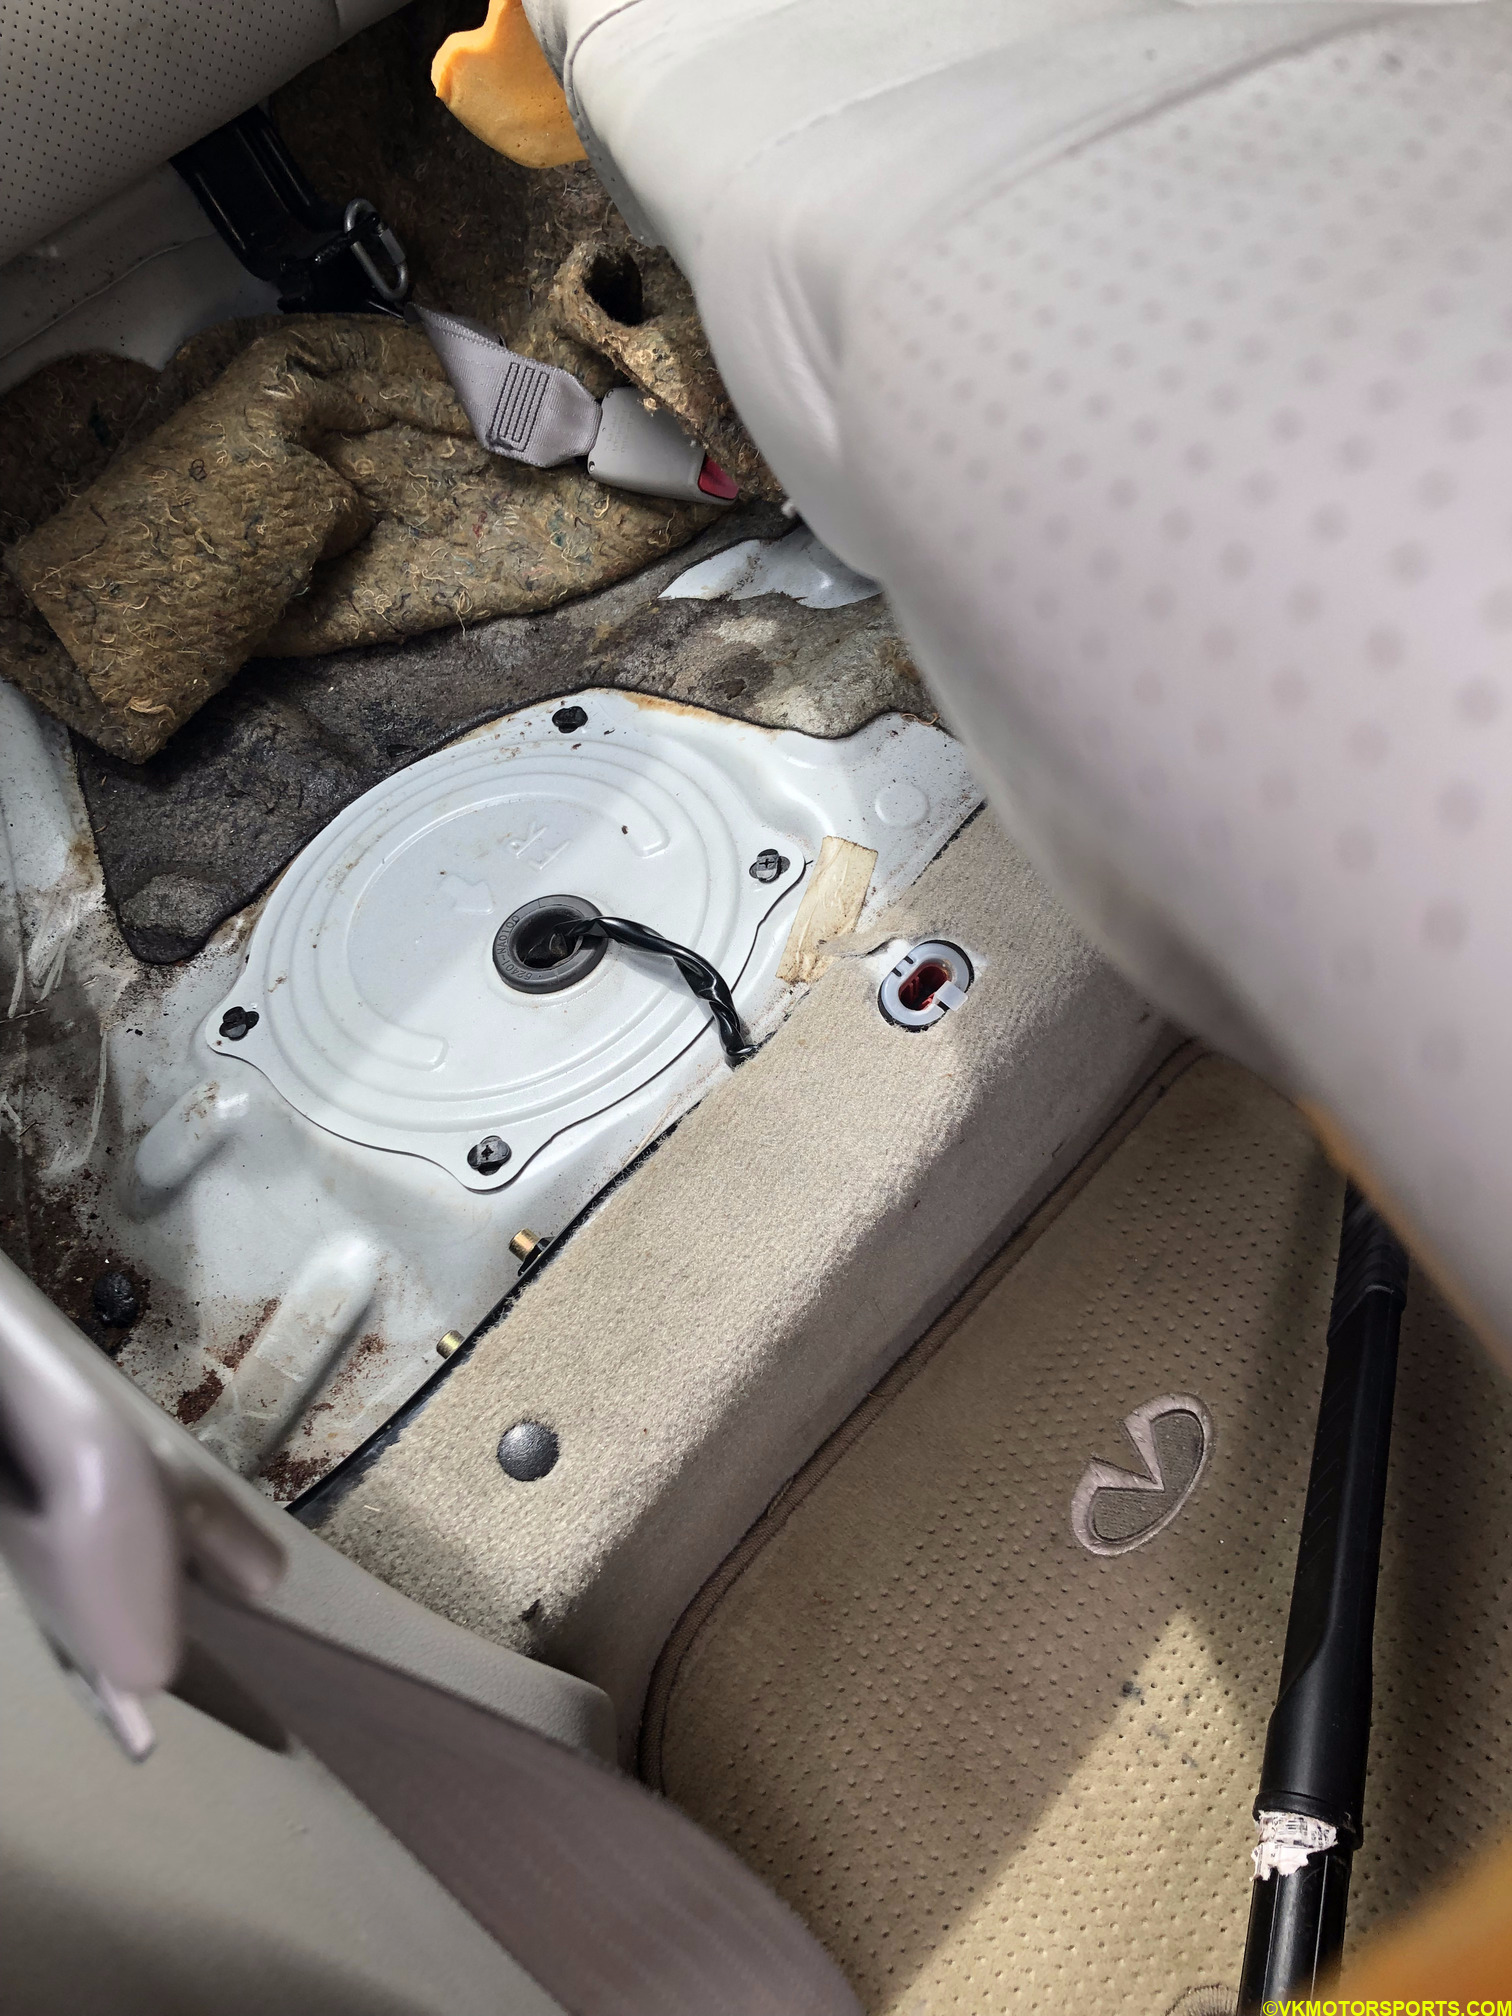 Figure 2. First remove the rear seat
Step 2: Locate the fuel level sensor outer cover on the driver side first (Figure 3) and open it. There are 4 screws holding it together which just need a flat head and partial turning to align them to the hole (Figure 4) for the cover to be lifted off to show the inner sensor itself connected to the fuel tank (Figure 5).
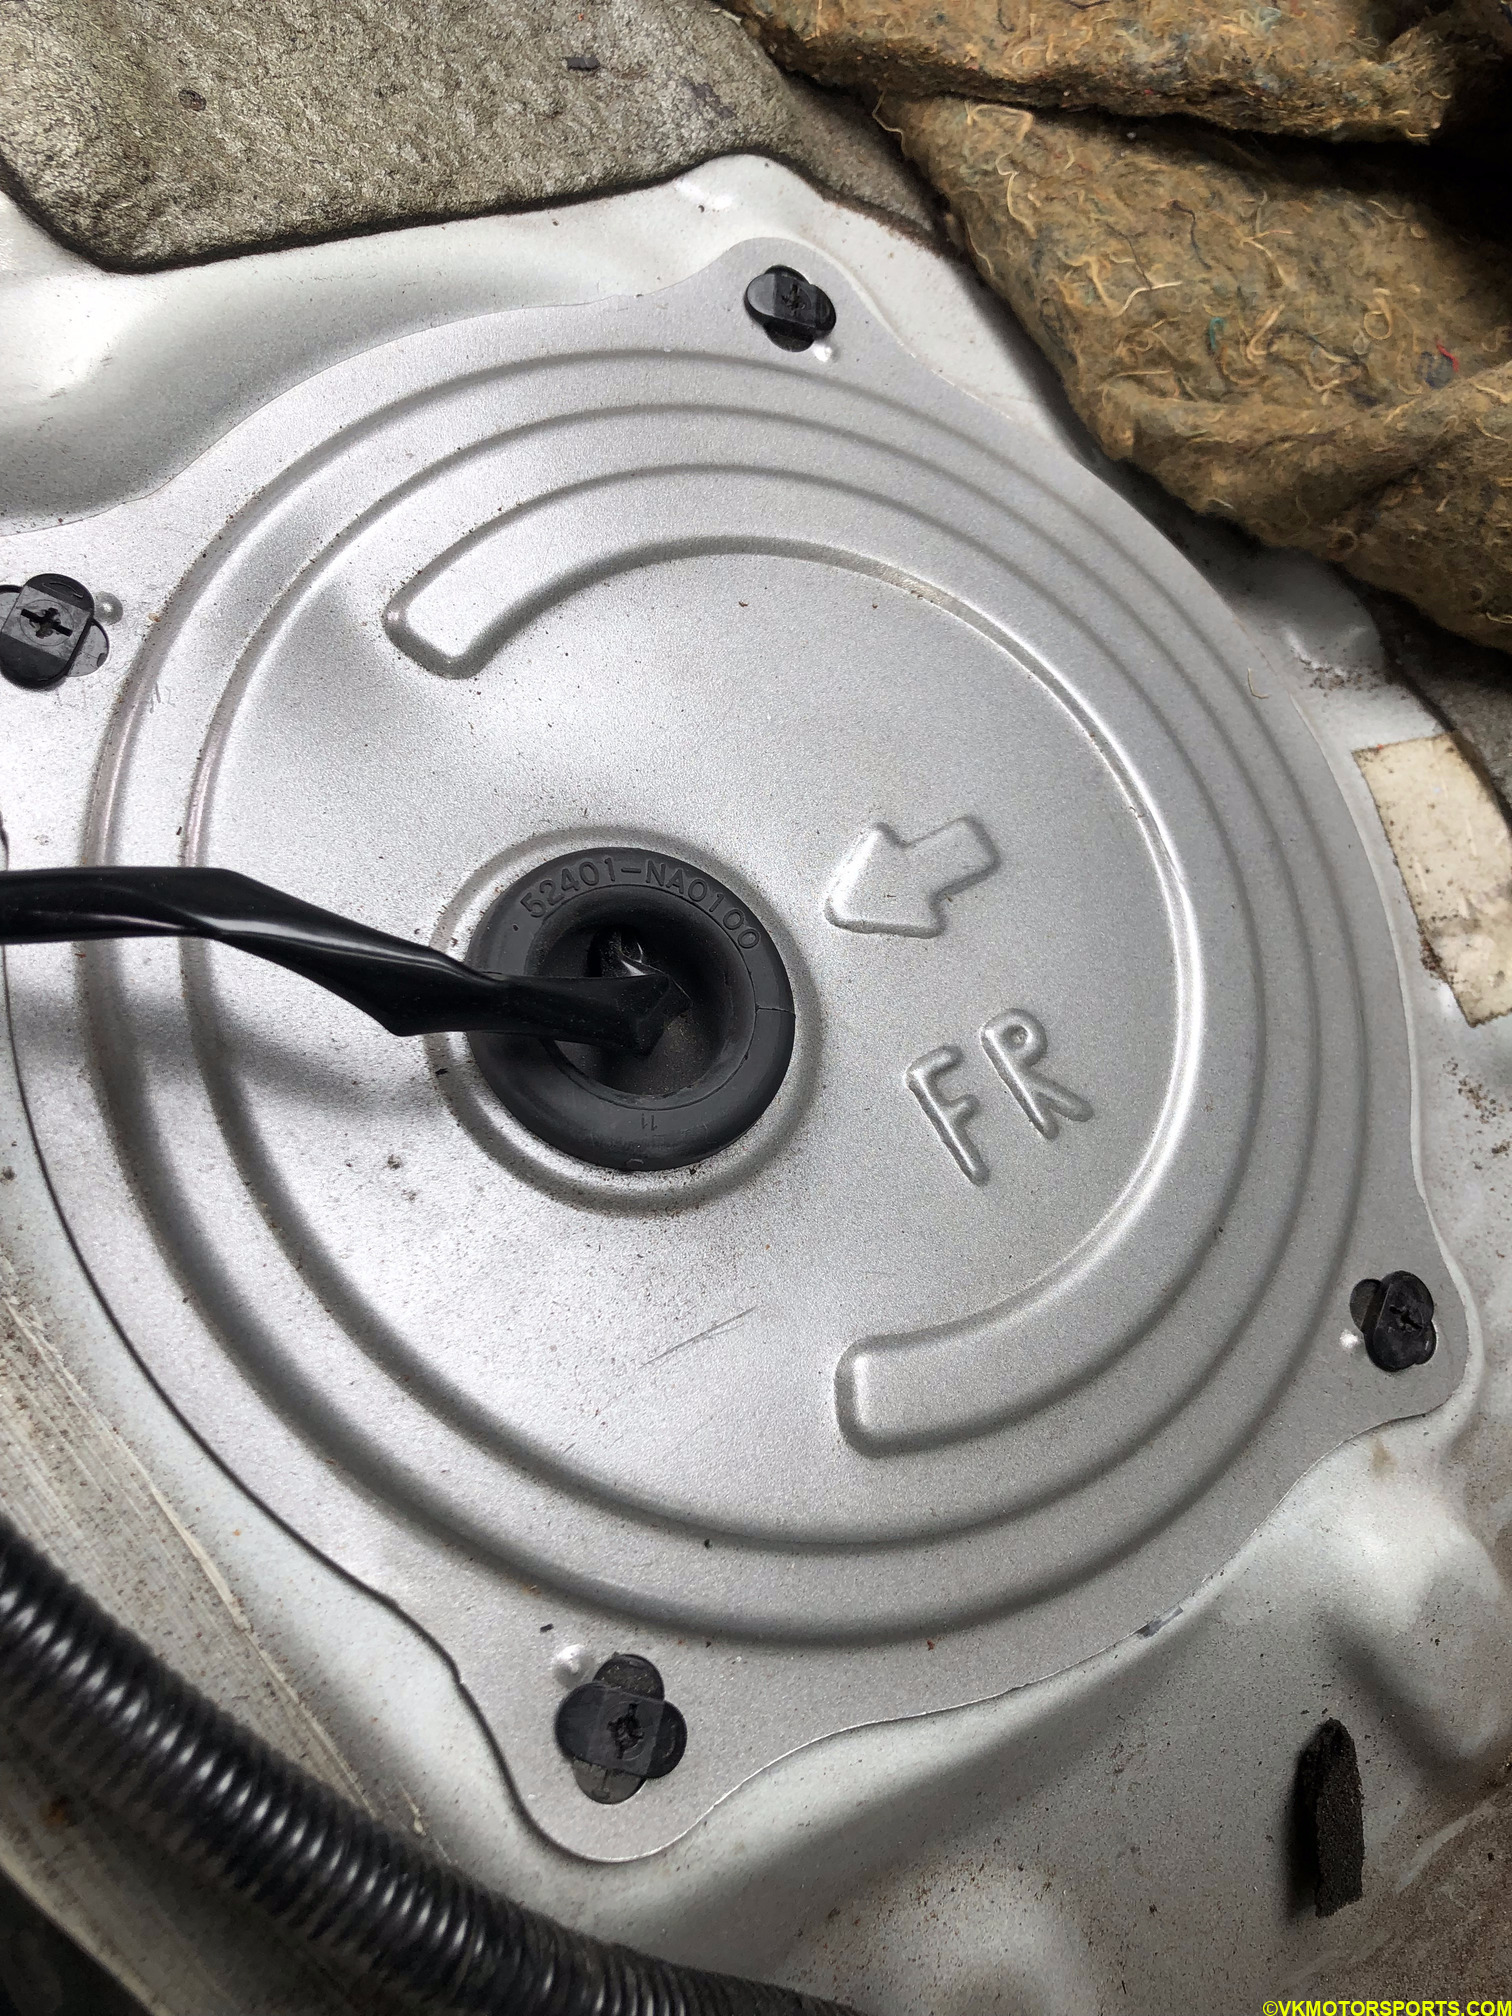 Figure 3. Driver side fuel sensor outer cover
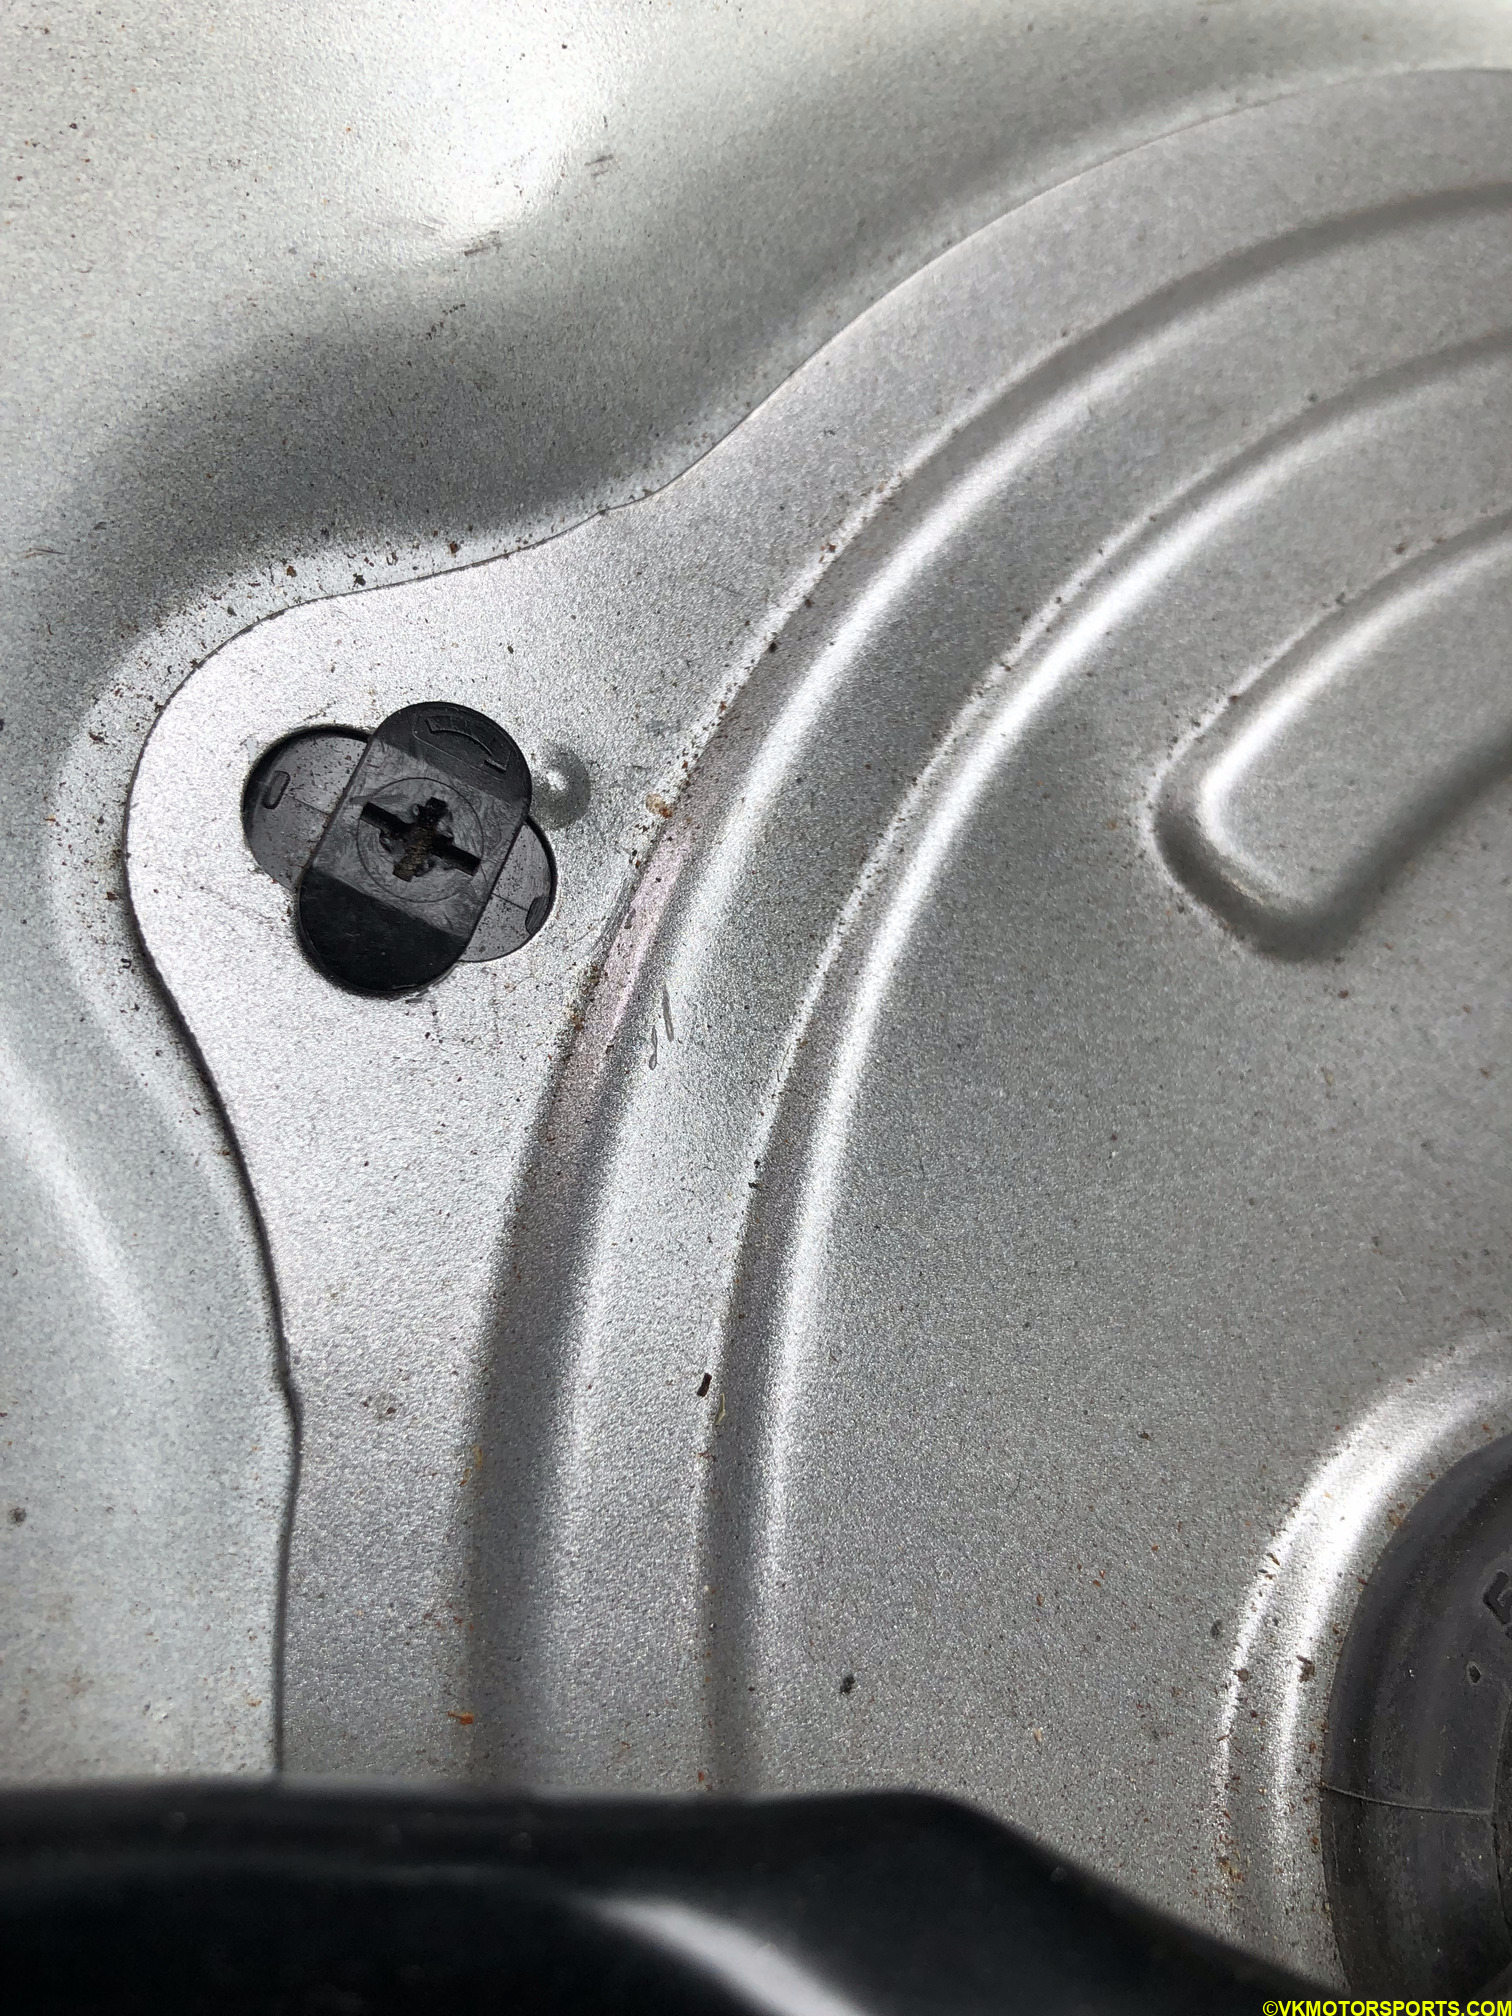 Figure 4. Closeup of outer cover screw
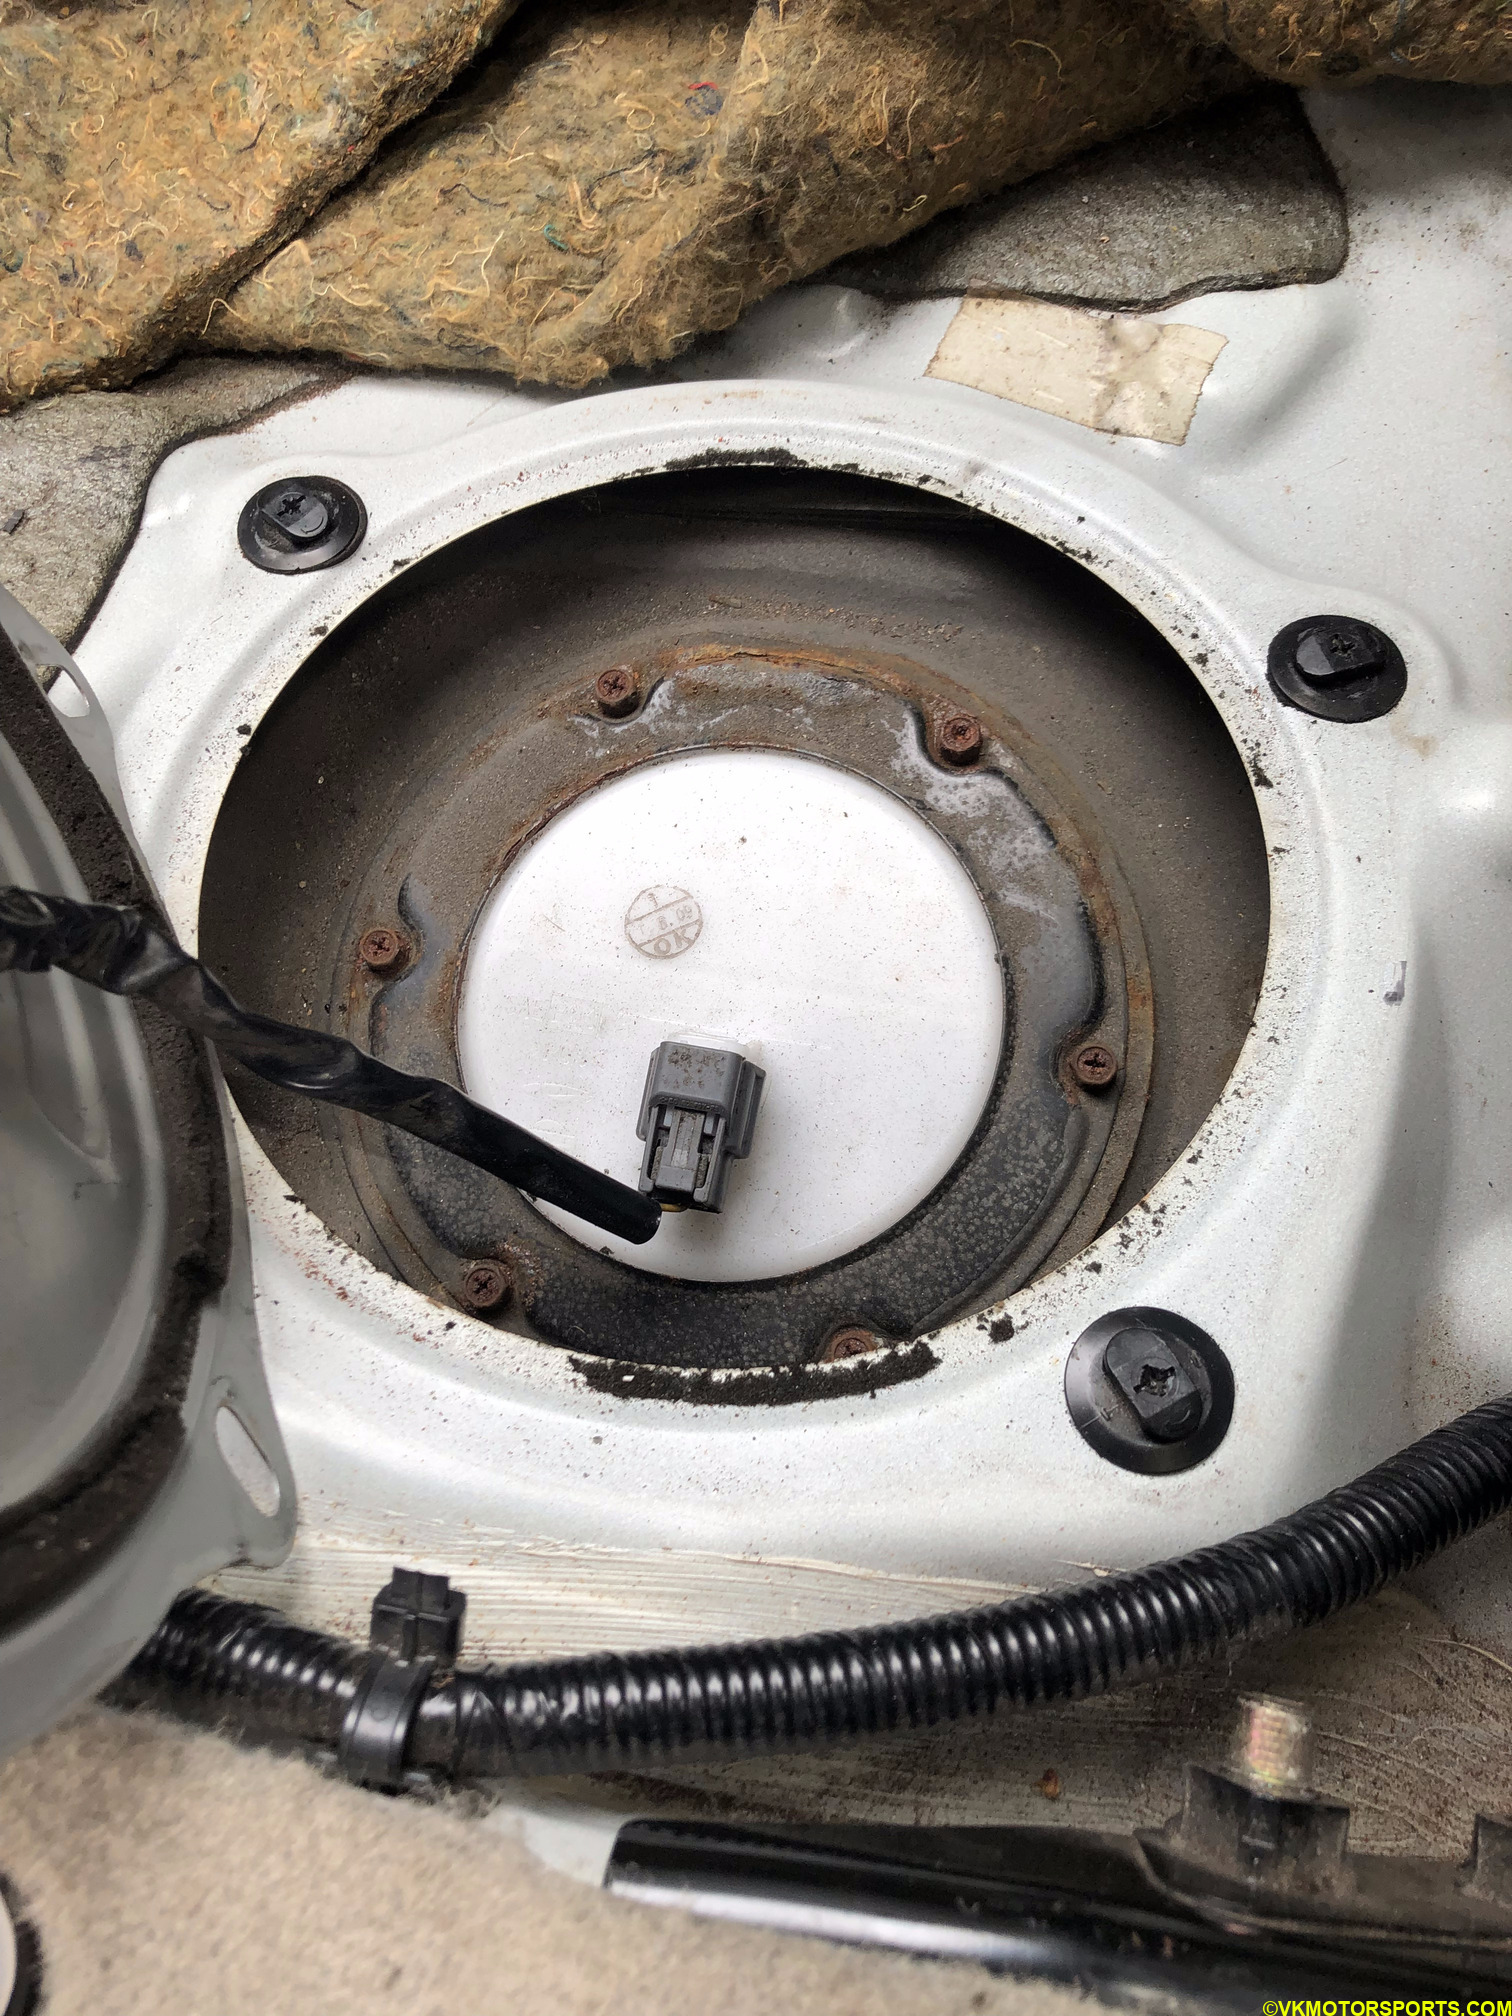 Figure 5. Outer cover removed to show the fuel sensor attached to the tank
Step 3: Disconnect the sensor from the rest of the electrical system as shown in Figure 6.
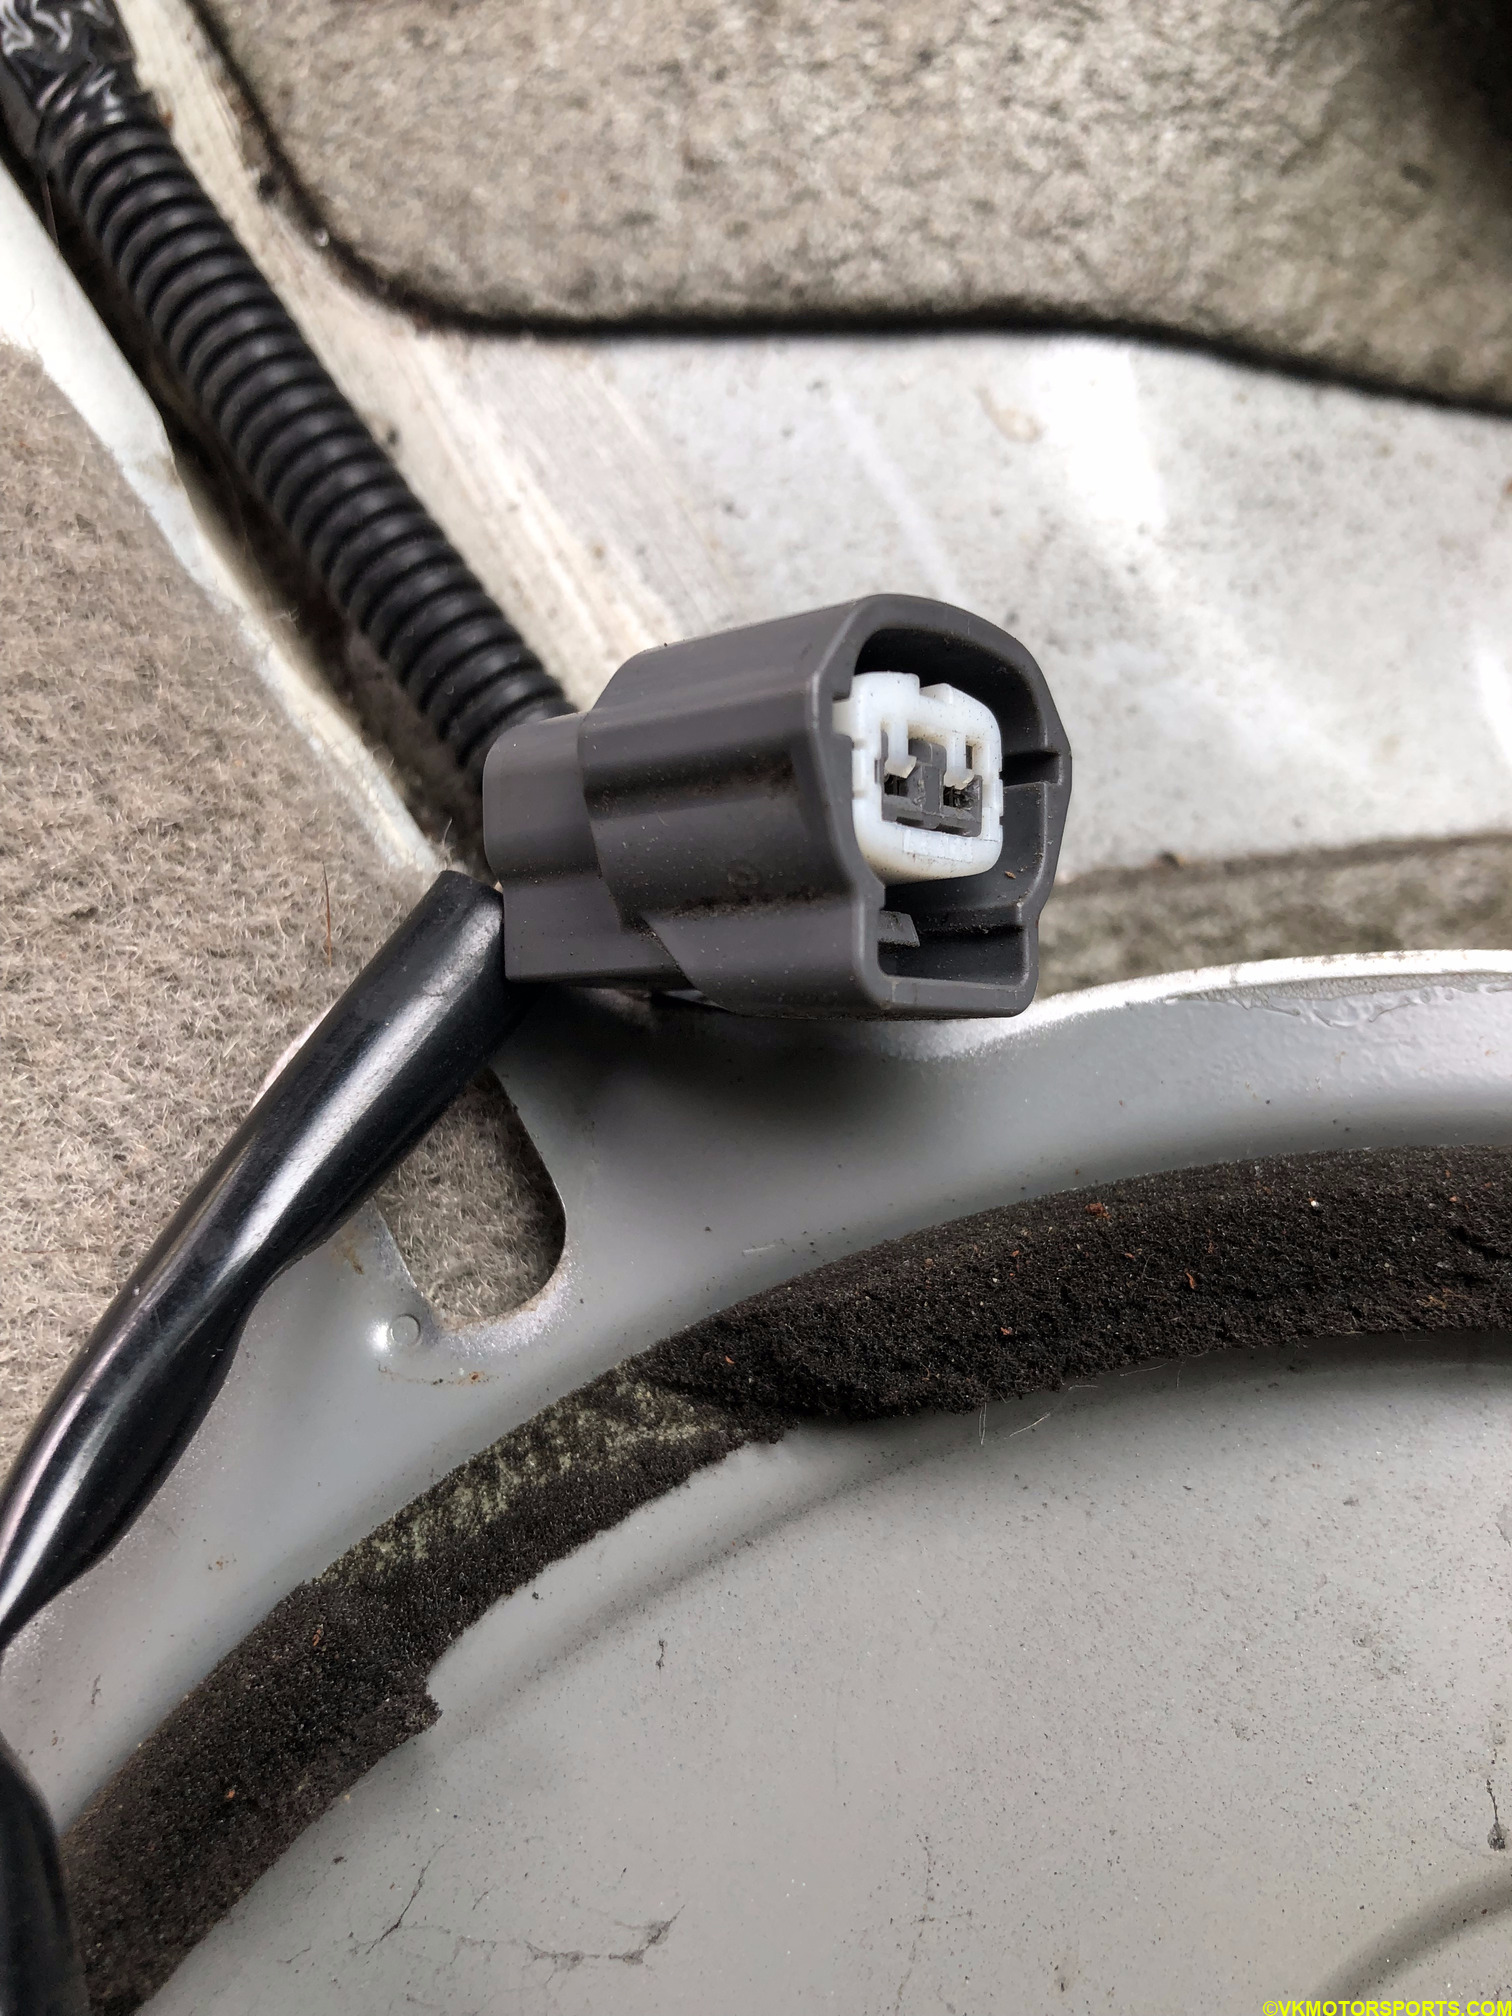 Figure 6. Disconnect the sensors from the electrical system
Step 4: Since my tank looked rusty and dirty (Figure 7) I used some soapy water and a wet microfiber cloth to wipe it down clean (Figure 8).
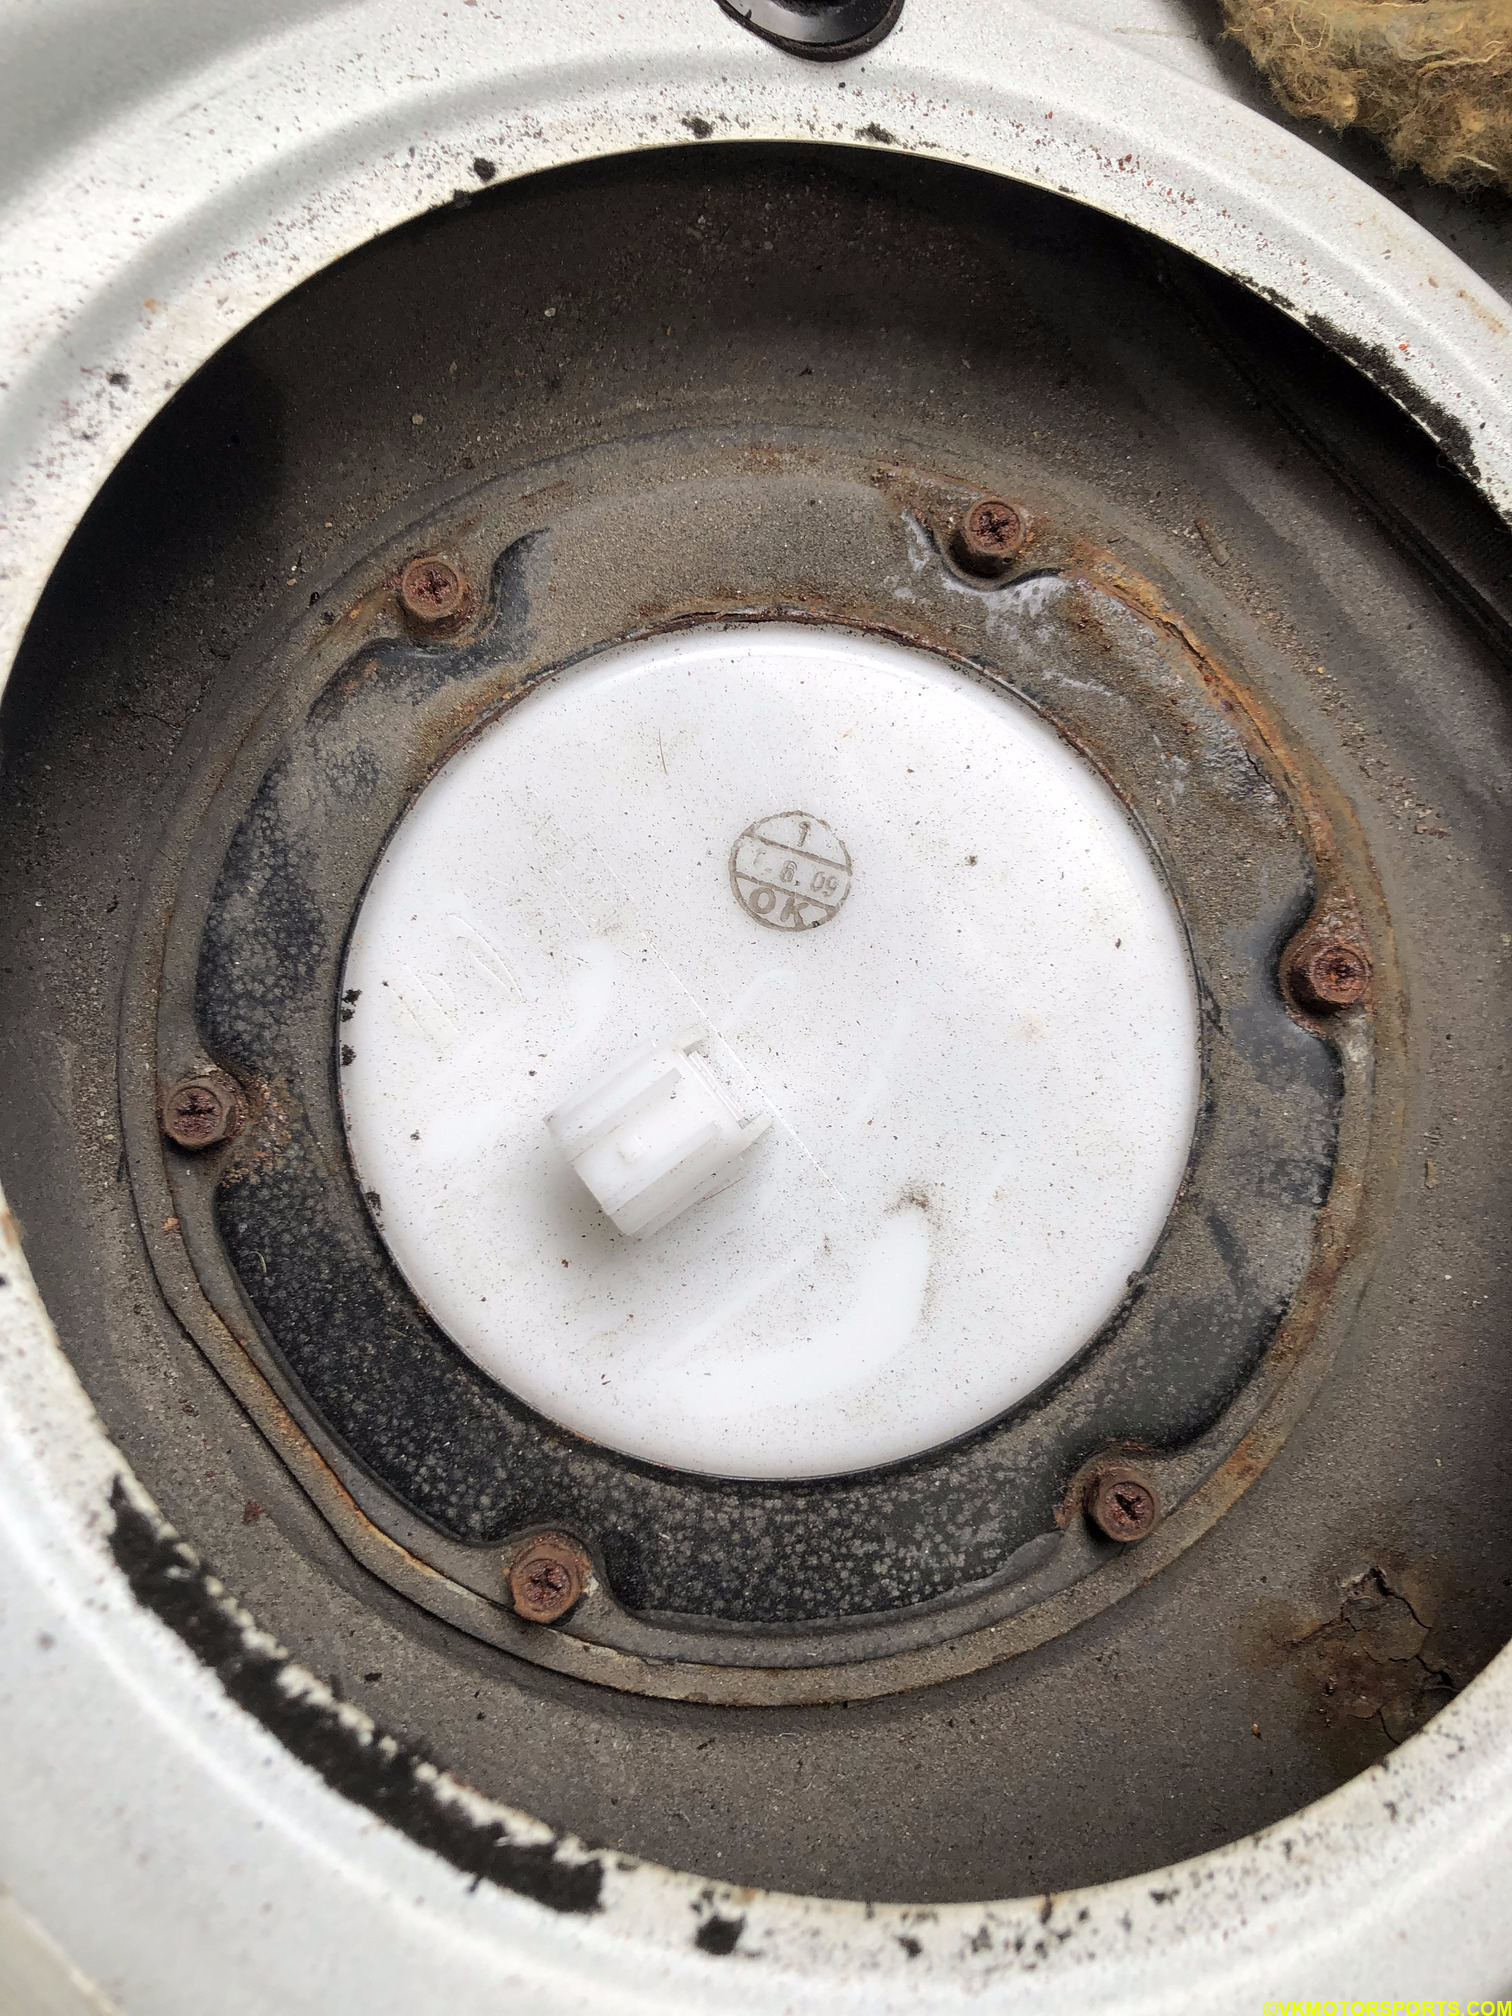 Figure 7. Sensor cover looks dirty
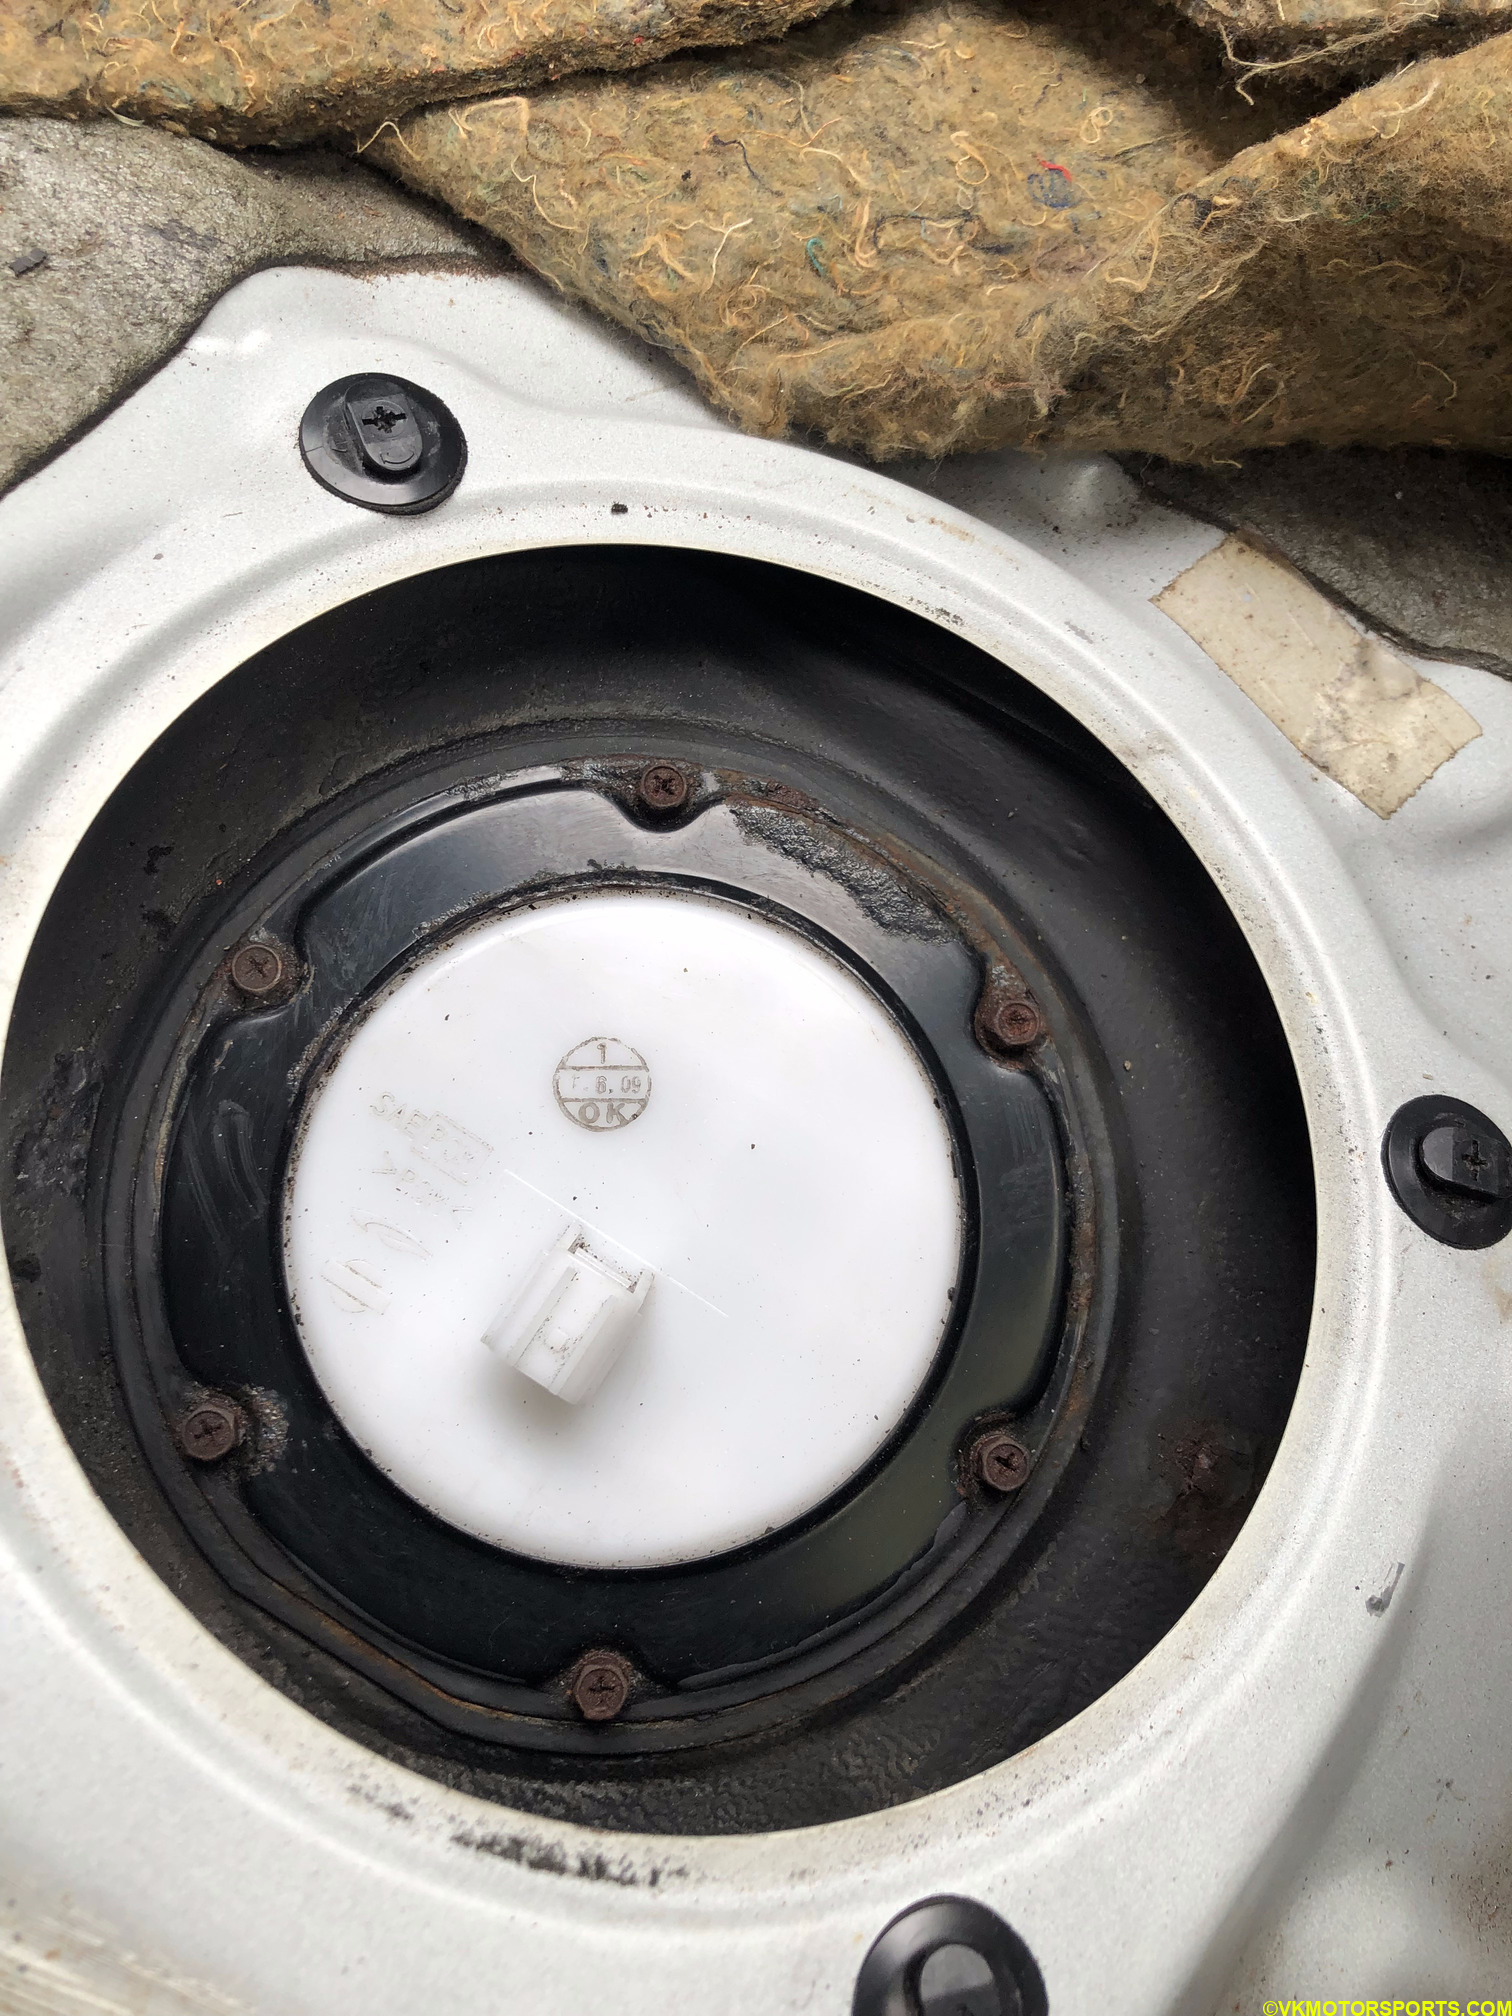 Figure 8. Sensor cover now cleaned
Step 5: Remove the 5 screws using an 8mm wrench or socket to get the large metal washer off. My bolts were very rusted, and it is important to be careful and not lose these bolts.
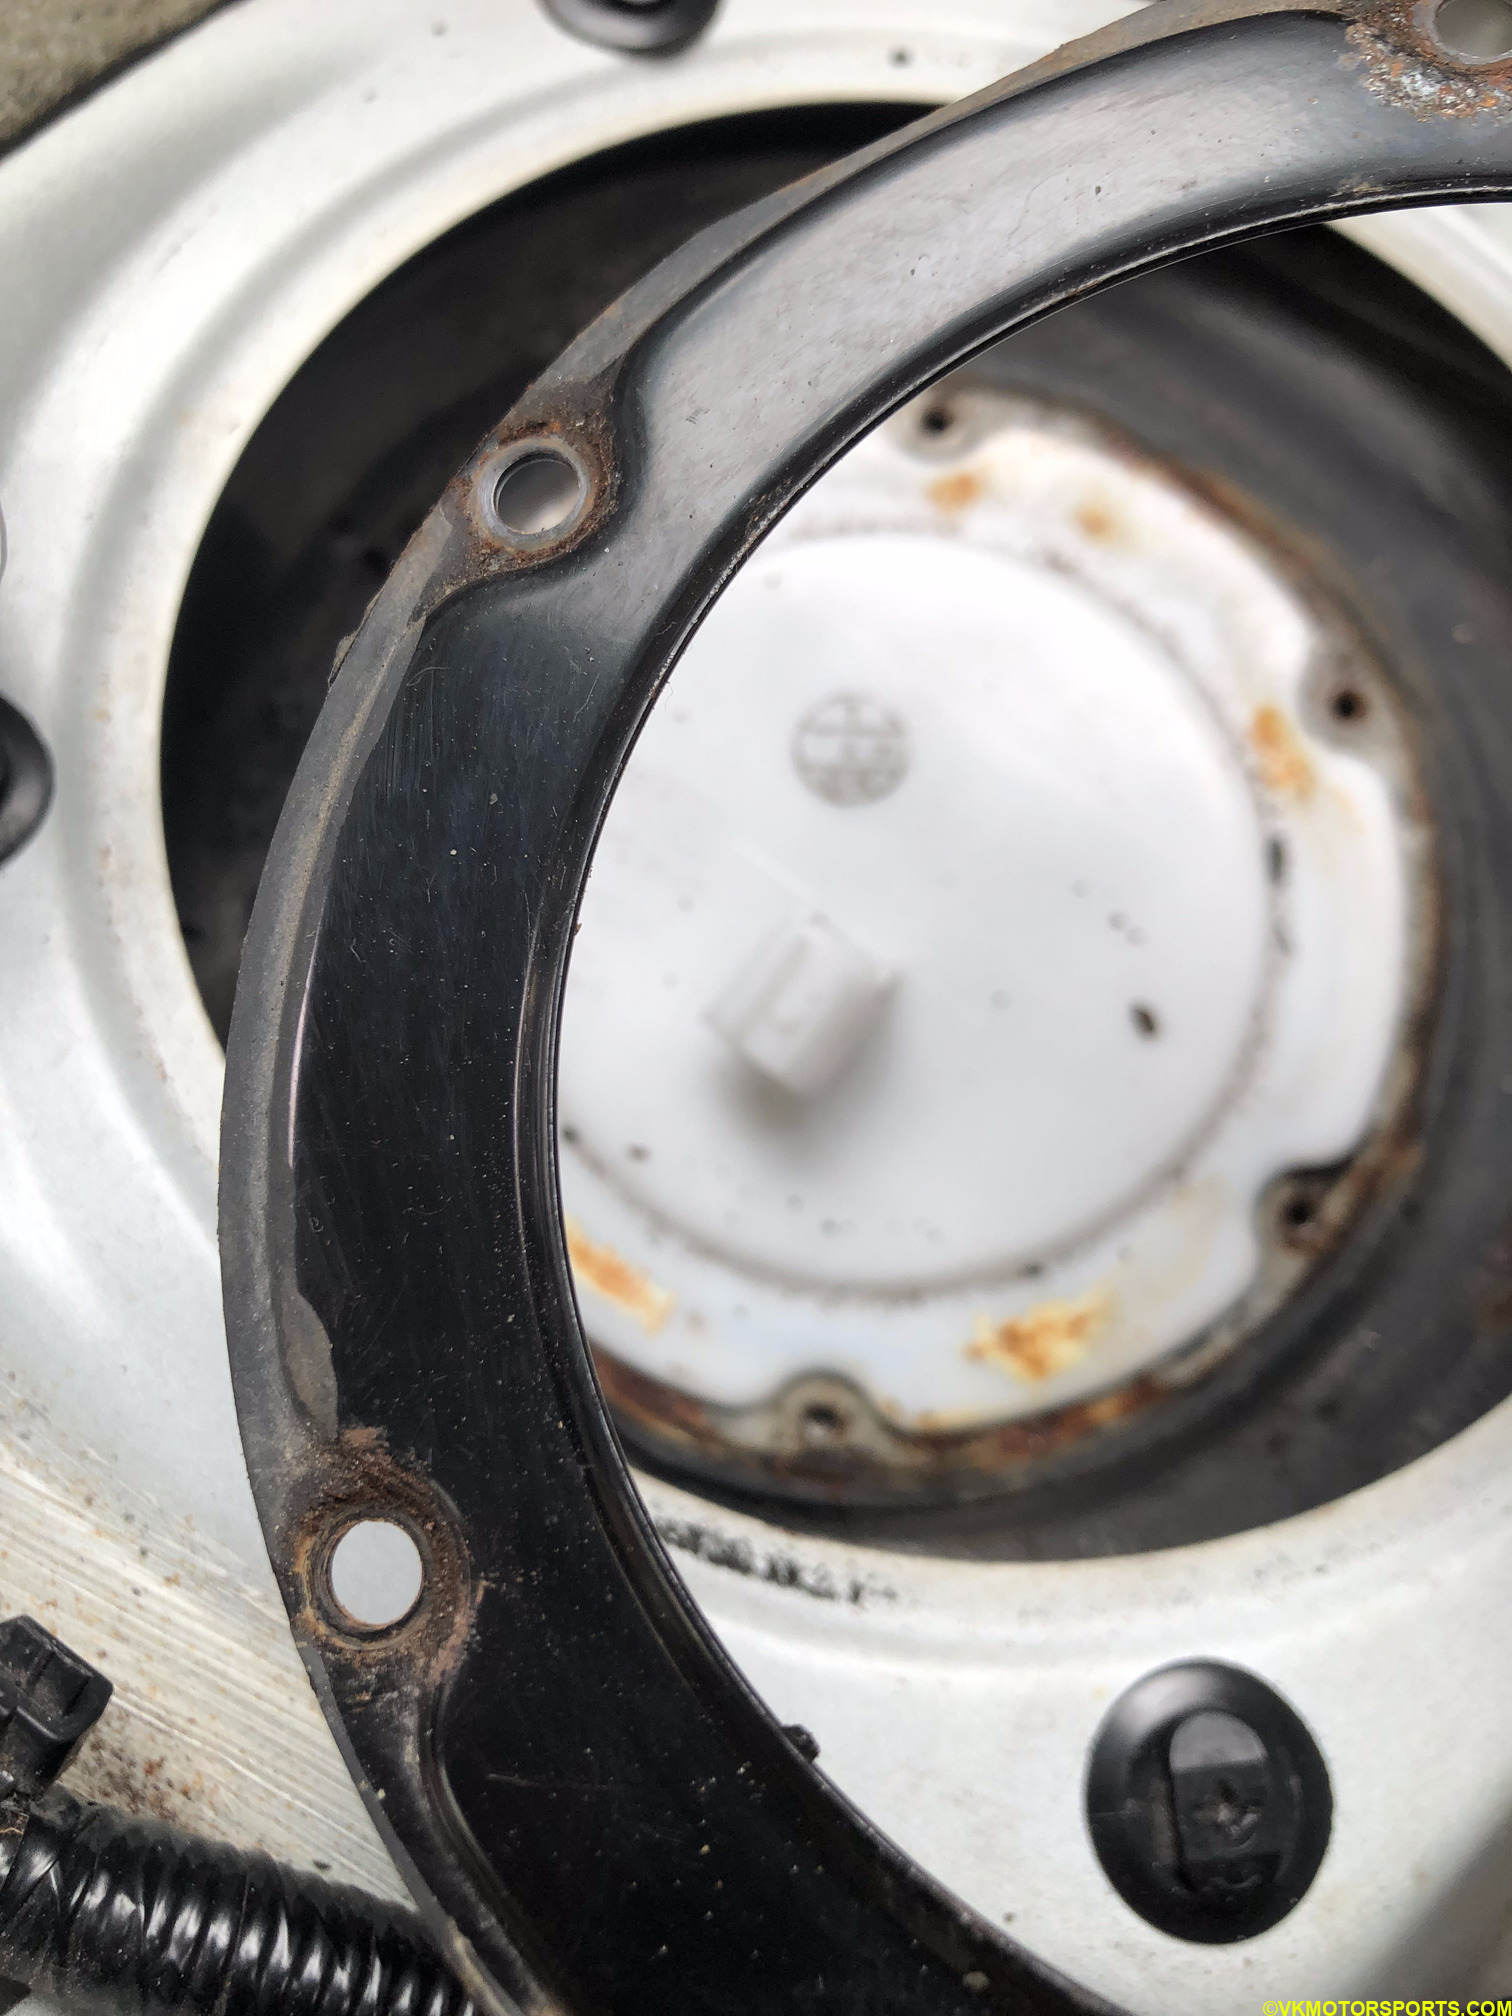 Figure 9. Remove the 5 screws to get the black metal washer off
Step 6: Wiggle the fuel sensor a bit so it separates from its O-ring (in blue in Figure 10) and then pull it out slowly as in Figure 11. Be ready with a clean white towel or similar cloth to place the sensor on for the next step (Figure 12).
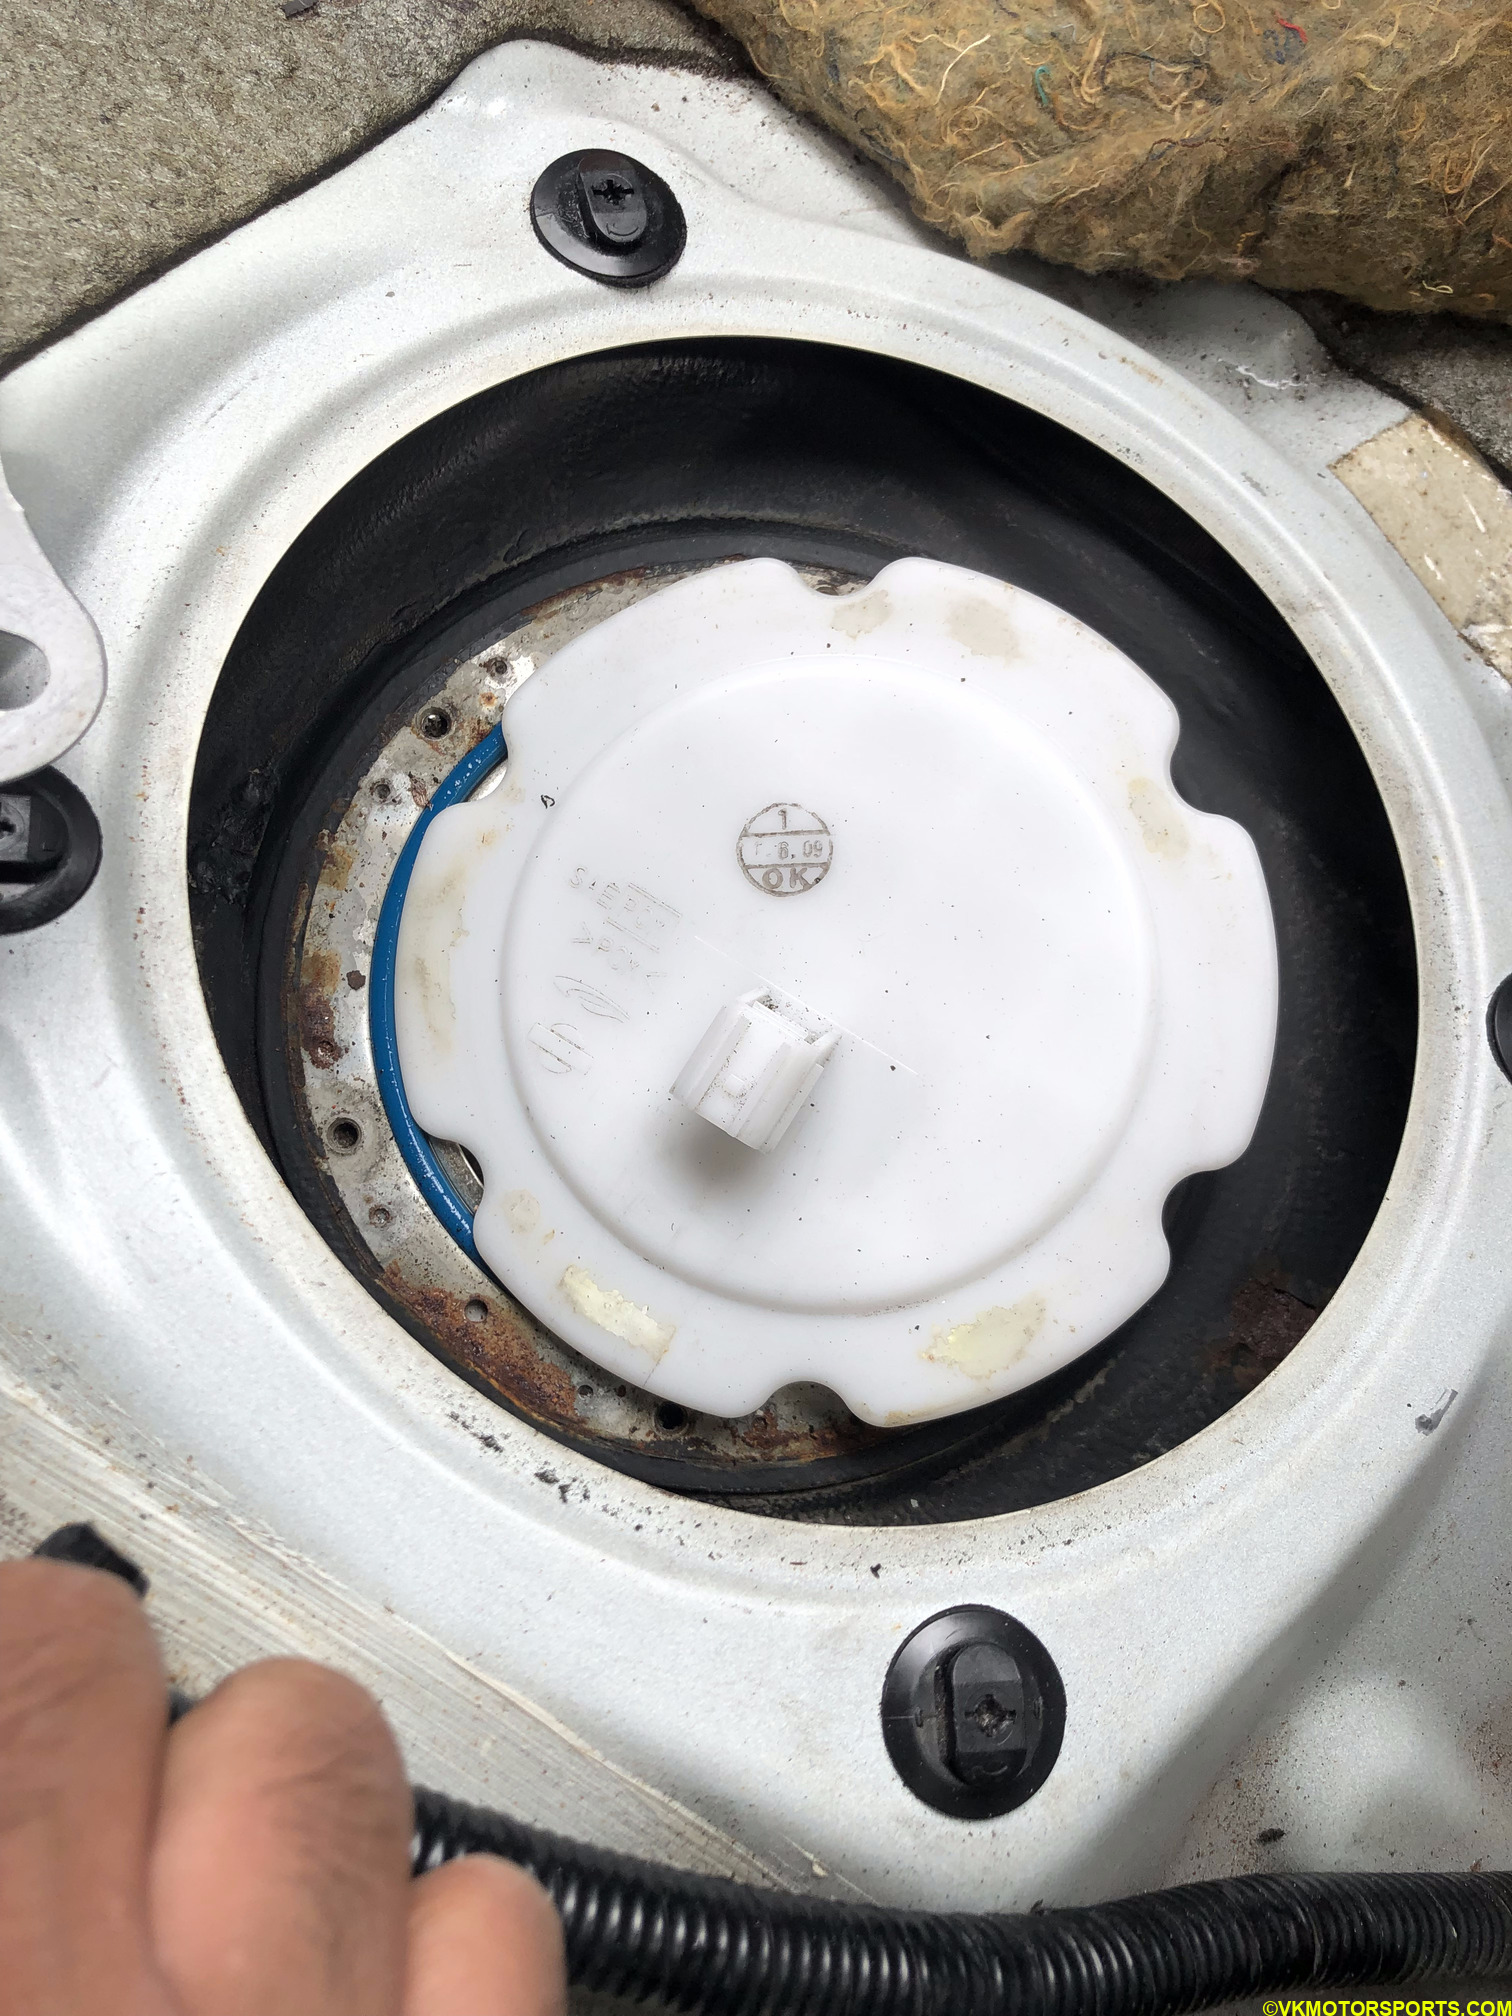 Figure 10. Blue O-ring below the sensor
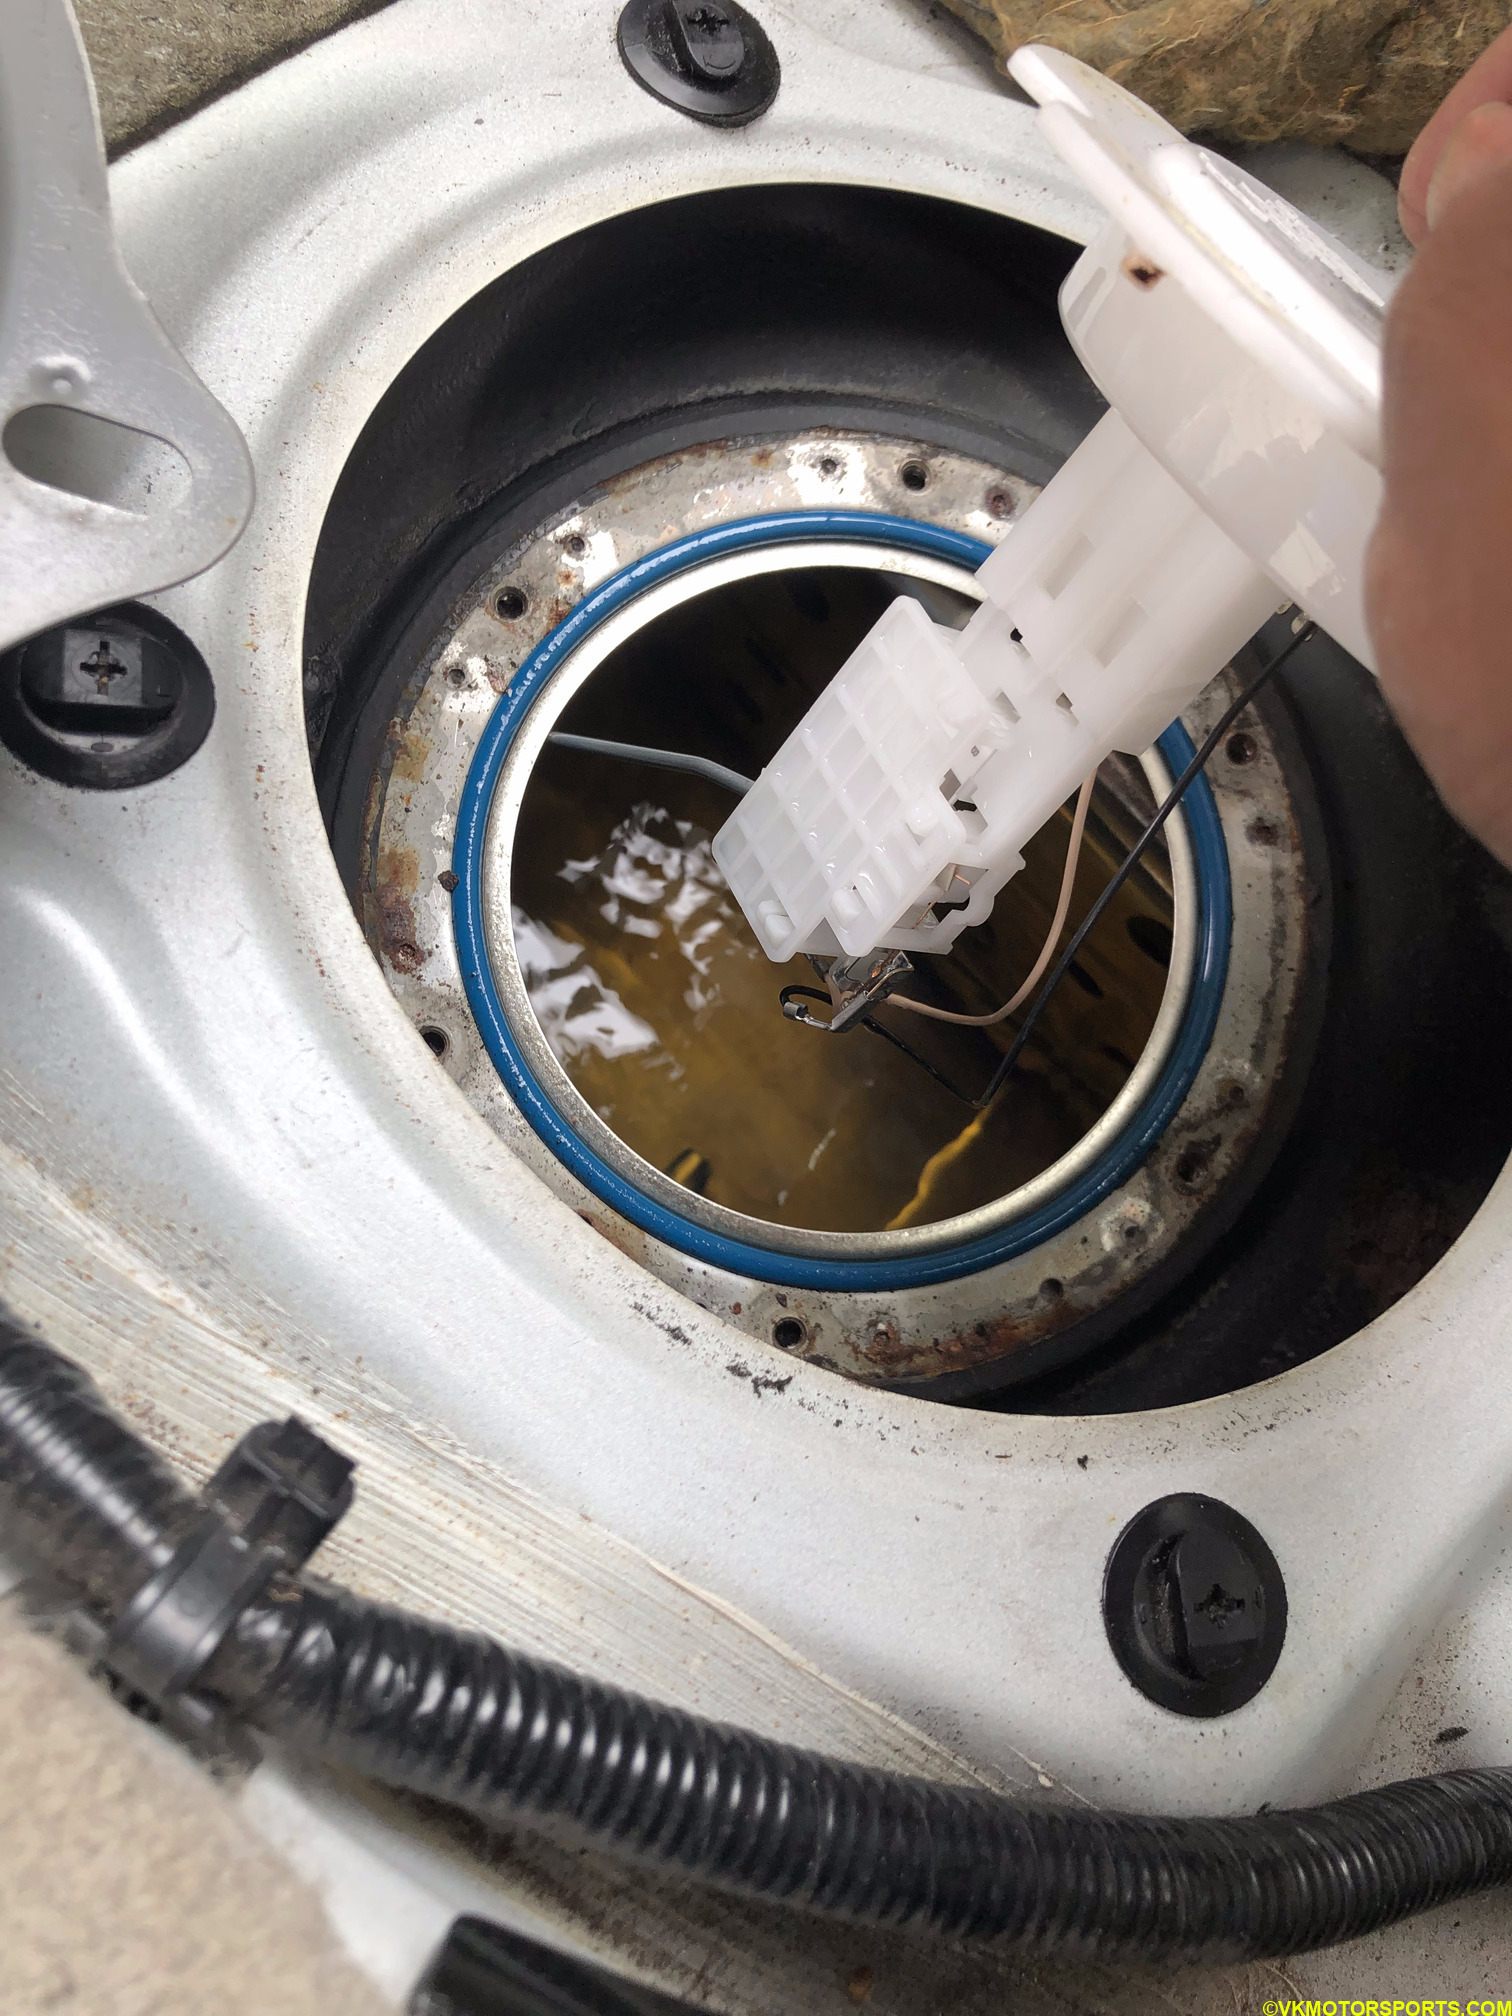 Figure 11. Lift the sensor out
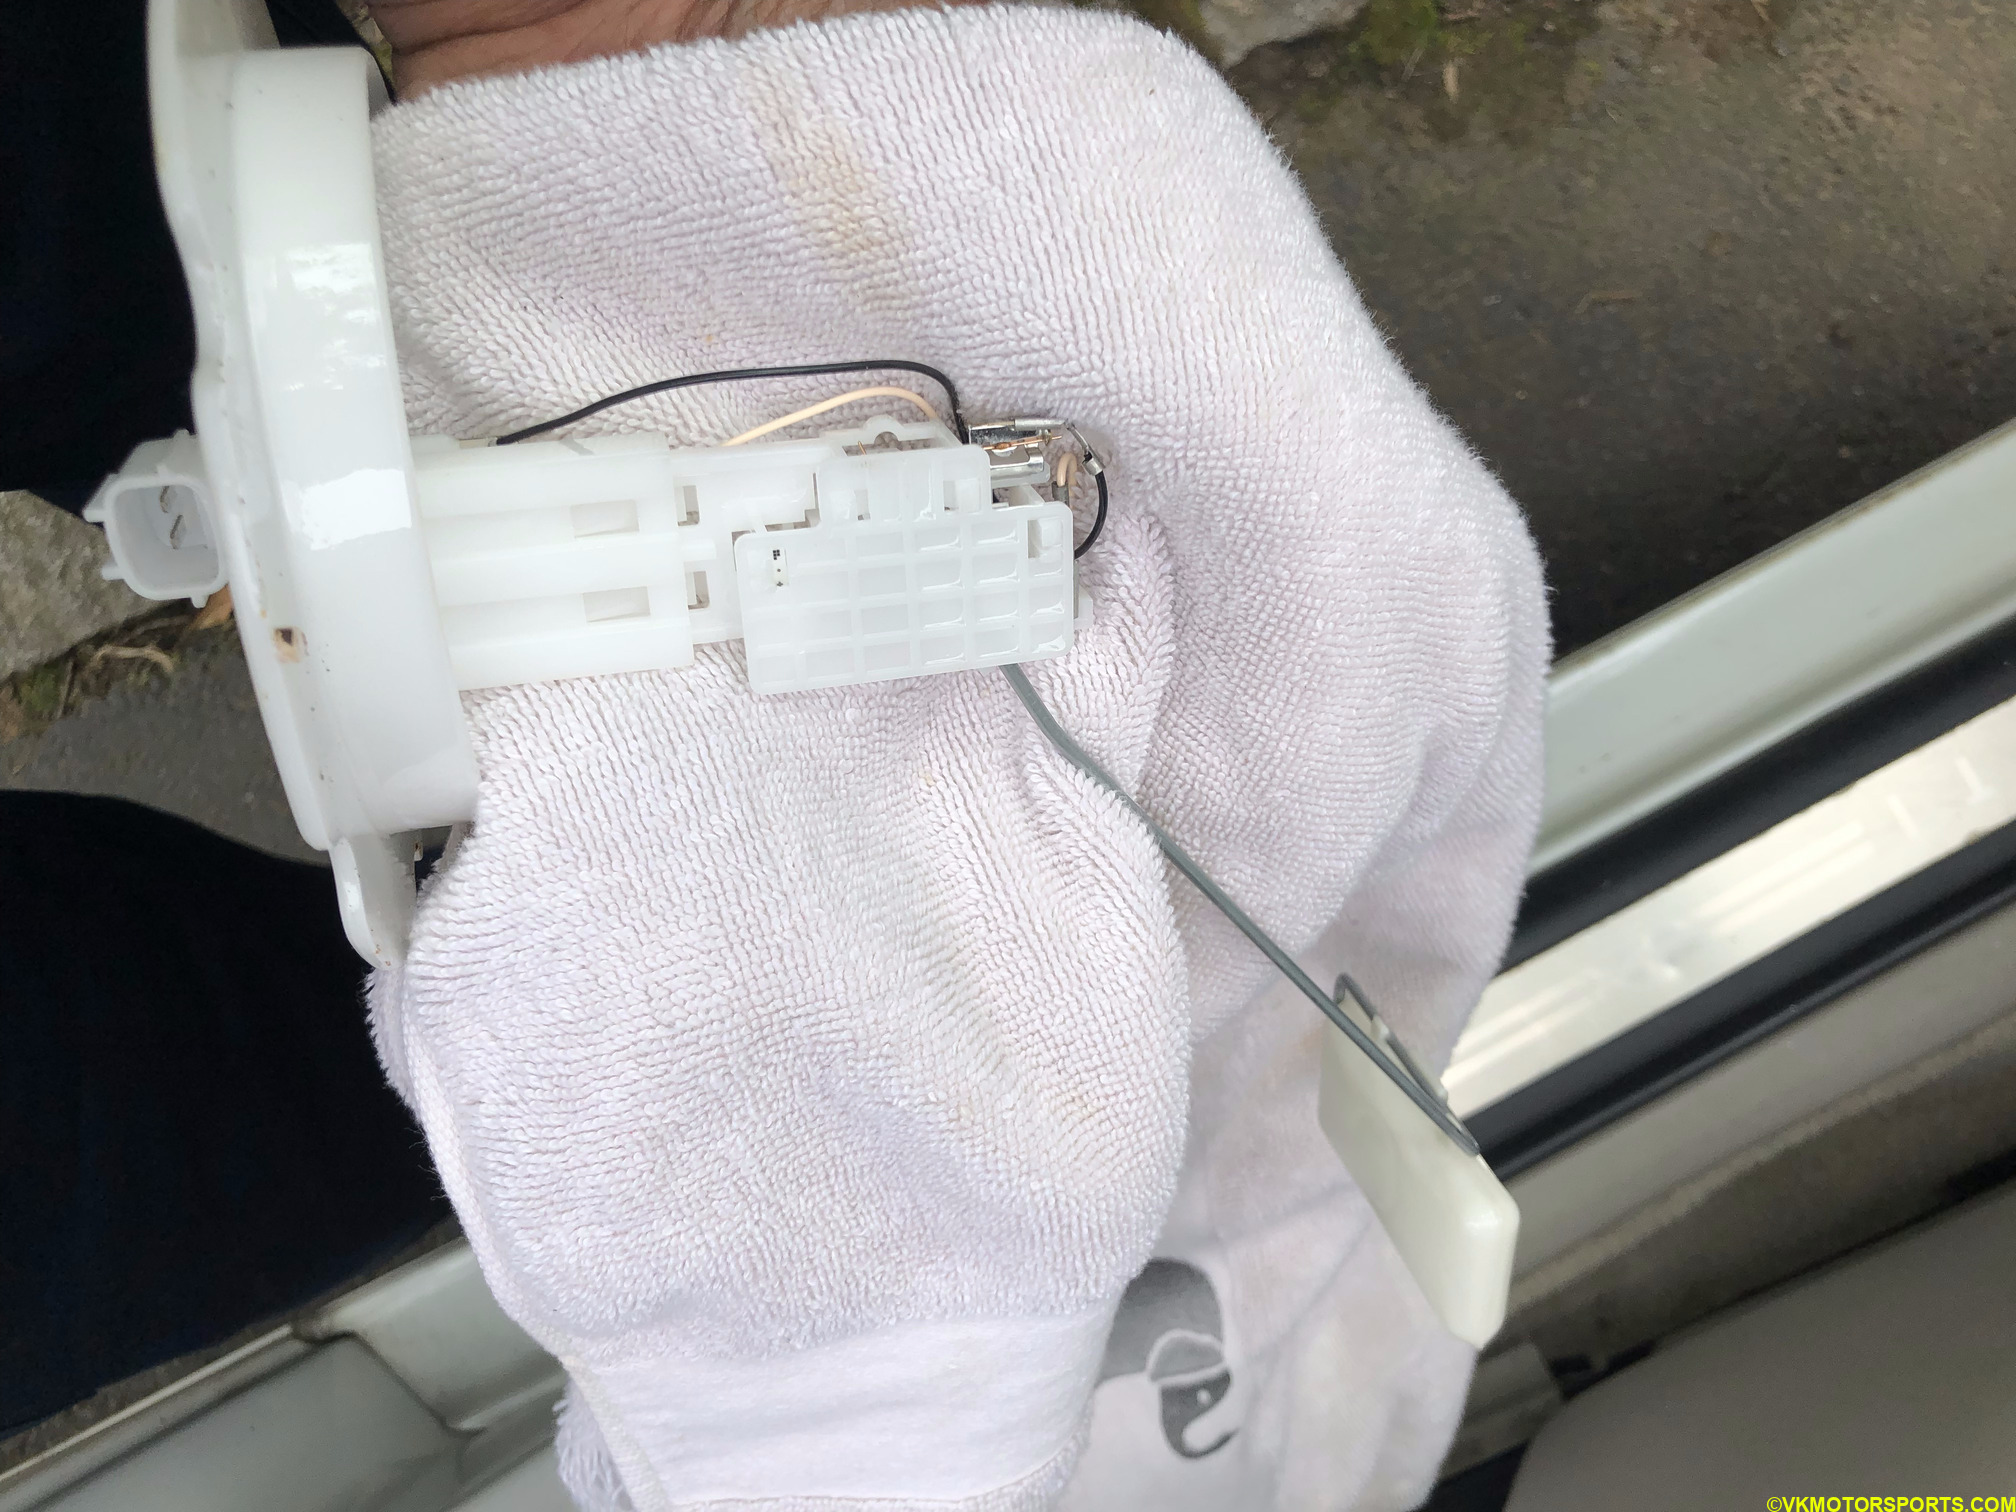 Figure 12. Place sensor on clean towel
Step 7: Using a flat screw driver or just your fingers delicately remove the cover tab as shown in Figure 13. This will expose the sensor dial which is a potentiometer to you.
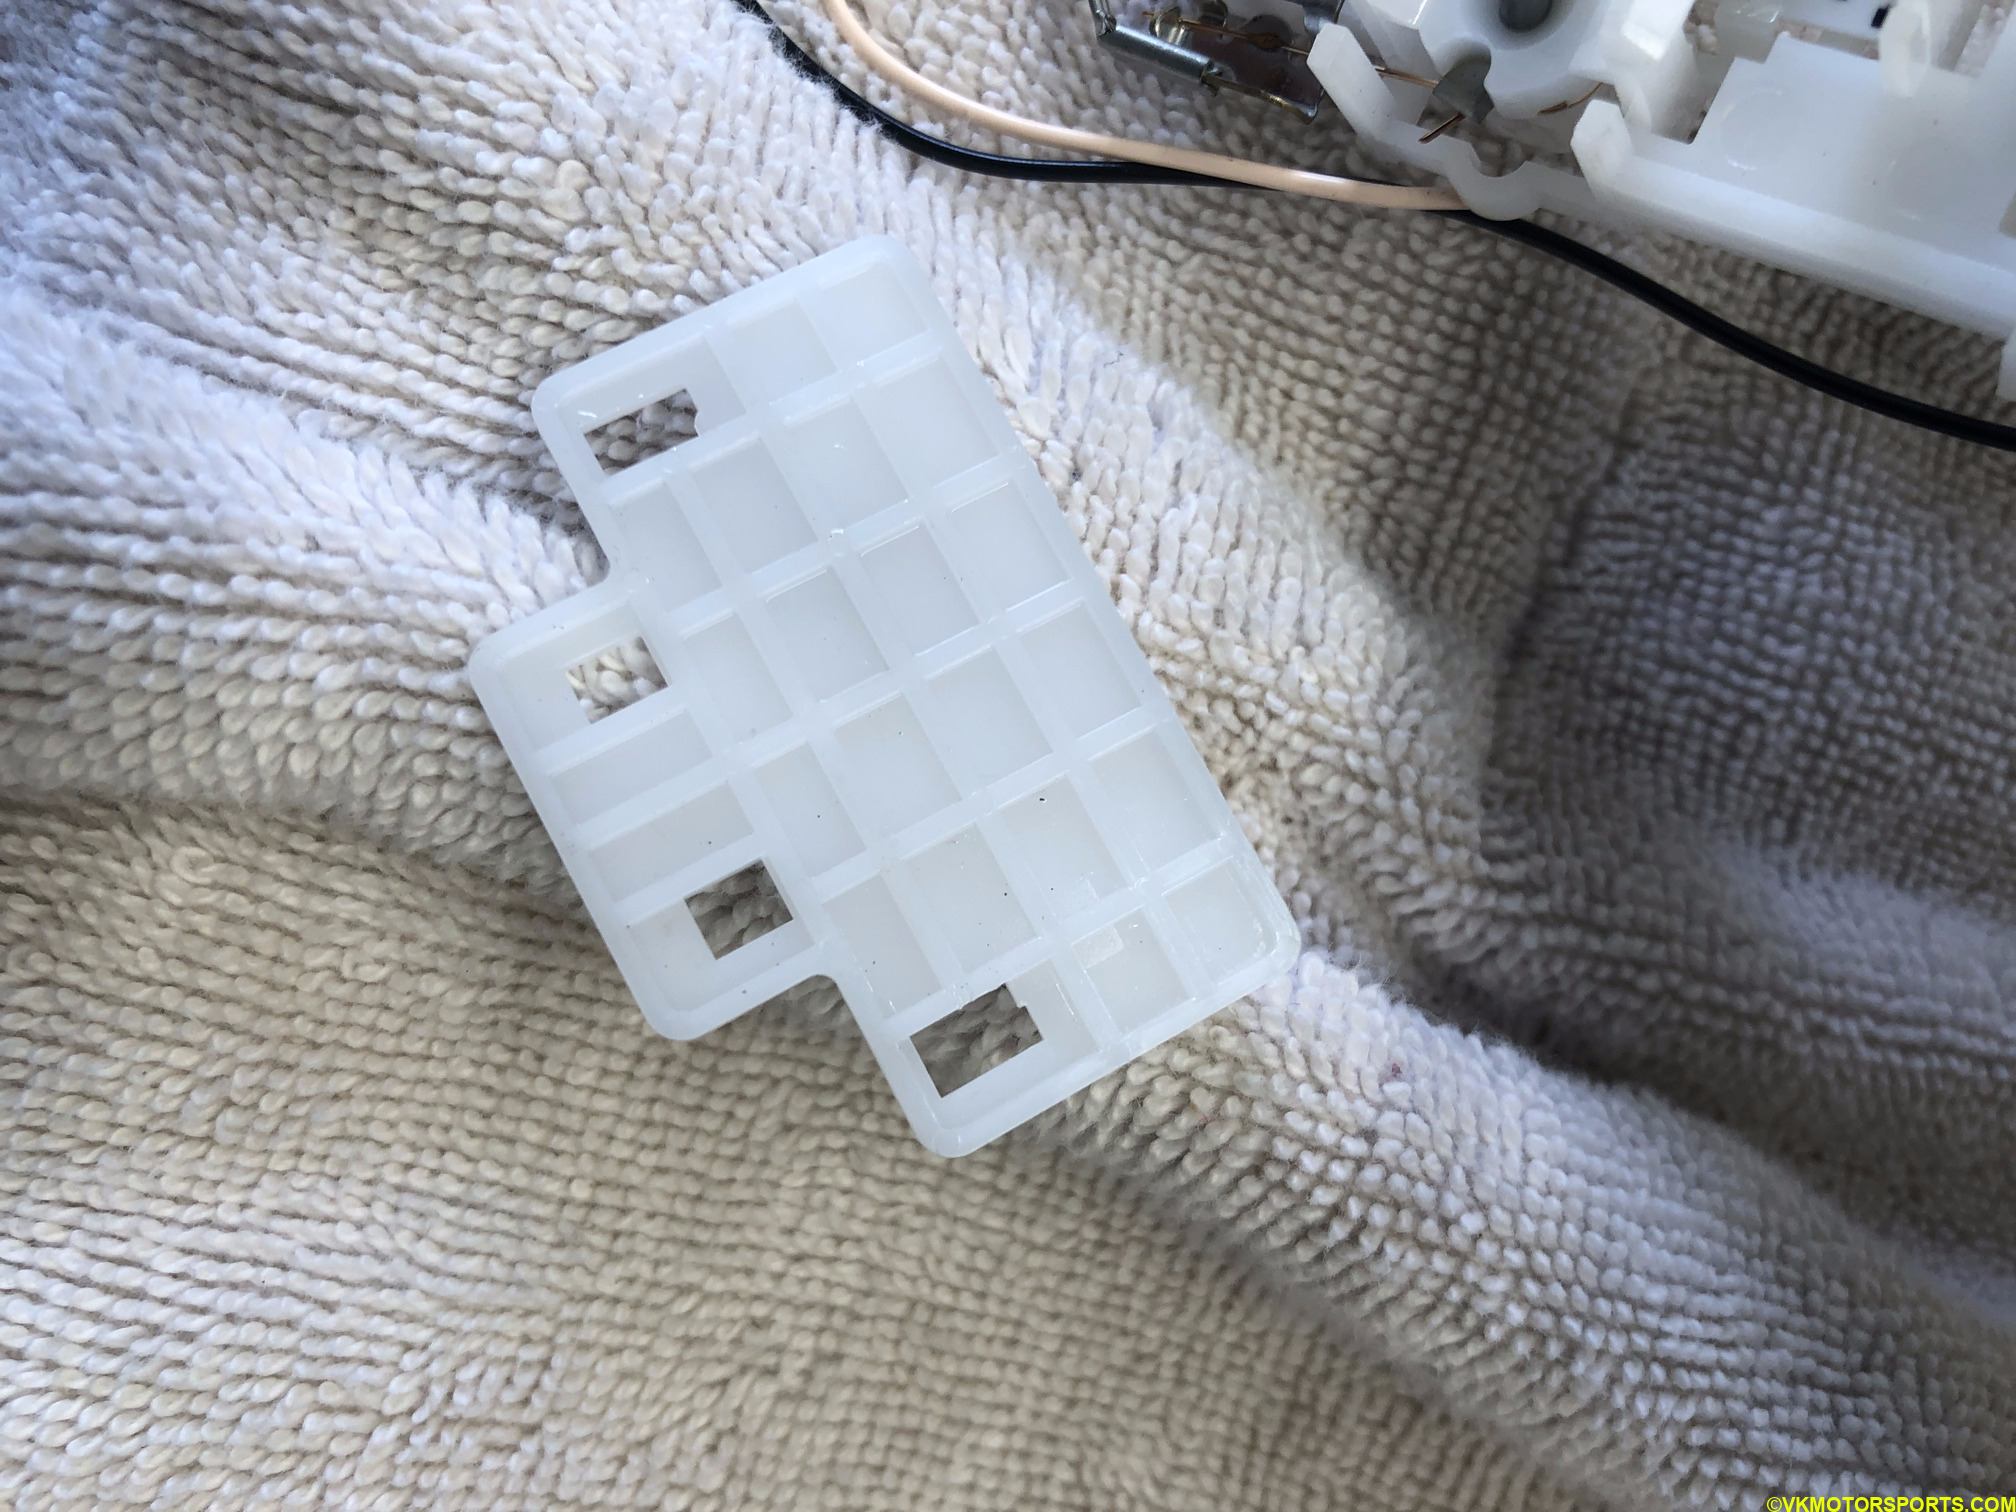 Figure 13. Remove the tab carefully
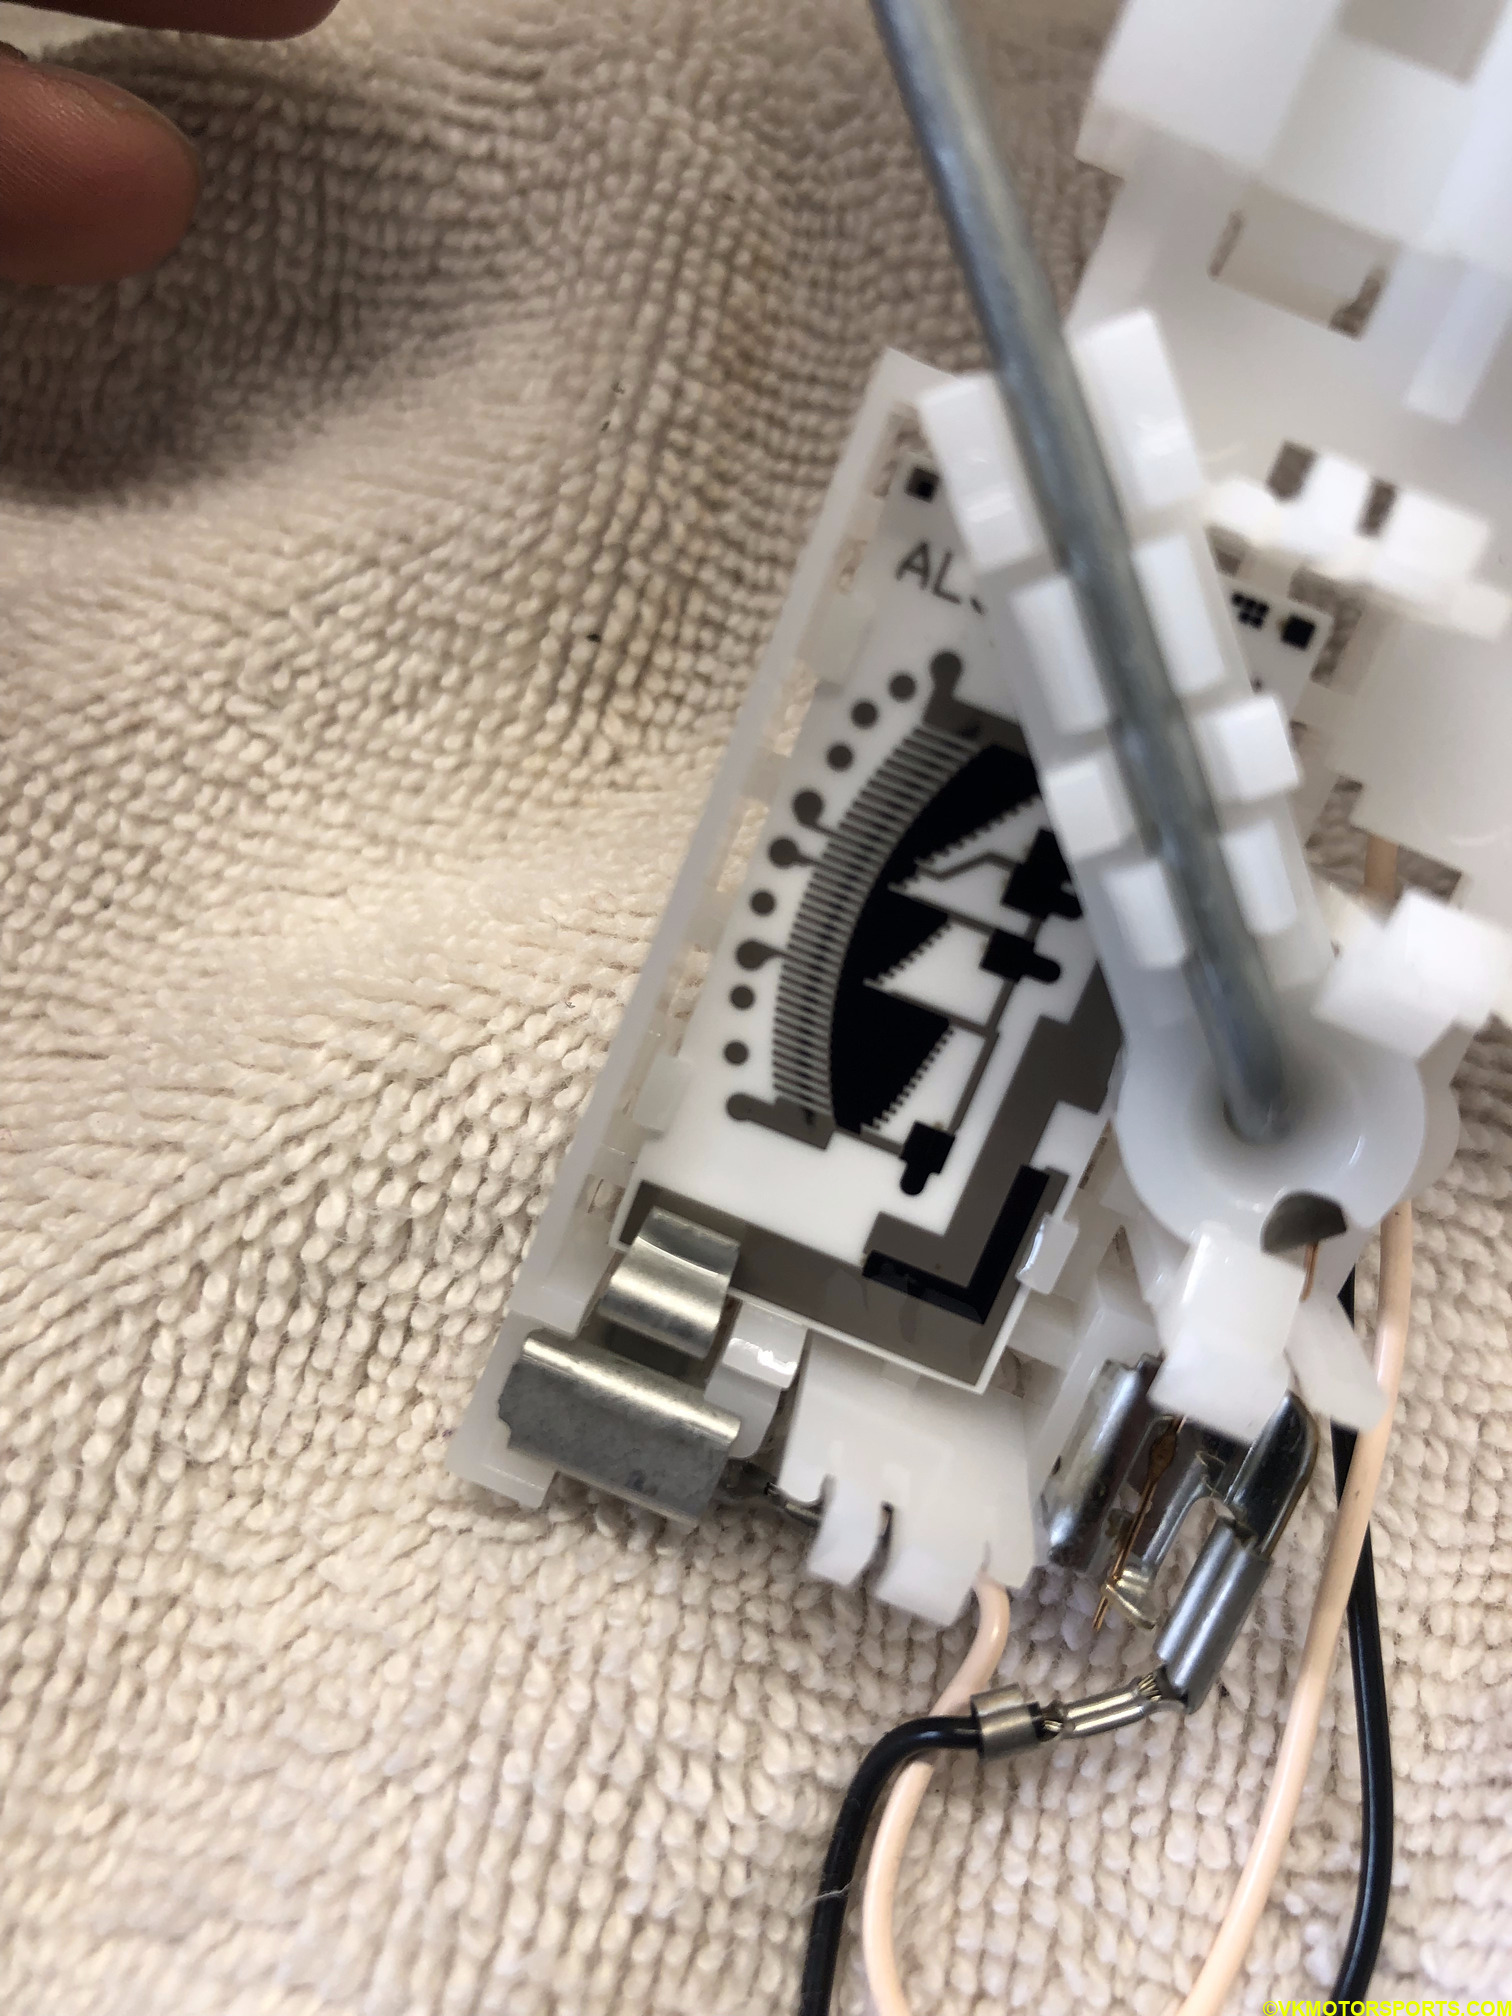 Figure 14. Sensor dial (potentiometer) now visible
Step 8: Using a Q-tip and some isopropyl alcohol (or any other cleaning alcohol or cologne) slowly scrub the dial markings to clean them. Make sure you scrub them in the direction of the marking to not damage the markings themselves.
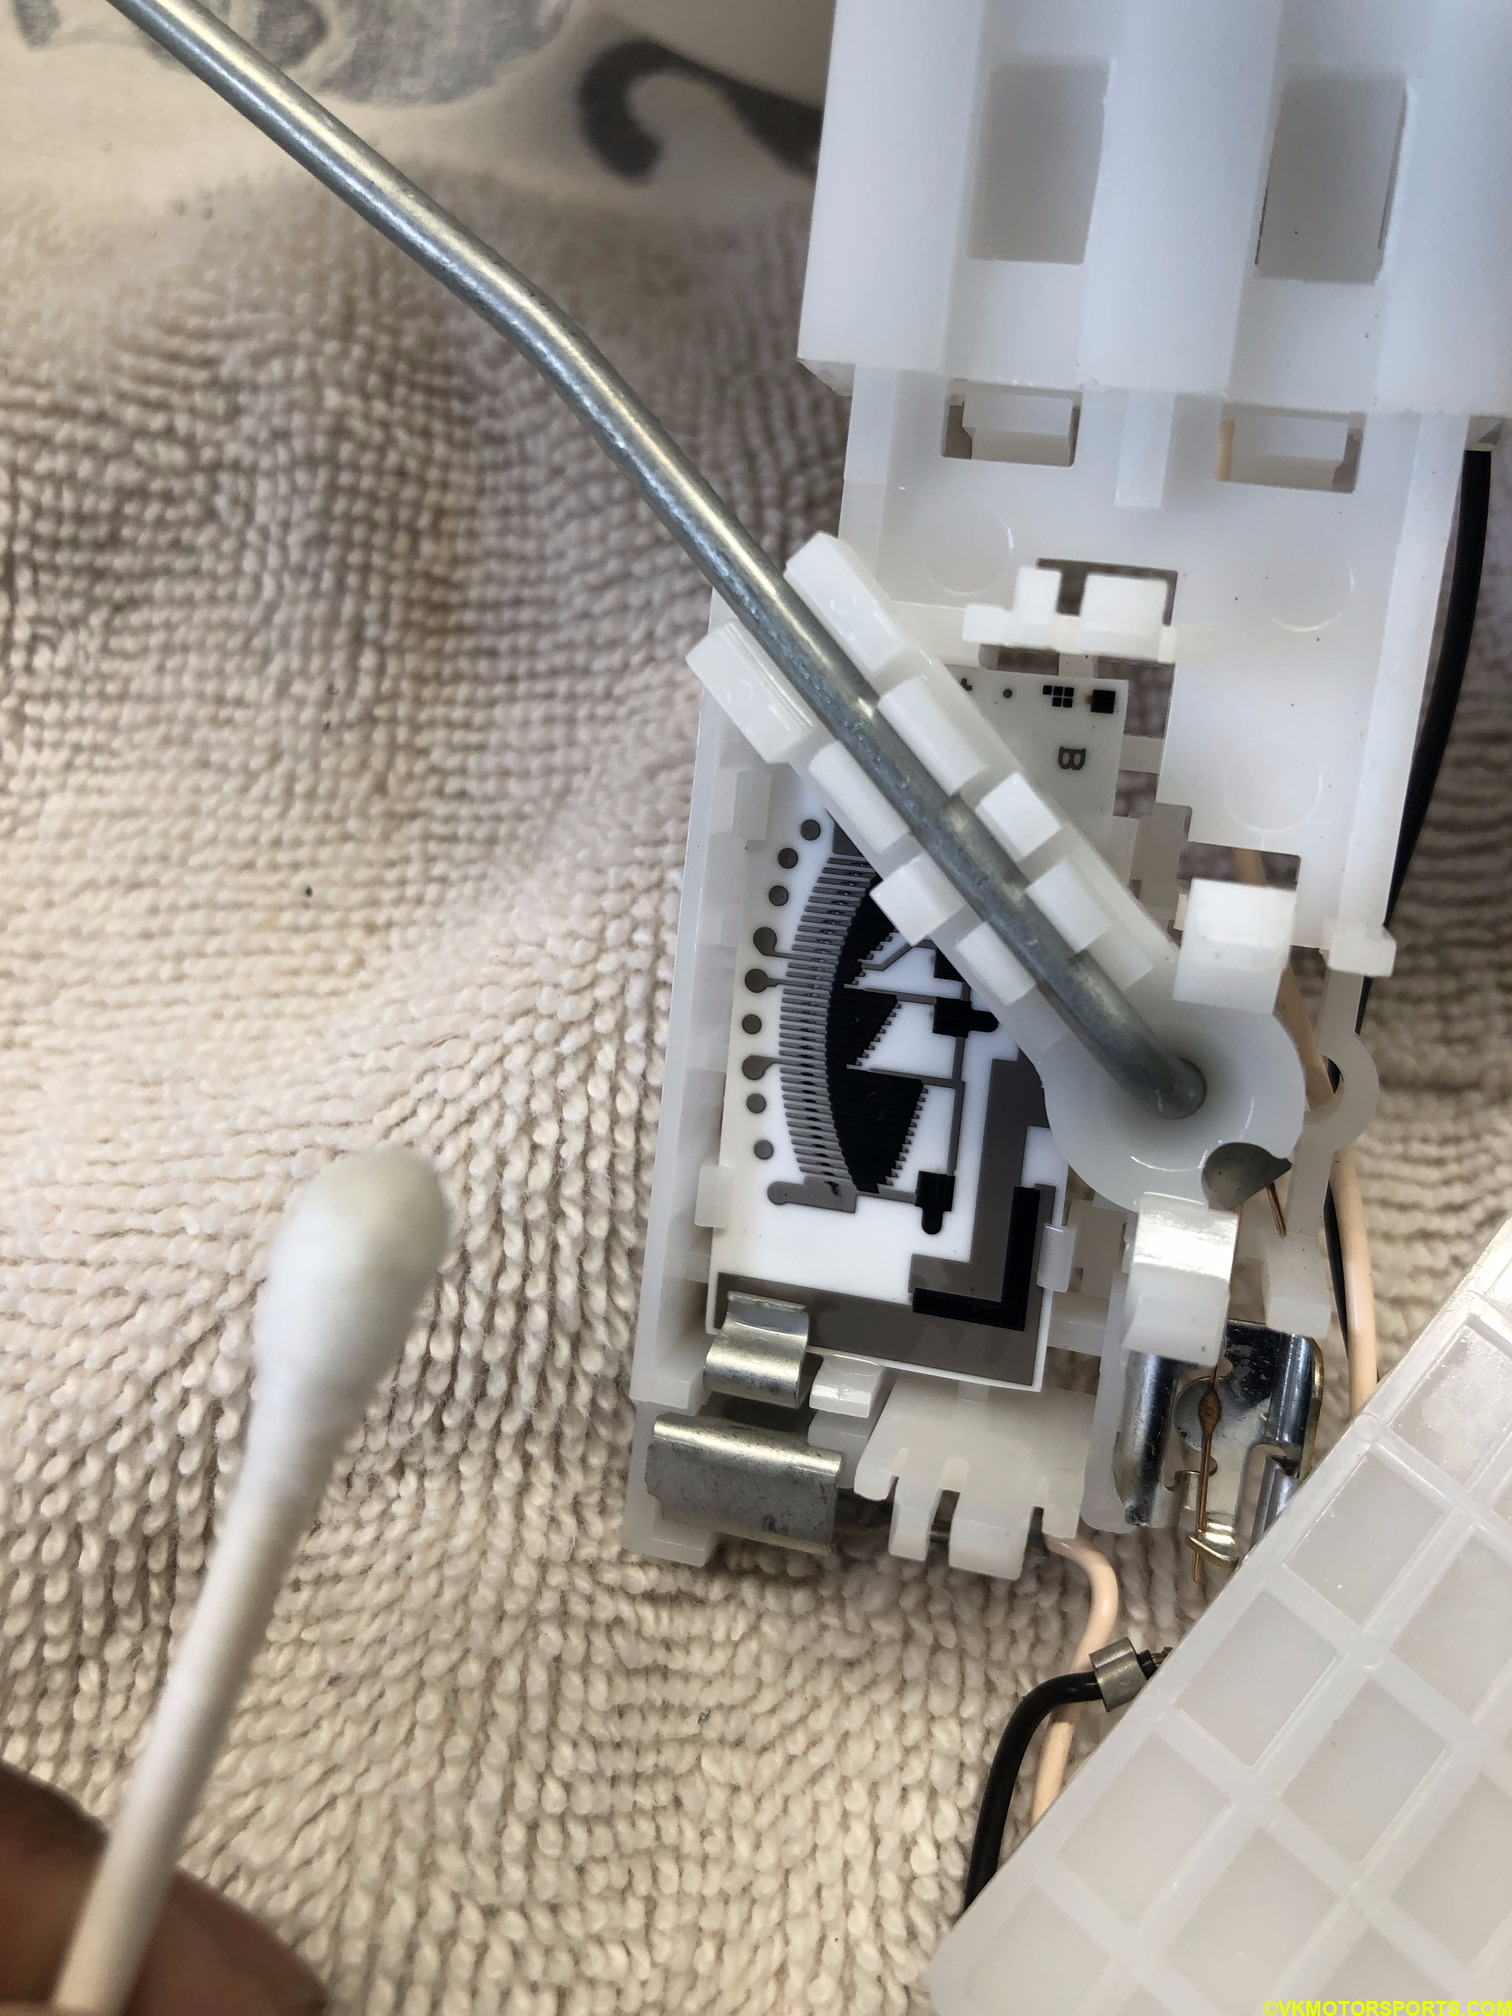 Figure 15. Clean the dial with Q-tip and isopropyl alcohol
Fuel Sensor Cleaning on Passenger’s Side
As mentioned earlier, the passenger side has both the fuel pump and fuel level sensor in one device.
Step 9: Locate the fuel pump outer cover as shown in Figure 16 and unscrew the cover by opening up the 4 screws holding it. This is similar to step 2 above. If the screw has been damaged as in Figure 17 then use pliers to turn it open.
 Figure 16. Fuel pump outer cover with 4 screws
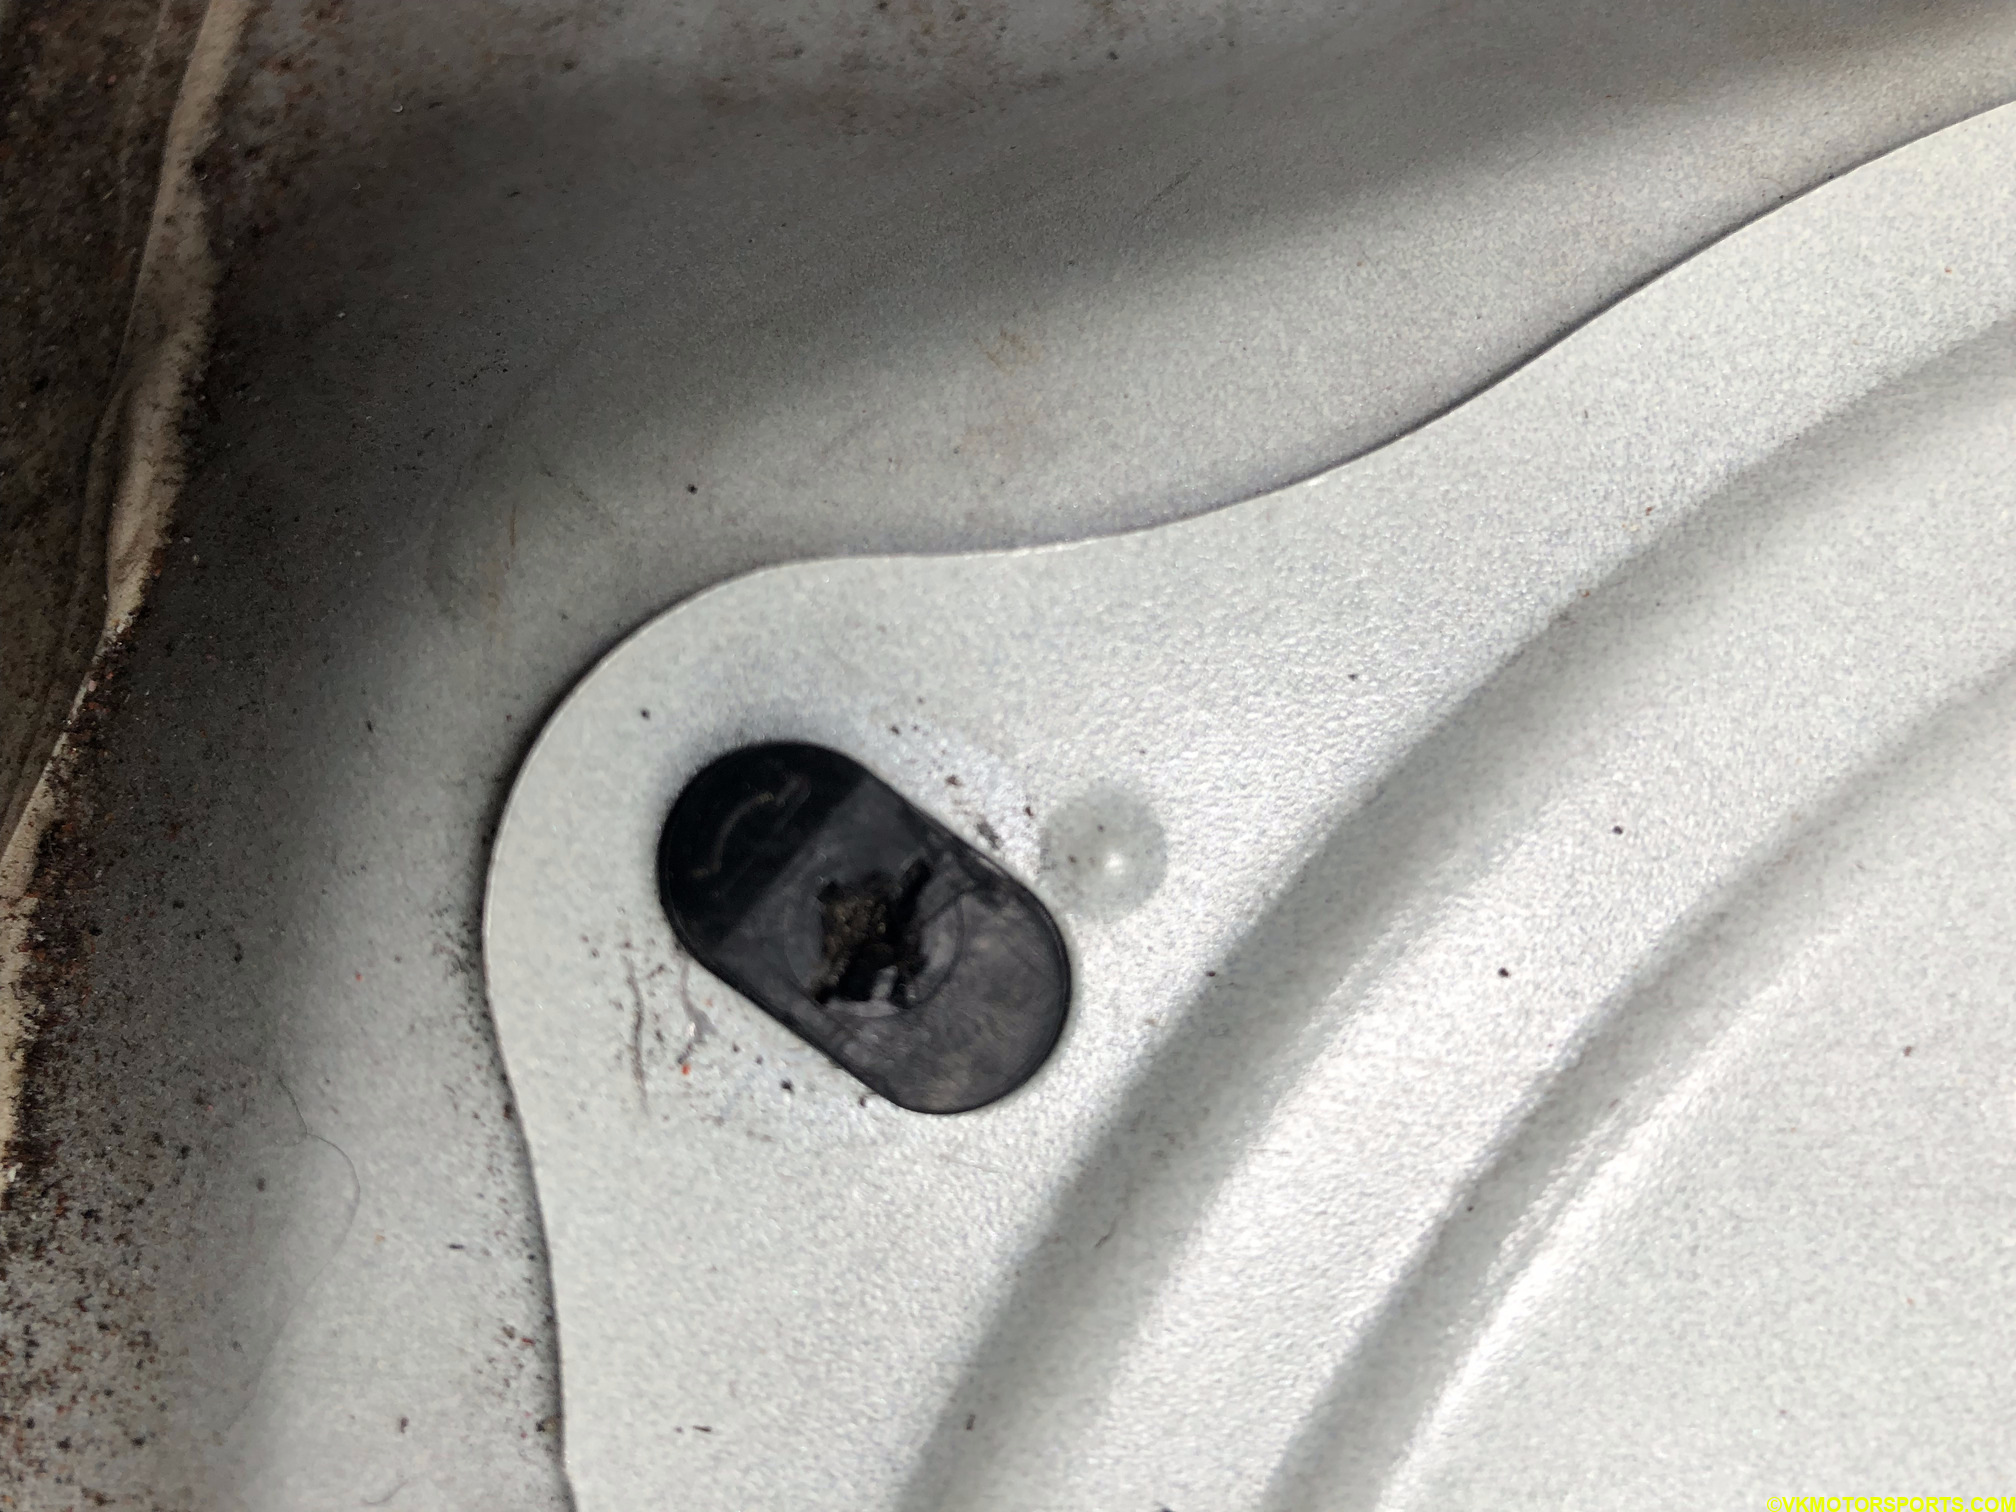 Figure 17. Closeup of outer cover screw. This screw looks damaged
Step 10: Disconnect the pump from the electrical system first (Figure 18), similar to step 3.
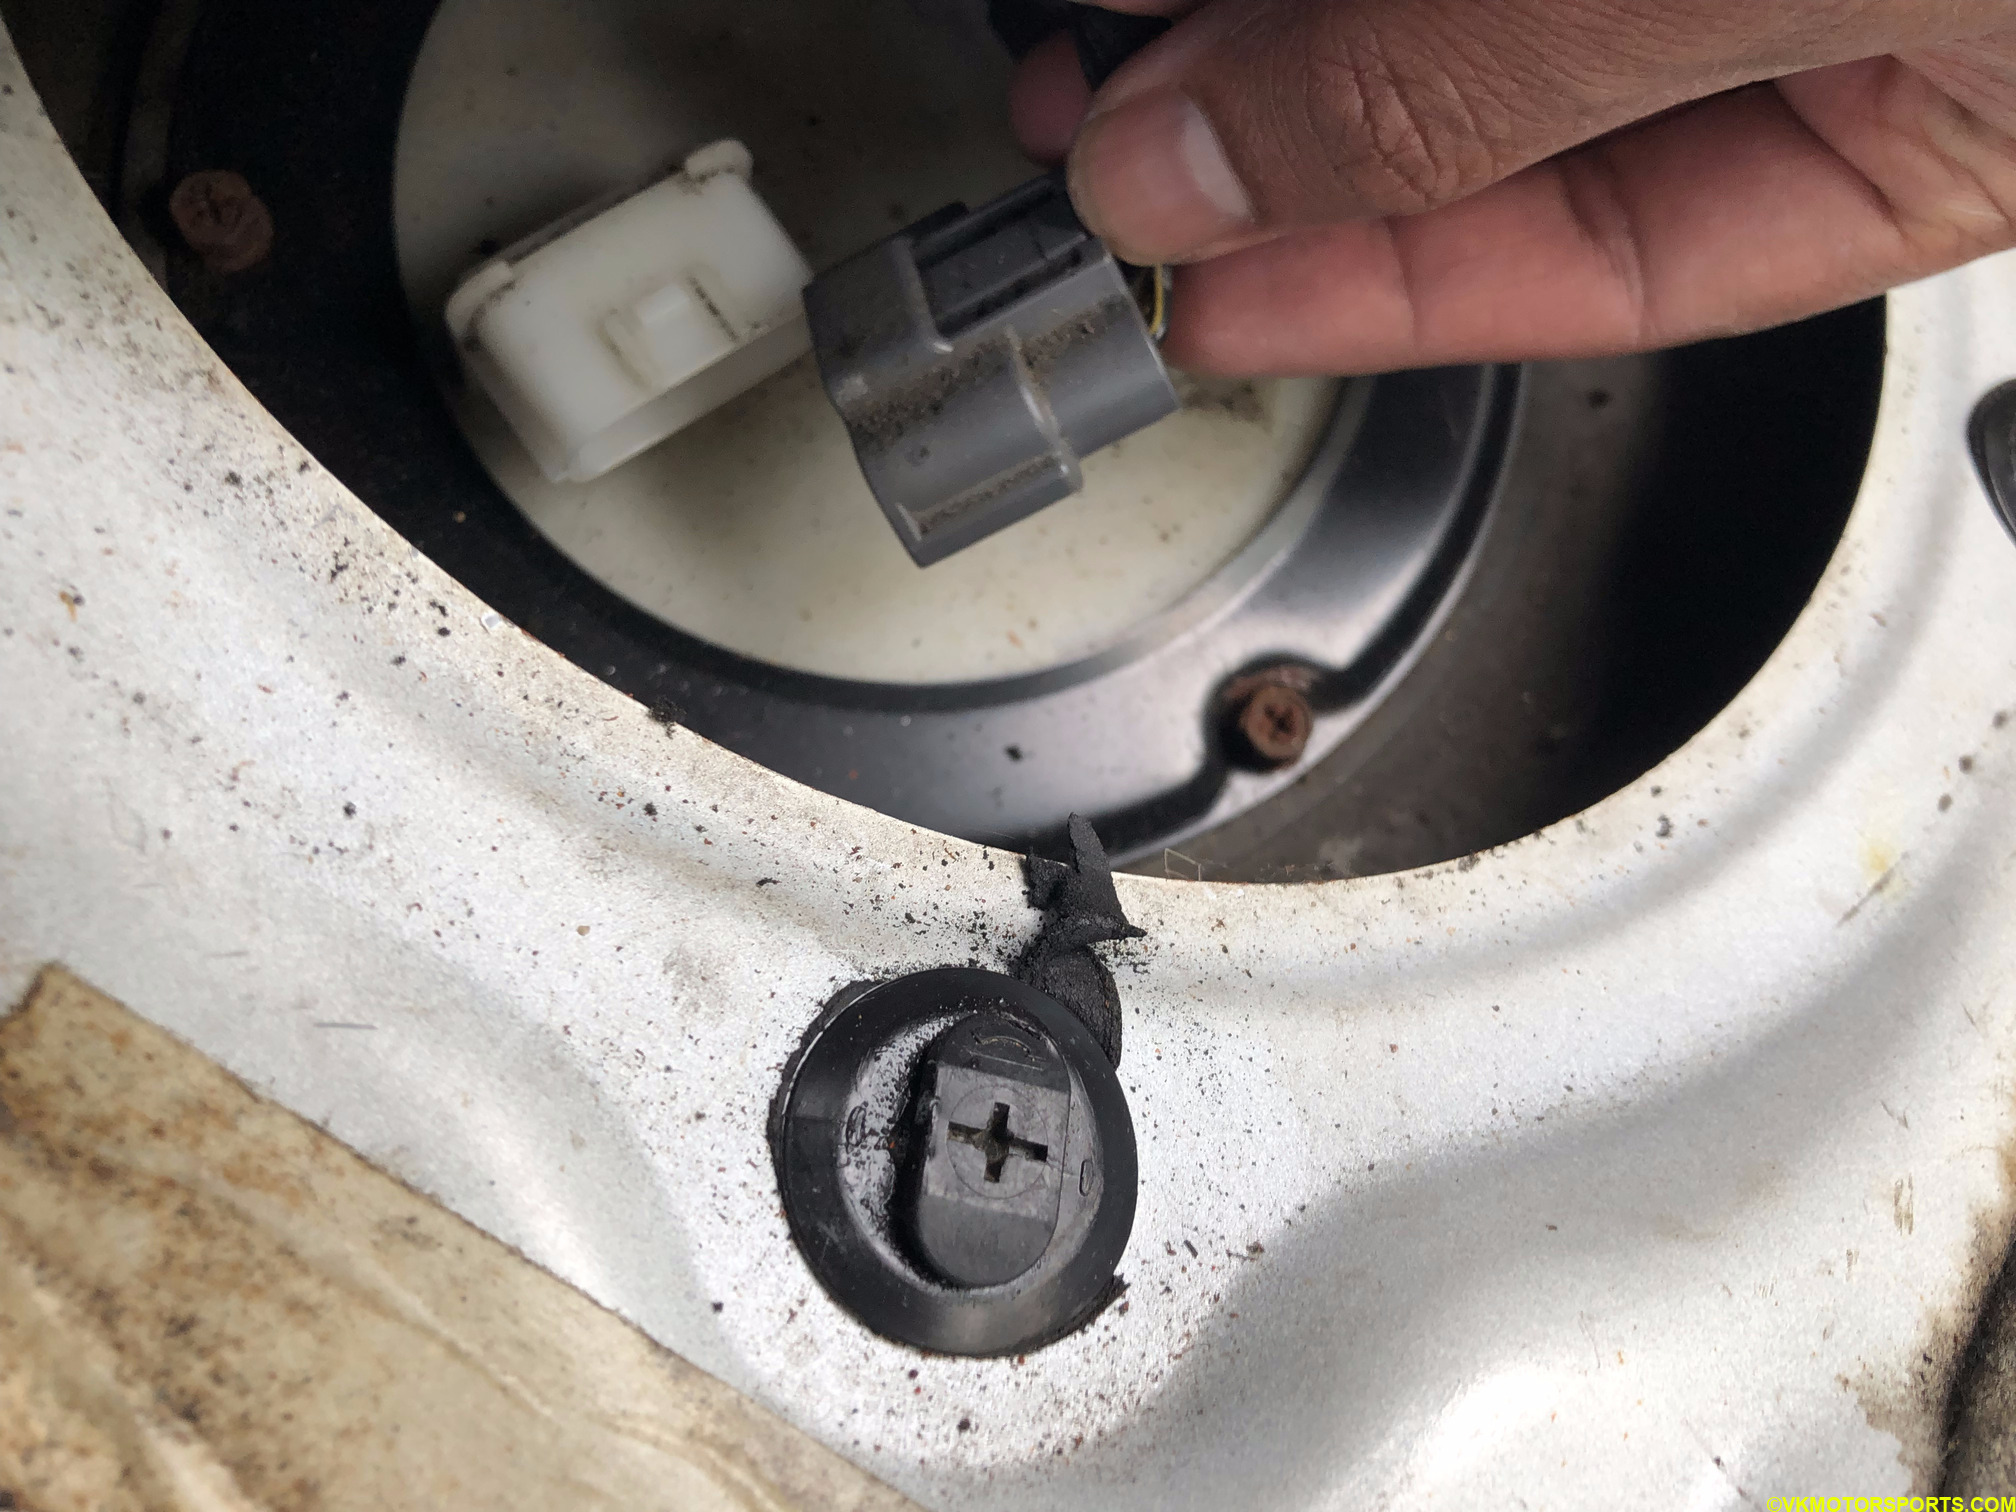 Figure 18. Disconnect electrical connector to the pump
Step 11: Now we need to disconnect the fuel hose that sends fuel to the engine bay from the pump (Figure 19). Figure 20 shows the closeup of the connector that is slightly bluish in color. It needs to be pressed tightly and the black cover needs to be pulled off as in Figure 21. Use a towel to cover the area in case you see a lot of fuel leak out from the hose when you do this step. Hold this tube upright using a clamp or something similar that is not too tight.
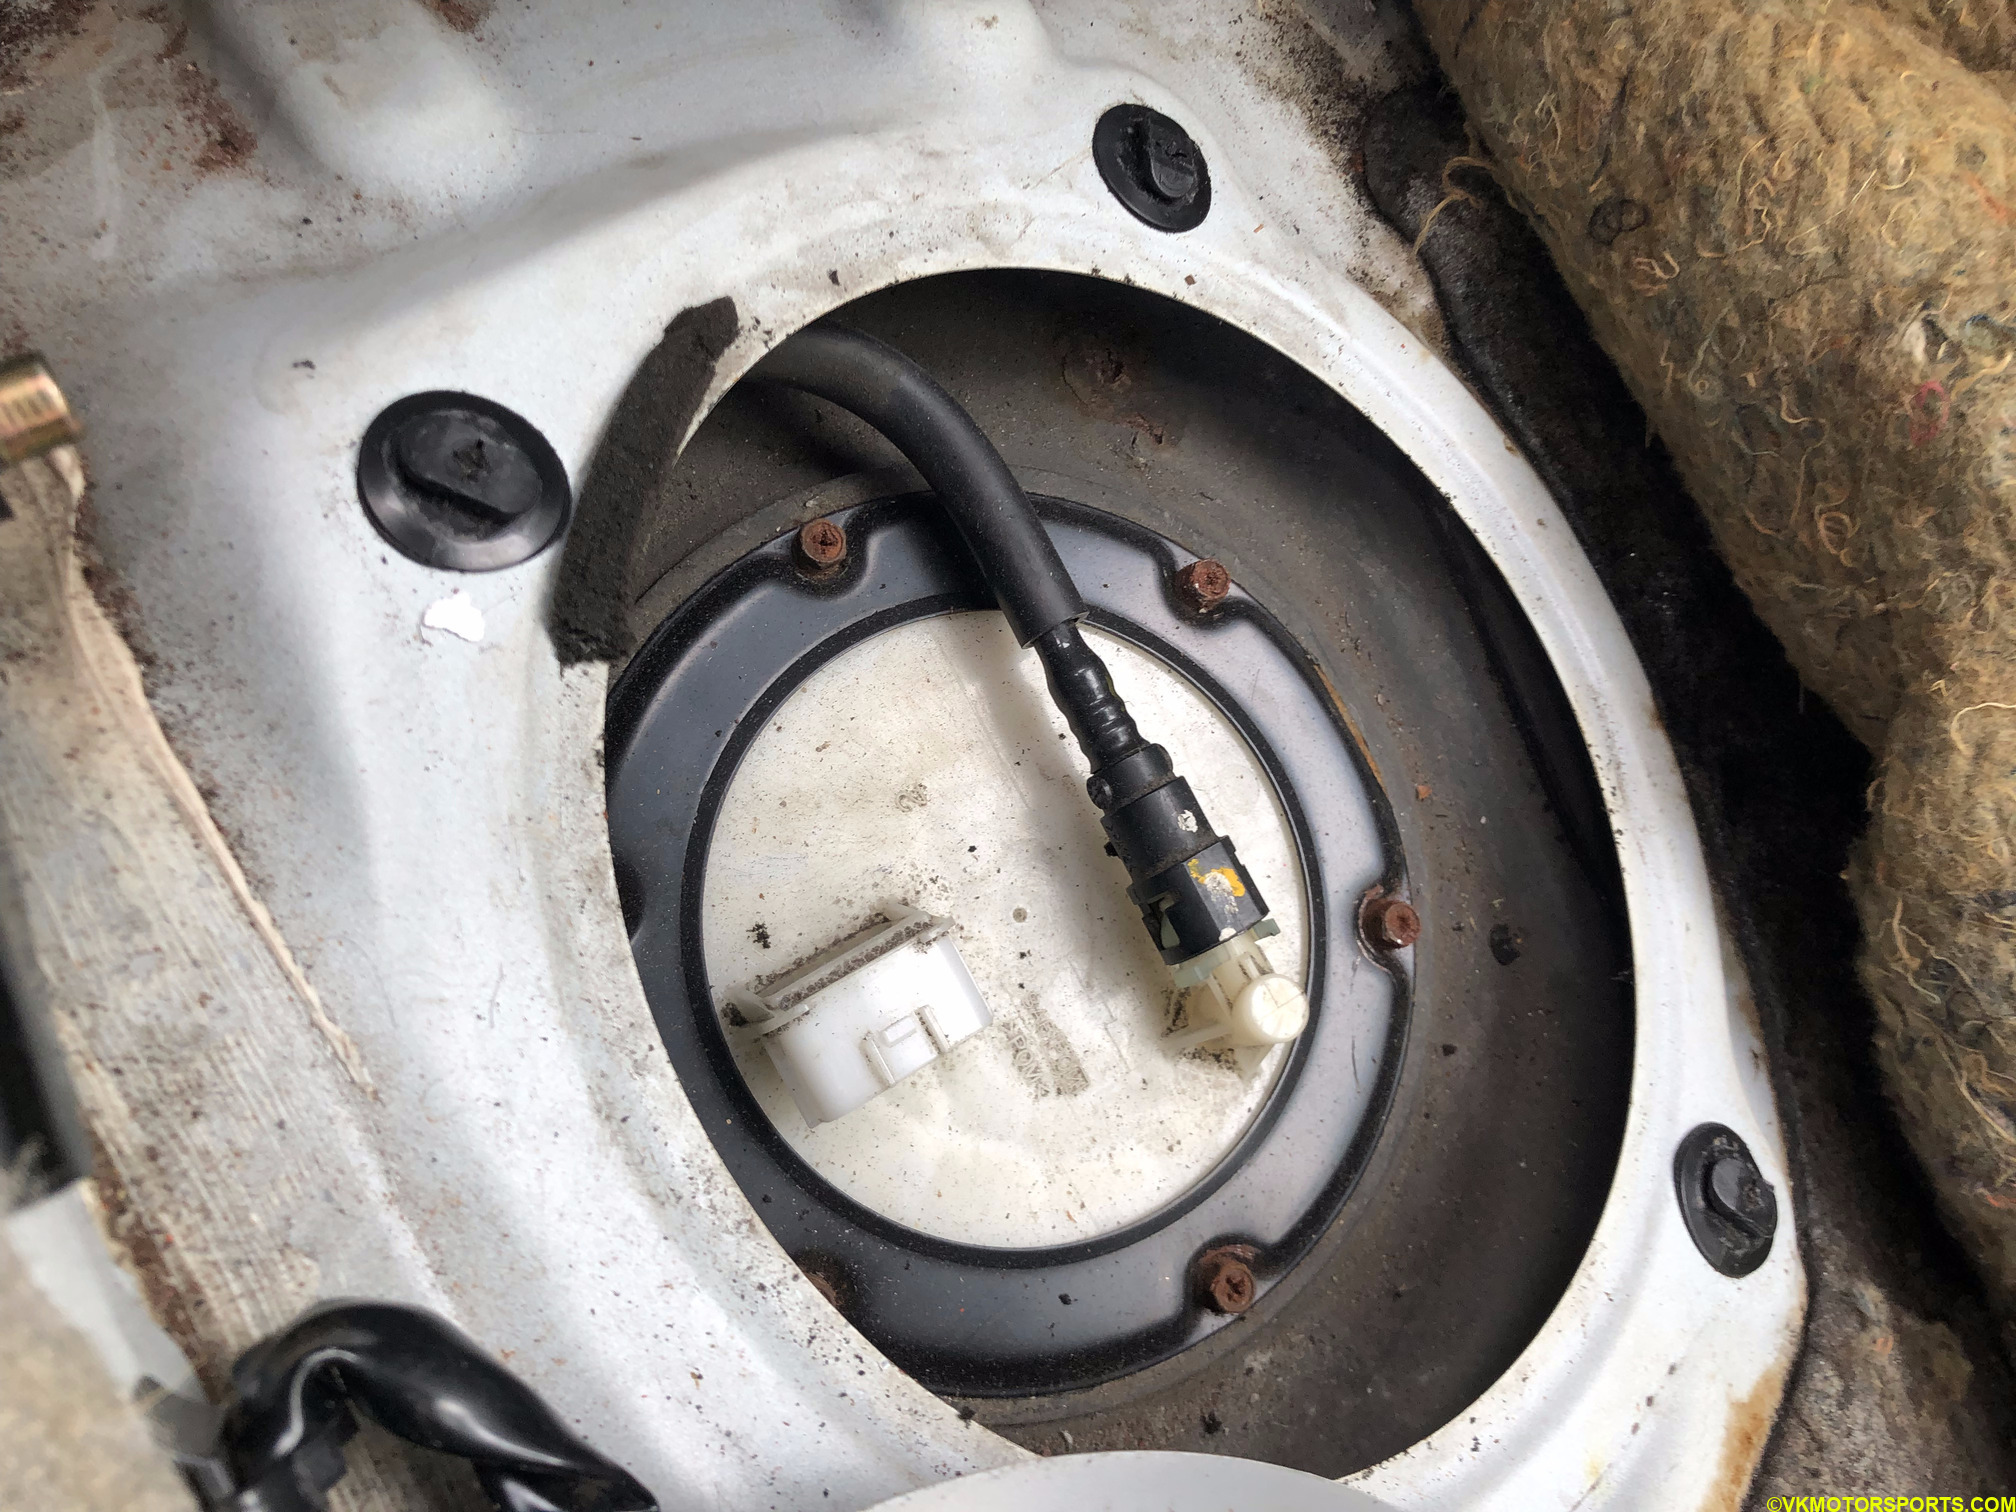 Figure 19. Fuel hose needs to be disconnected from the pump
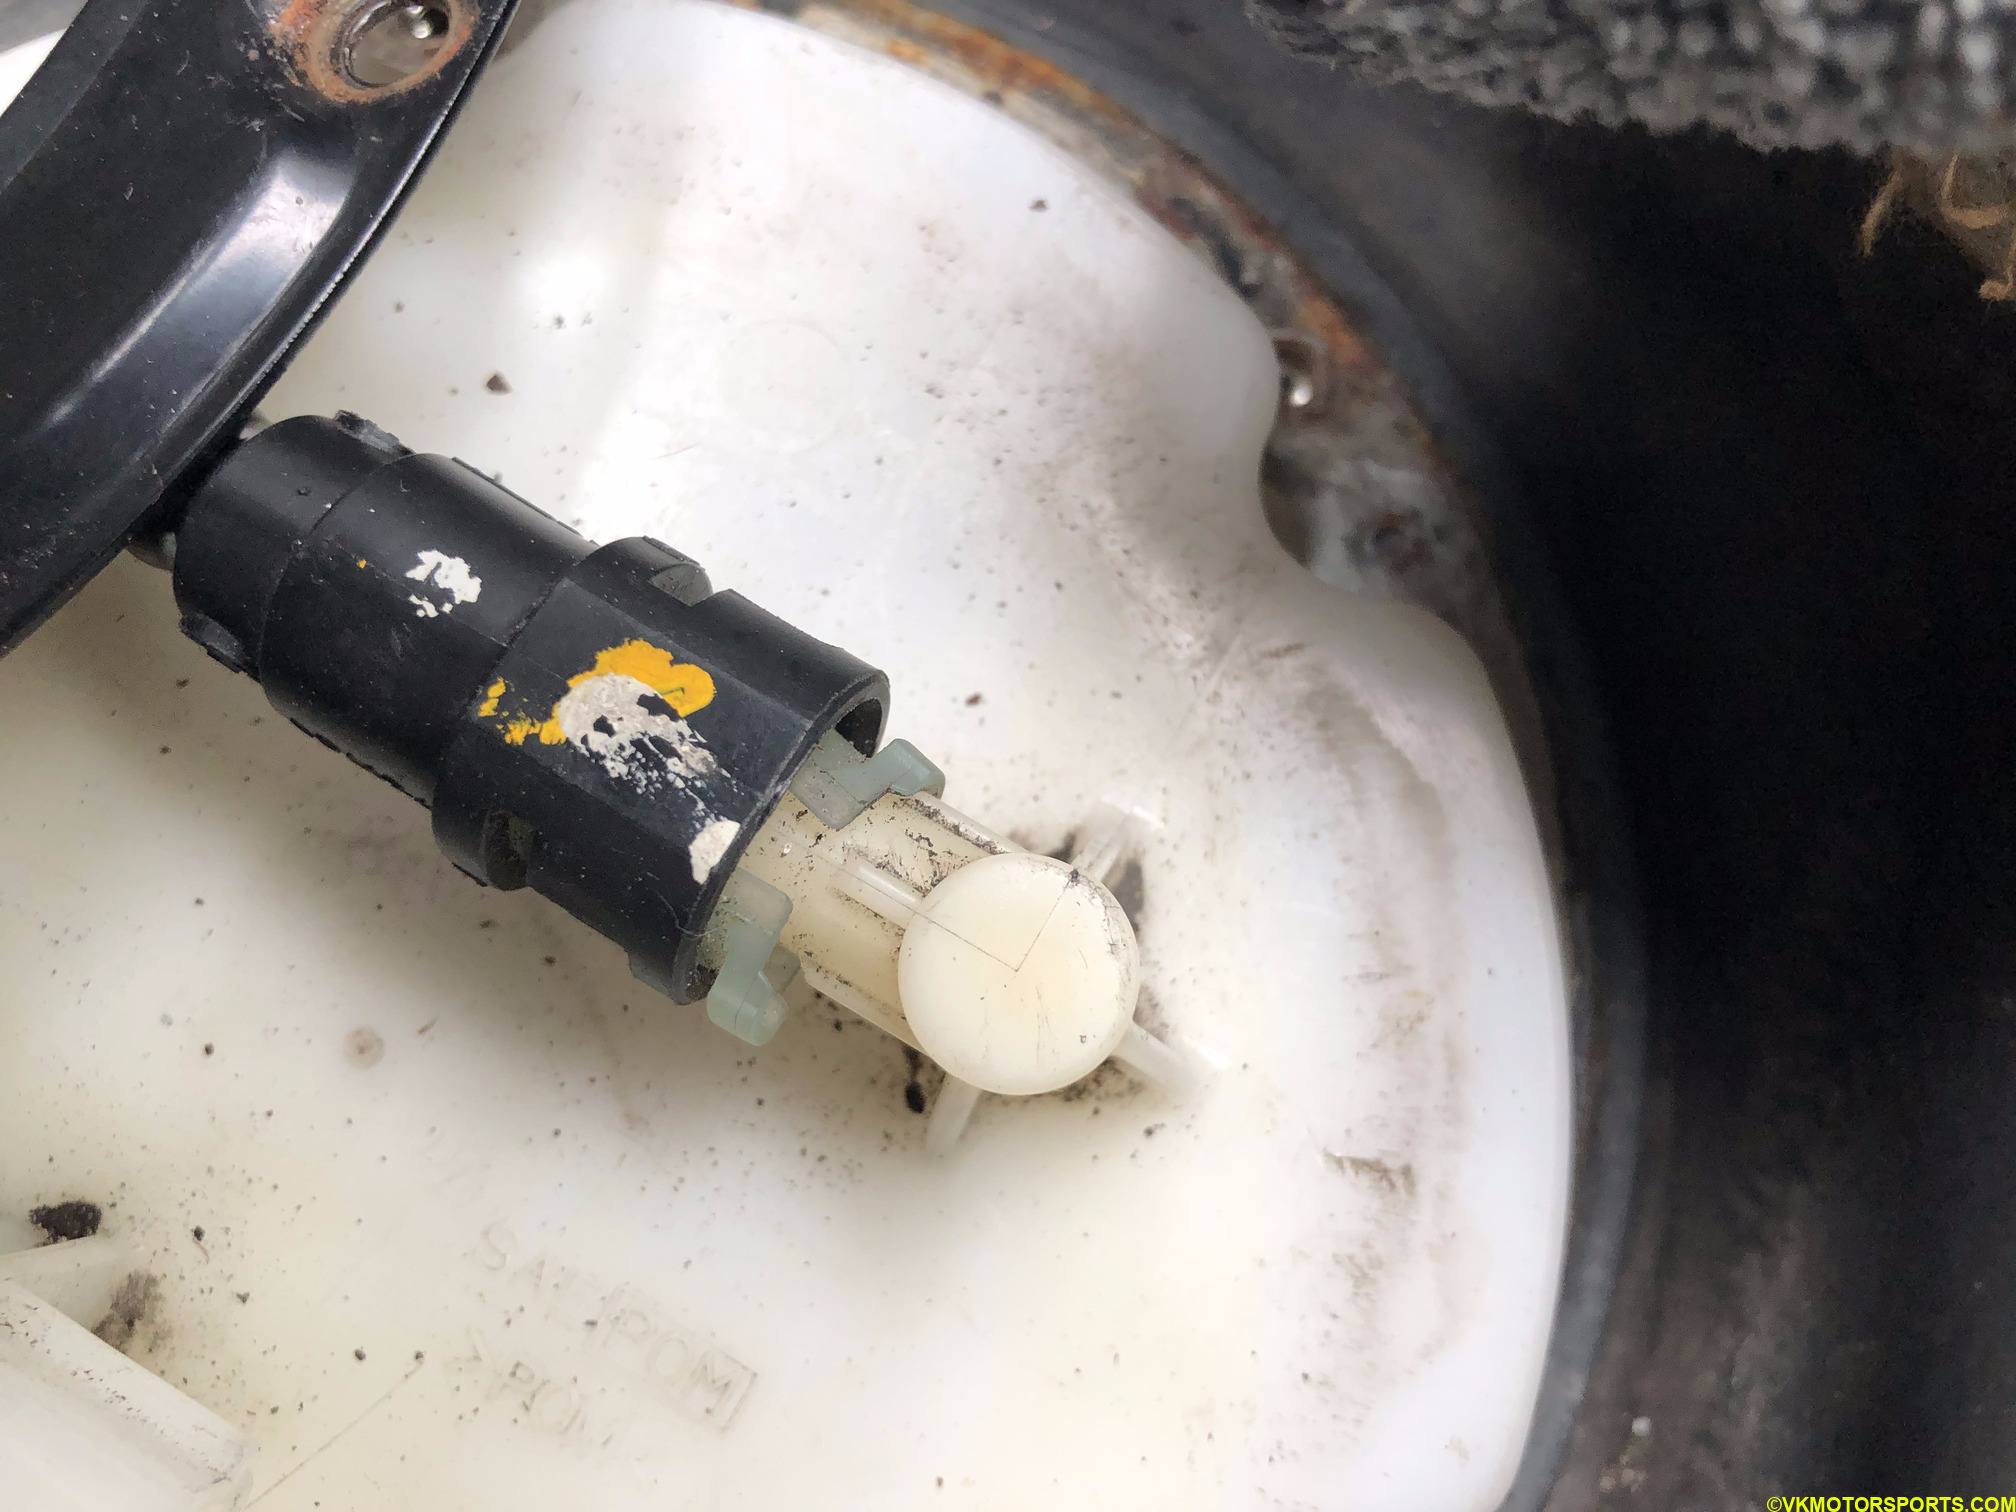 Figure 20. Closeup of fuel pump connector
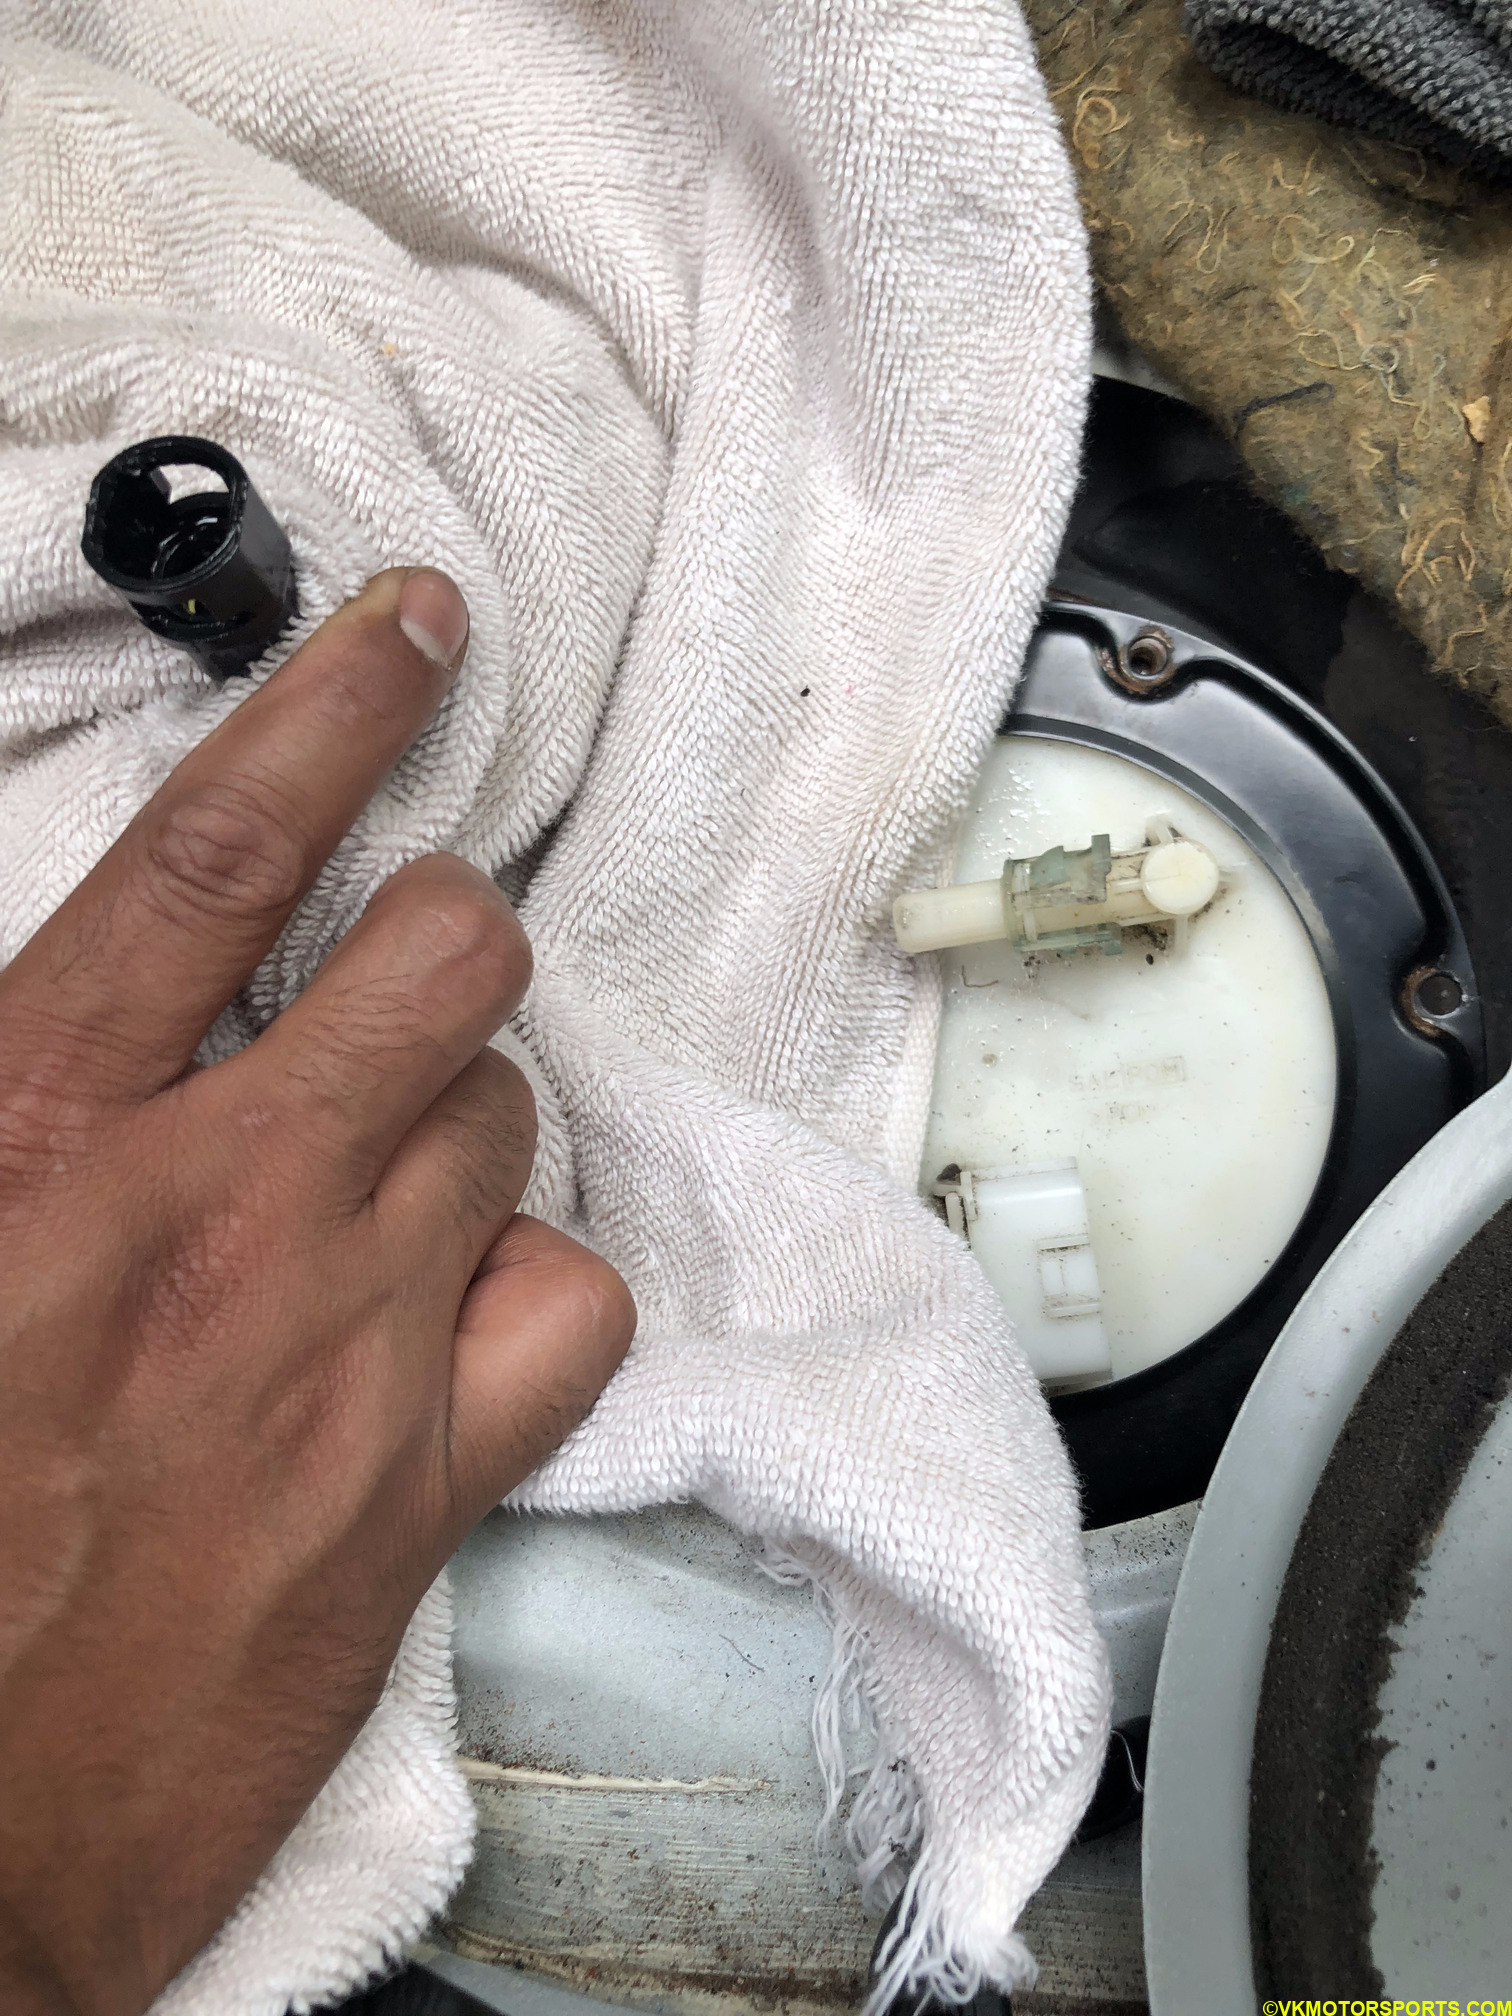 Figure 21. Fuel pump hose removed and held upright with a towel
Step 12: In Figure 22, I opened the 5 screws before I disconnected the fuel hose so that it would be easier to remove the pump once the hose is off.
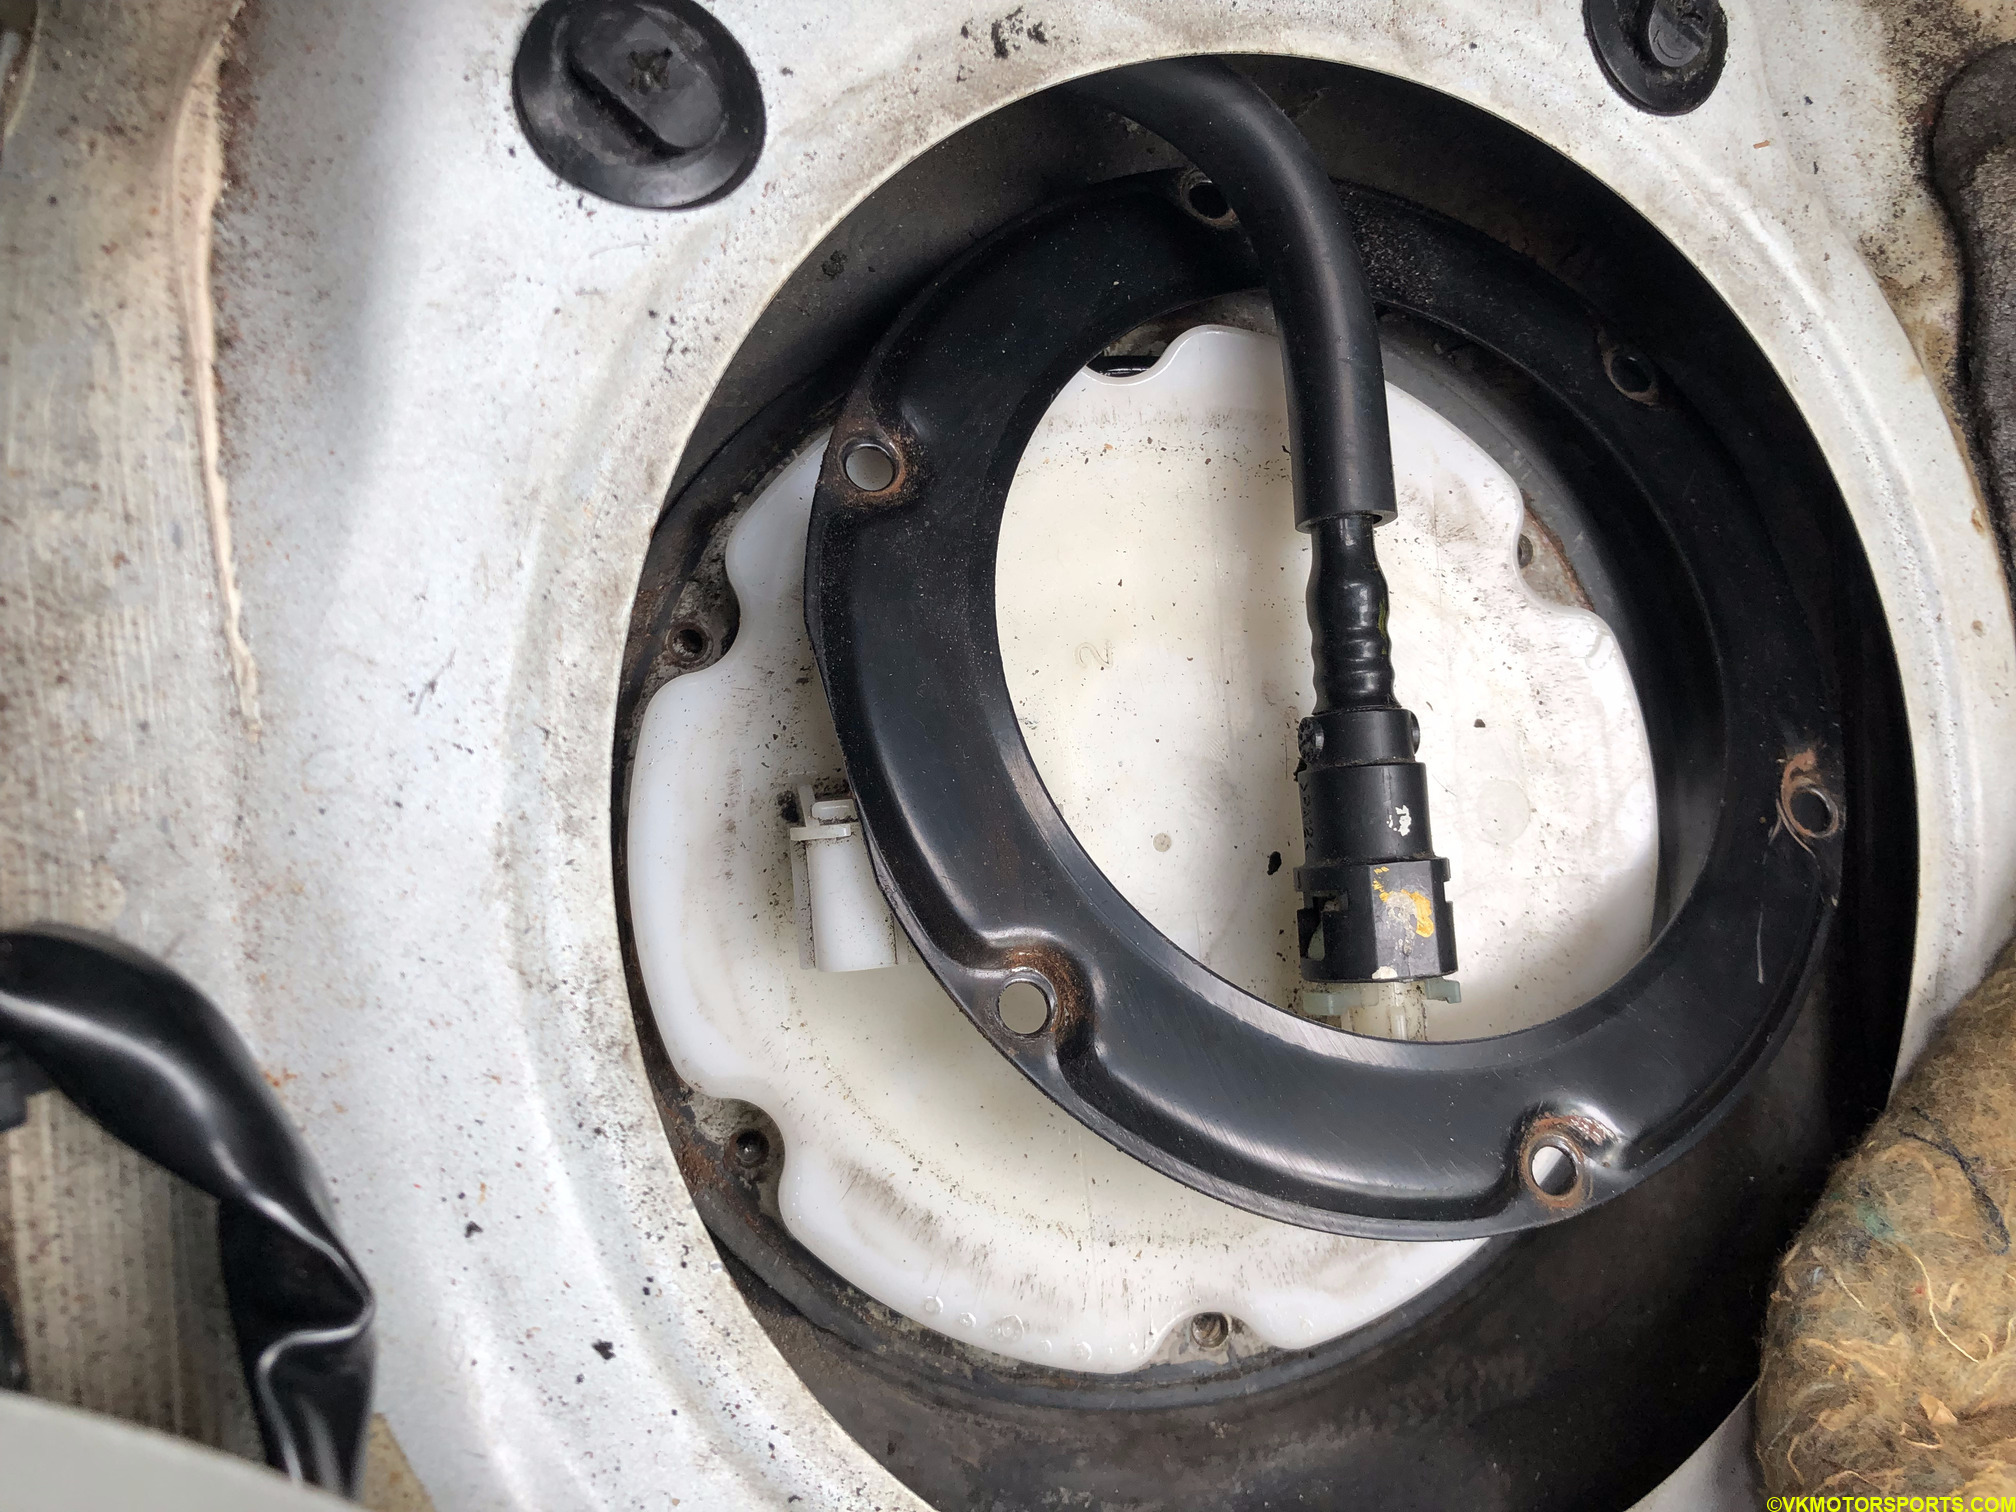 Figure 22. Remove the 5 screws and the metal washer
Step 13: Slowly pull out the fuel pump all the way. Remember to make note of the black electrical hoses on the outer periphery of the pump while doing this. Place it on a clean towel or cloth for cleaning. There will be residual fuel that may leak when you turn the pump.
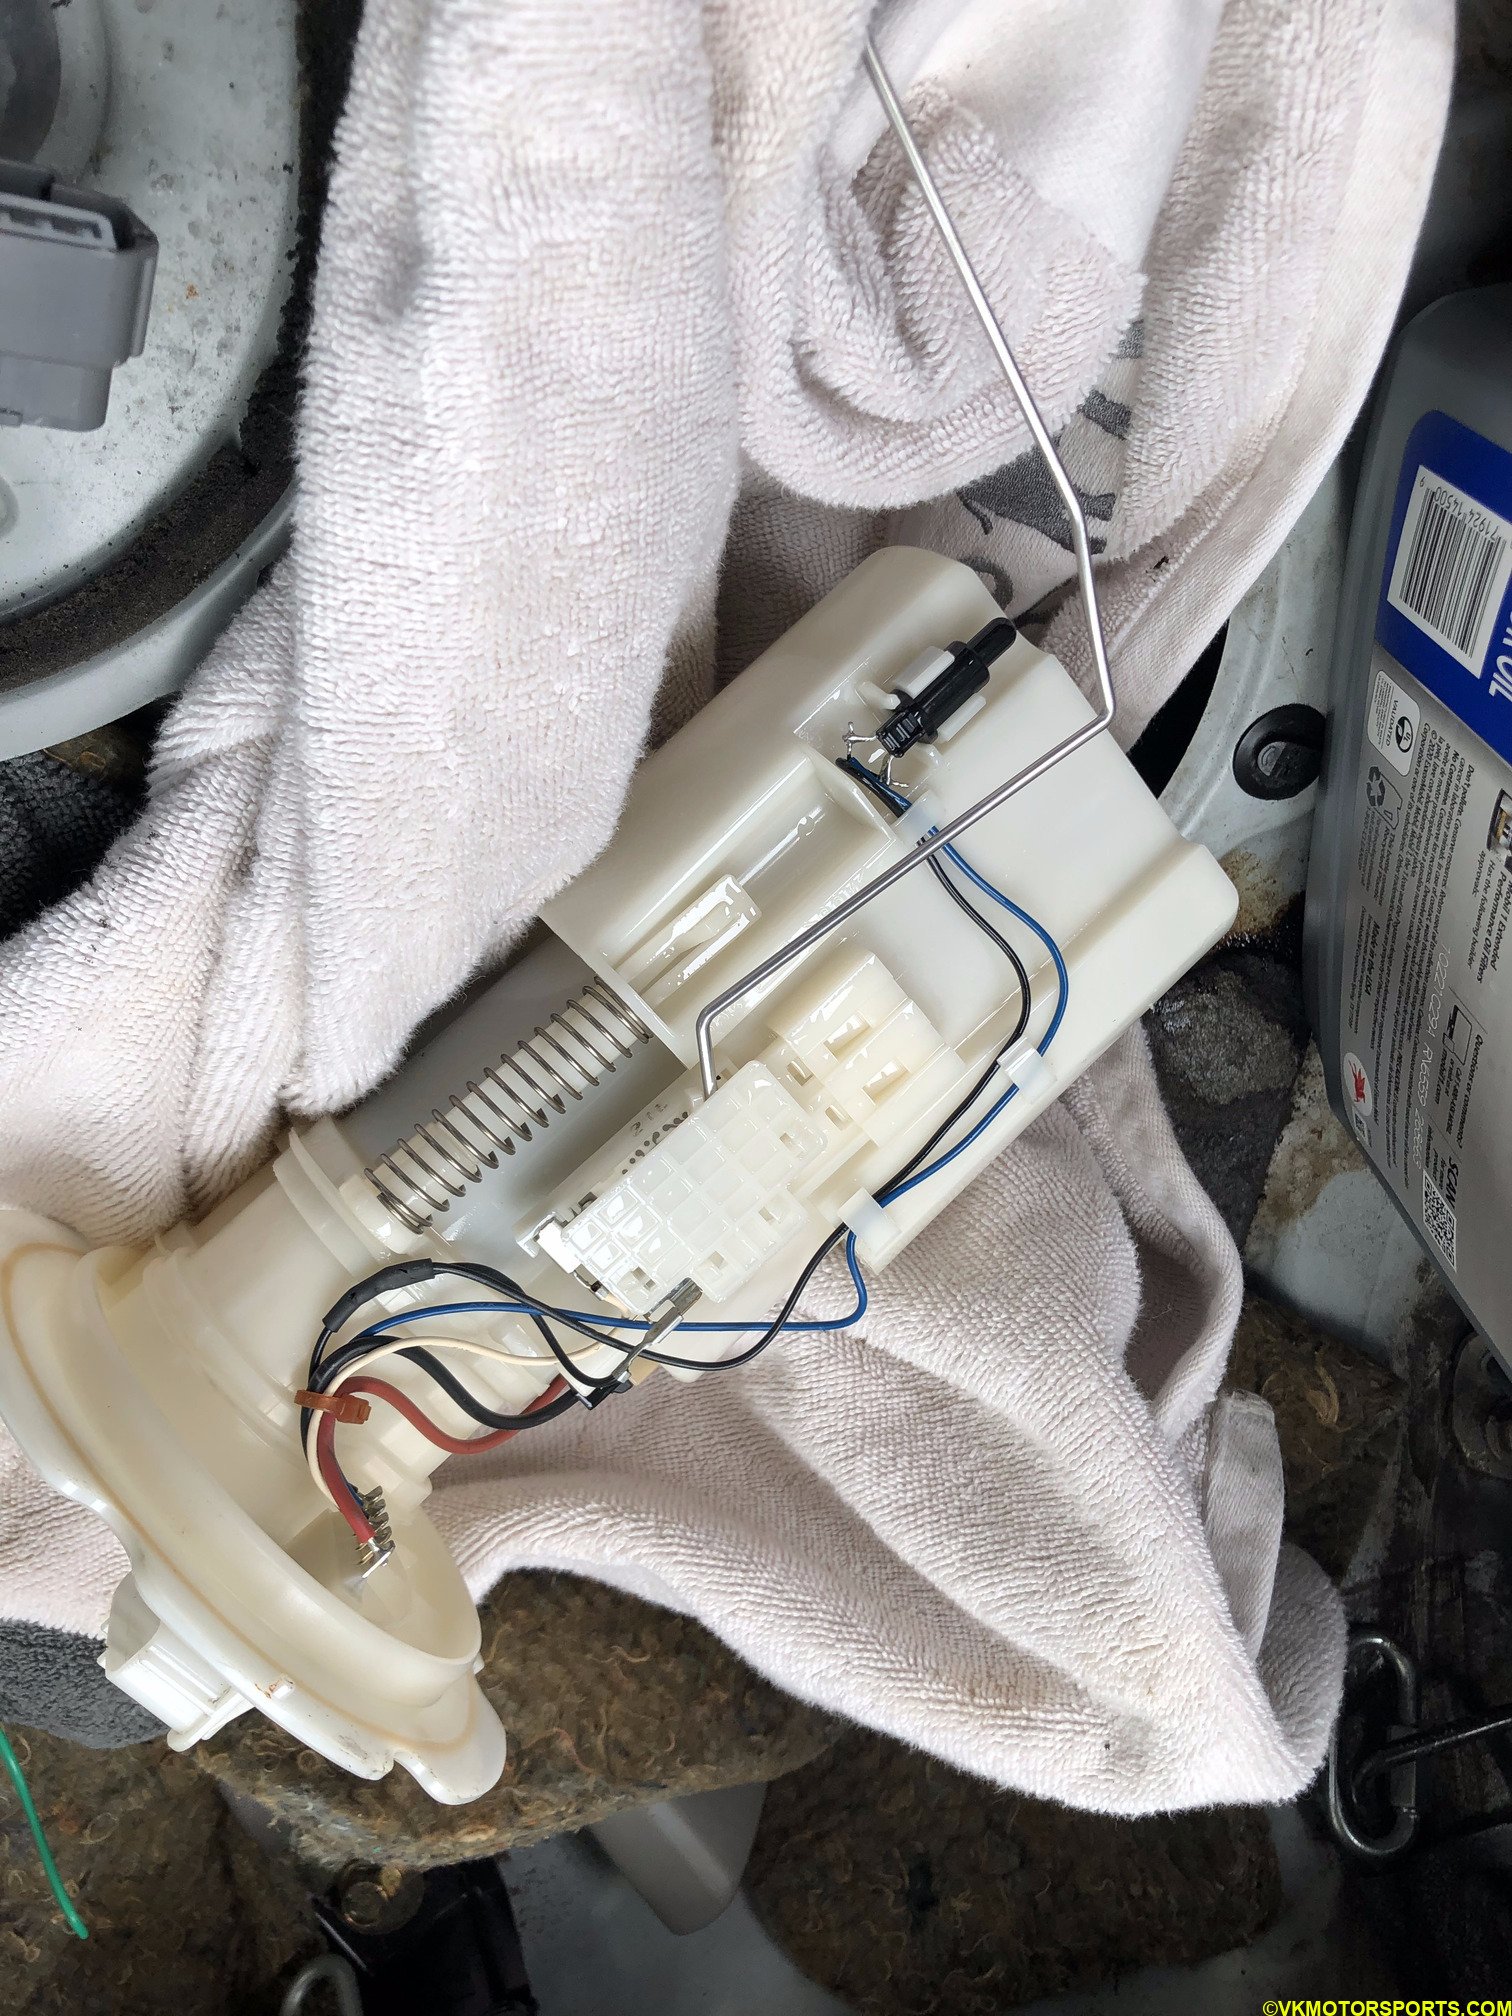 Figure 23. Slowly pull the fuel pump out and place on a clean towel
Step 14: Repeat step 8 and clean the sensor dial using a Q-tip and isopropyl alcohol as shown in Figure 24.
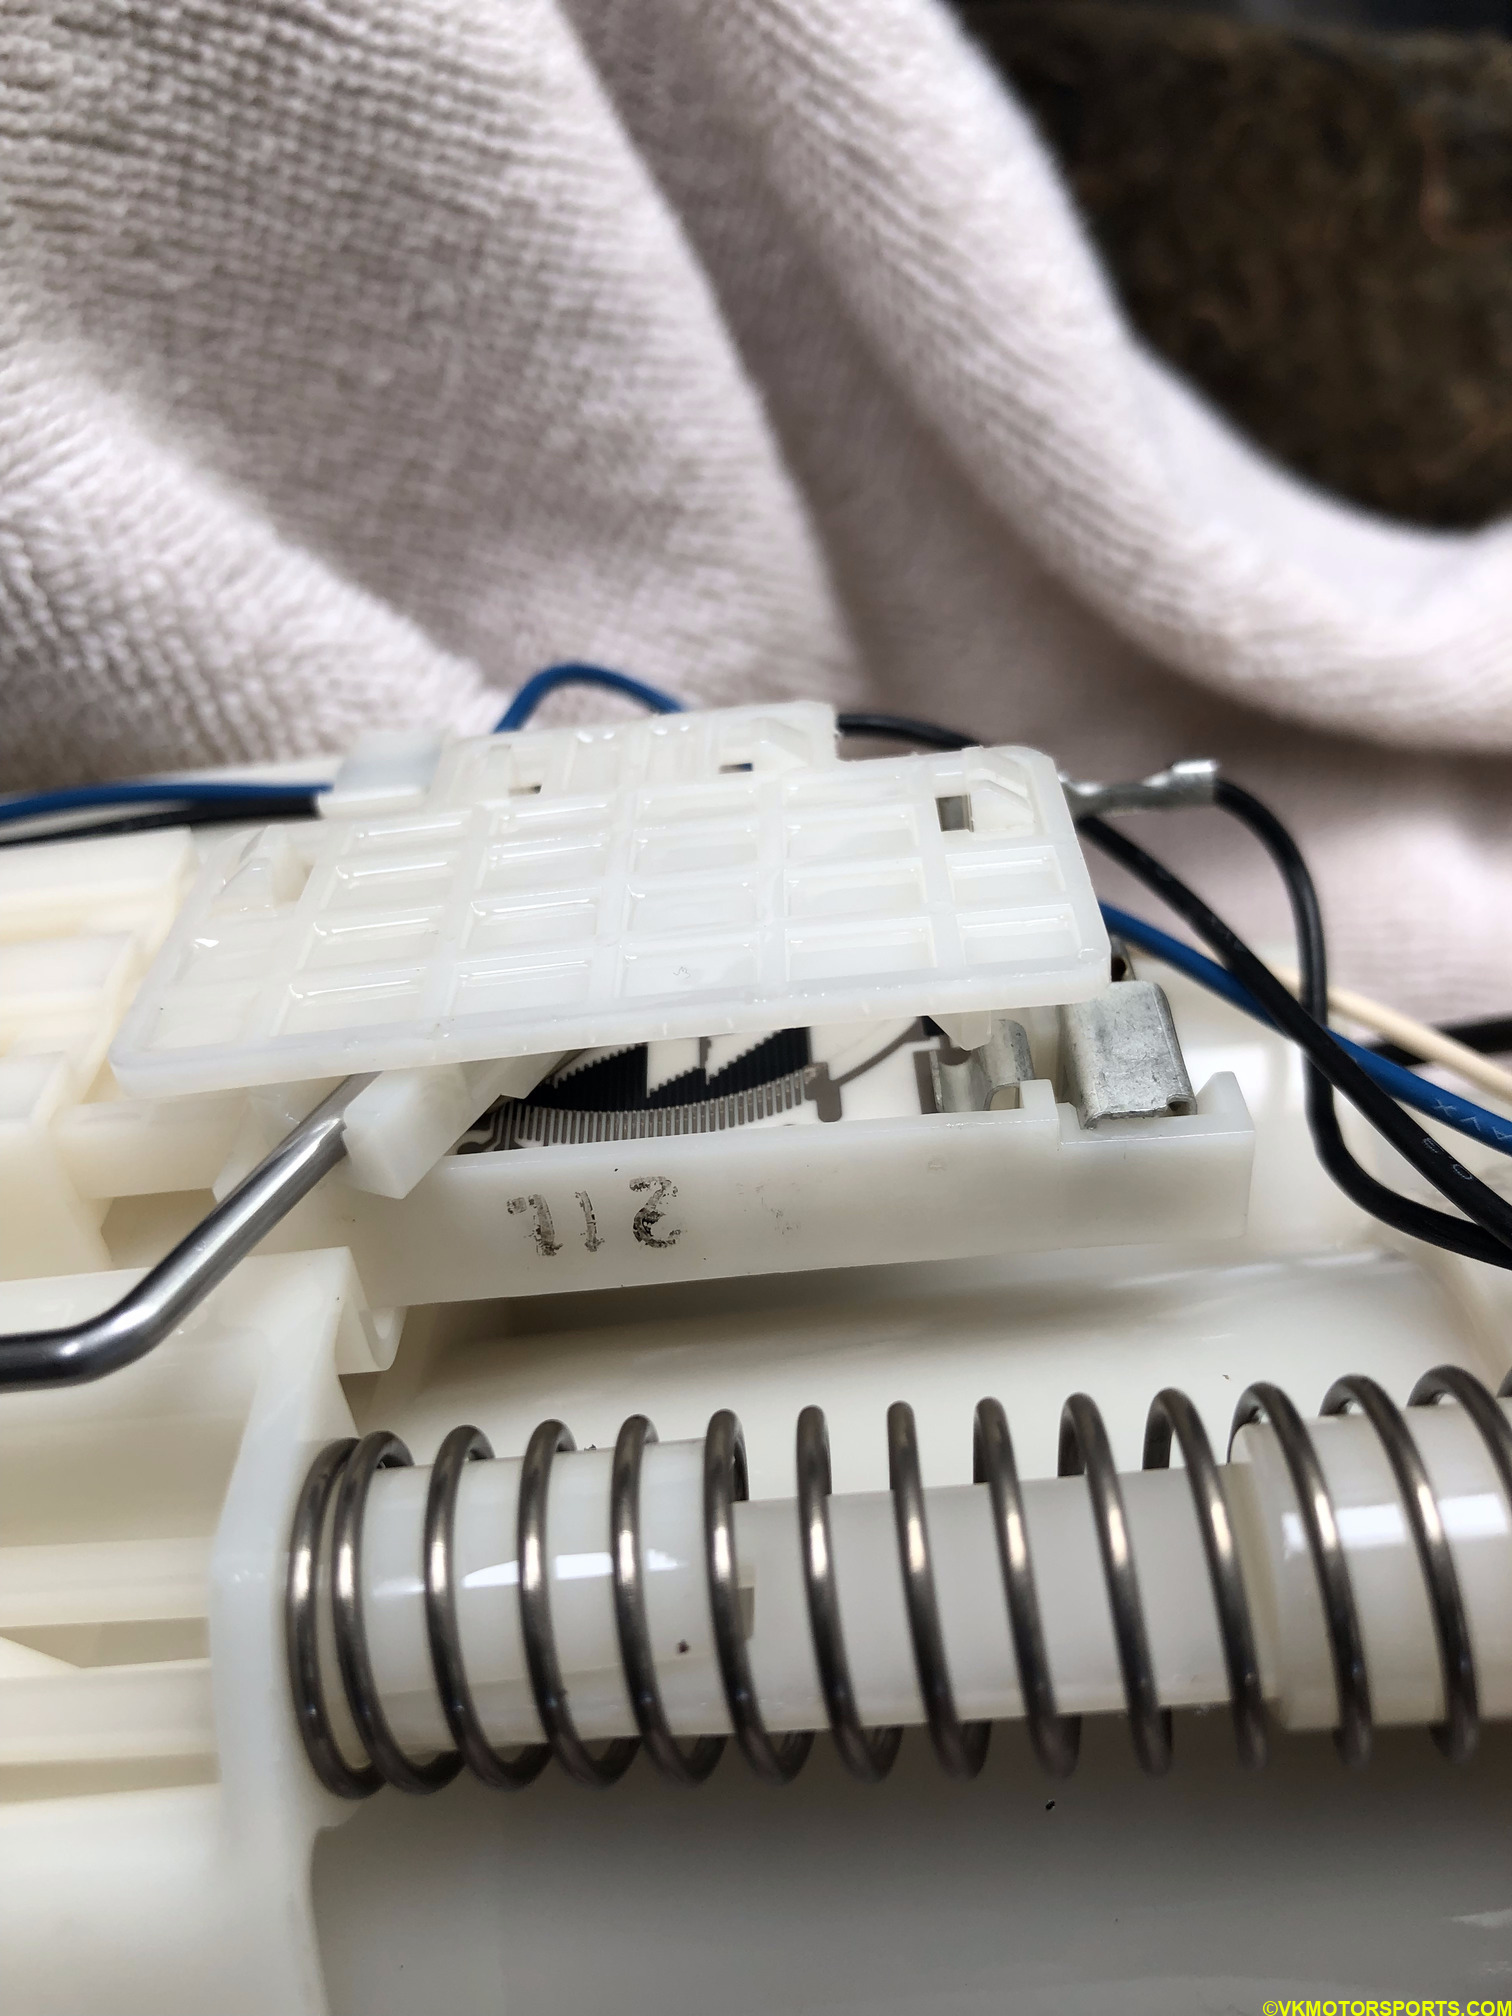 Figure 24. Cleaned dial in fuel punp
Fuel Tank Leaking
As mentioned in the summary earlier, the car was leaking fuel non-stop after I refueled the tank to full. When the engine was on, it was leaking fuel on the ground at high speed. This was a very dangerous scenario and I was lucky the car did not catch on fire. So I called AAA and got it towed to the closest Infiniti dealership where I will be paying at least $1600 for fixing the leak and potentially a bit more for getting the P0462 CEL code fixed too.
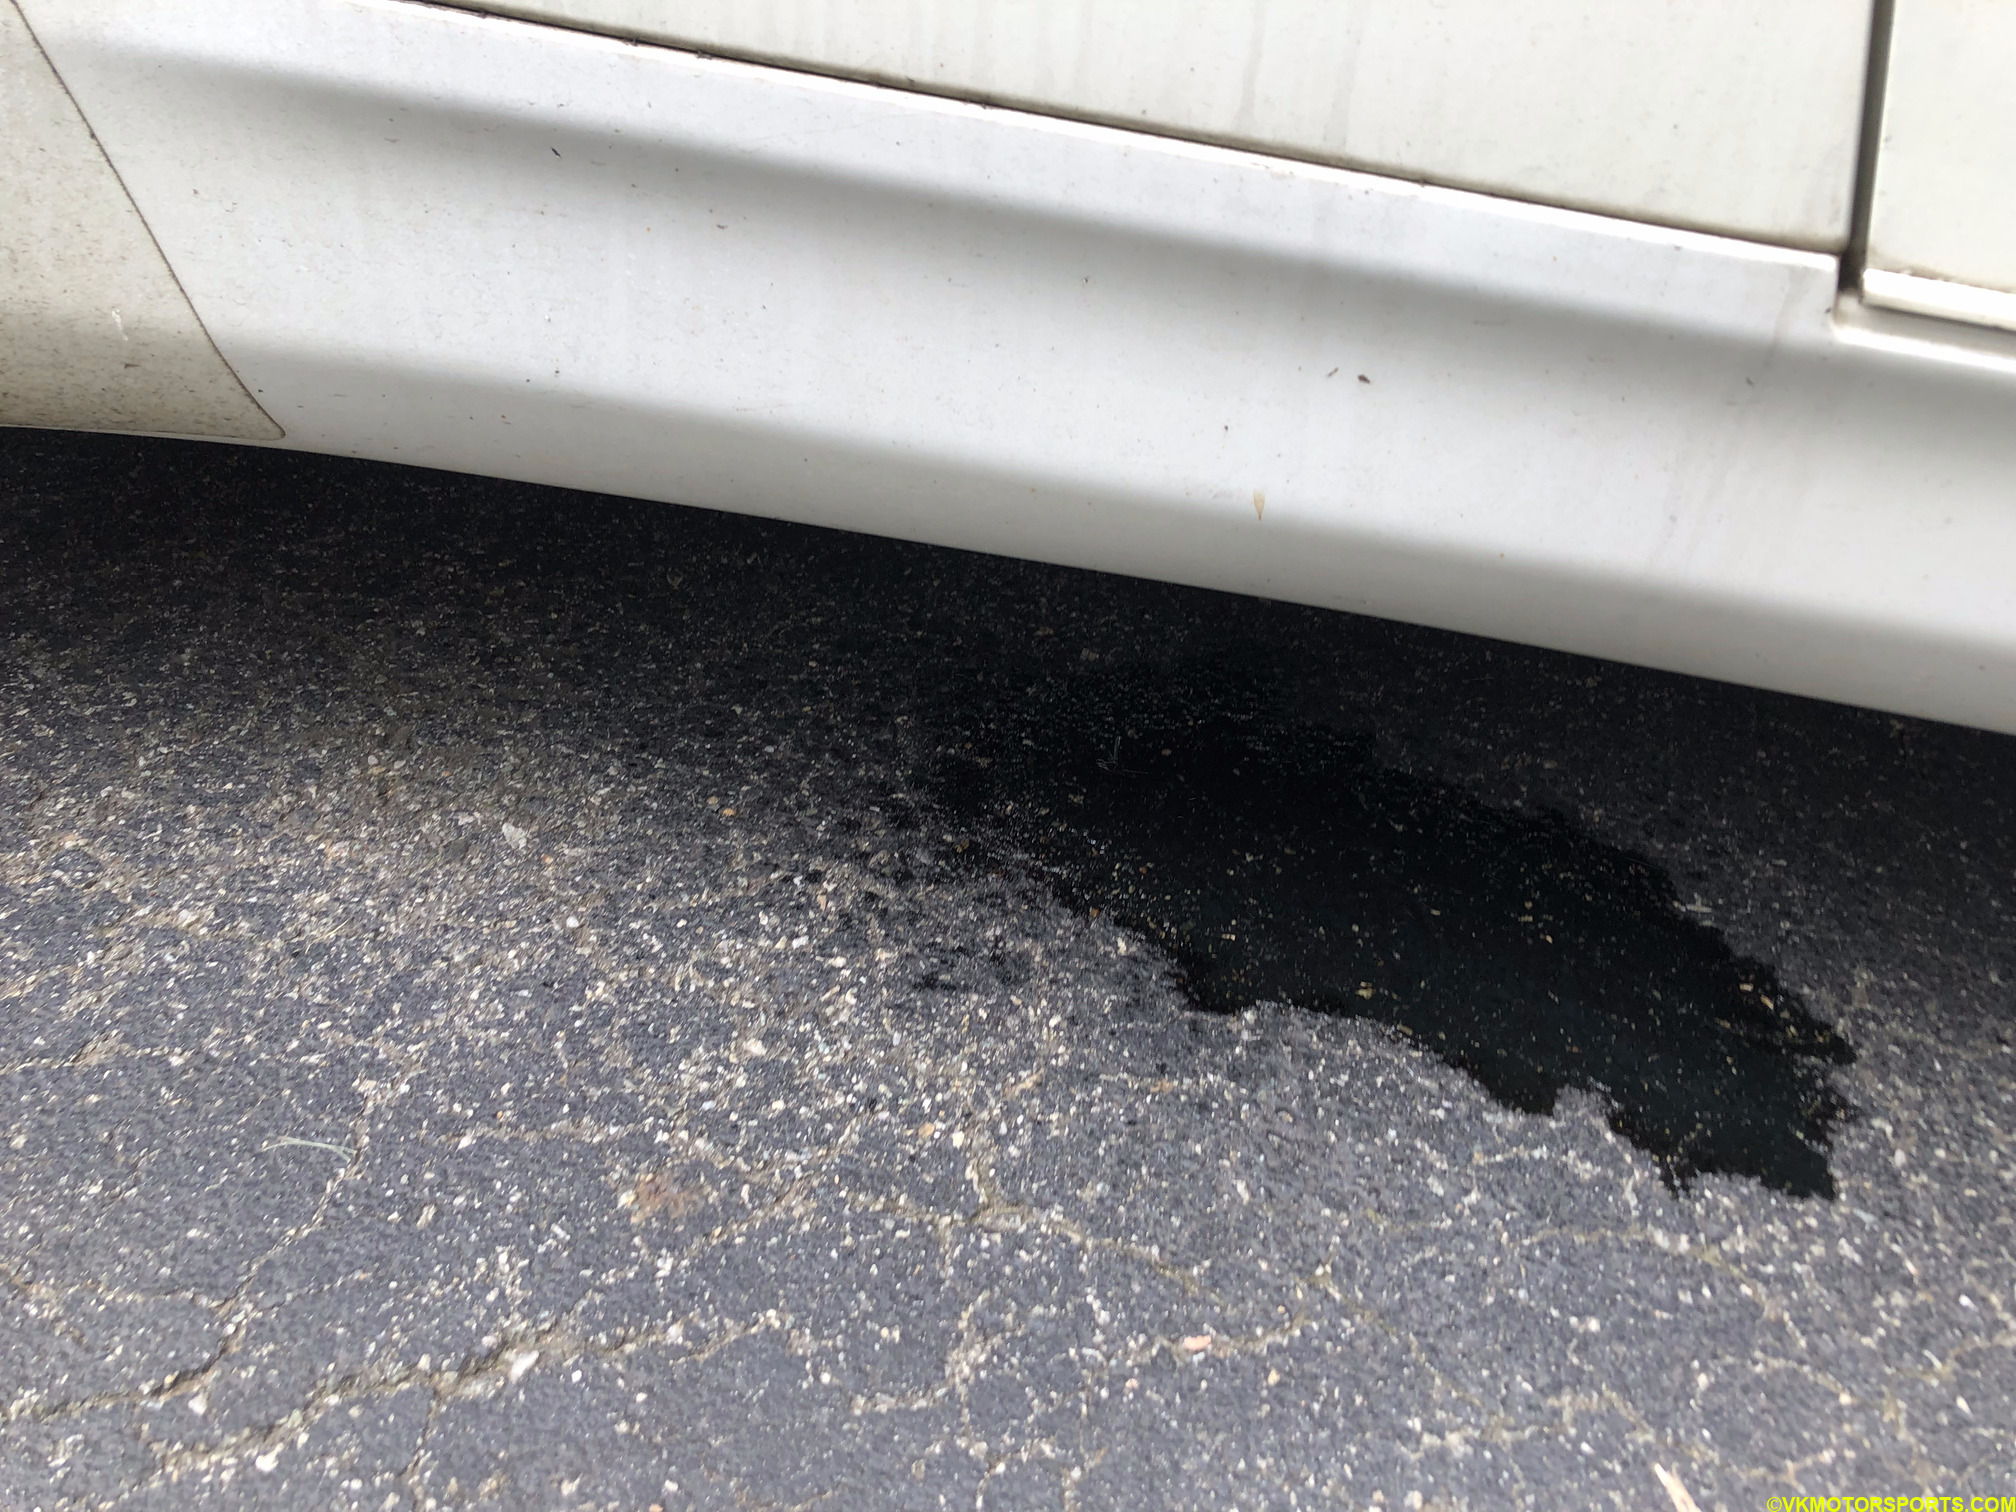 Figure 25. Car is leaking fuel
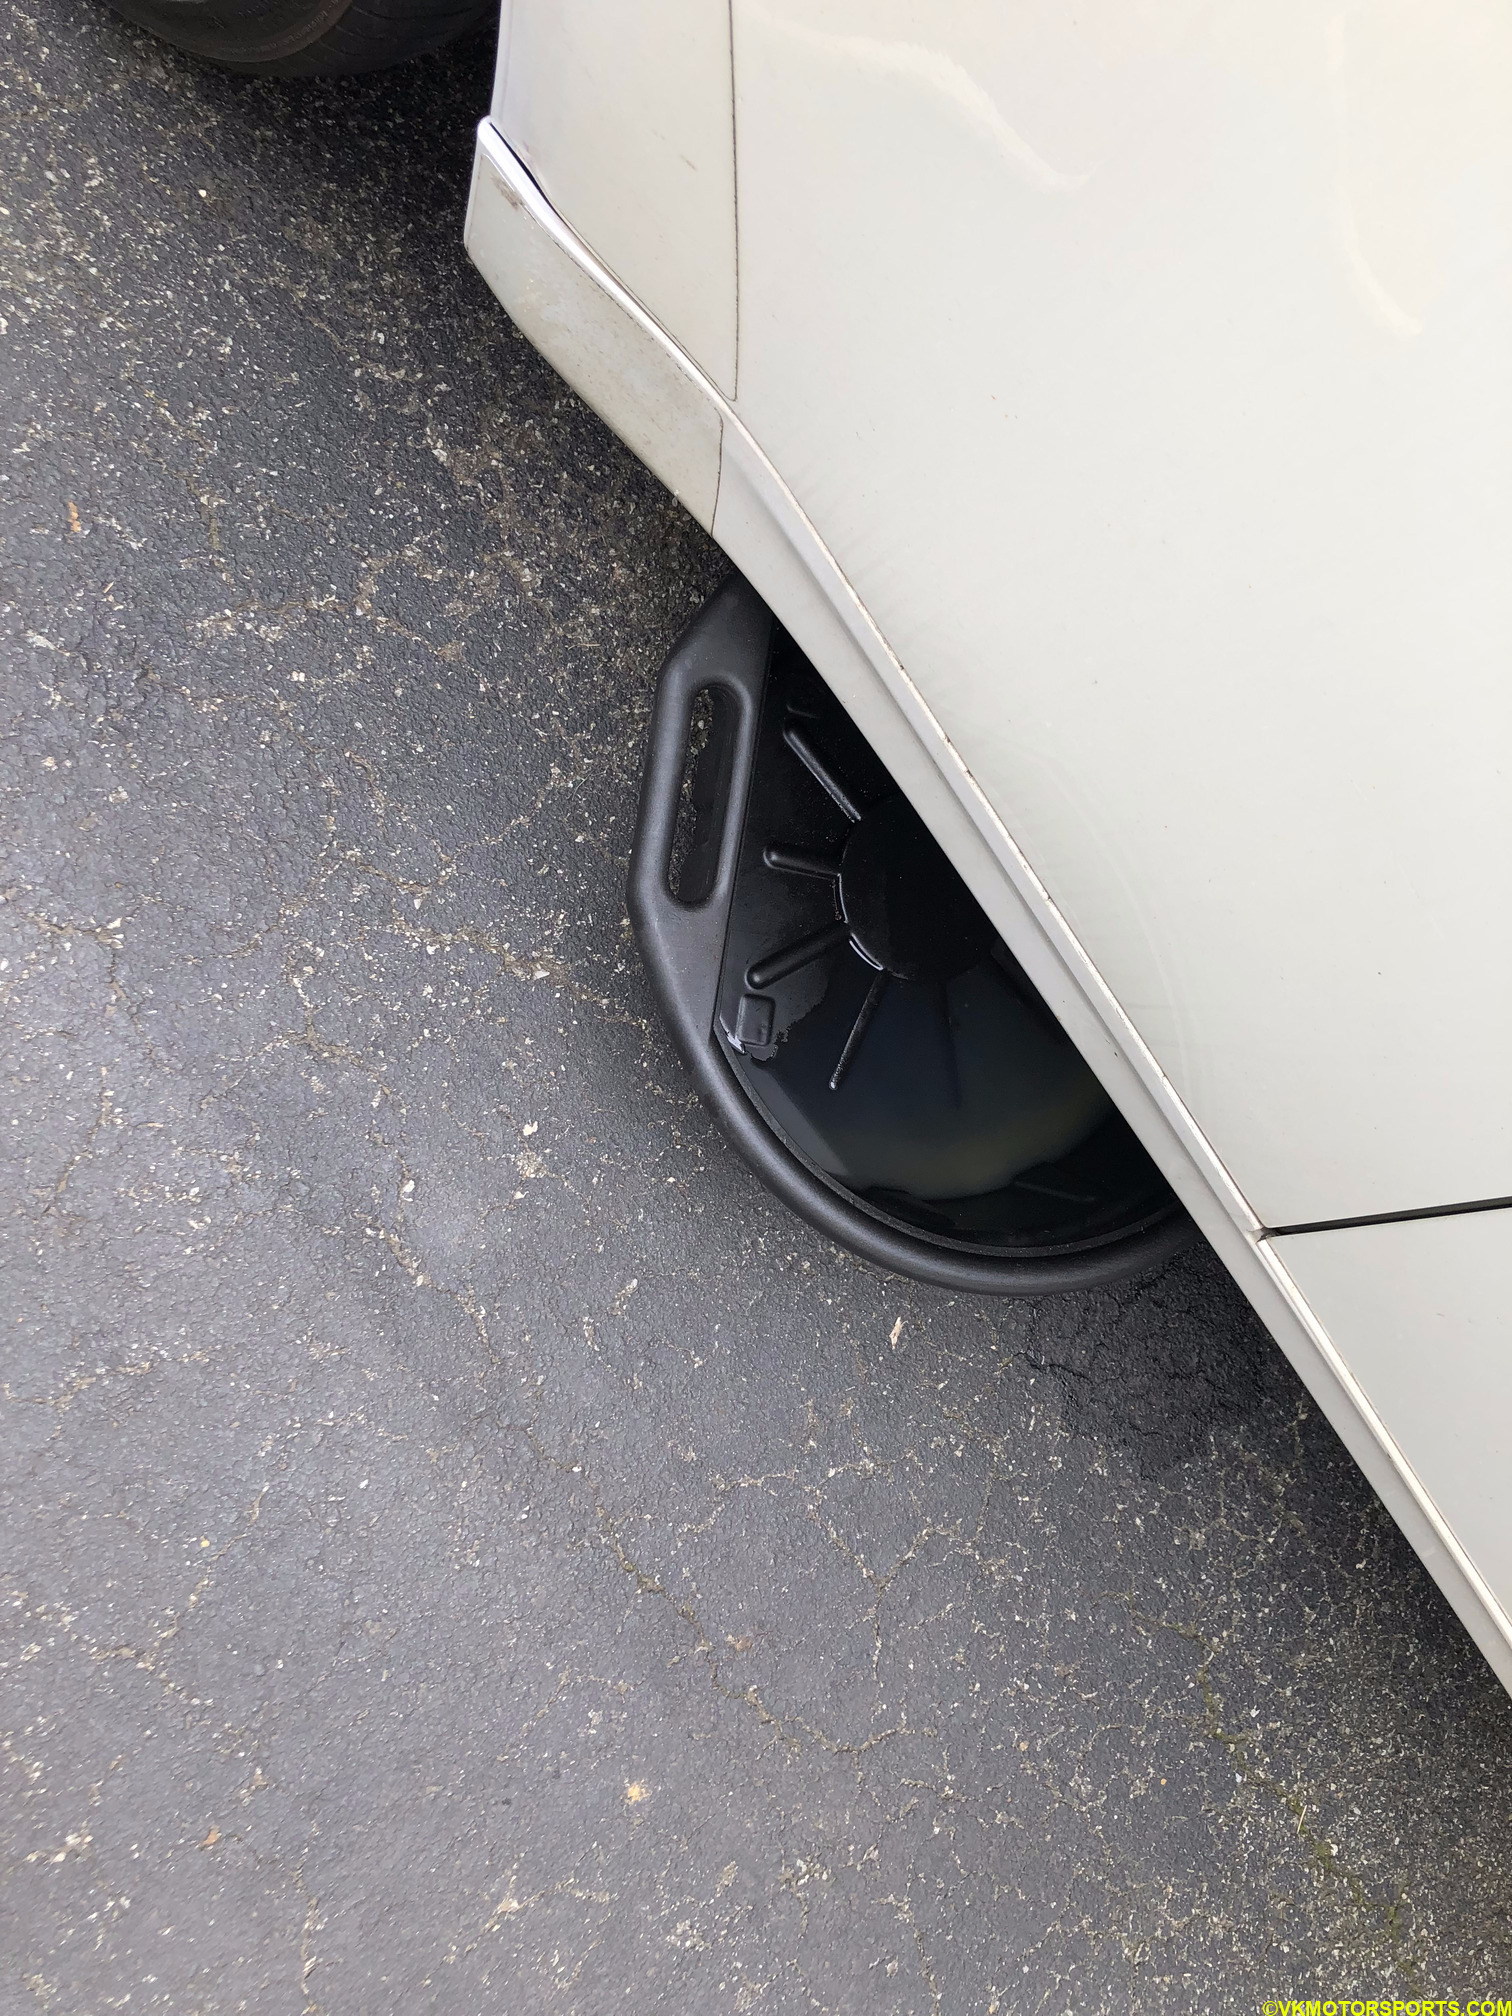 Figure 26. Oil collector tank placed below the car
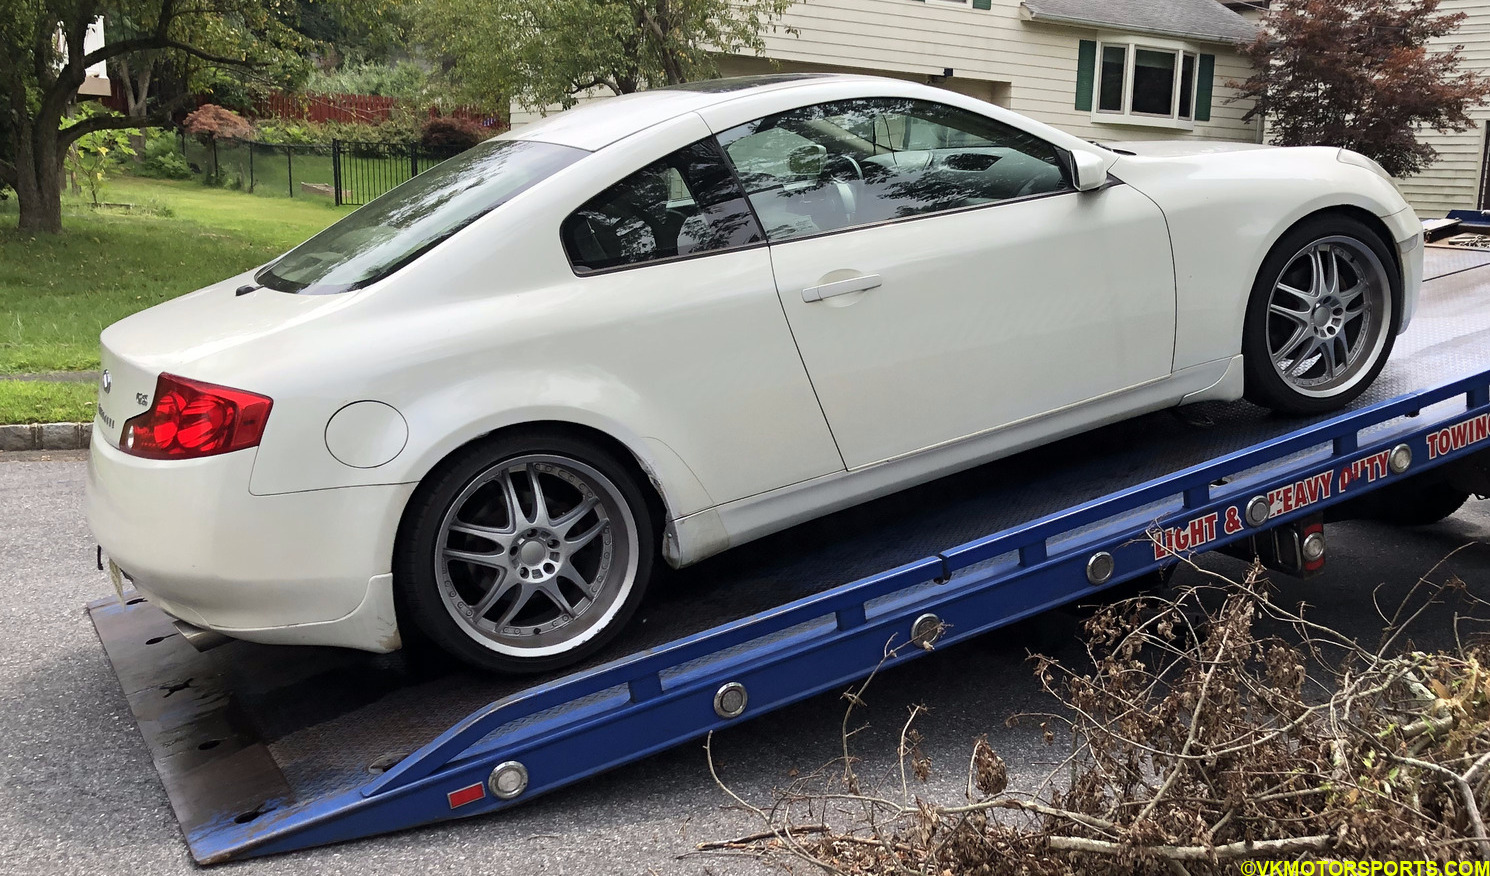 Figure 27. Getting Towed
Now we wait for the dealer to finish the job and see what to do next.
Update: I fixed the leak myself.