The wheels that I had painted almost two months ago finally had the Dunlop Direzza III tires mounted on them. I had gotten it done at a local Mavis Discount Tire store for about $70.
However, I did not get them to mount the wheels on the Miata so that I could learn to do it myself. The reason I waited this long to get the wheels on was that I wanted to replace the brake pads and also buy a portable 20V DeWalt high torque impact wrench for about $250. But today I decided that it was time to mount the wheels and drive the car in those performance tires. Good weather makes you do that !
Without an impact wrench, you can use a 21mm deep socket, a socket extension, a breaker bar, a ratchet and a torque wrench to do the work. You also need a jack and jack stands, but since I have a mid-rise lift I used that. It took me about 2 hours to do this as it was the first time.
The car came with 14”x6” wheels with cheap all season tires installed and I am replacing them with 15”x6” wheels with the Dunlop Direzza III 200 treadwear performance tires for autocross.
Step 1: First remove the wheel hub-caps (Figure 1) if you have those on your wheels. These just come off by pulling slightly hard on them.
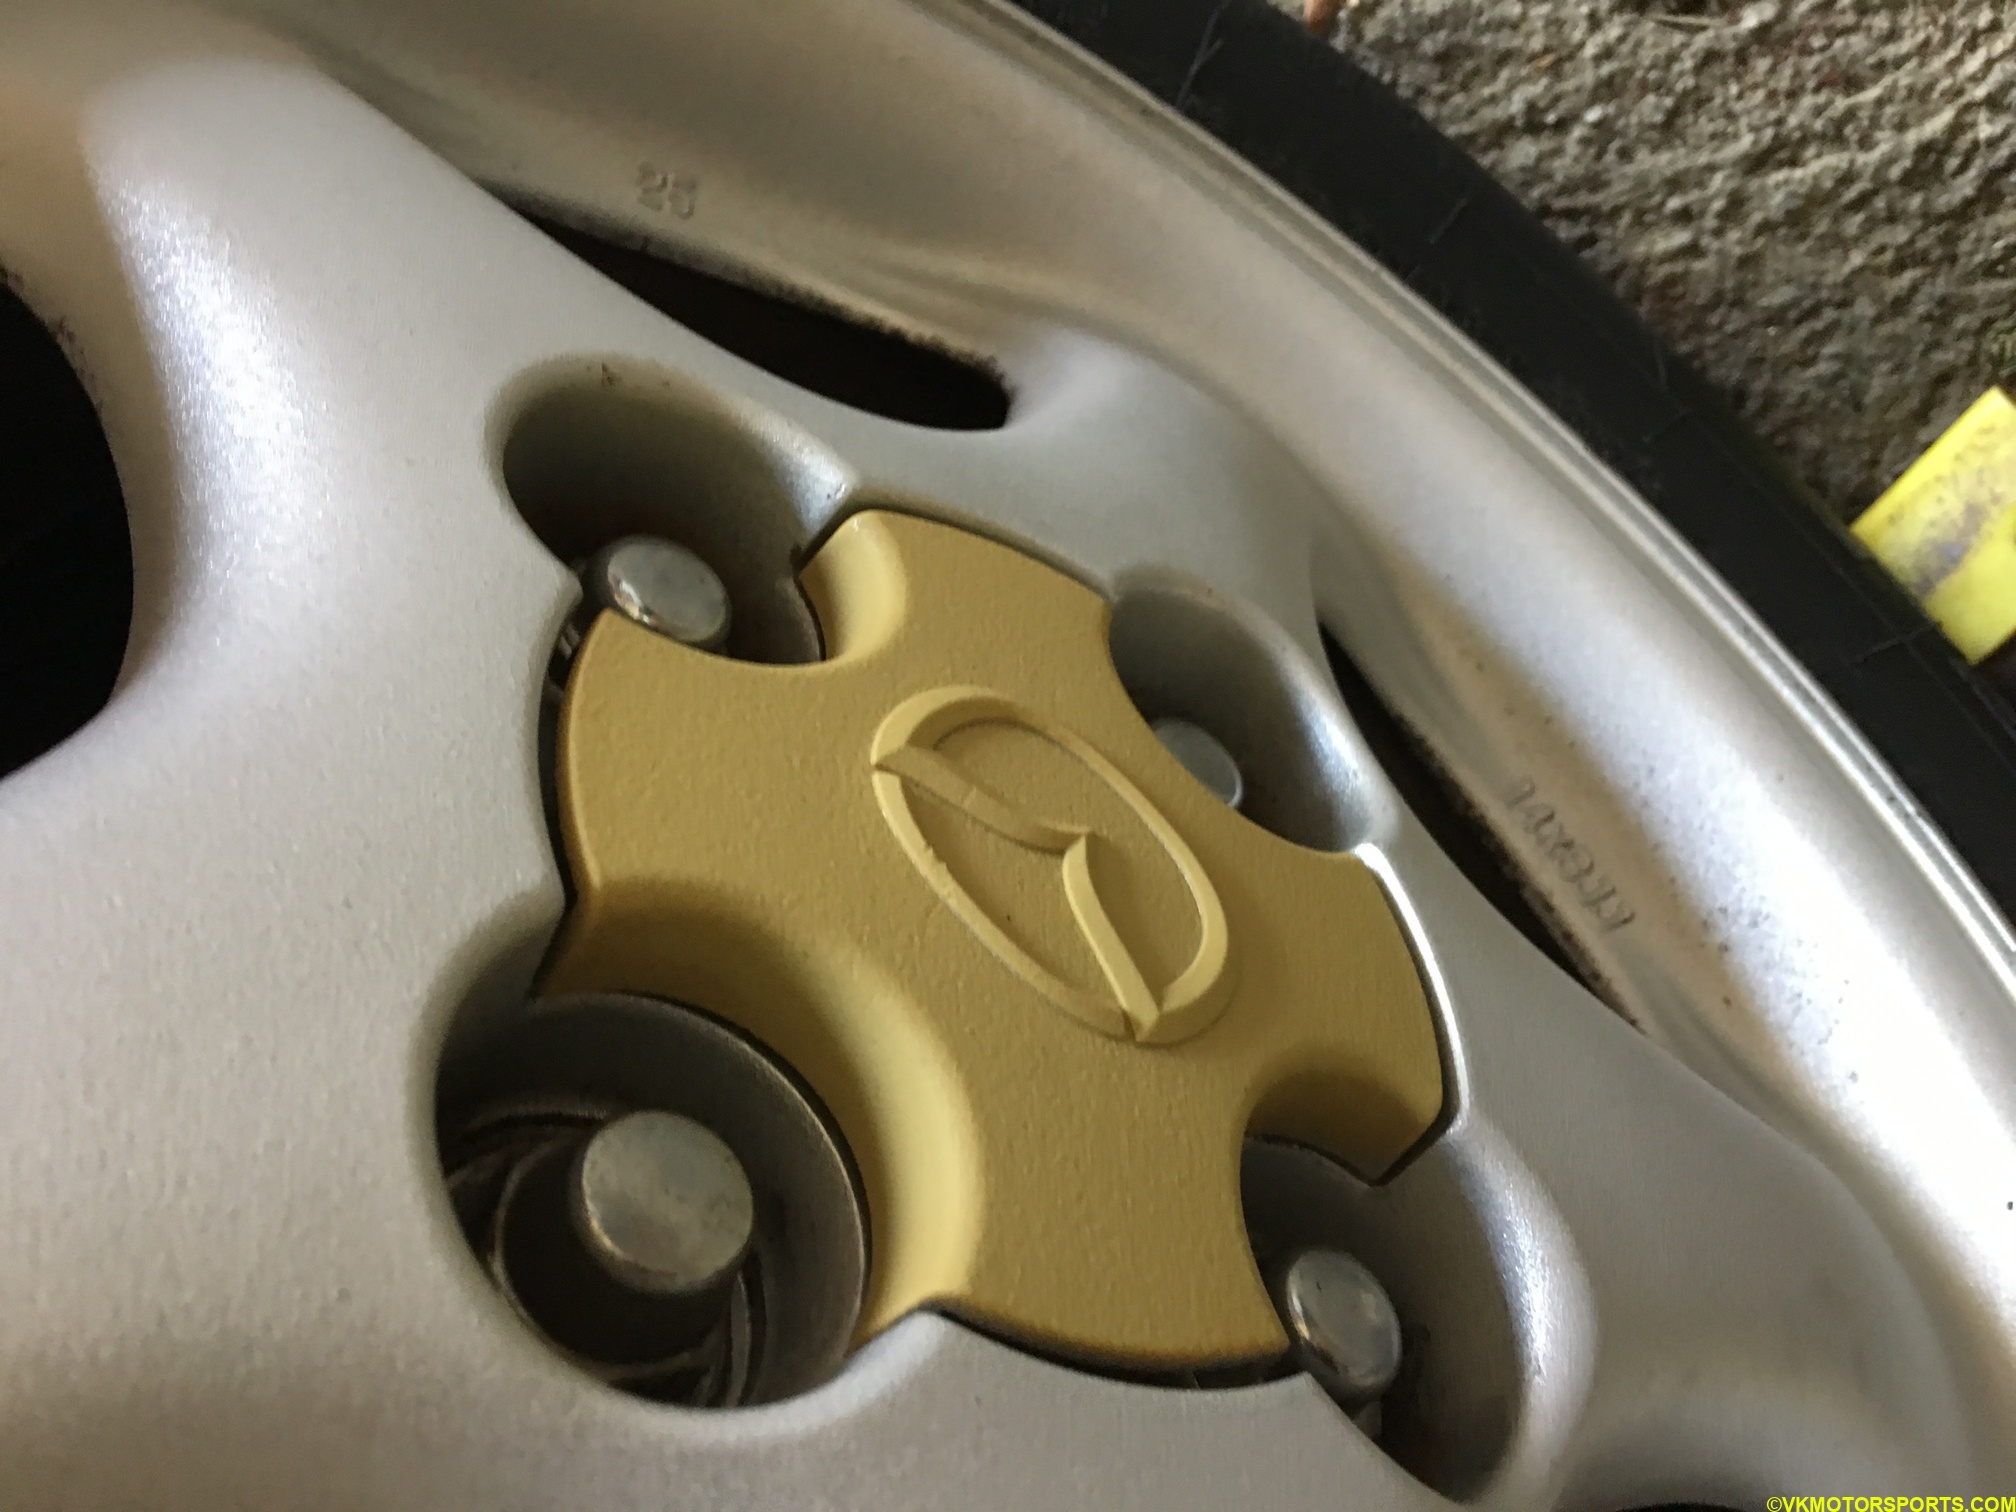 Figure 1. Wheel hub-cap
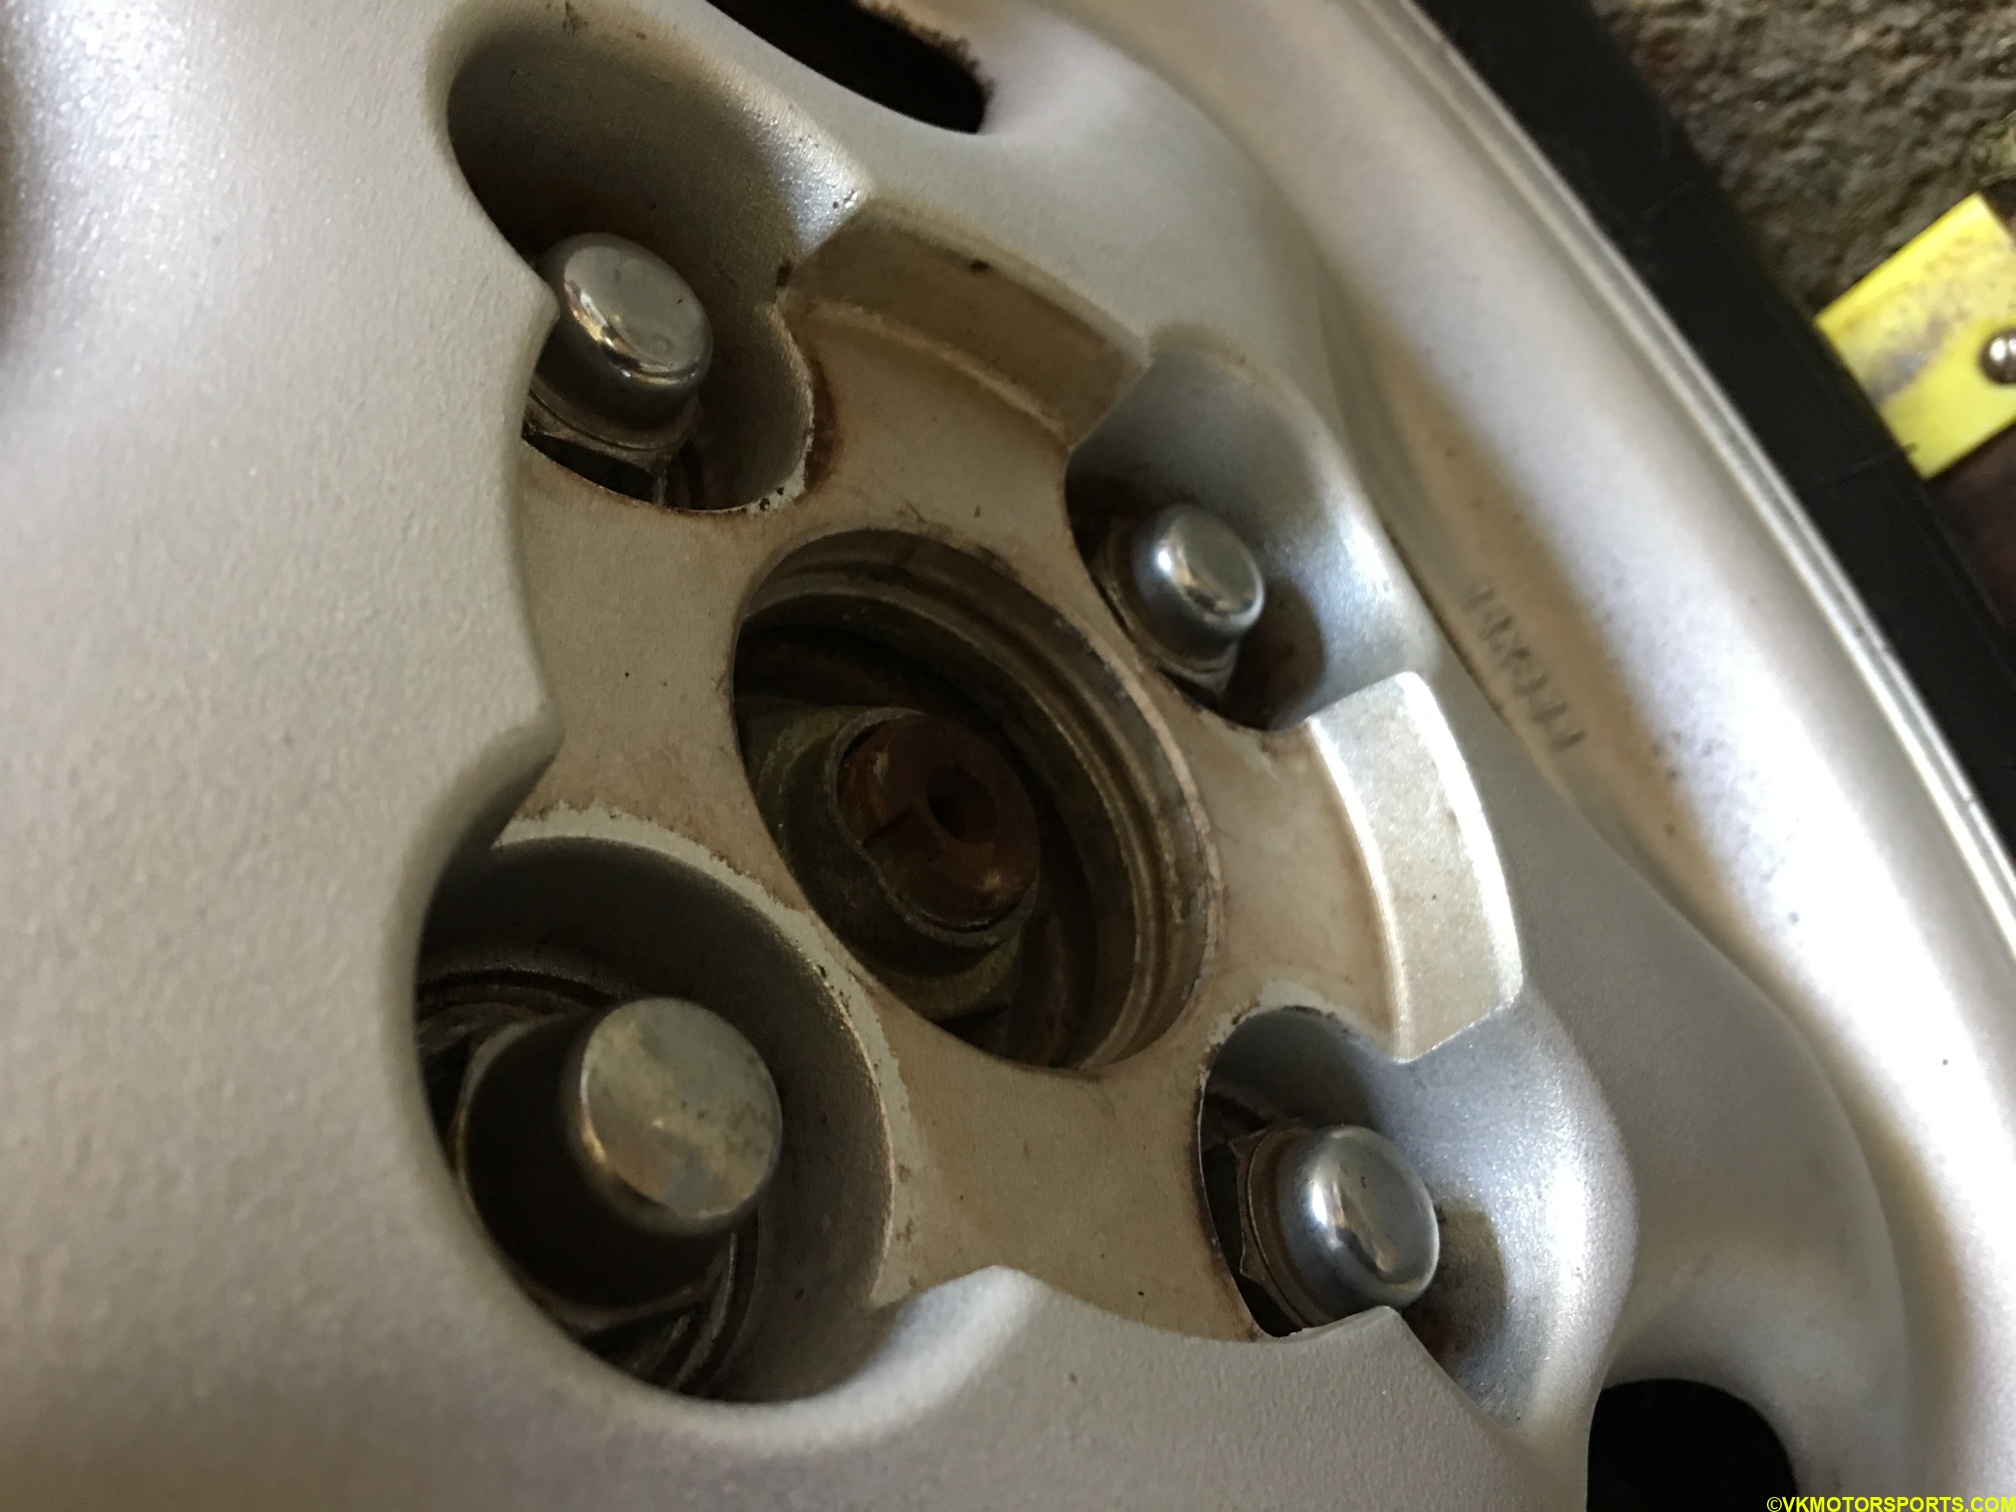 Figure 2. Wheel hub-cap removed
Step 2: Using a breaker bar, a 21mm deep socket and a socket extension loosen the lug nuts first on every wheel. I purchased all these tools at Harbor Freight. I chose the 1/2” drive for no reason except that high torque impact wrenches have a 1/2” drive. I used a wheel chock on each wheel to prevent the car from moving too much when I was applying force on the breaker bar to loosen the lug nuts.
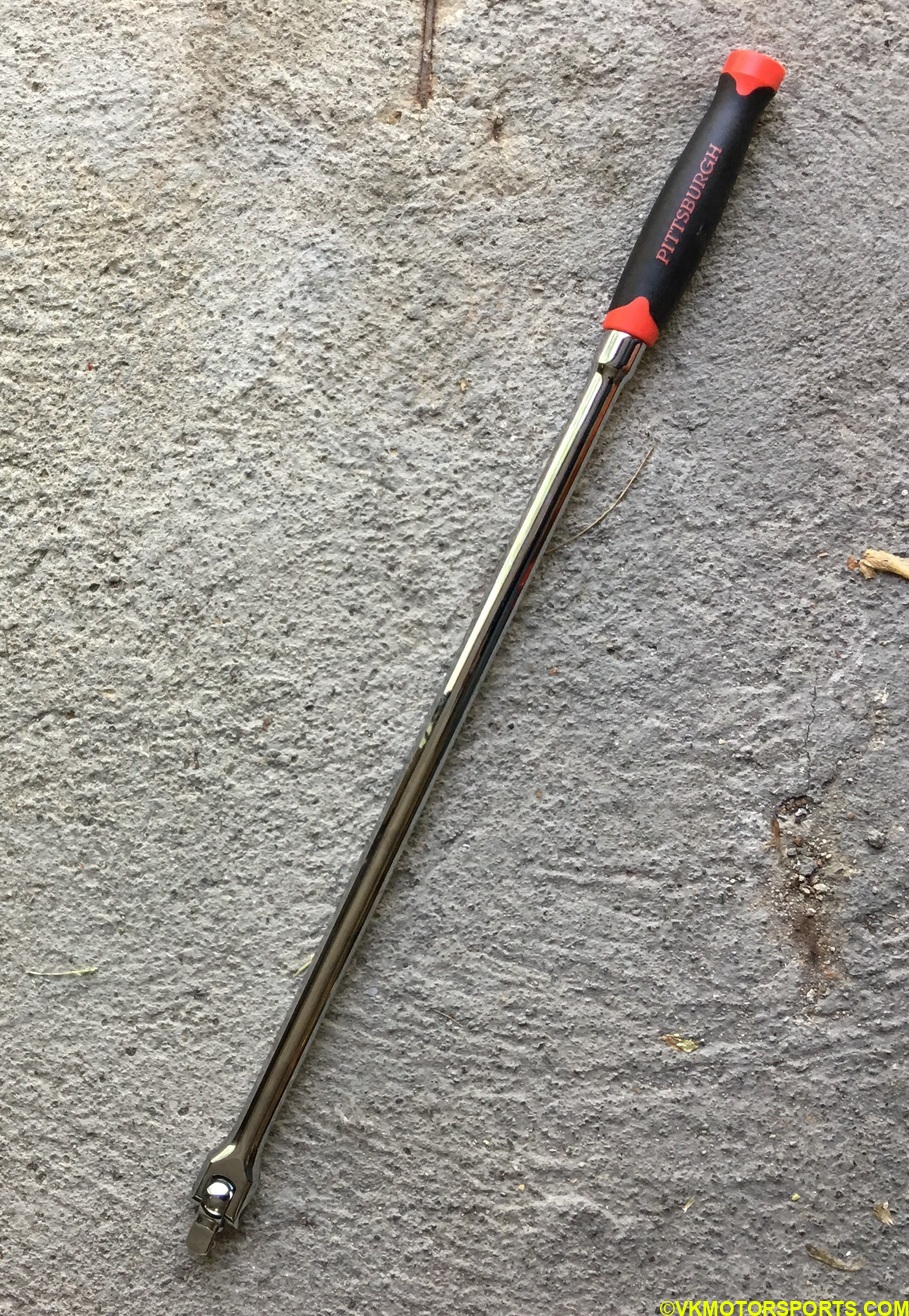 Figure 3. 1/2” drive Breaker Bar
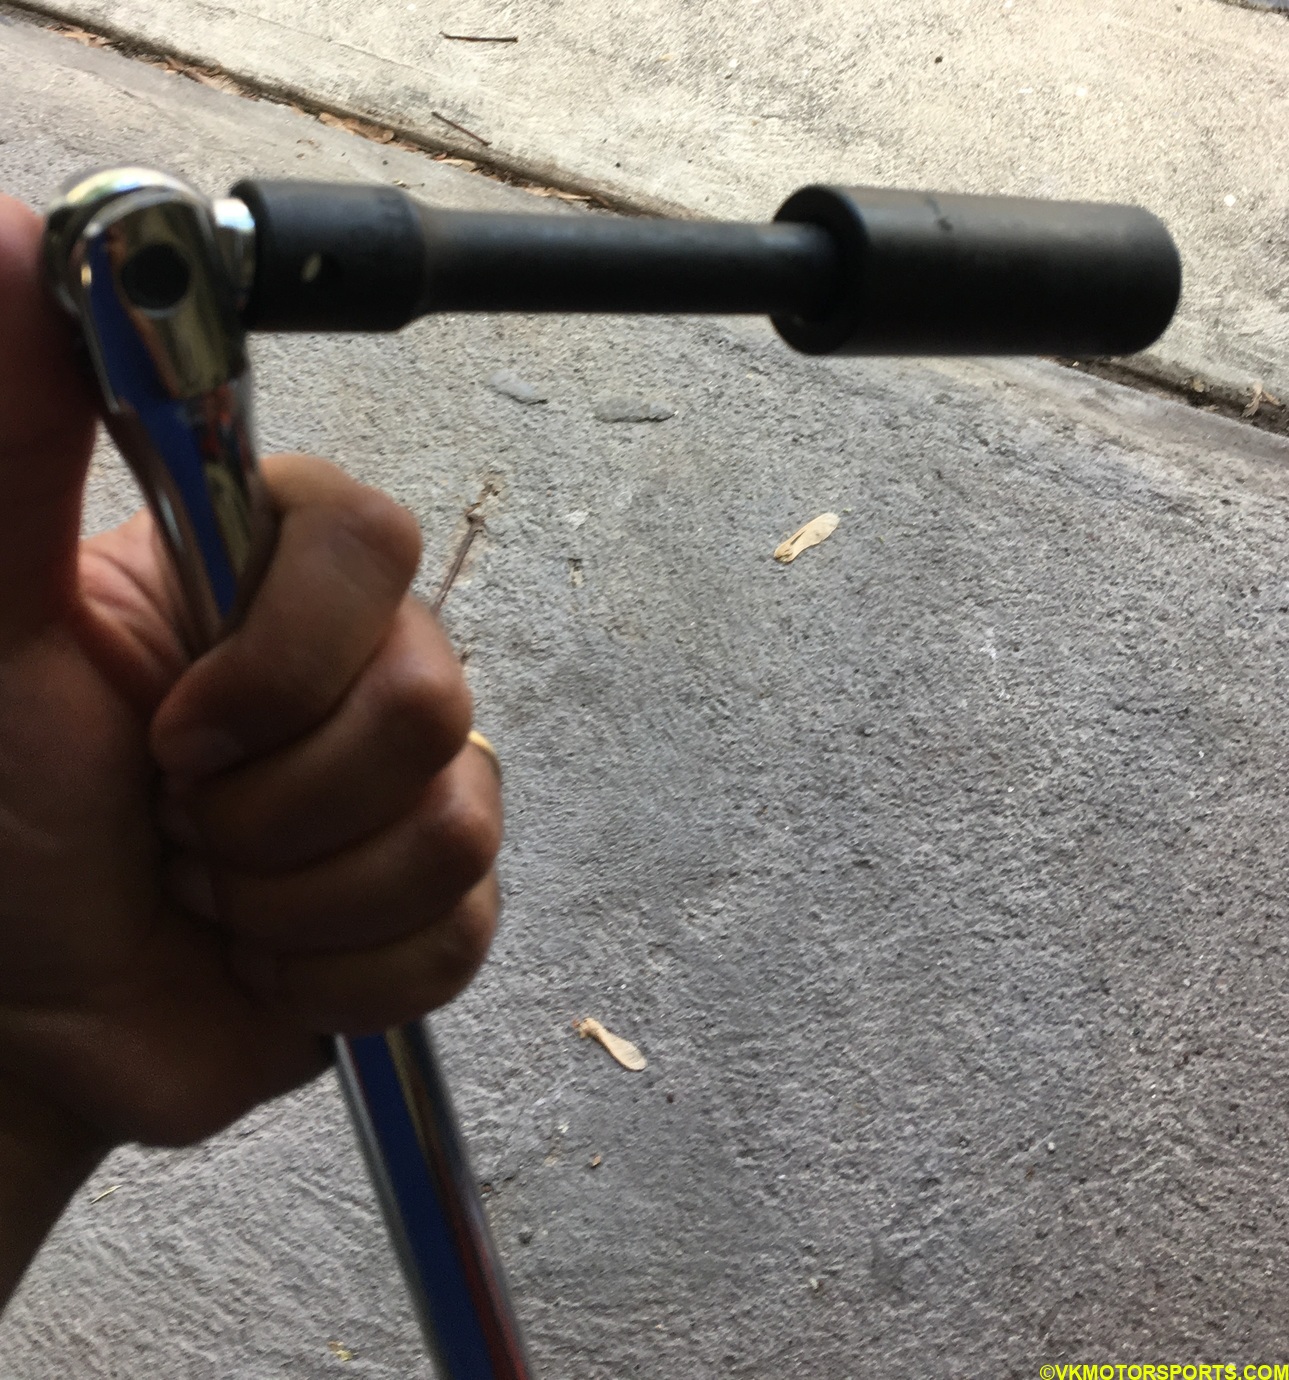 Figure 4. 21mm deep socket and extension
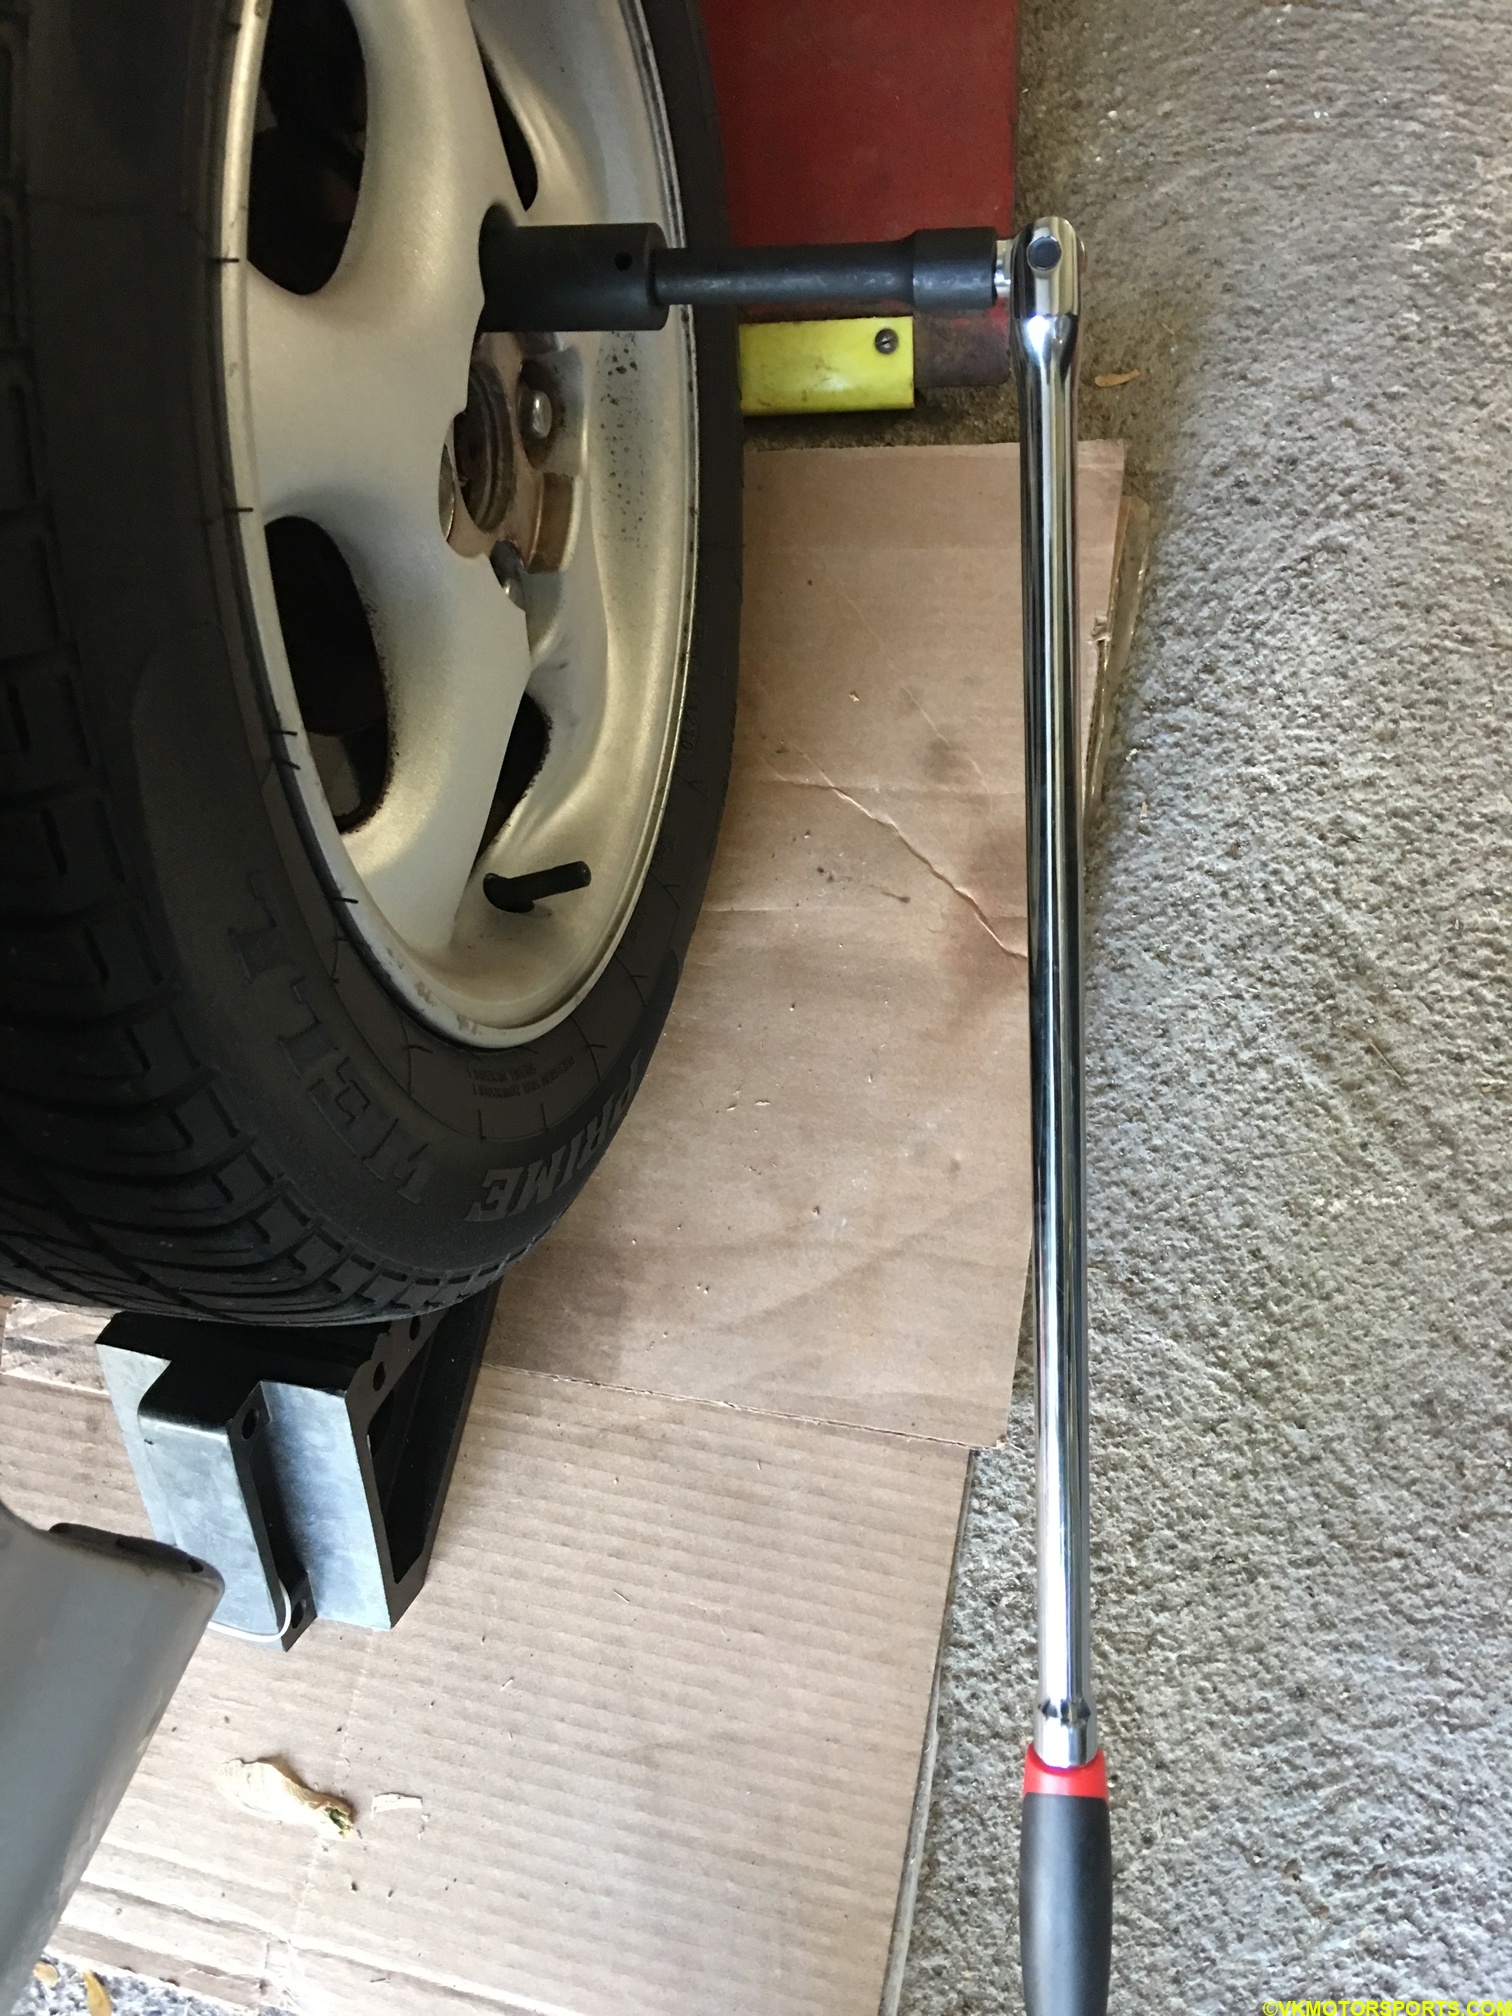 Figure 5. Loosen the lug nuts
Step 3: Raise the car using a jack and jack stands, or using a mid-rise lift.
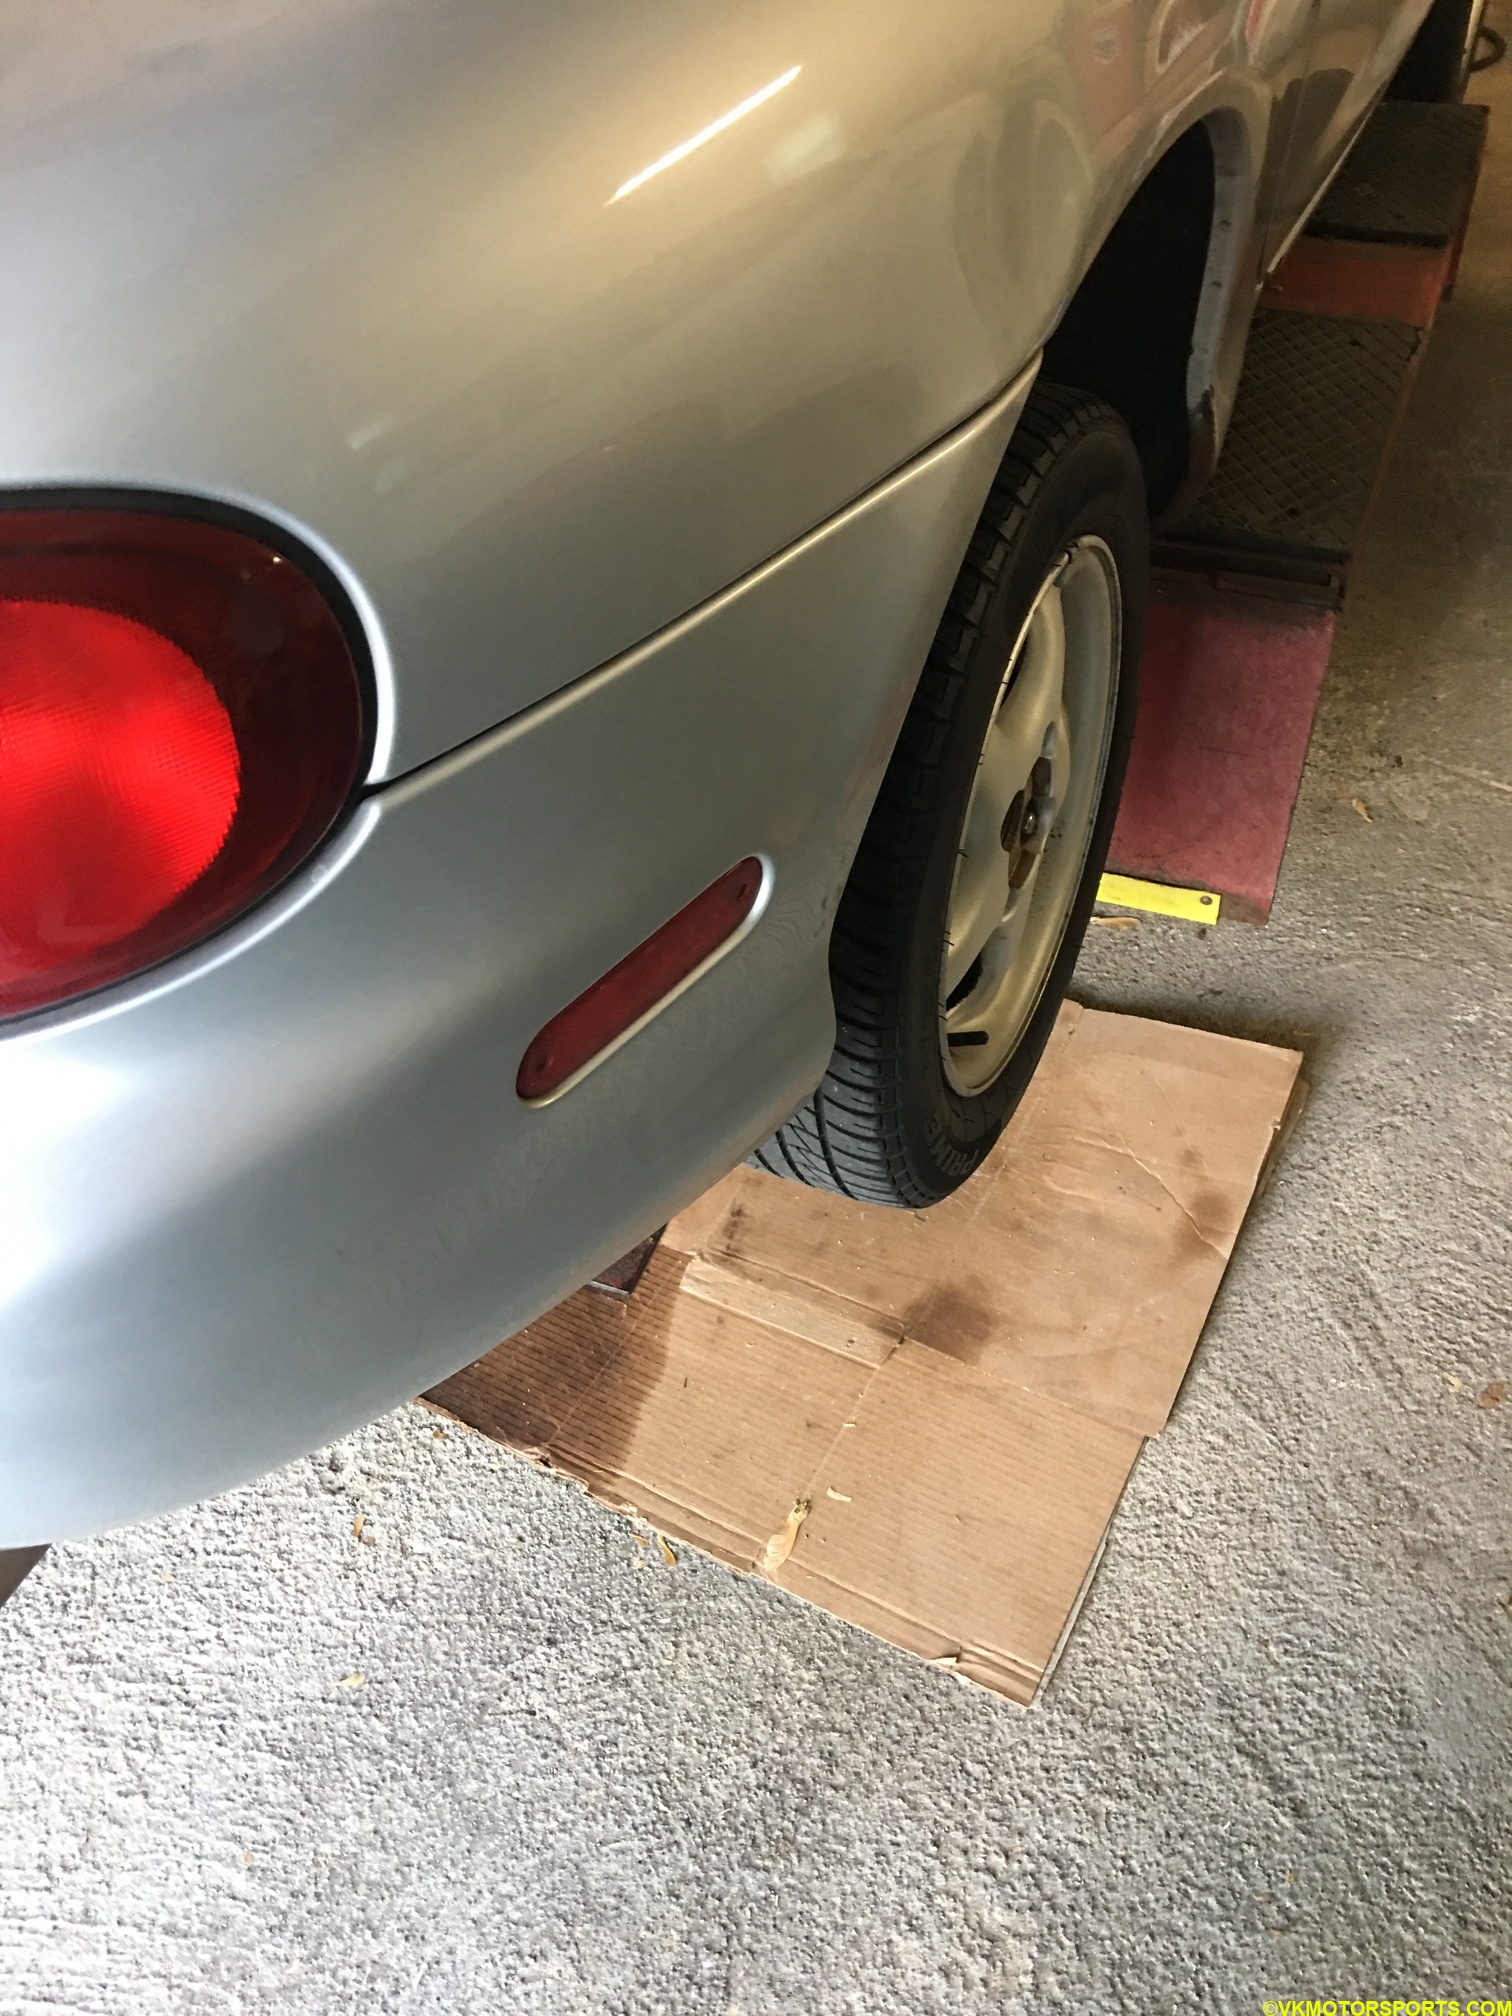 Figure 6. Raise the car up
Step 4: Use a 1/2” drive ratchet and start removing the 4 lug nuts per wheel.
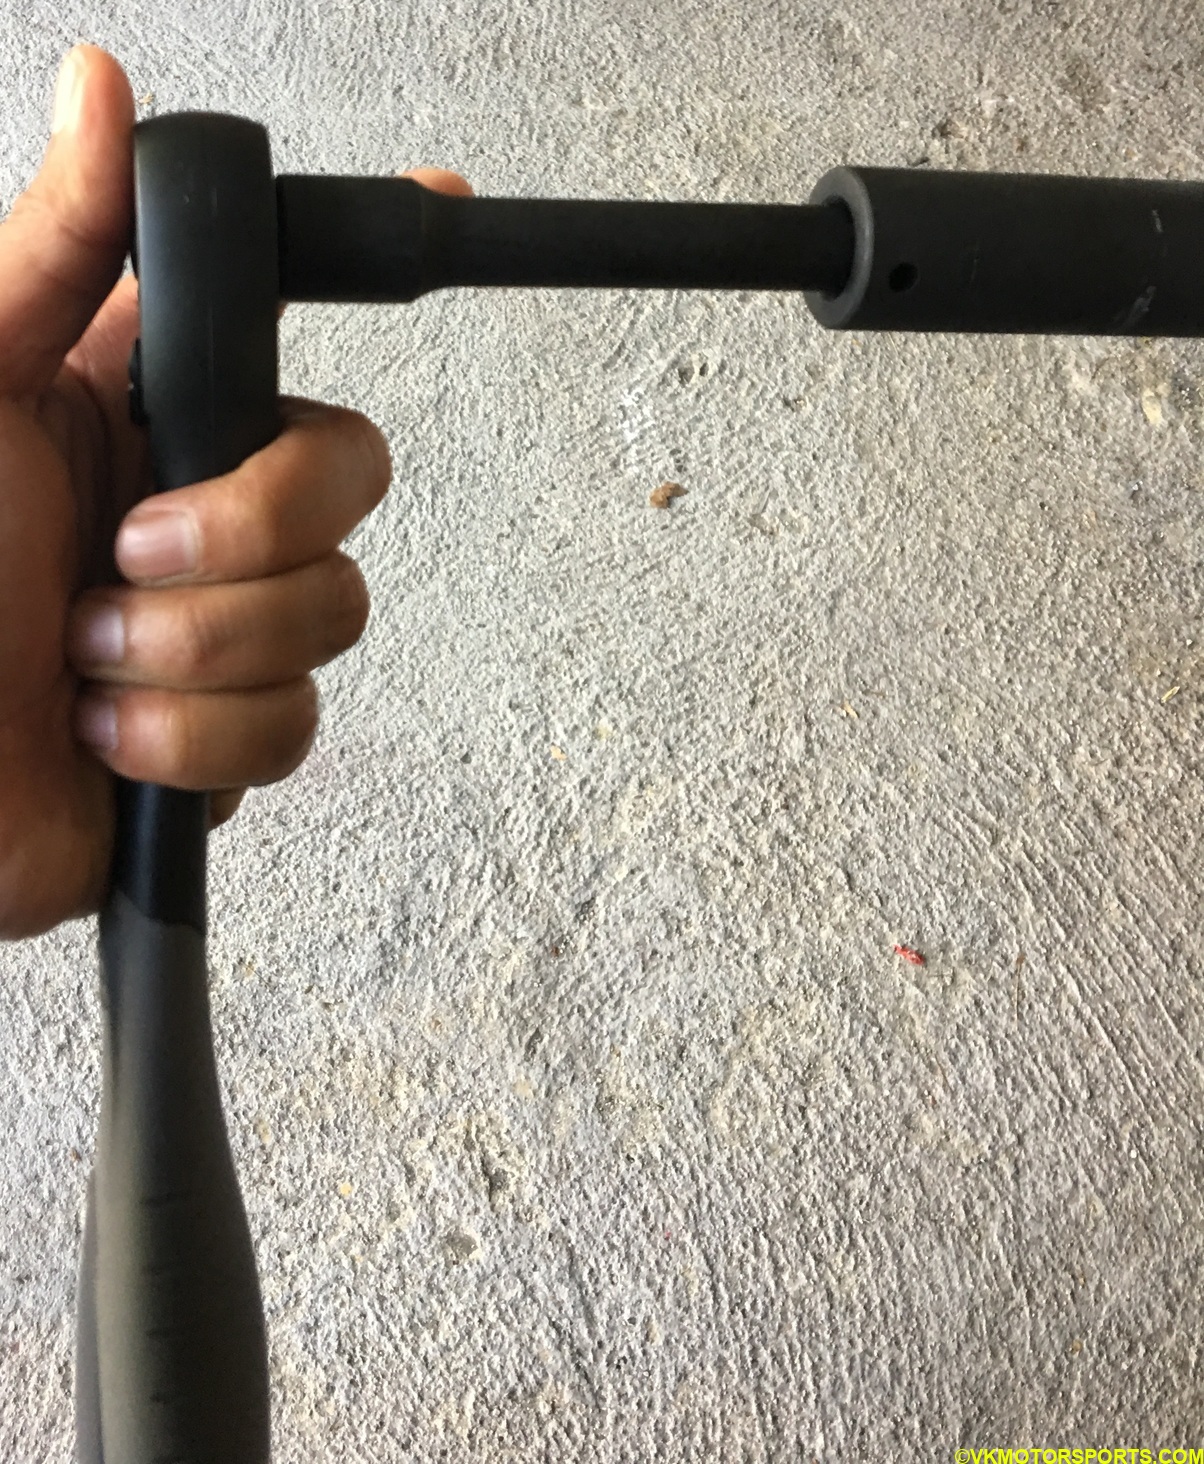 Figure 7. Use a ratchet and the 21mm socket to remove lug nuts
Step 5: Remove each wheel to reveal the 4 bolts on which to mount the 15” replacement wheels.
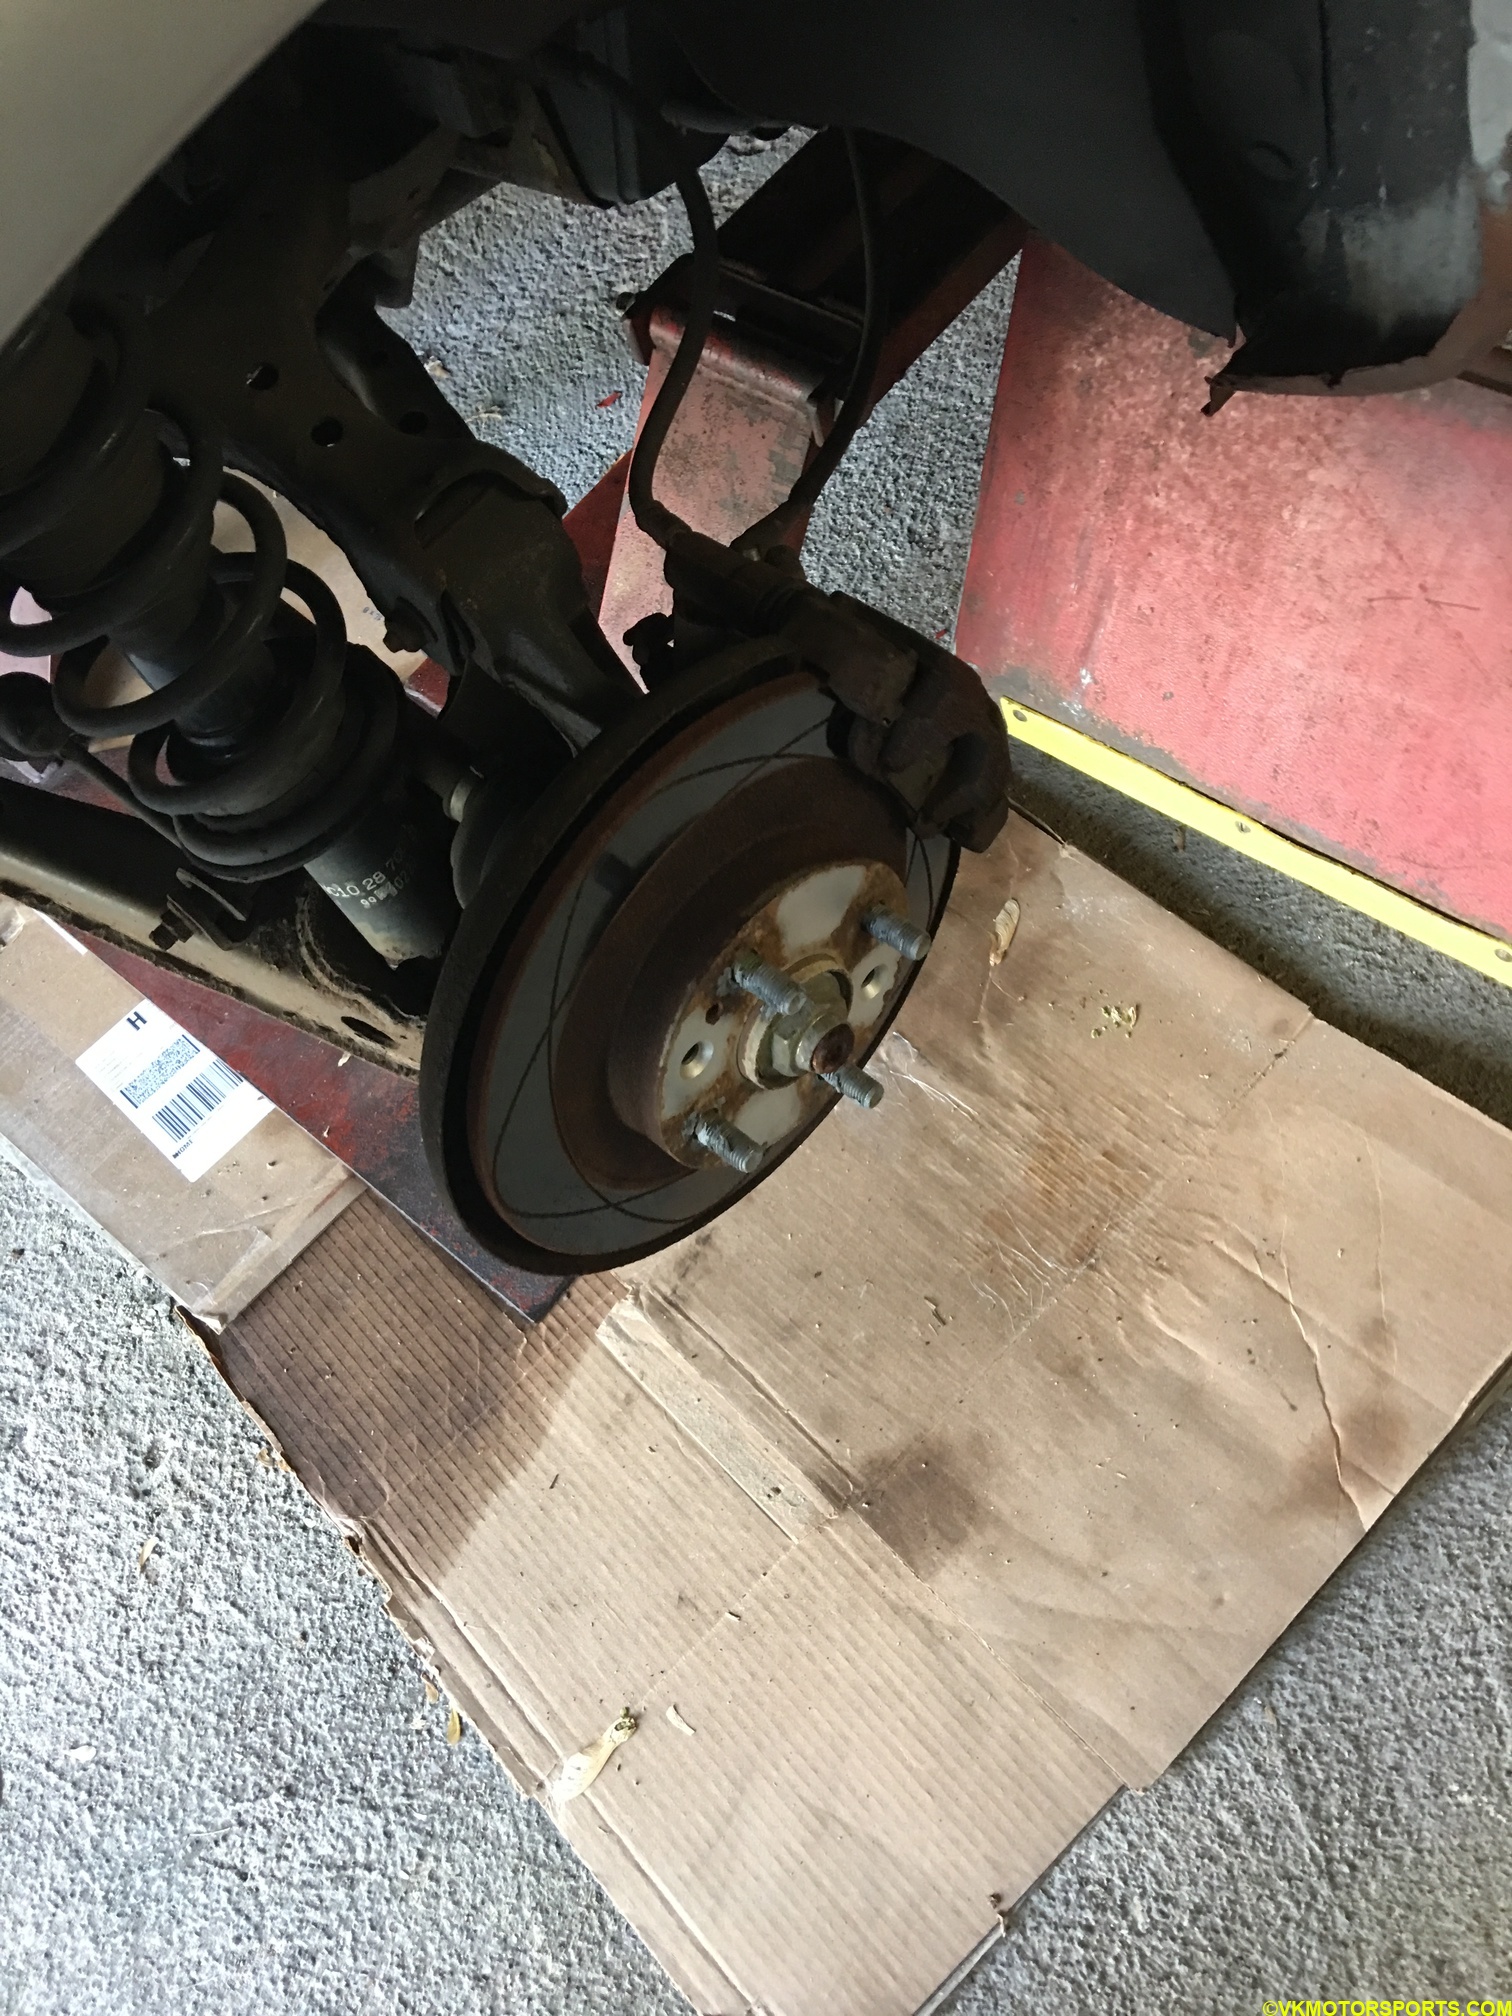 Figure 8. Remove the wheel
Step 6: Apply anti-seize paste to each of the bolts so that it continues to be easy to take off the wheels as needed.
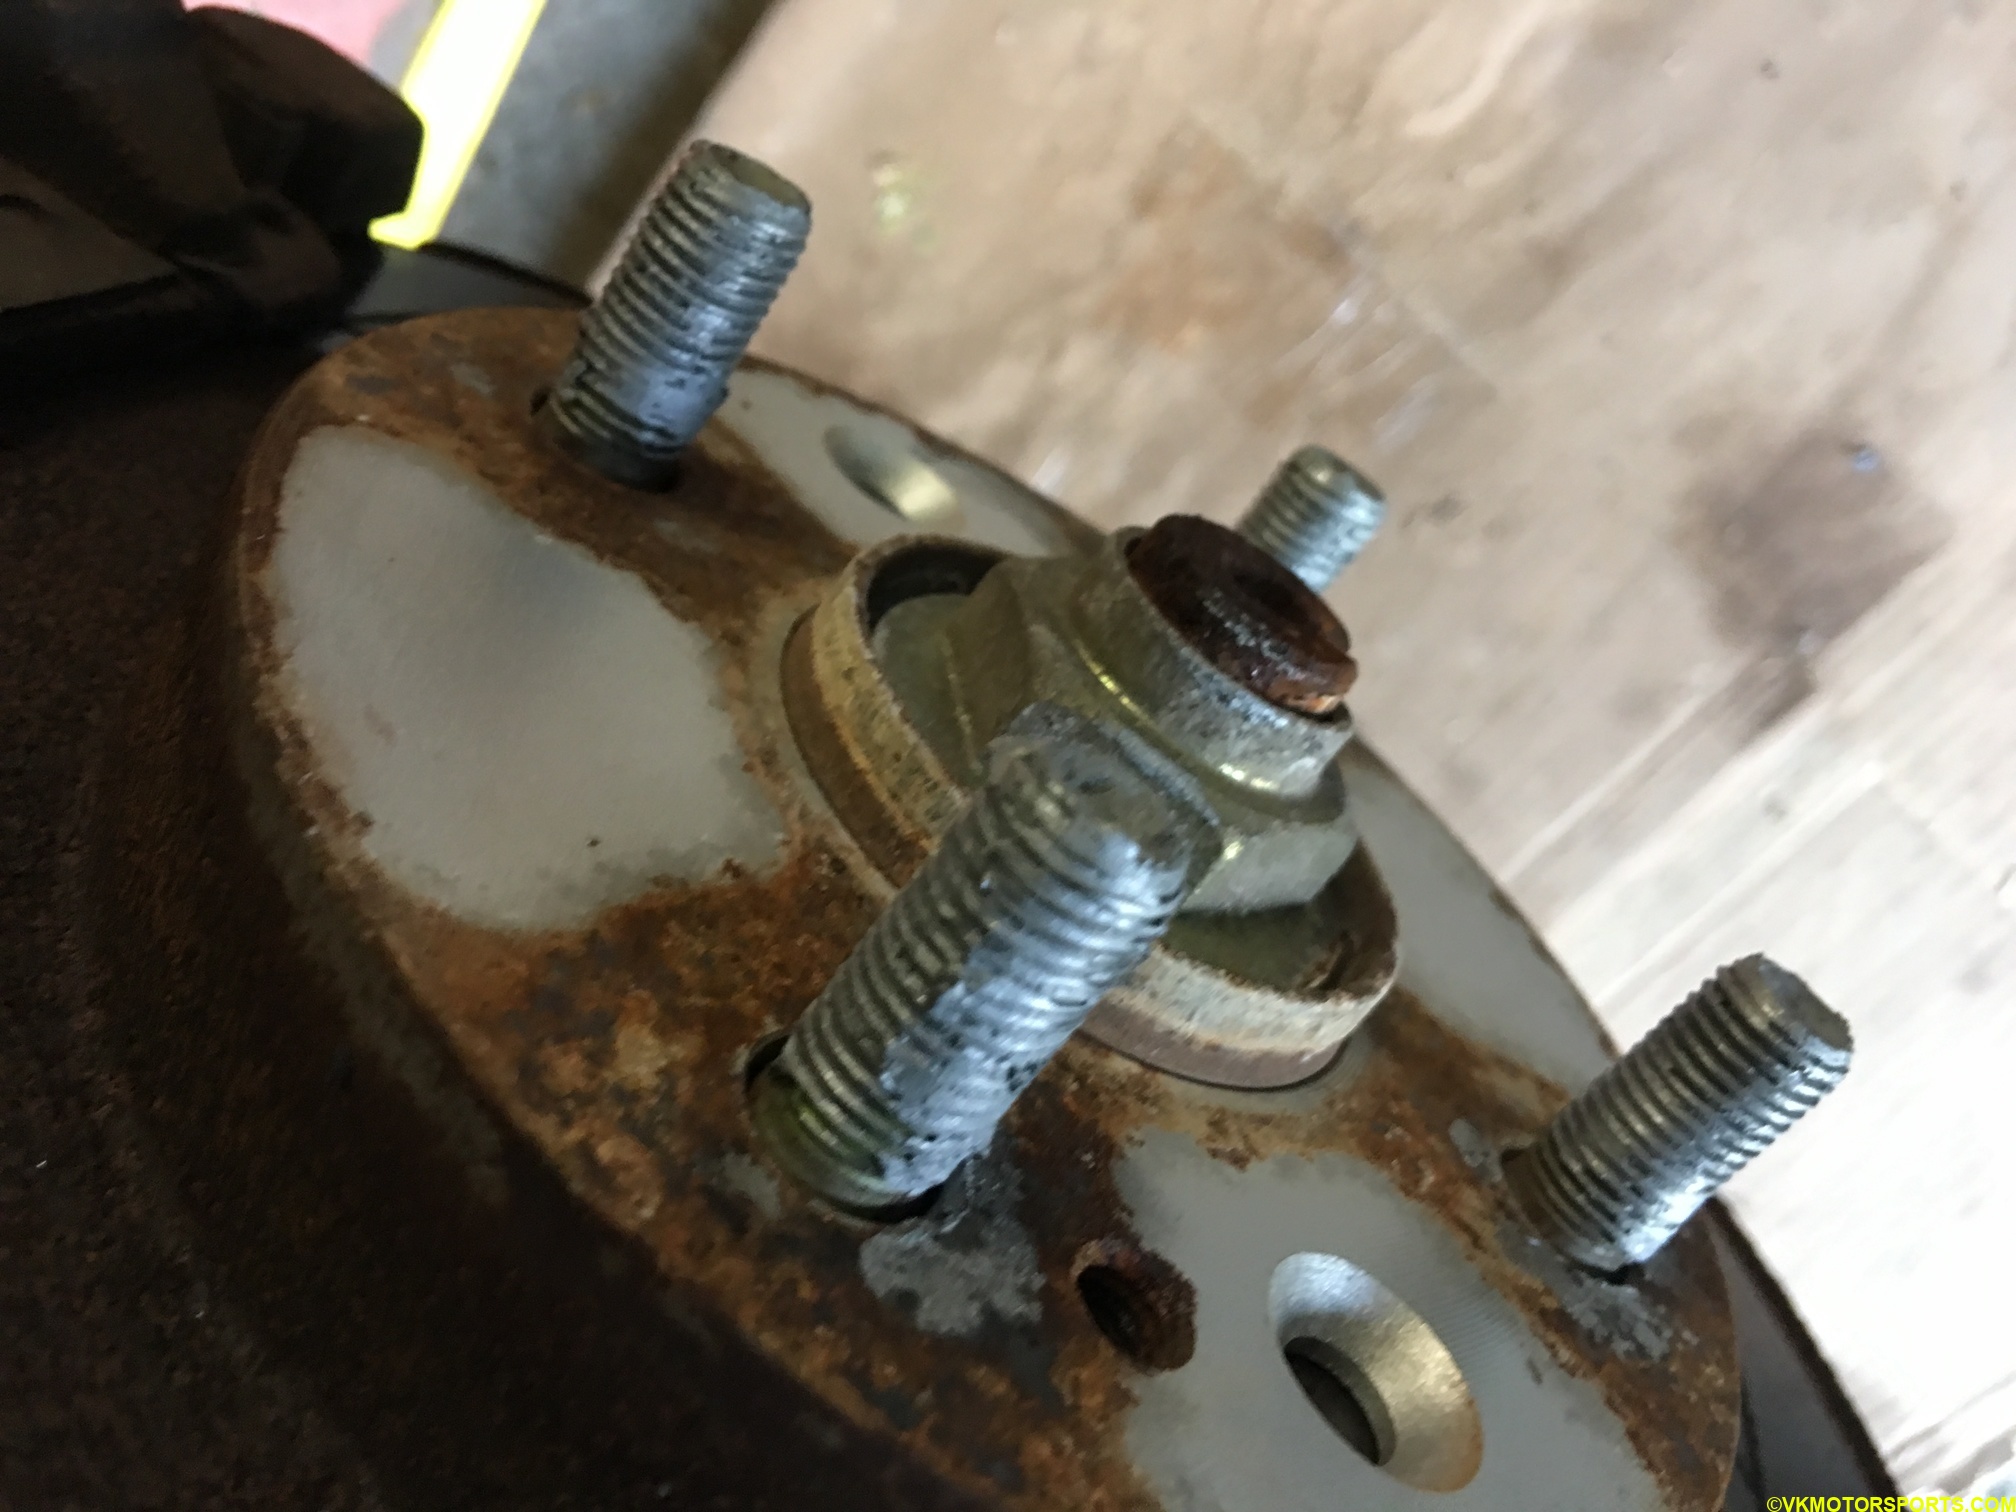 Figure 9. Apply anti-seize to all the bolts
Step 7: Mount the replacement 15” wheel and align it such that it fits snugly on the center of the rotor. Then one by one screw the lug nuts in with your hand. Make sure you are not cross-threading them. You may use the ratchet and socket to quickly screw the lug nuts in too.
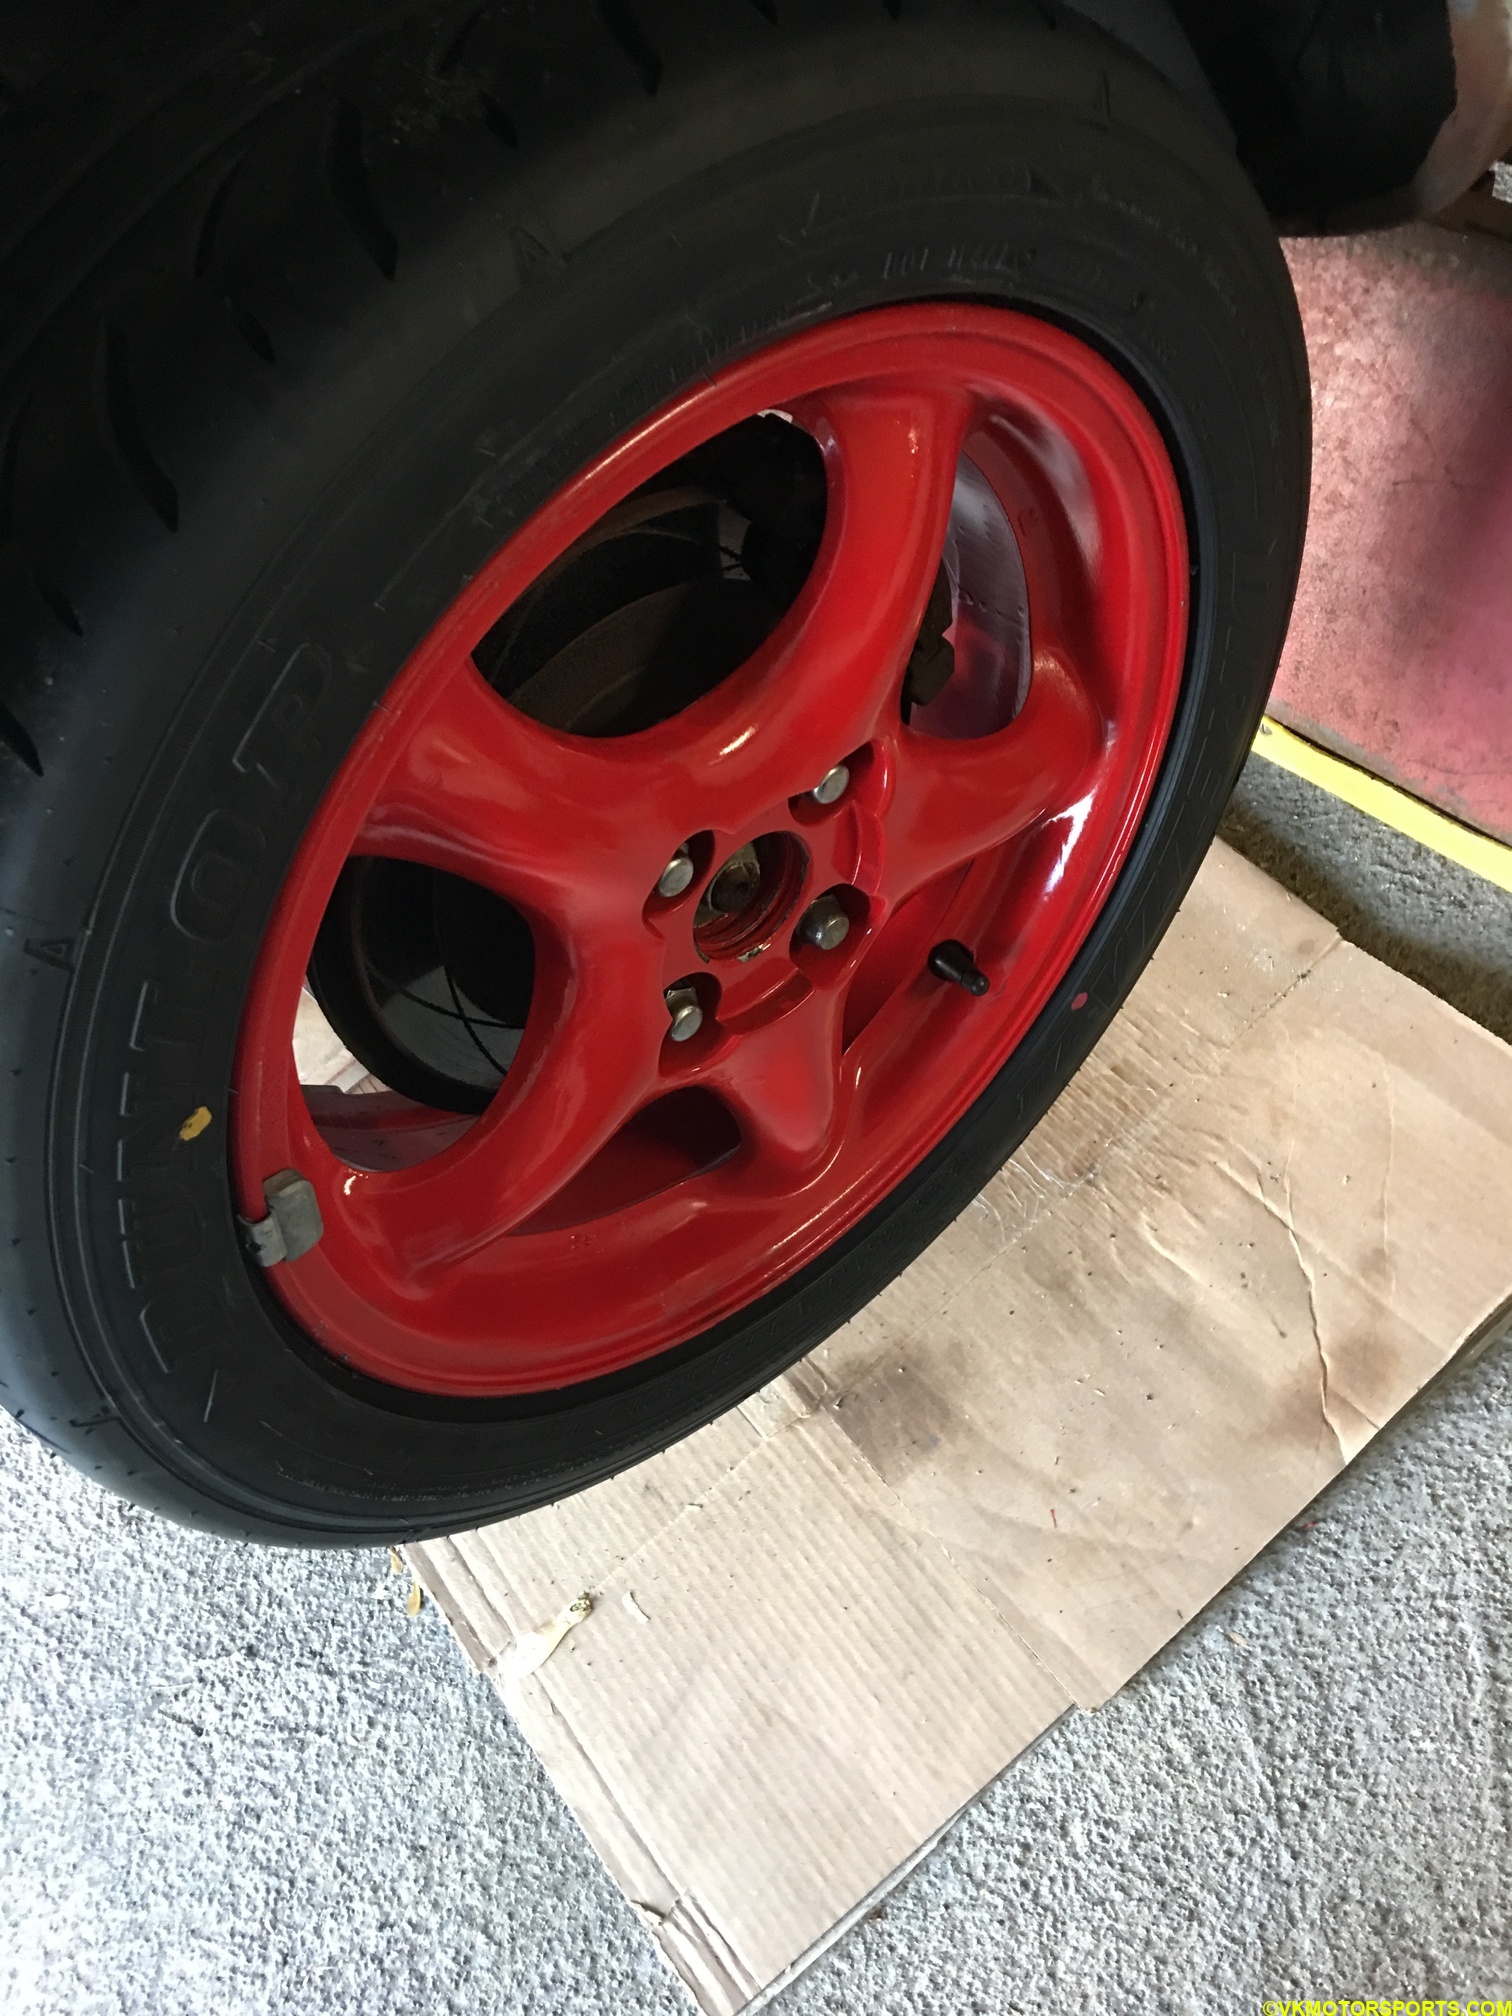 Figure 10. Mount the replacement wheel and screw the lug nuts in
Step 8: Lower the car to the ground after all the 4 replacement wheels have been mounted and the lug nuts tightened by hand or the ratchet.
Step 9: Once the 4 lug nuts per wheel and all the 4 wheels have been installed on the car, tighten the lug nuts to a torque value of 68-86 ft-lbs, as mentioned in the manual. I picked 80 ft-lbs since I am using the manual torque wrench.
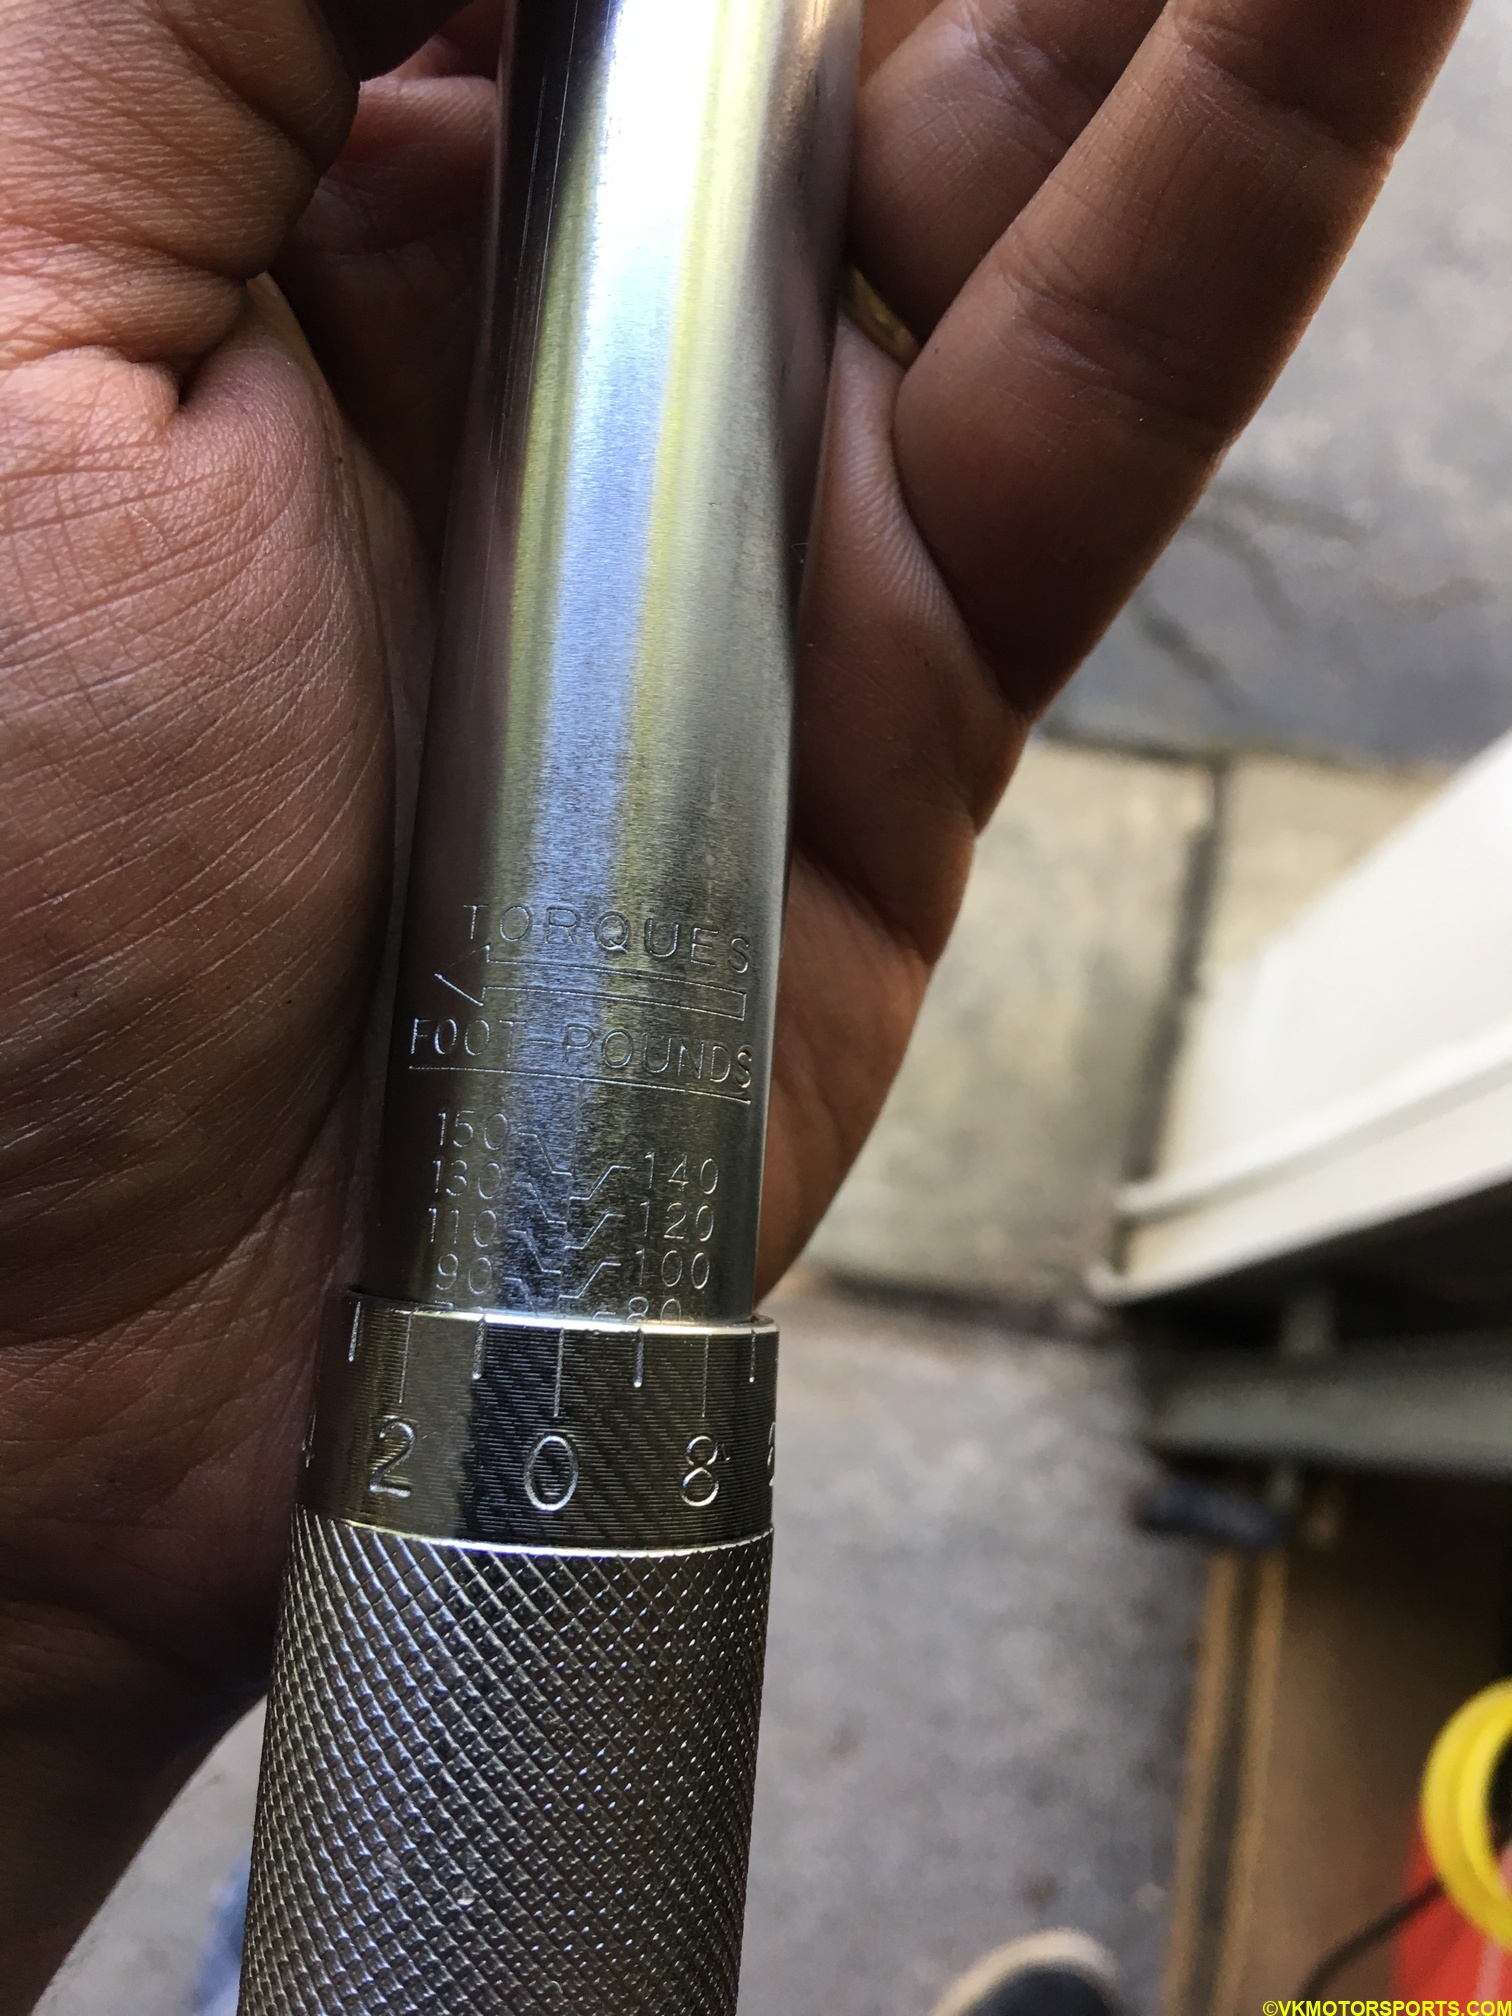 Figure 11. Set the torque on the torque wrench to tighten the lug nuts
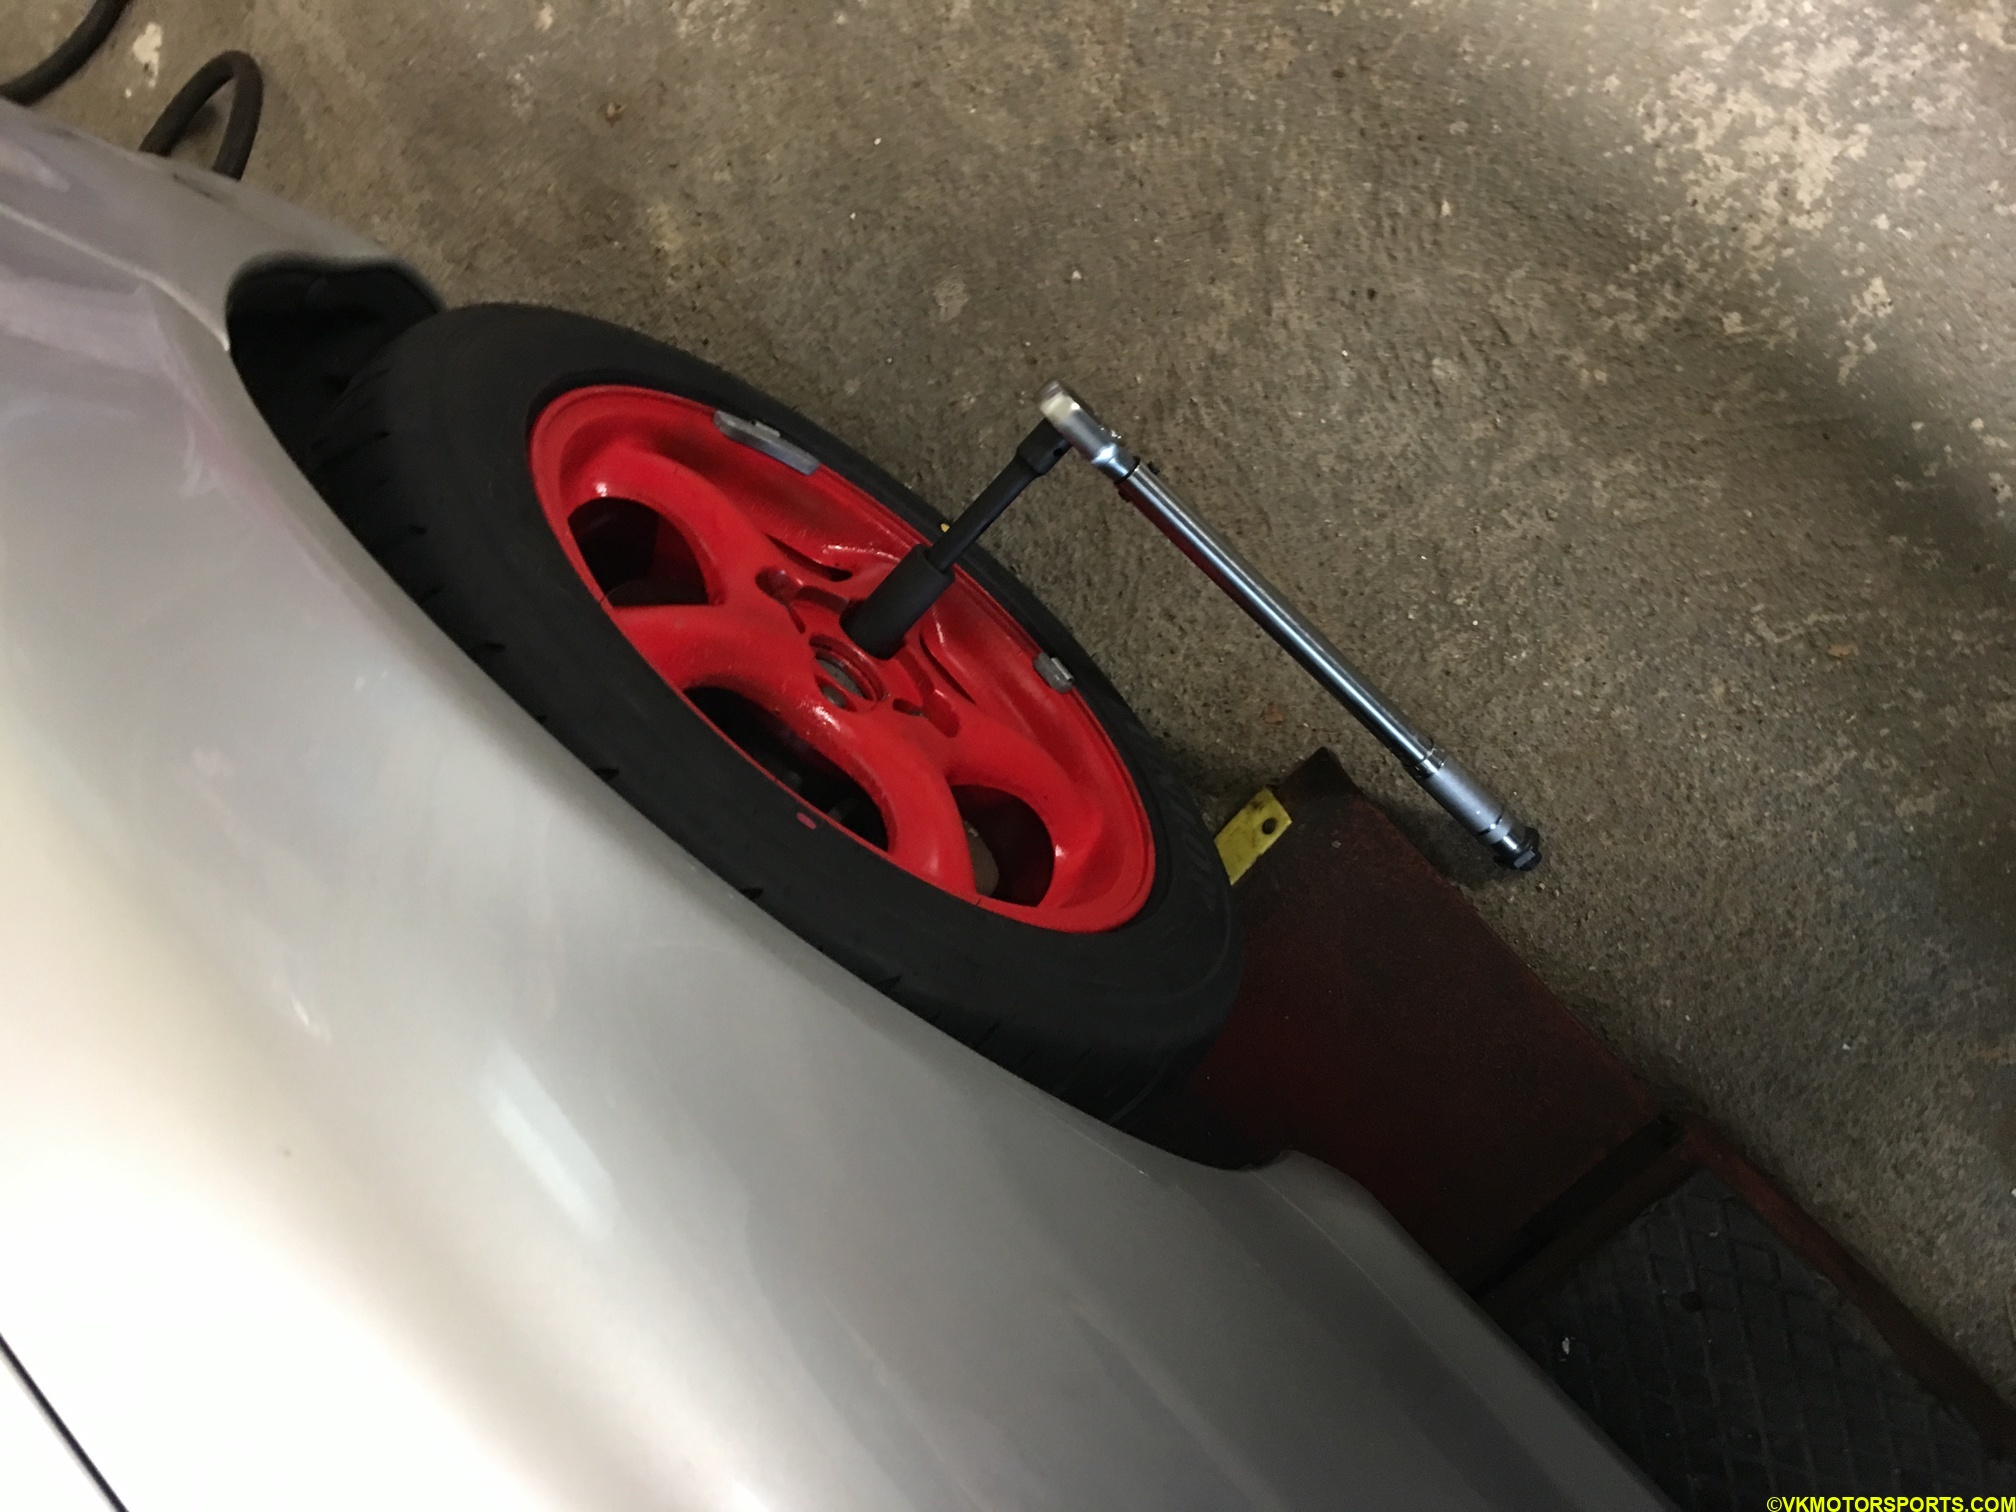 Figure 12. Tighten each lug nut to the appropriate torque
Step 10: Now it is time to drive the car and test out the wheels.
I took some pictures of the car from each side here to see how it looks. To me the red wheels on a dull silver colored car look bad-ass.
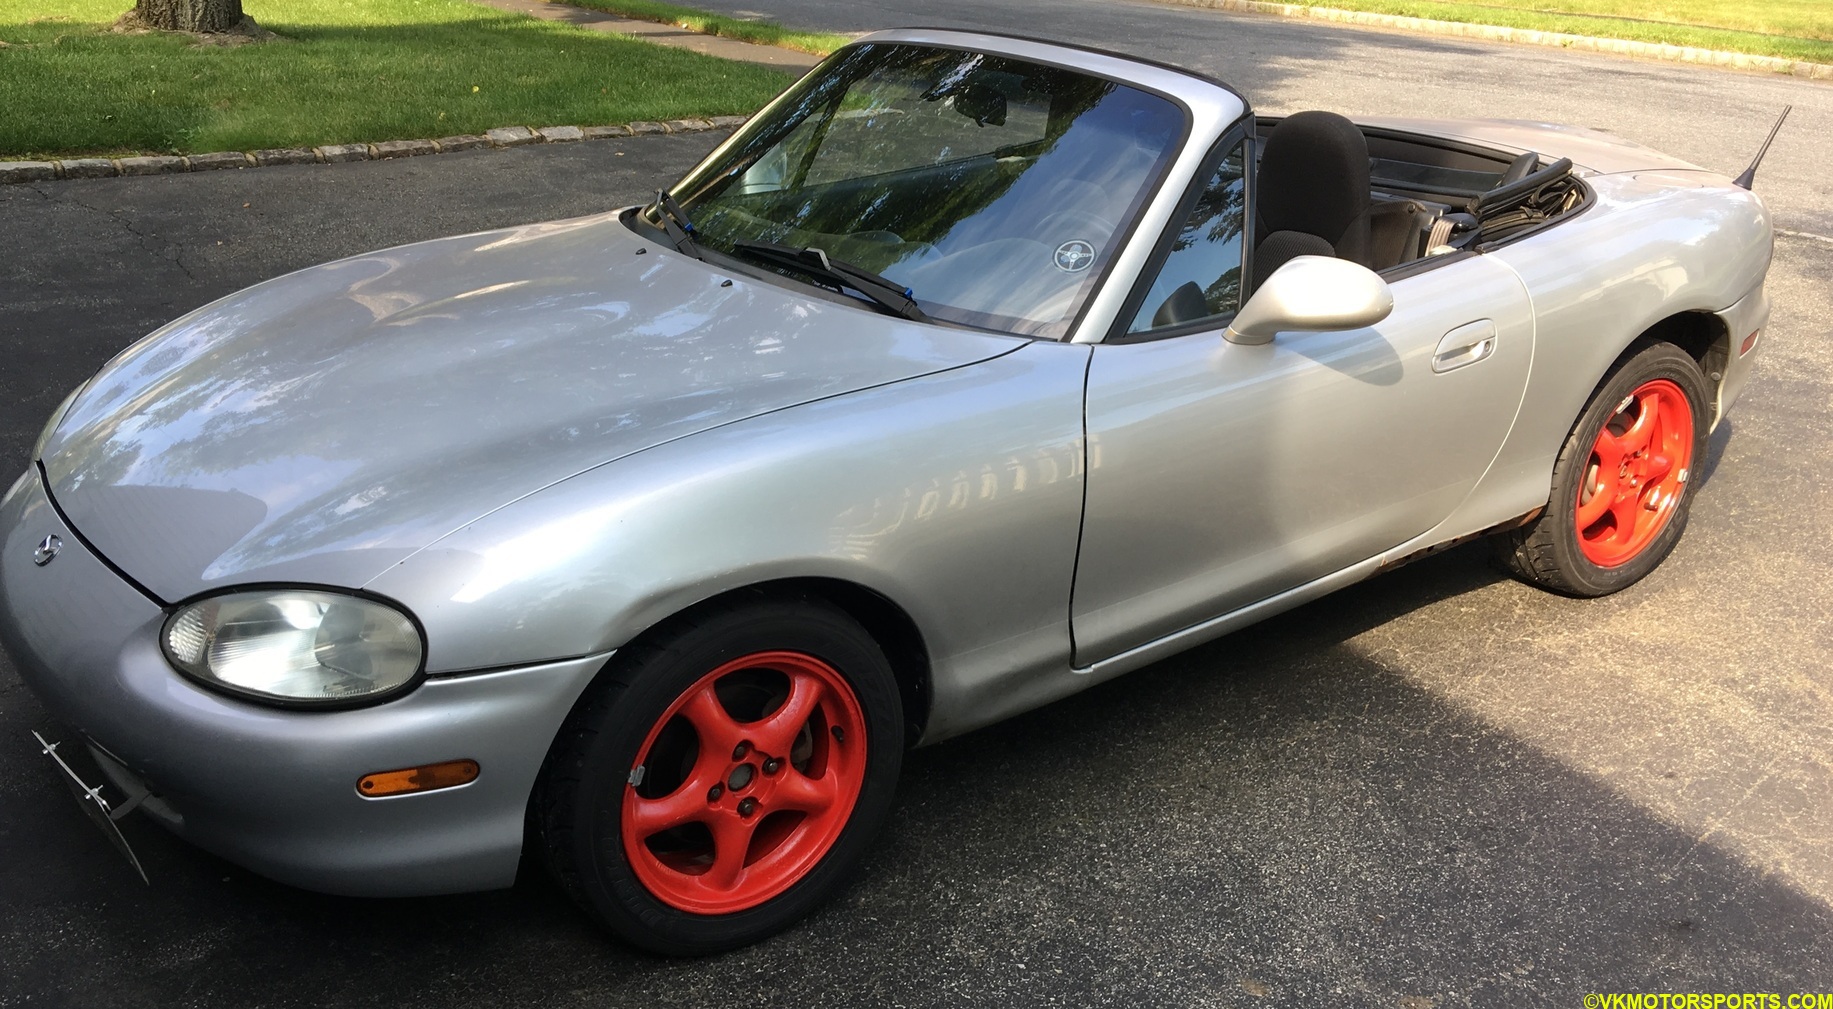 Figure 13. Driver side look of red wheels on silver car
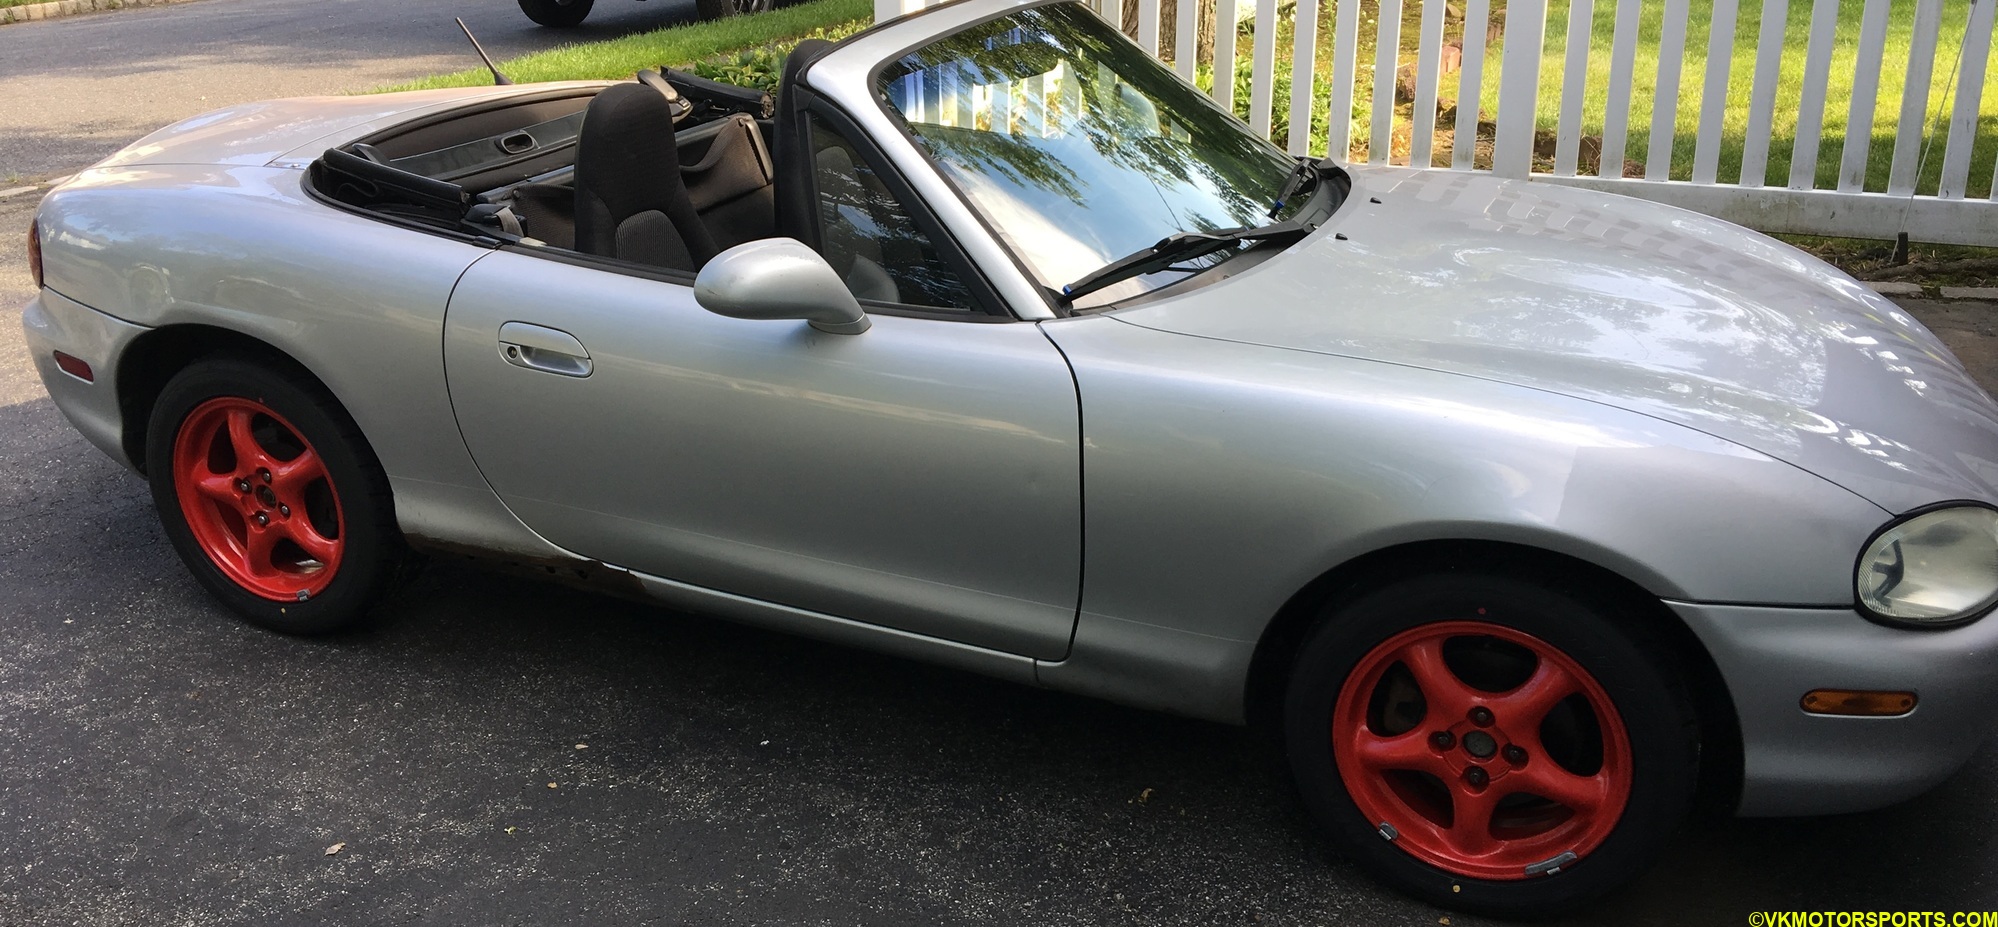 Figure 14. Passenger side look of red wheels on silver car
After driving 100 miles, you should re-torque the wheel lug nuts as recommended by the manufacturer. This blog post does not handle any odometer or tachometer recalibration after changing the wheel size.
Knowing how to take off and put on the wheels is a very basic skill that everyone should have.