One of the relatively easy improvements to your engine’s performance besides an oil change is to replace the spark plugs and the plug wires which is what I did today.
The recommended spark plugs for the NB Miata are the NGK Iridium IX plugs as seen in Figure 1. I also decided to replace the plug wires with NGK blue plug wires, both of which I purchased from Rockauto.com.
For the 1999 NB Miata, which has a 4-cylinder engine we need 4 spark plugs (Figure 2).
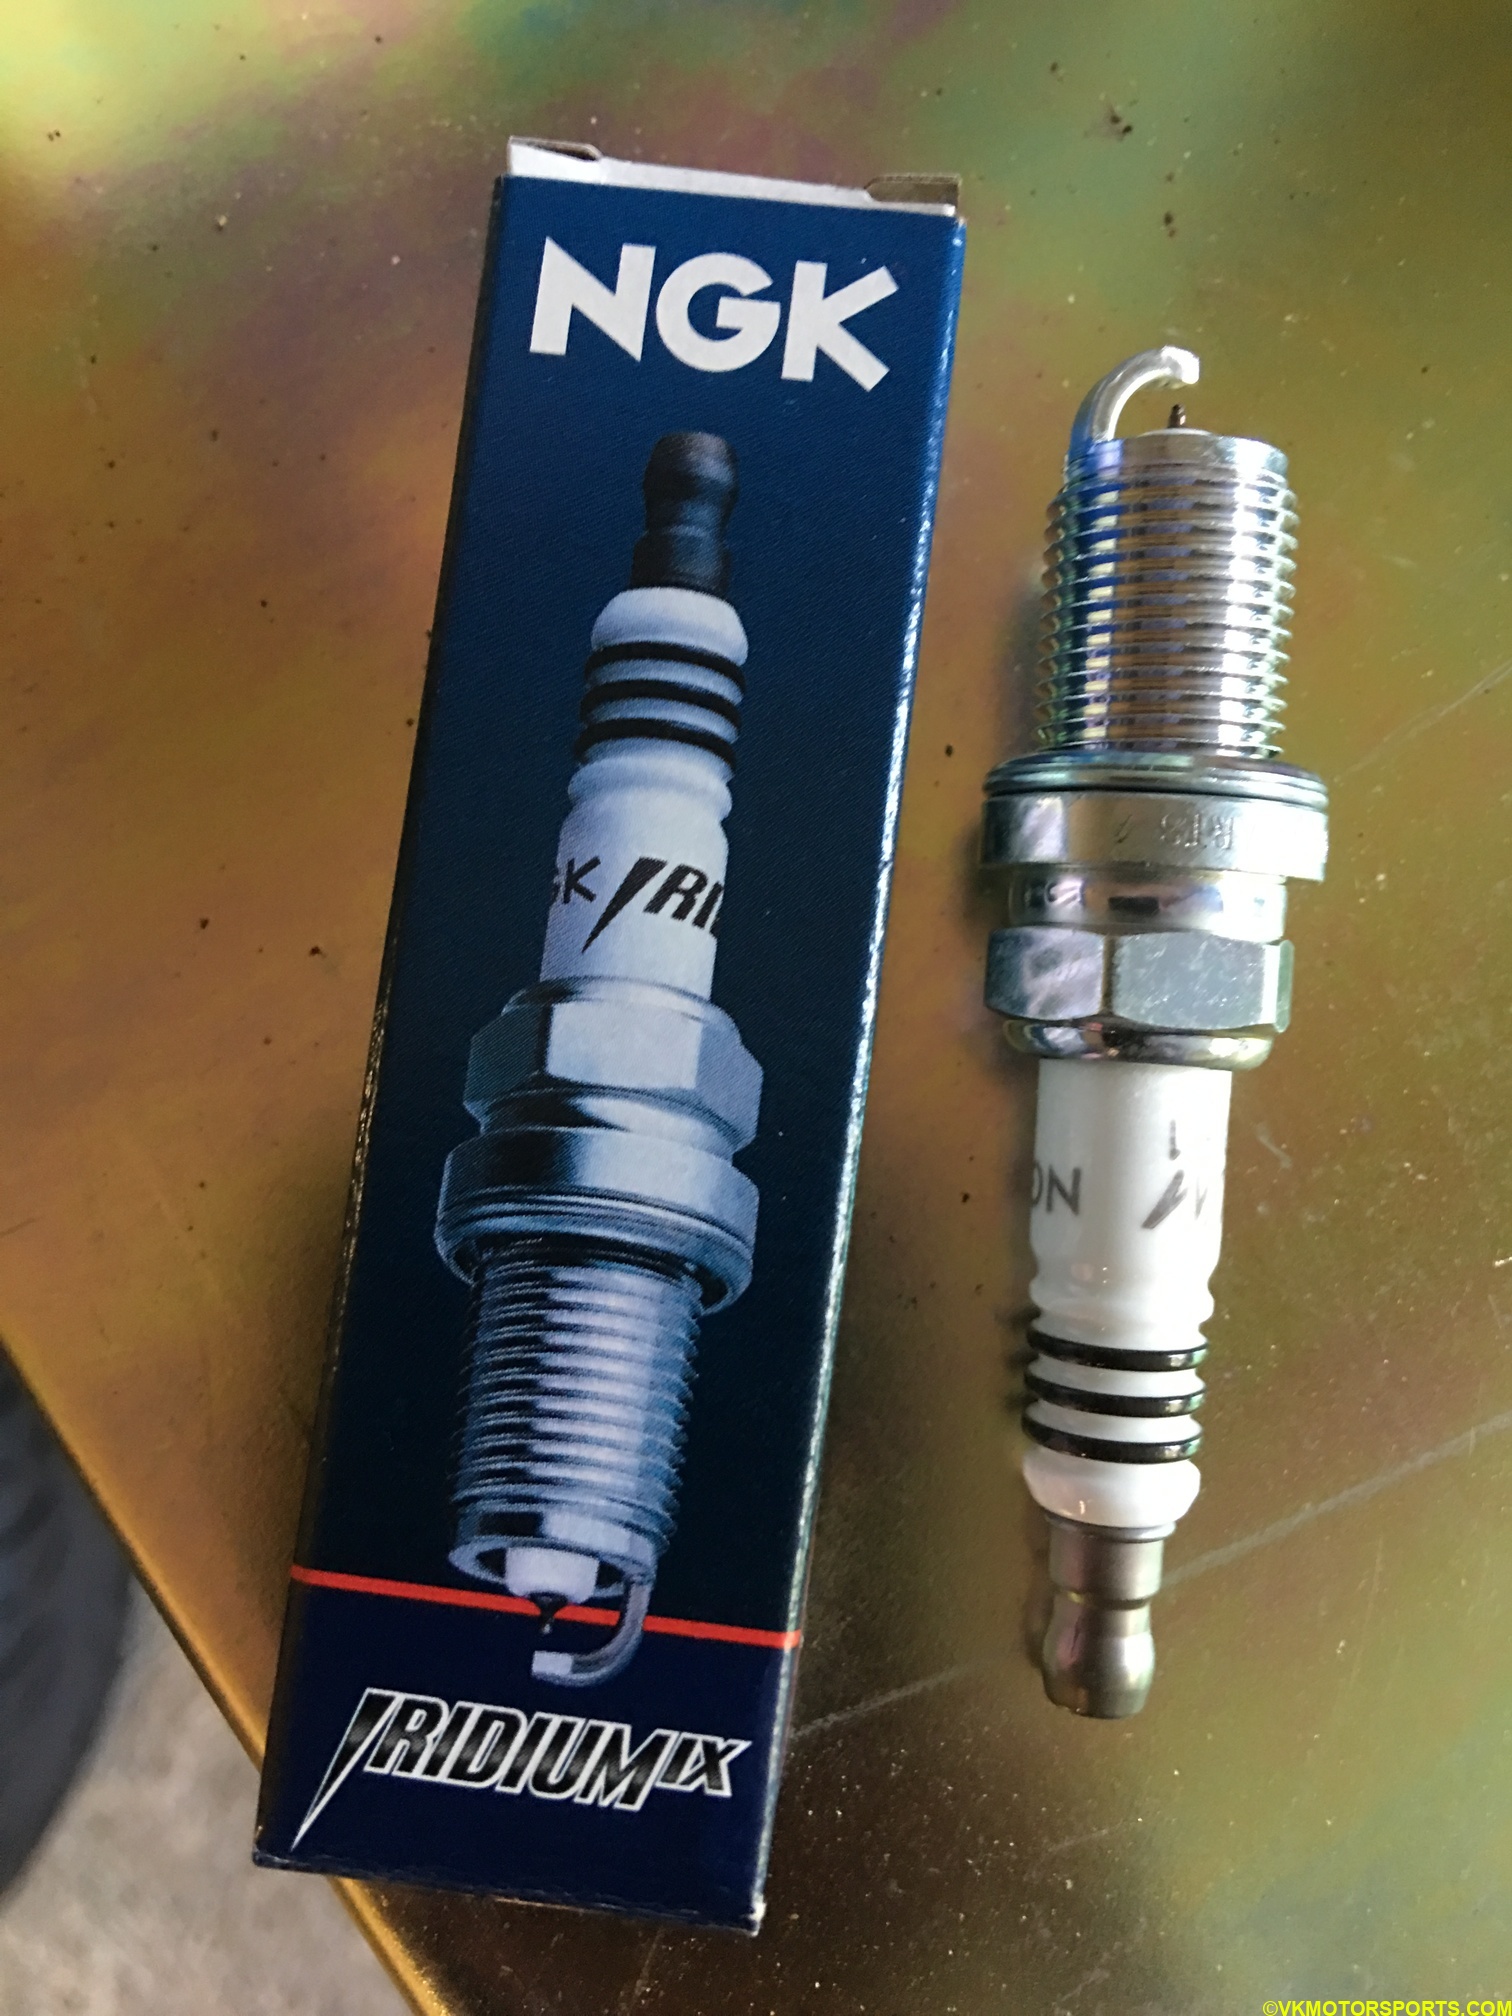 Figure 1. NGK Iridium IX spark plug
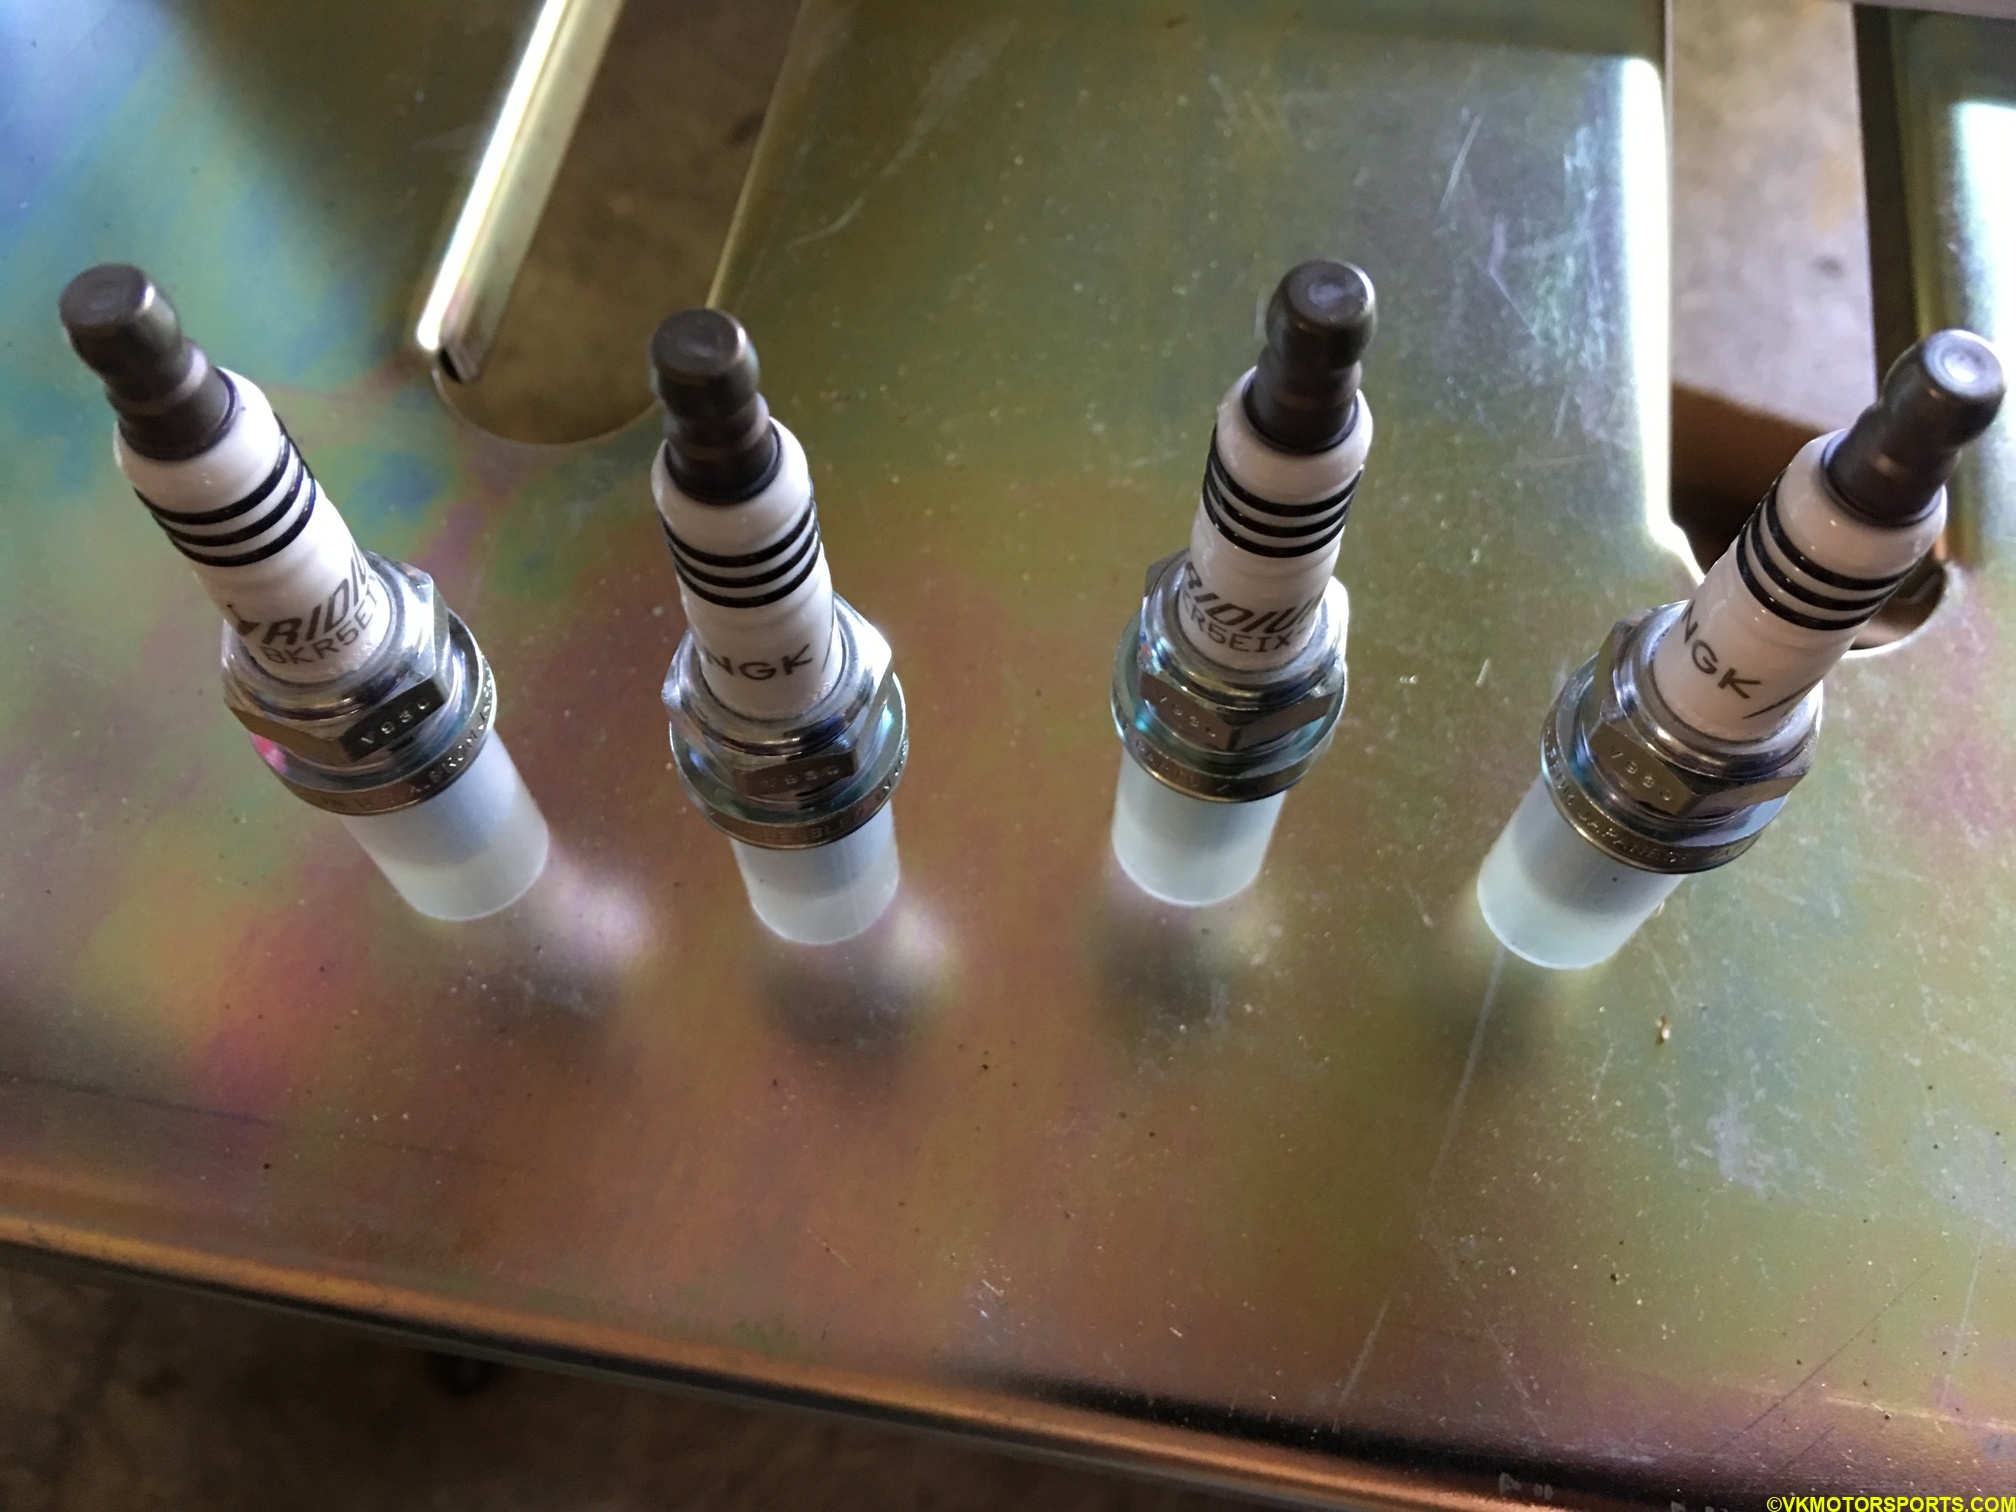 Figure 2. 4 NGK Iridium IX spark plugs
Step 1: Using a gapping tool make sure the spark plug gap is between 0.040”-0.043” as shown in Figure 3.
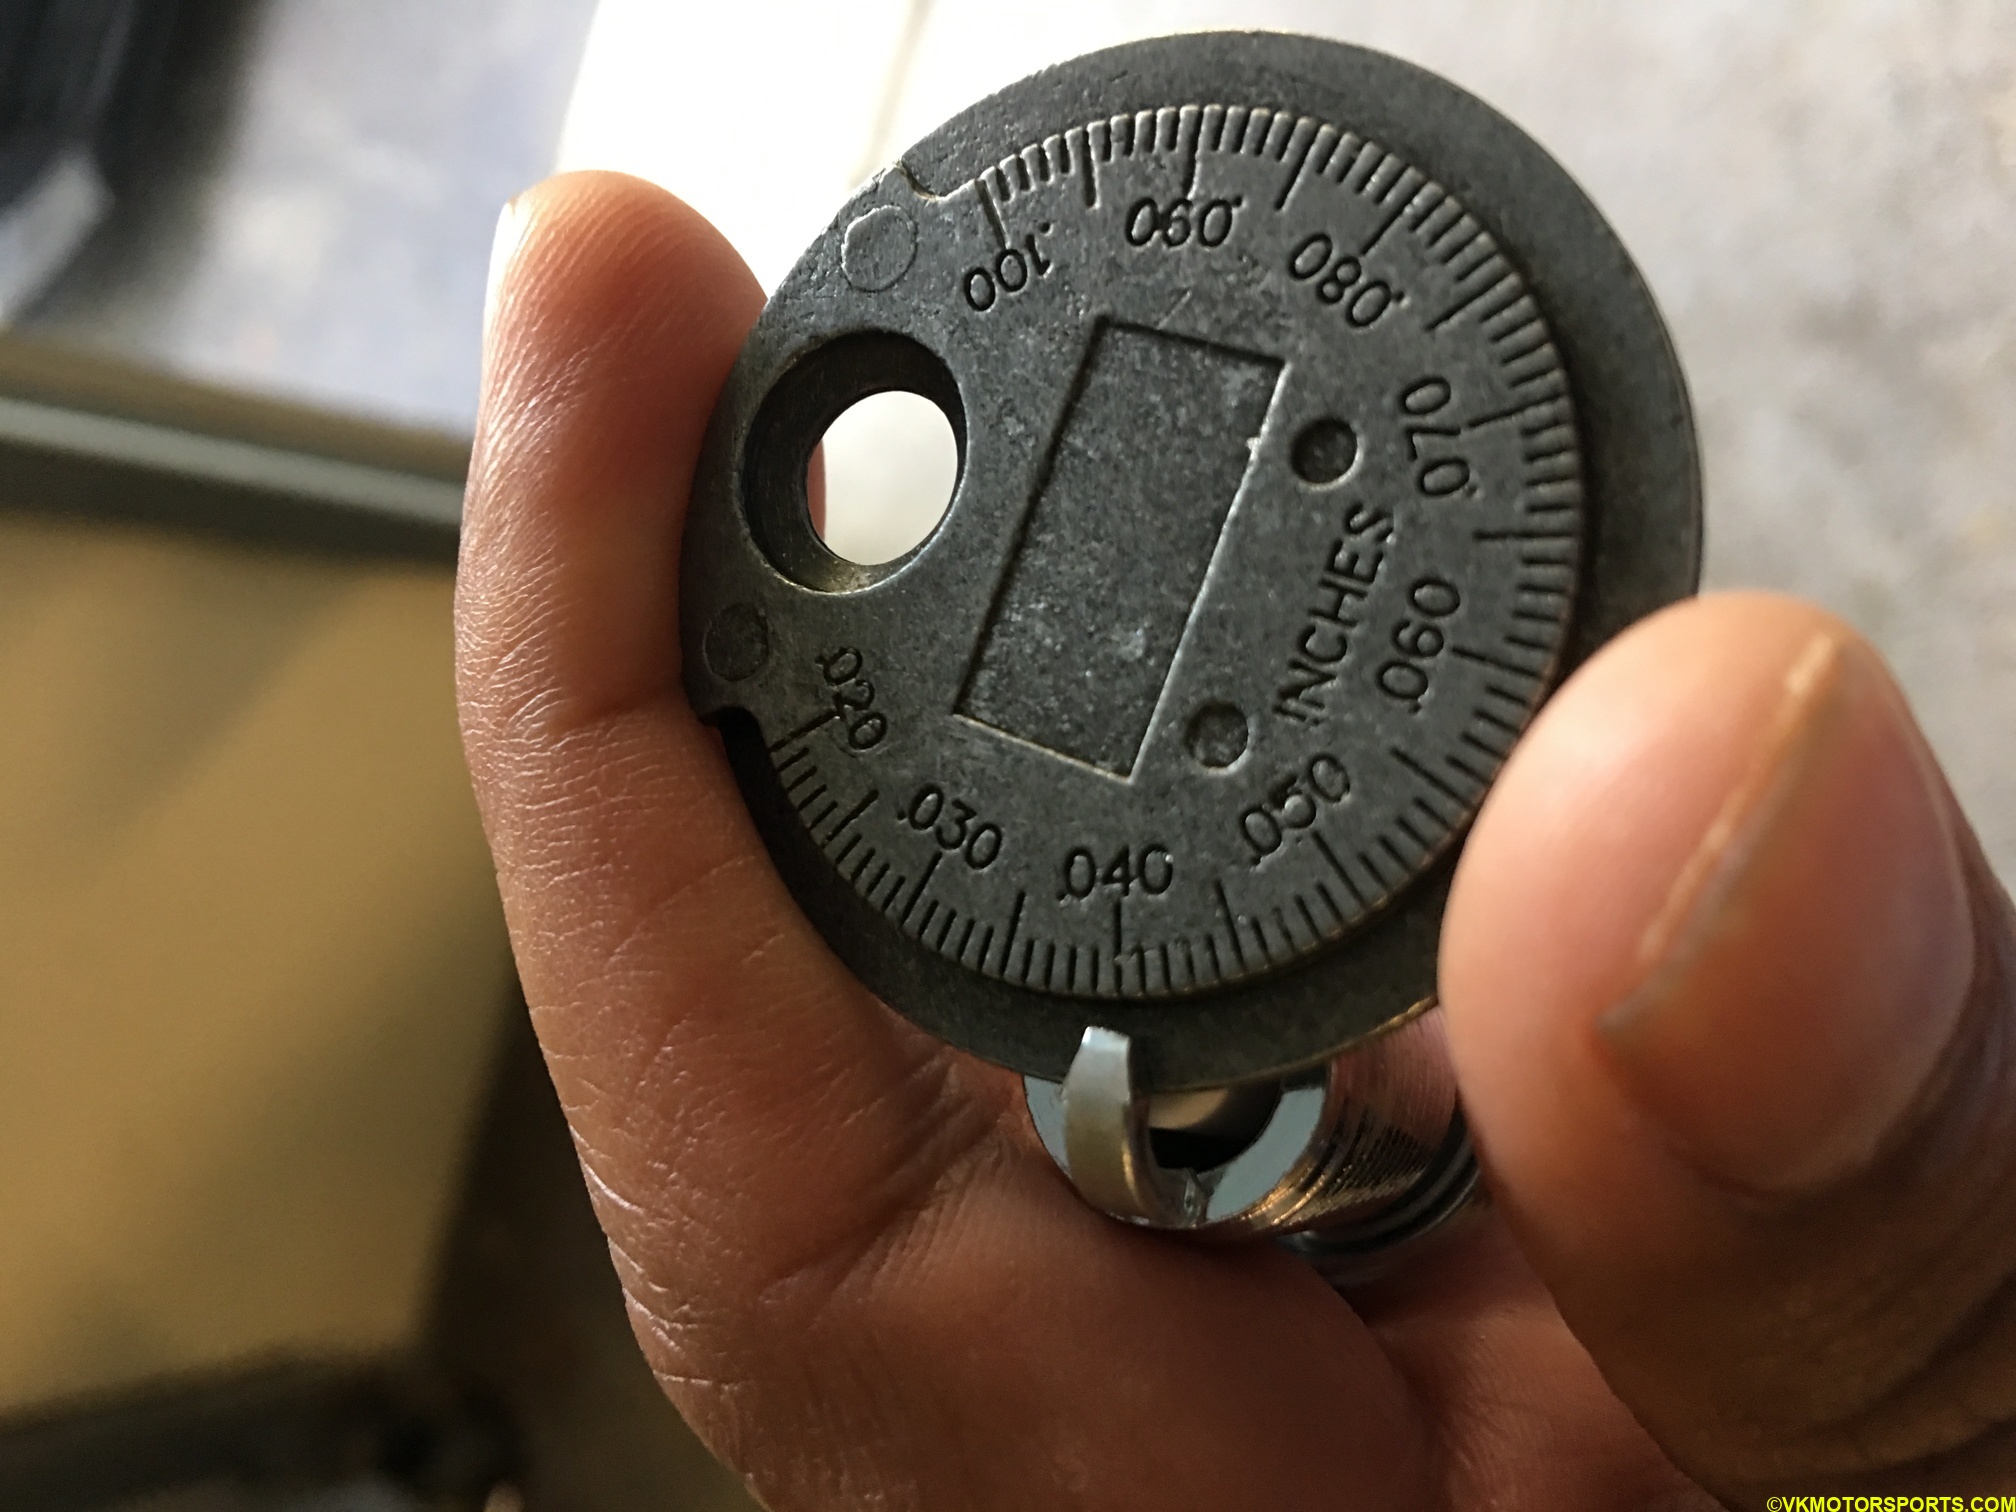 Figure 3. Using the spark plug gapping tool
Step 2: Remove the spark plug boot (Figure 4) to expose the hole where the plug is installed (Figure 5).
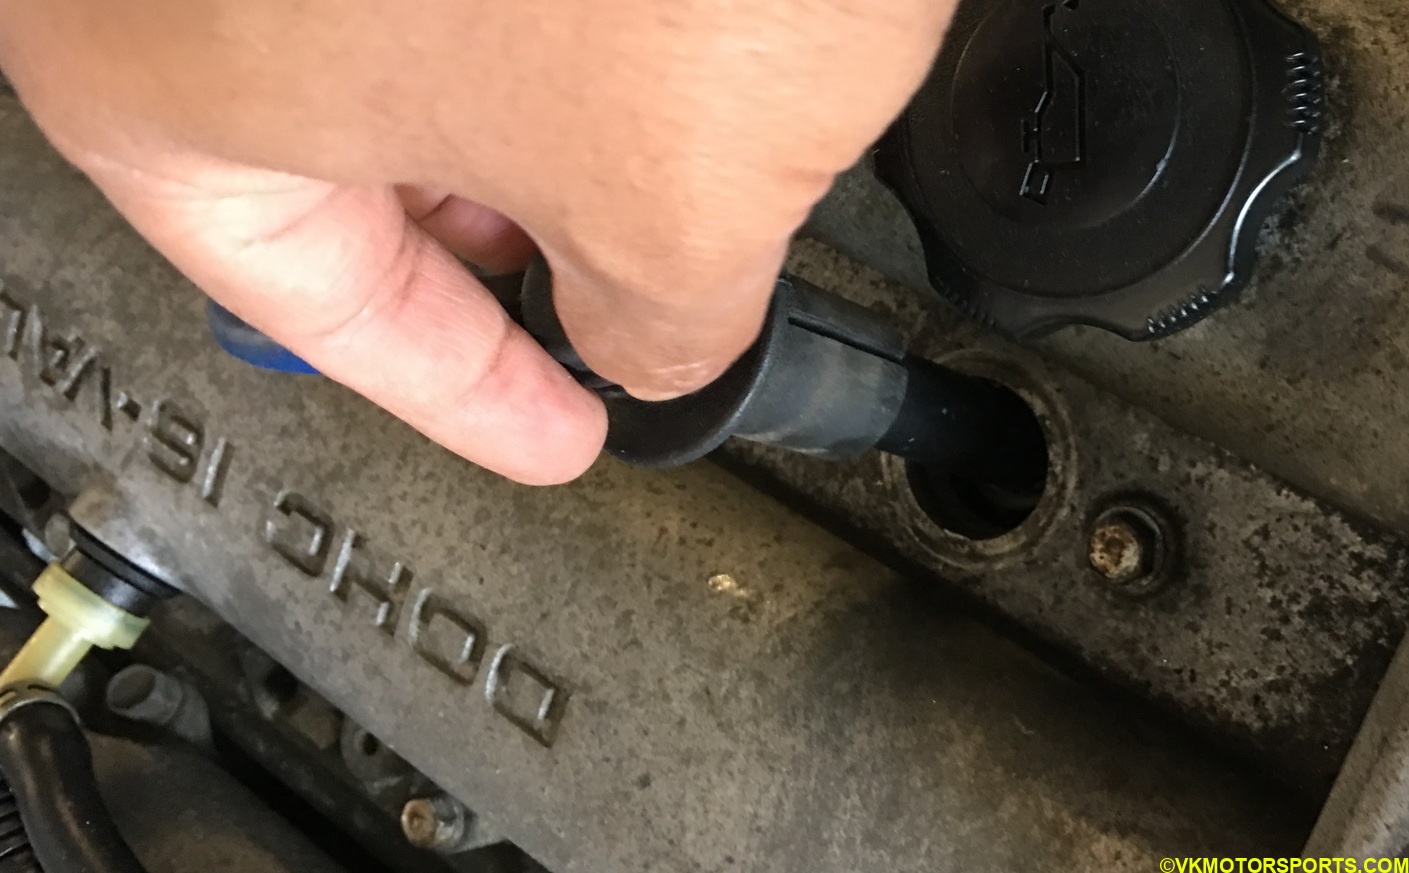 Figure 4. Remove the spark plug boot
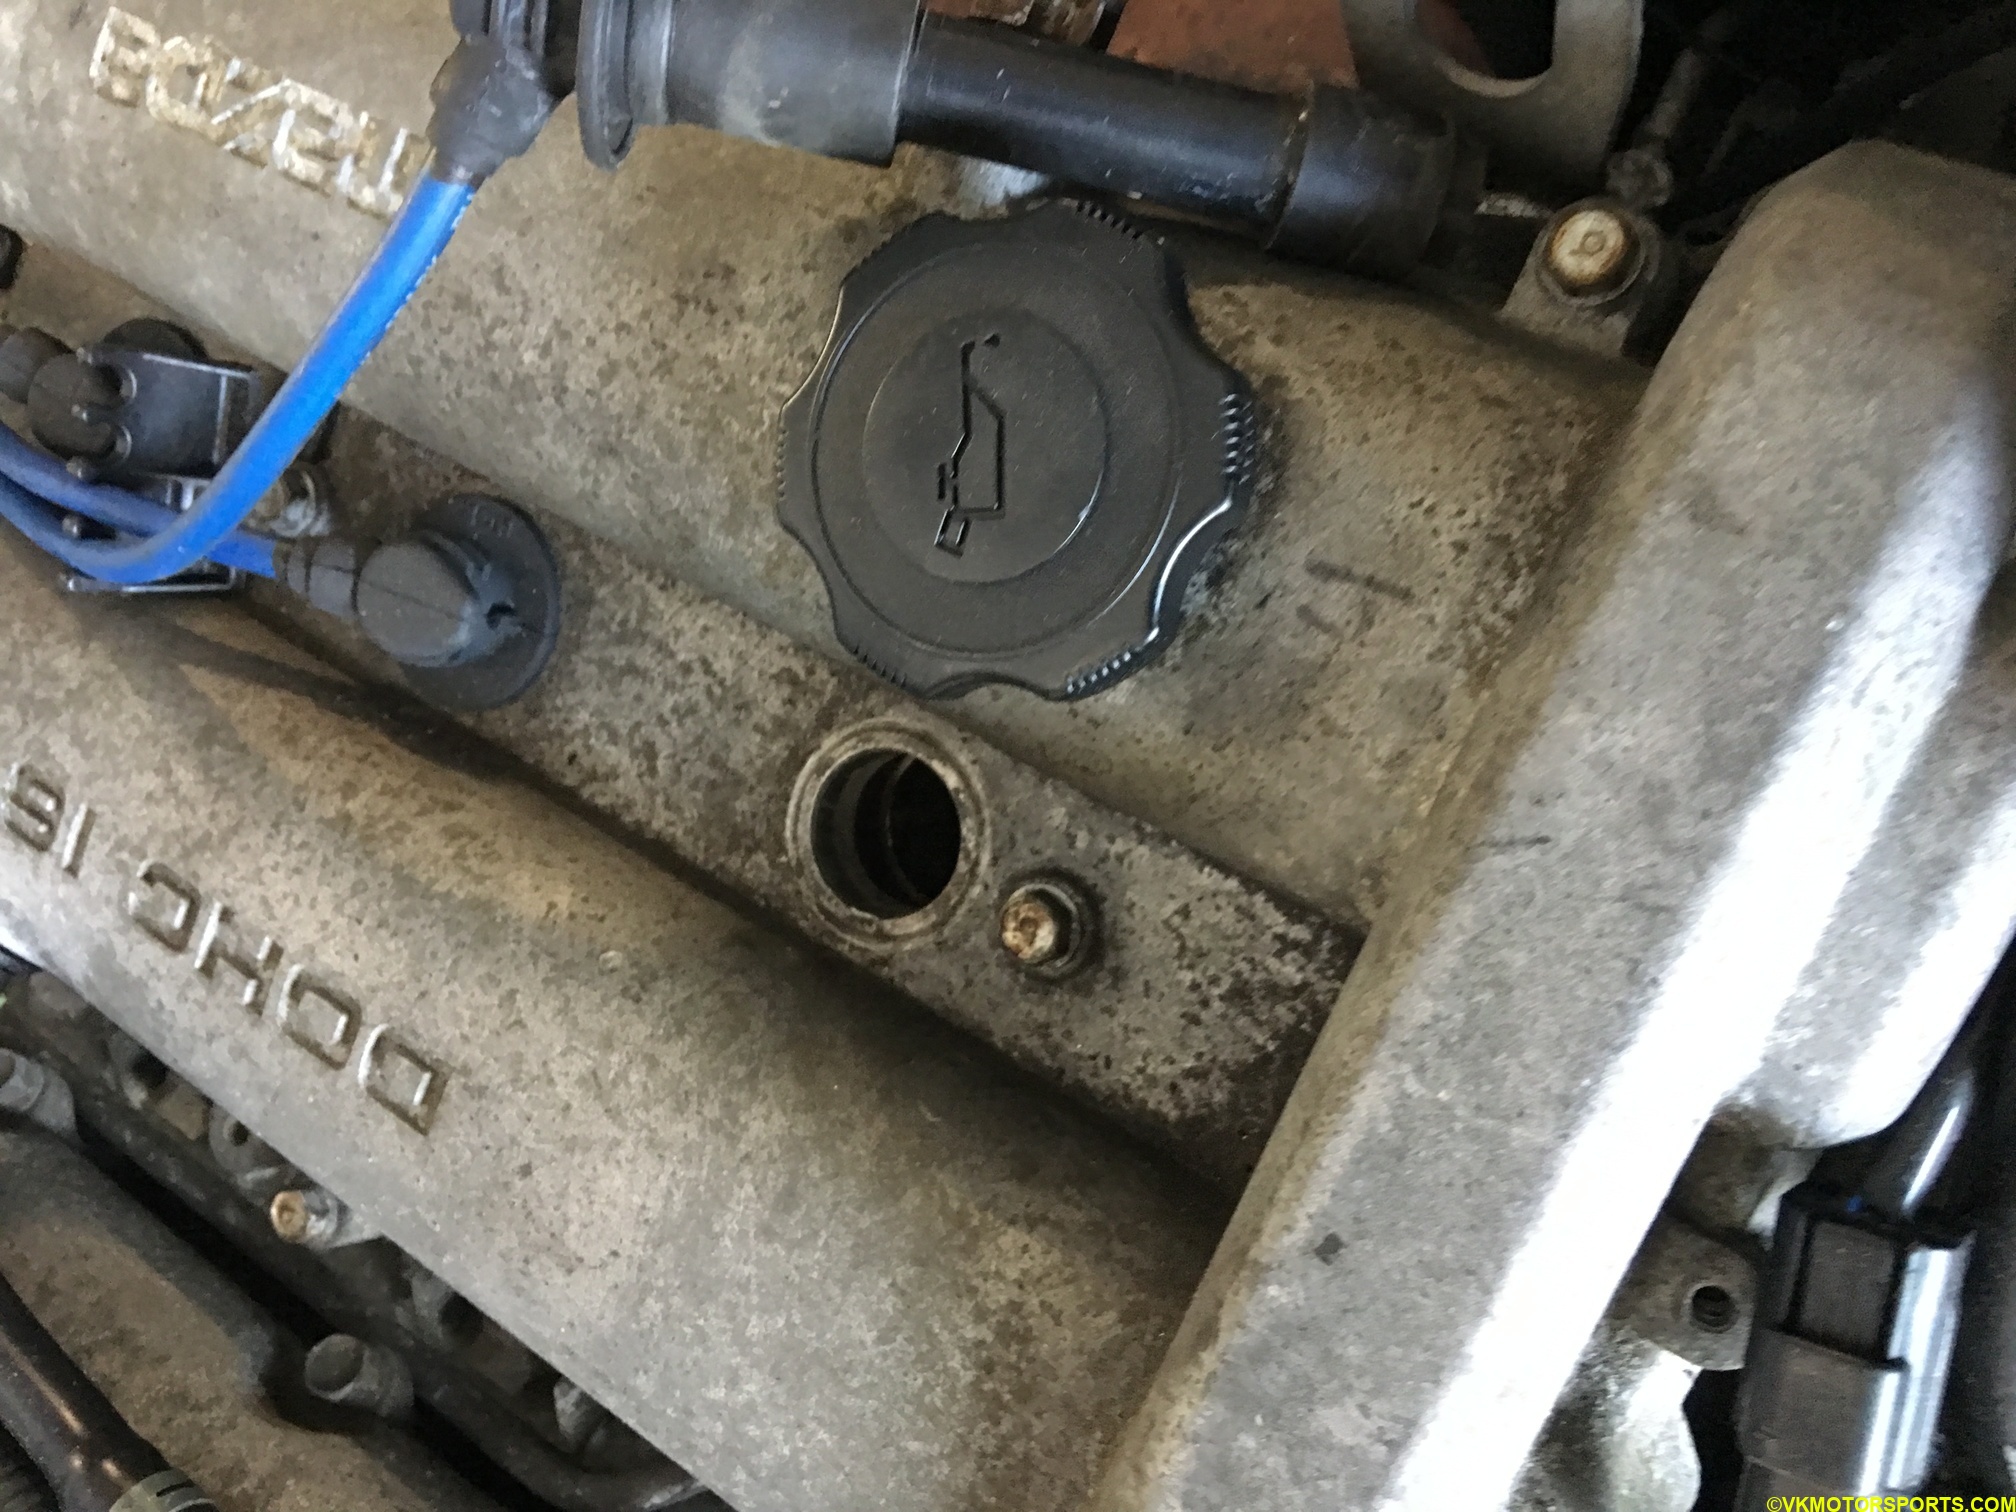 Figure 5. Spark plug boot removed
Step 3: The Miata spark plugs require a 5/8” spark plug socket which can be obtained at a Harbor Freight or Home Depot or other local hardware stores. You also need an extension that is longer than 5 inches, and I used a 1’ long extension to make the work easier. A longer moment arm requires lesser force to tighten. Since the socket can fall into the plug hole, it is best to use duct tape to keep the extension and socket attached together as shown in Figure 6. This gets used to loosen or tighten the plug as needed, before using the T-handle spark plug socket tool to pull the plug out or install the plug in safely. This T-handle tool has a rubber washer inside to grab and install a spark plug without dropping it, as you can see in figures 7a and 7b. I bought this tool from Rockauto.com.
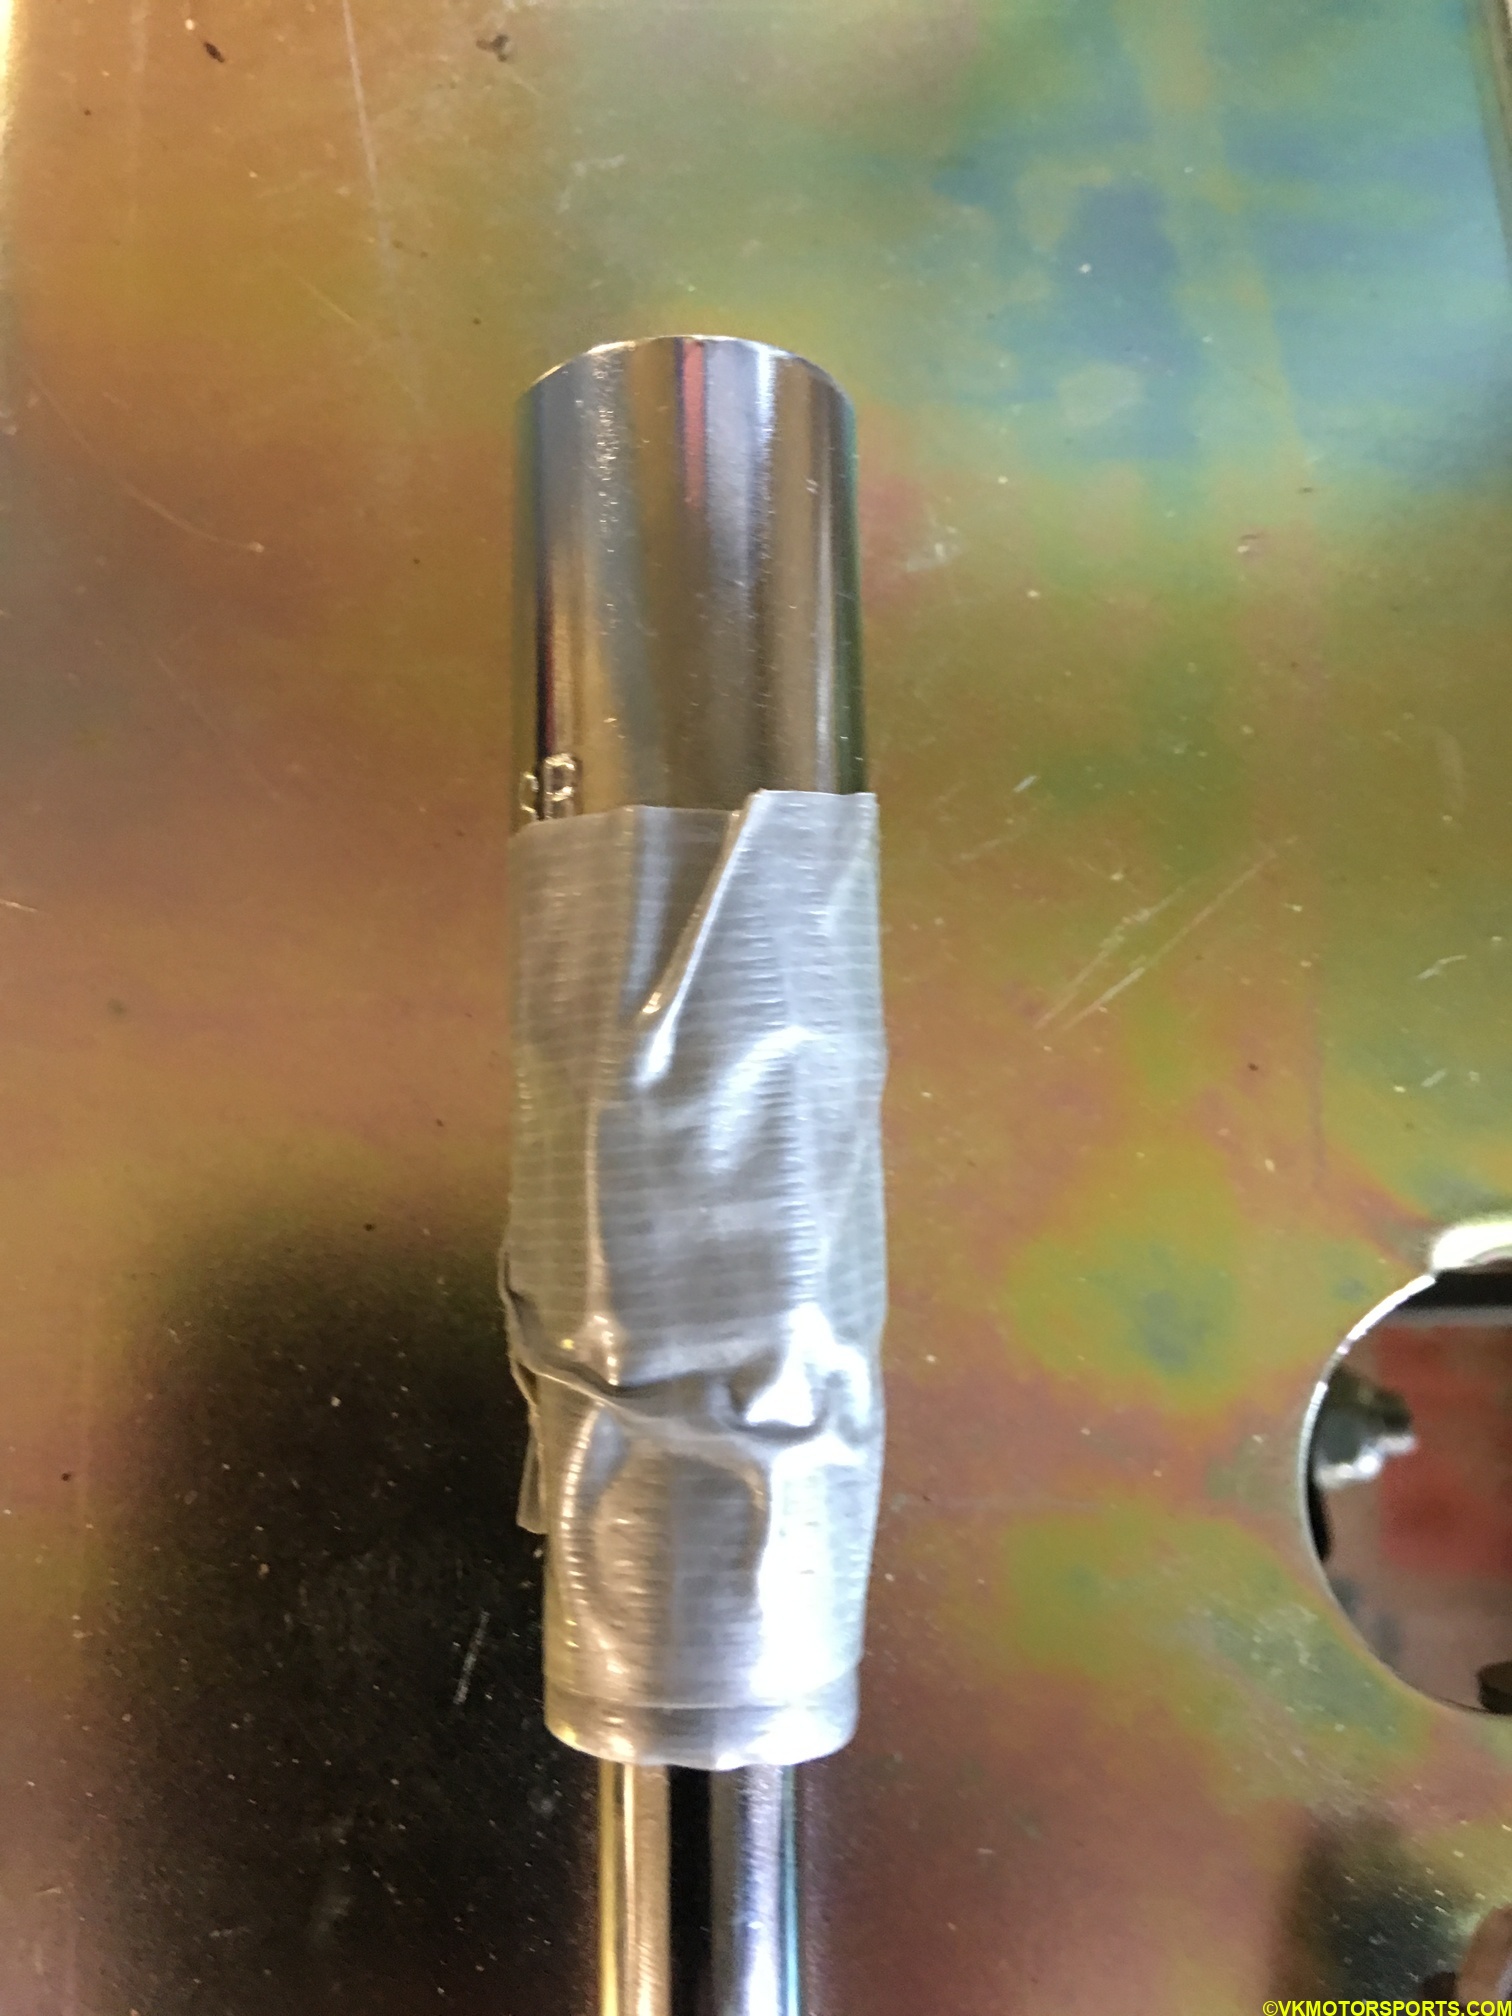 Figure 6. 5/8” socket attached to an extension using duct tape
 Figure 7a. 5/8” spark plug socket removal tools
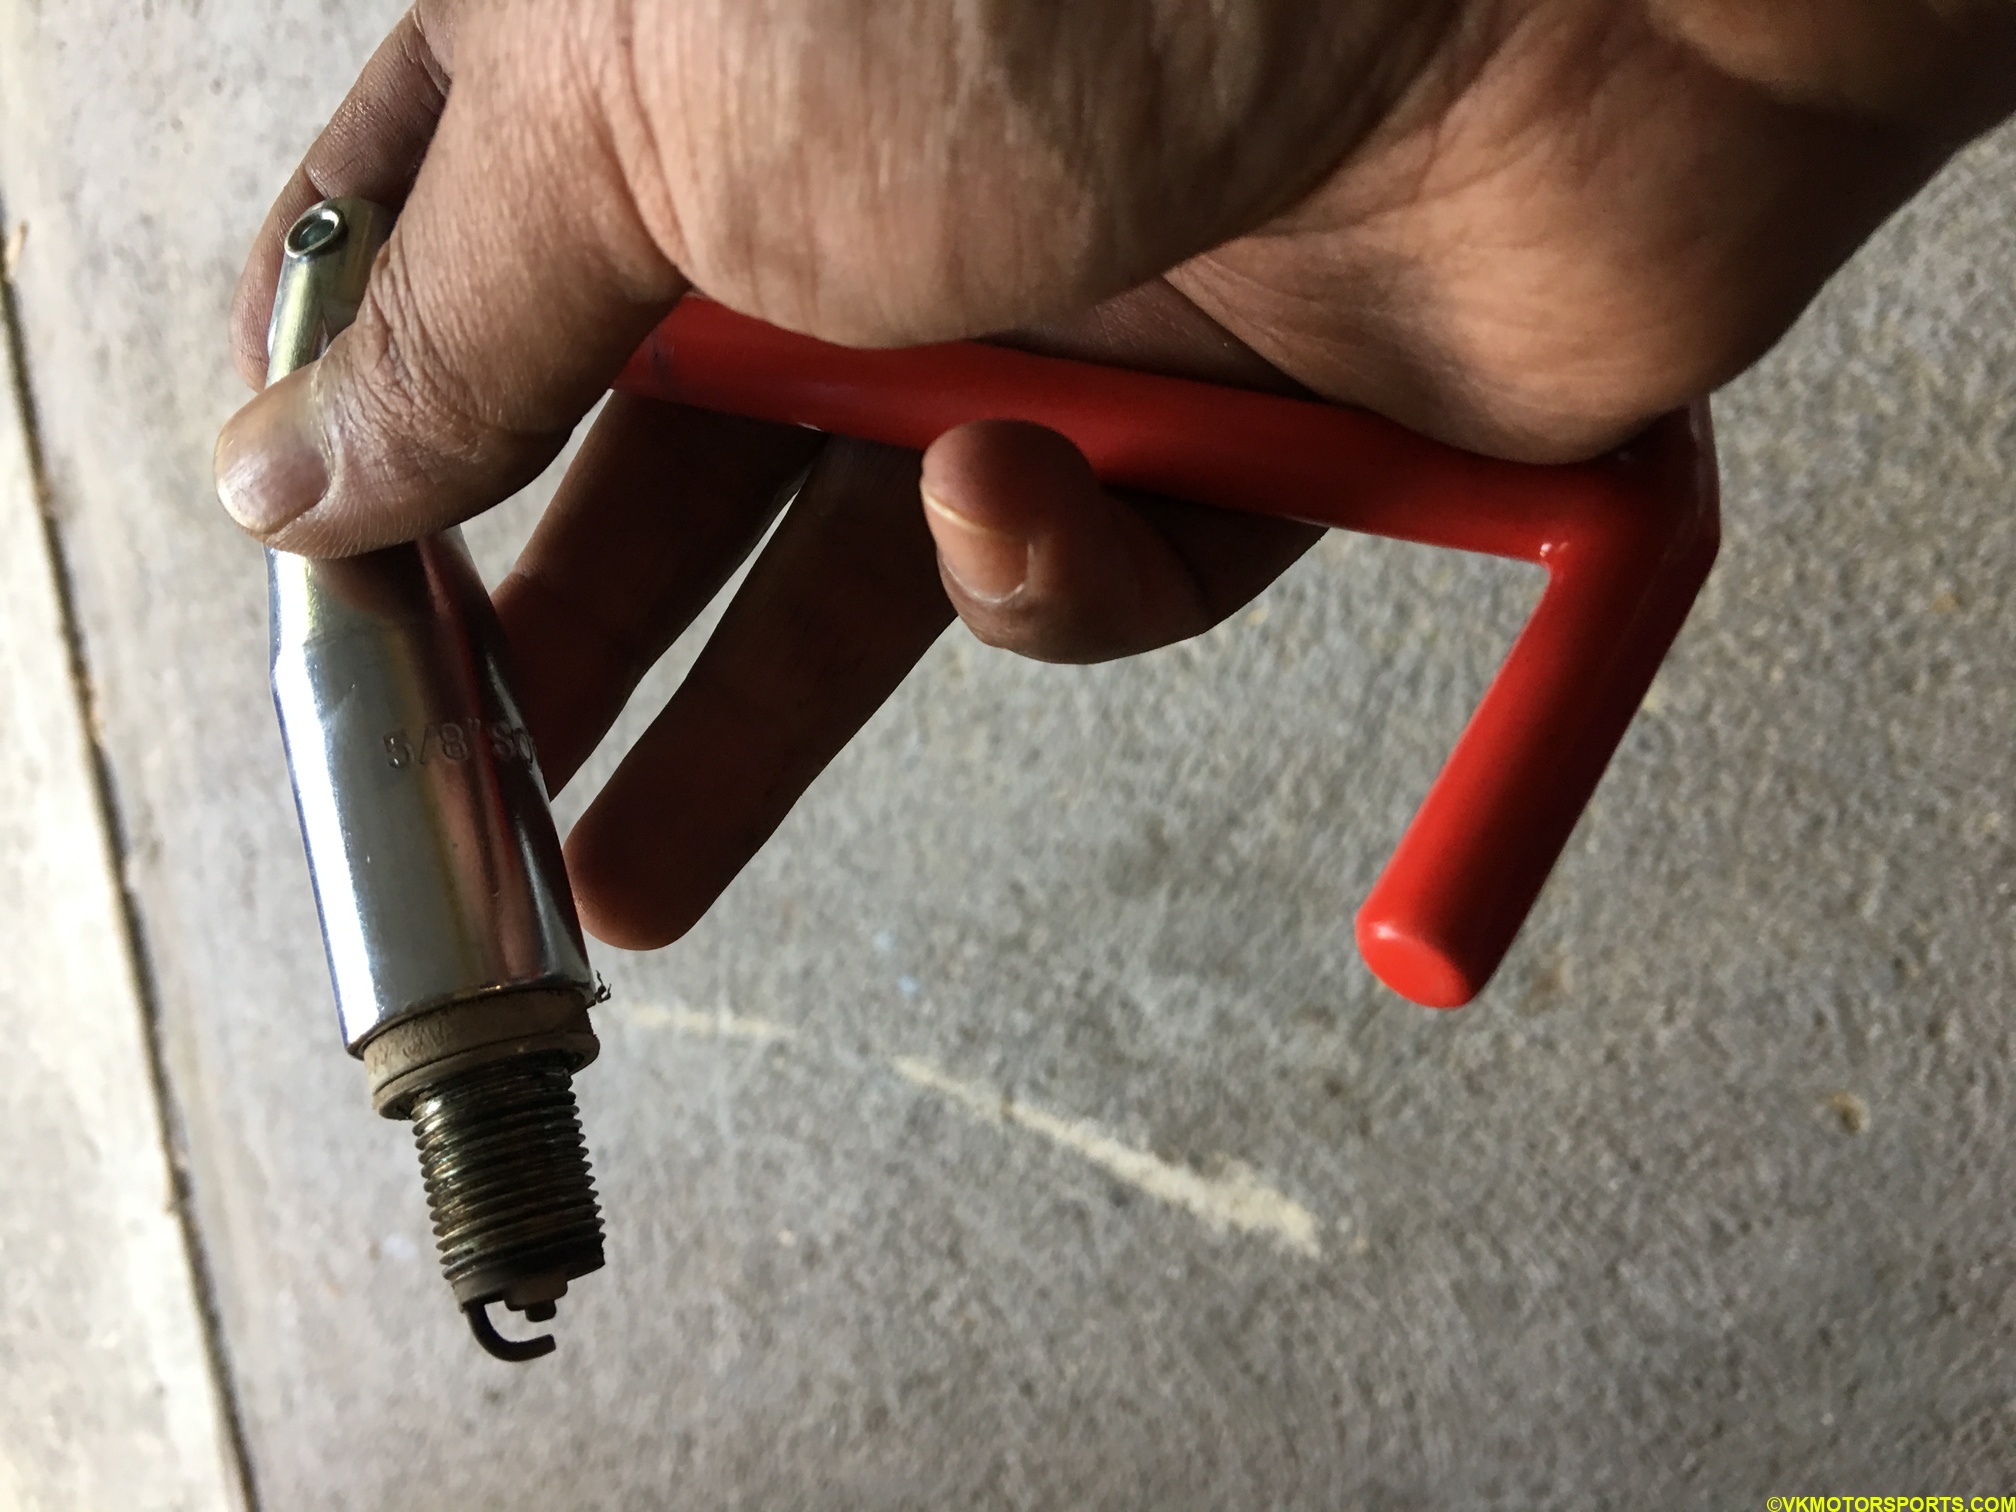 Figure 7b. Using the T-handle spark plug tool to remove a plug
Step 4: Apply antiseize compound (Figure 8) to the threads of the new spark plugs as seen in Figure 9. This compound packet can be purchased at any auto-parts store such as Advanced Auto Parts.
 Figure 8. Packet of anti-seize compound
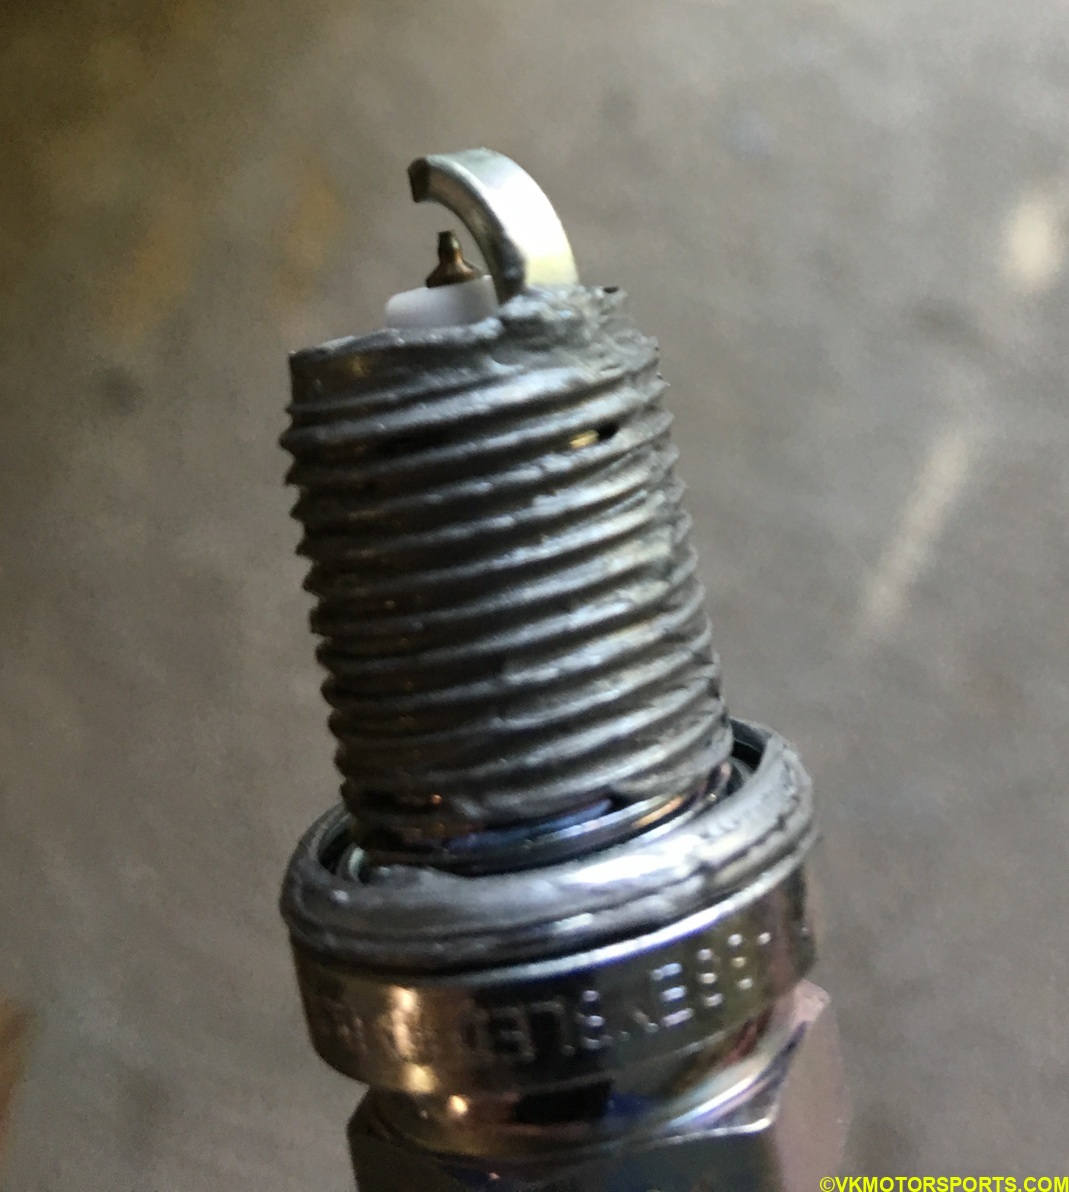 Figure 9. Apply anti-seize compound to the spark plug threads
Step 5: Apply dielectric compound (Figure 10) to the top of the plug (Figure 11) so that moisture does not enter the spark plug wire end.
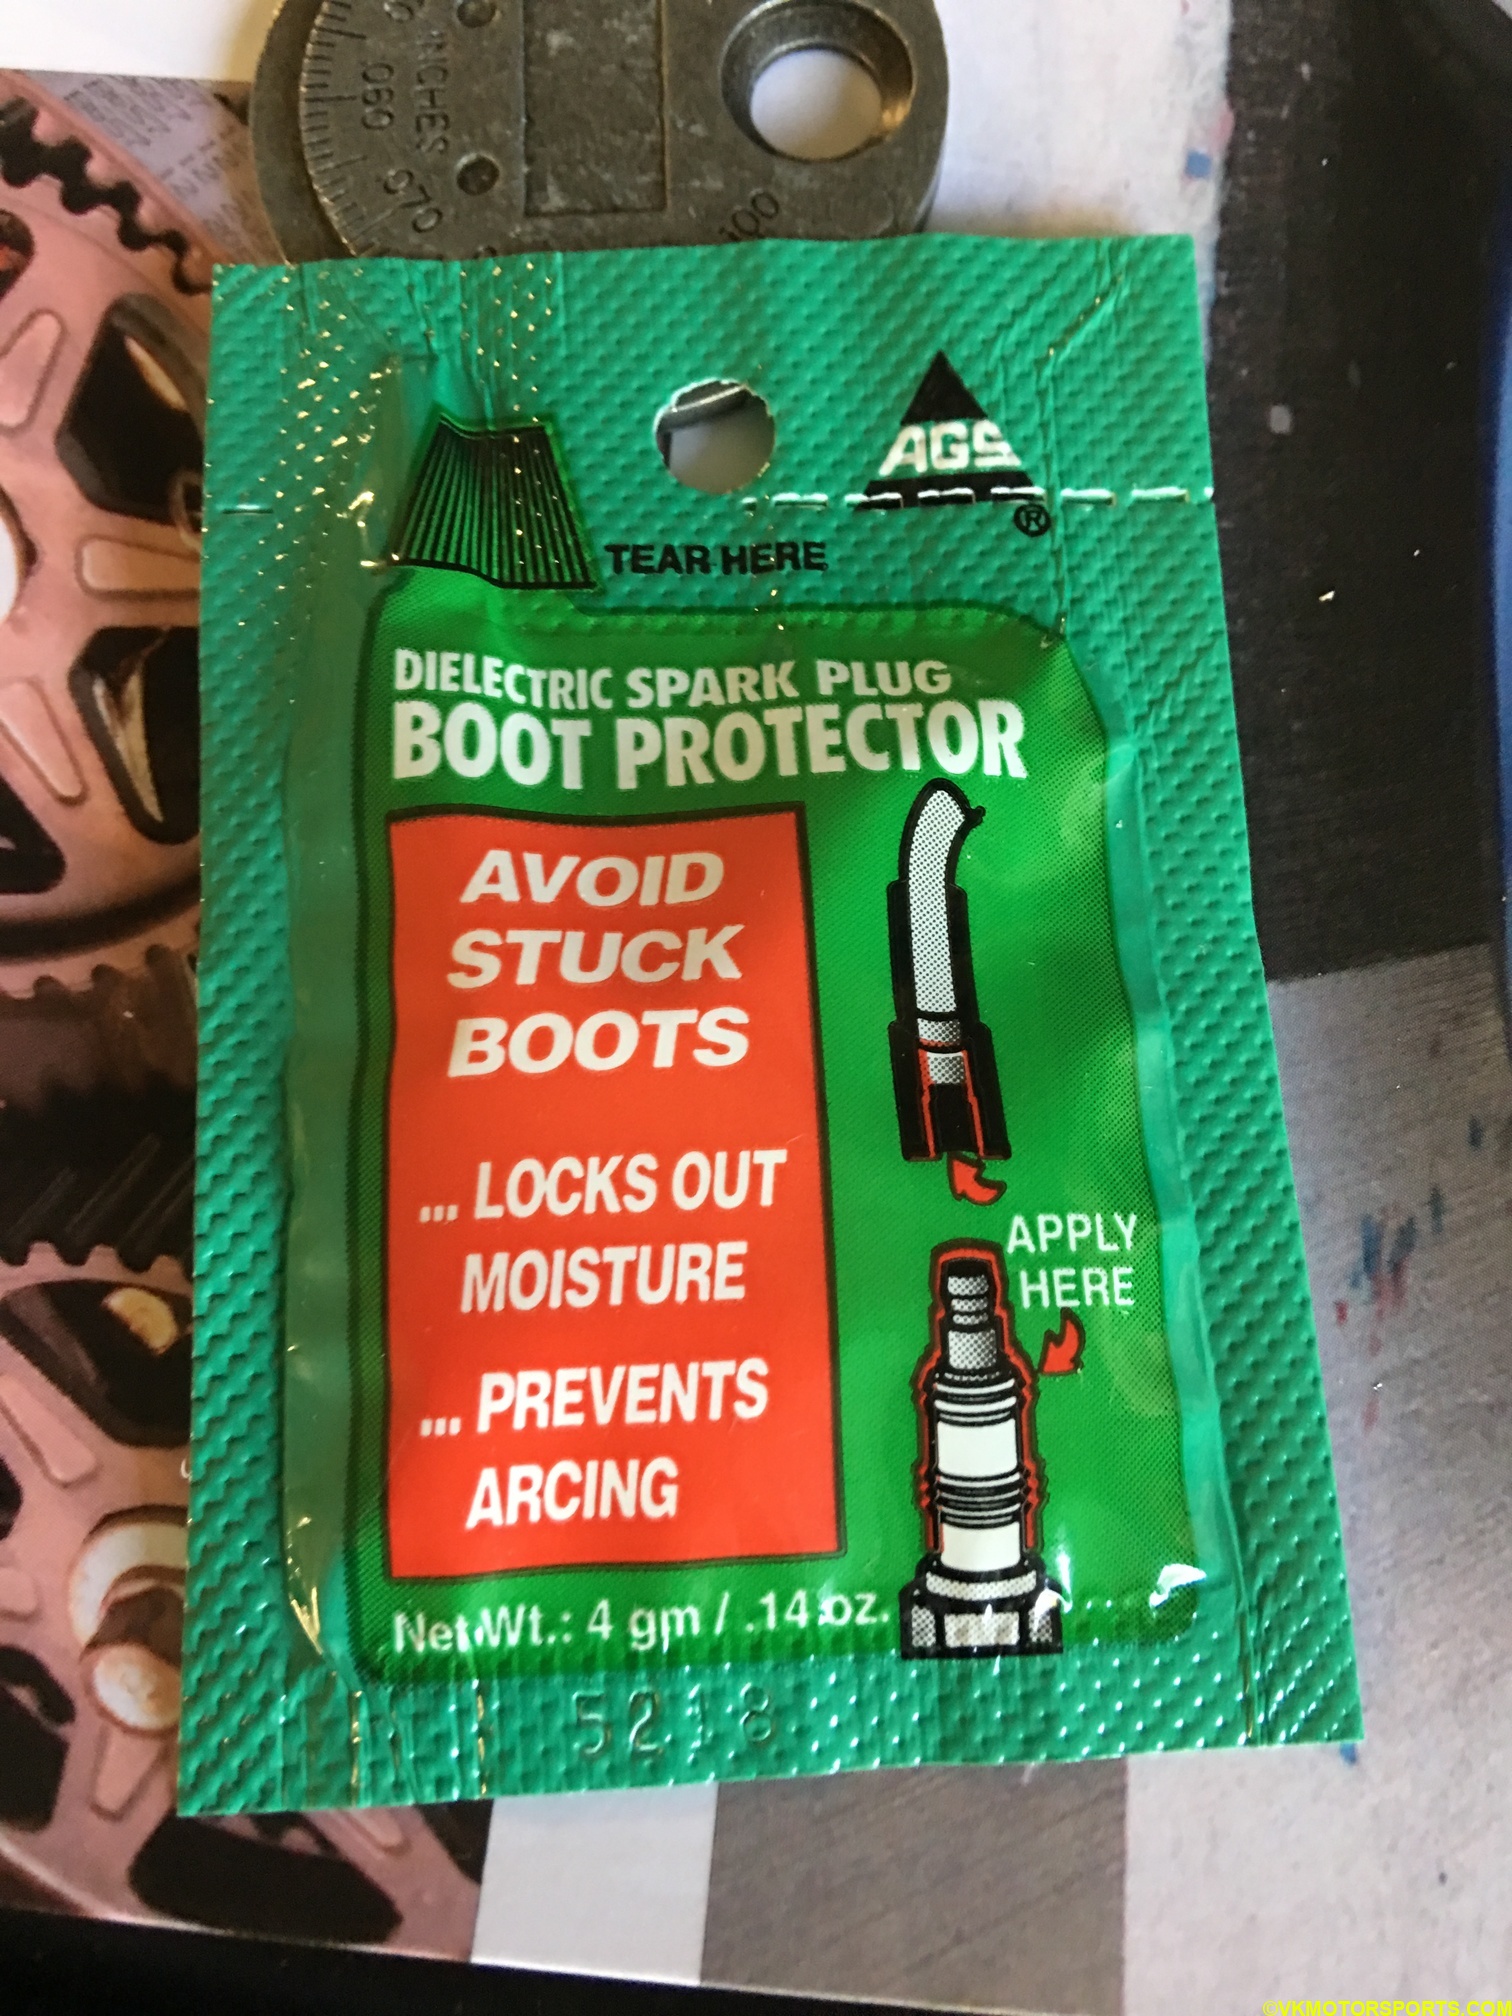 Figure 10. Packet of dielectric compound
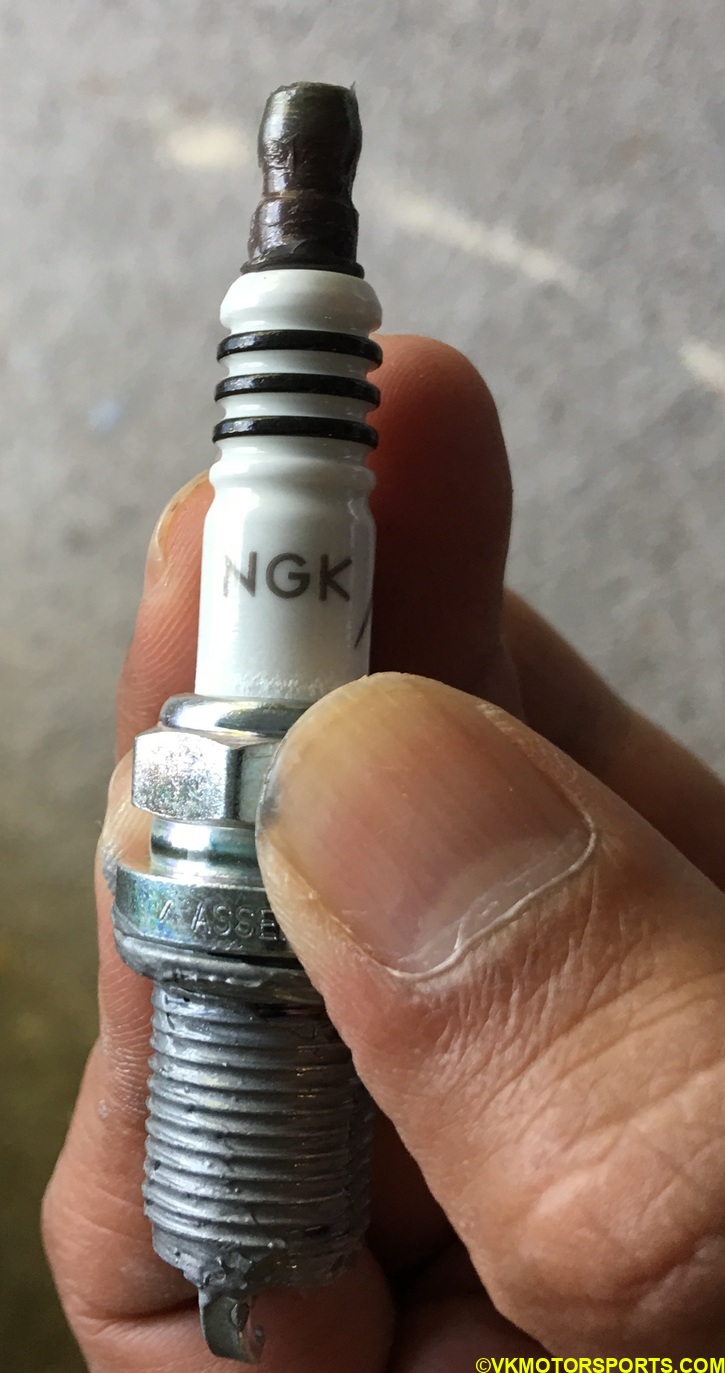 Figure 11. Dielectric compound applied to the spark plug top
Step 6: Using the 5/8” socket tools (Figure 7a and 7b) install the new plug into the hole from which you removed the old one. Be careful to not cross-thread the plug. It is a good idea to do this slowly and have a peek inside to see that the plug is not broken. Once you think the plug is tight, using a torque wrench (Figure 12) set the torque to between 11-17 ft-lbs (Figure 13). I used a torque wrench with a 3/8” drive from Harbor Freight since my 5/8” socket extension (Figure 6 and 7a) was also a 3/8” drive.
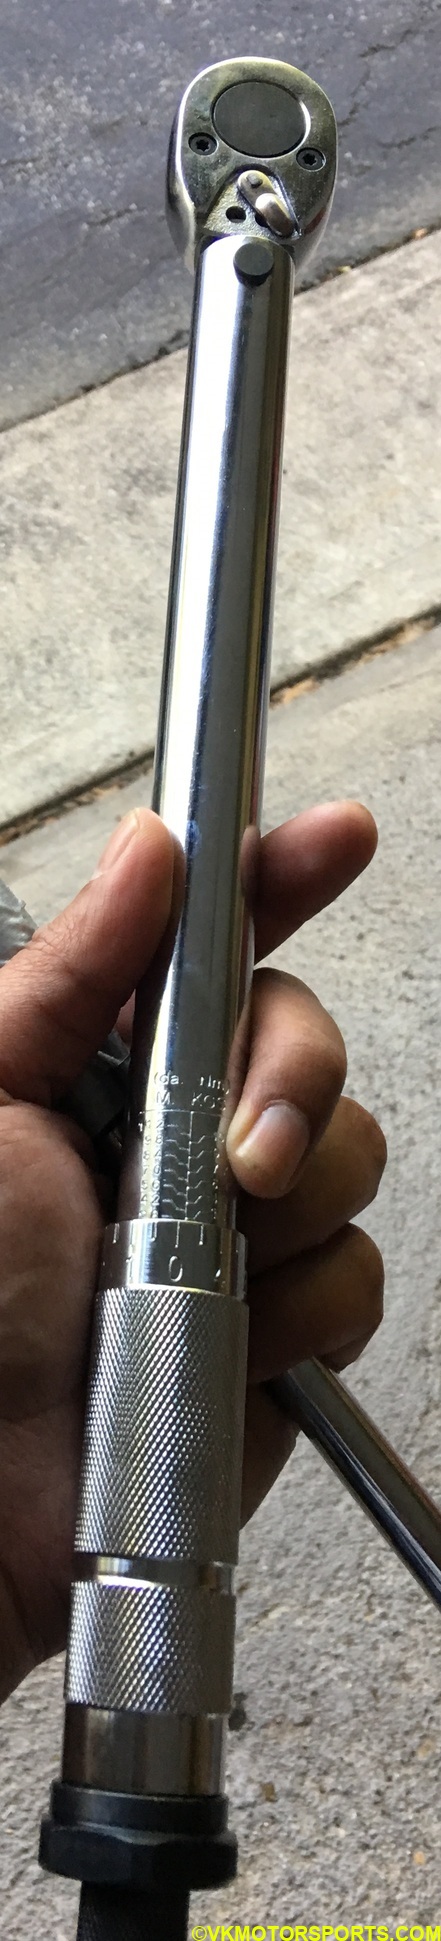 Figure 12. 3/8” drive torque wrench
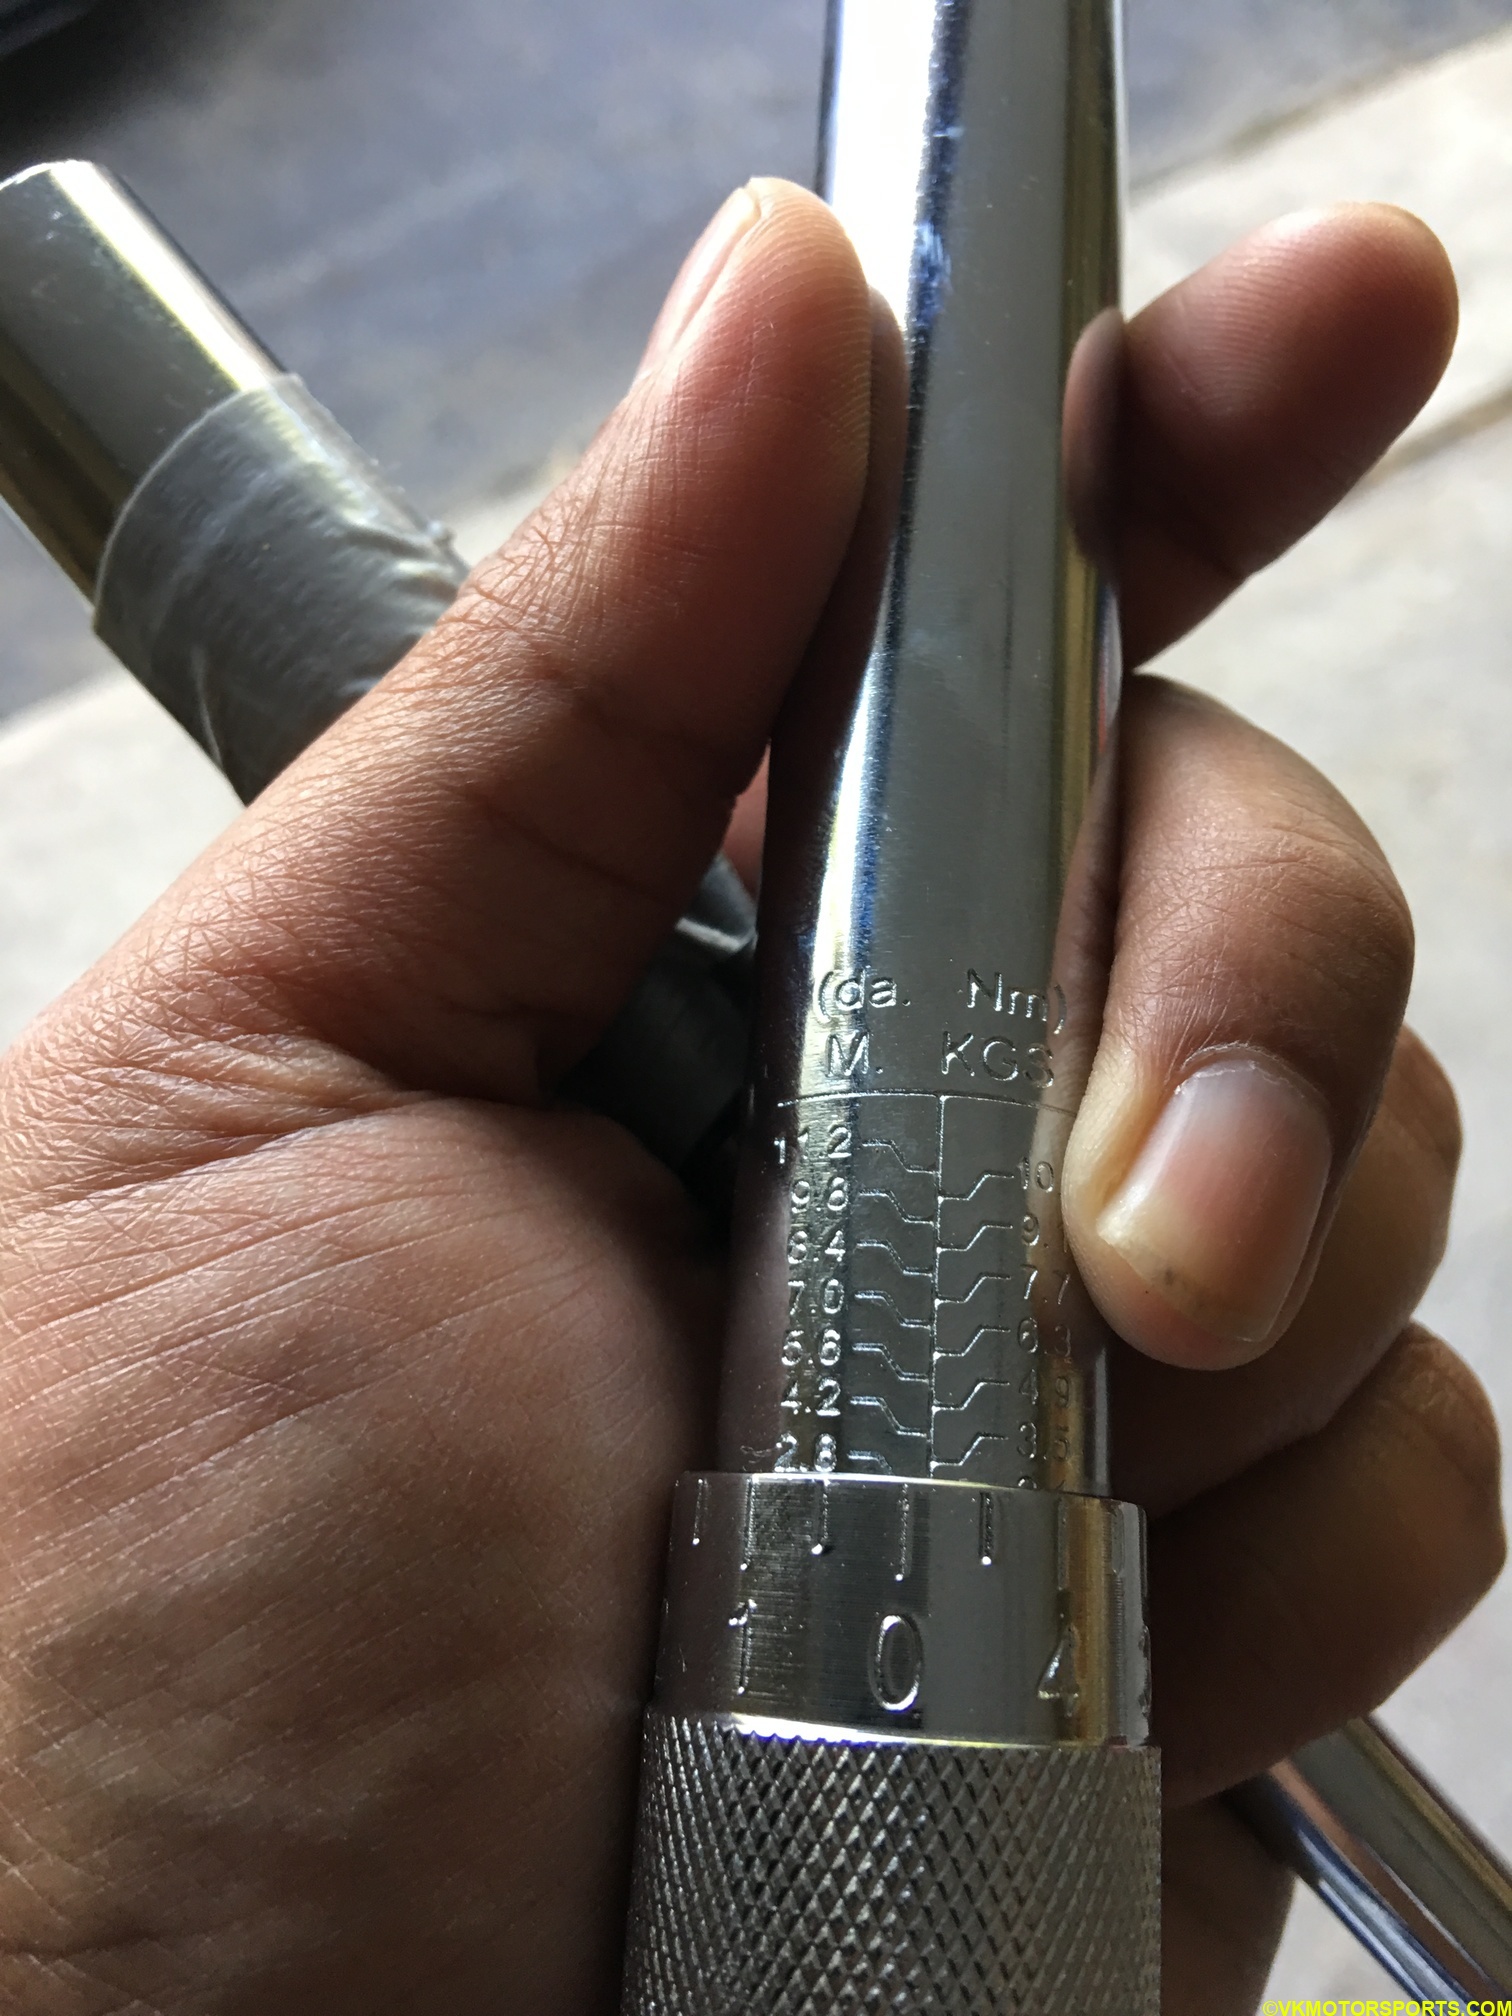 Figure 13. Torque set to 15 ft-lbs
Step 7: Remove the old plug wire Figure 14 (you might need to use some force) and replace with a new one (Figure 15). Make sure you install it tightly. Install the boot back over the spark plug.
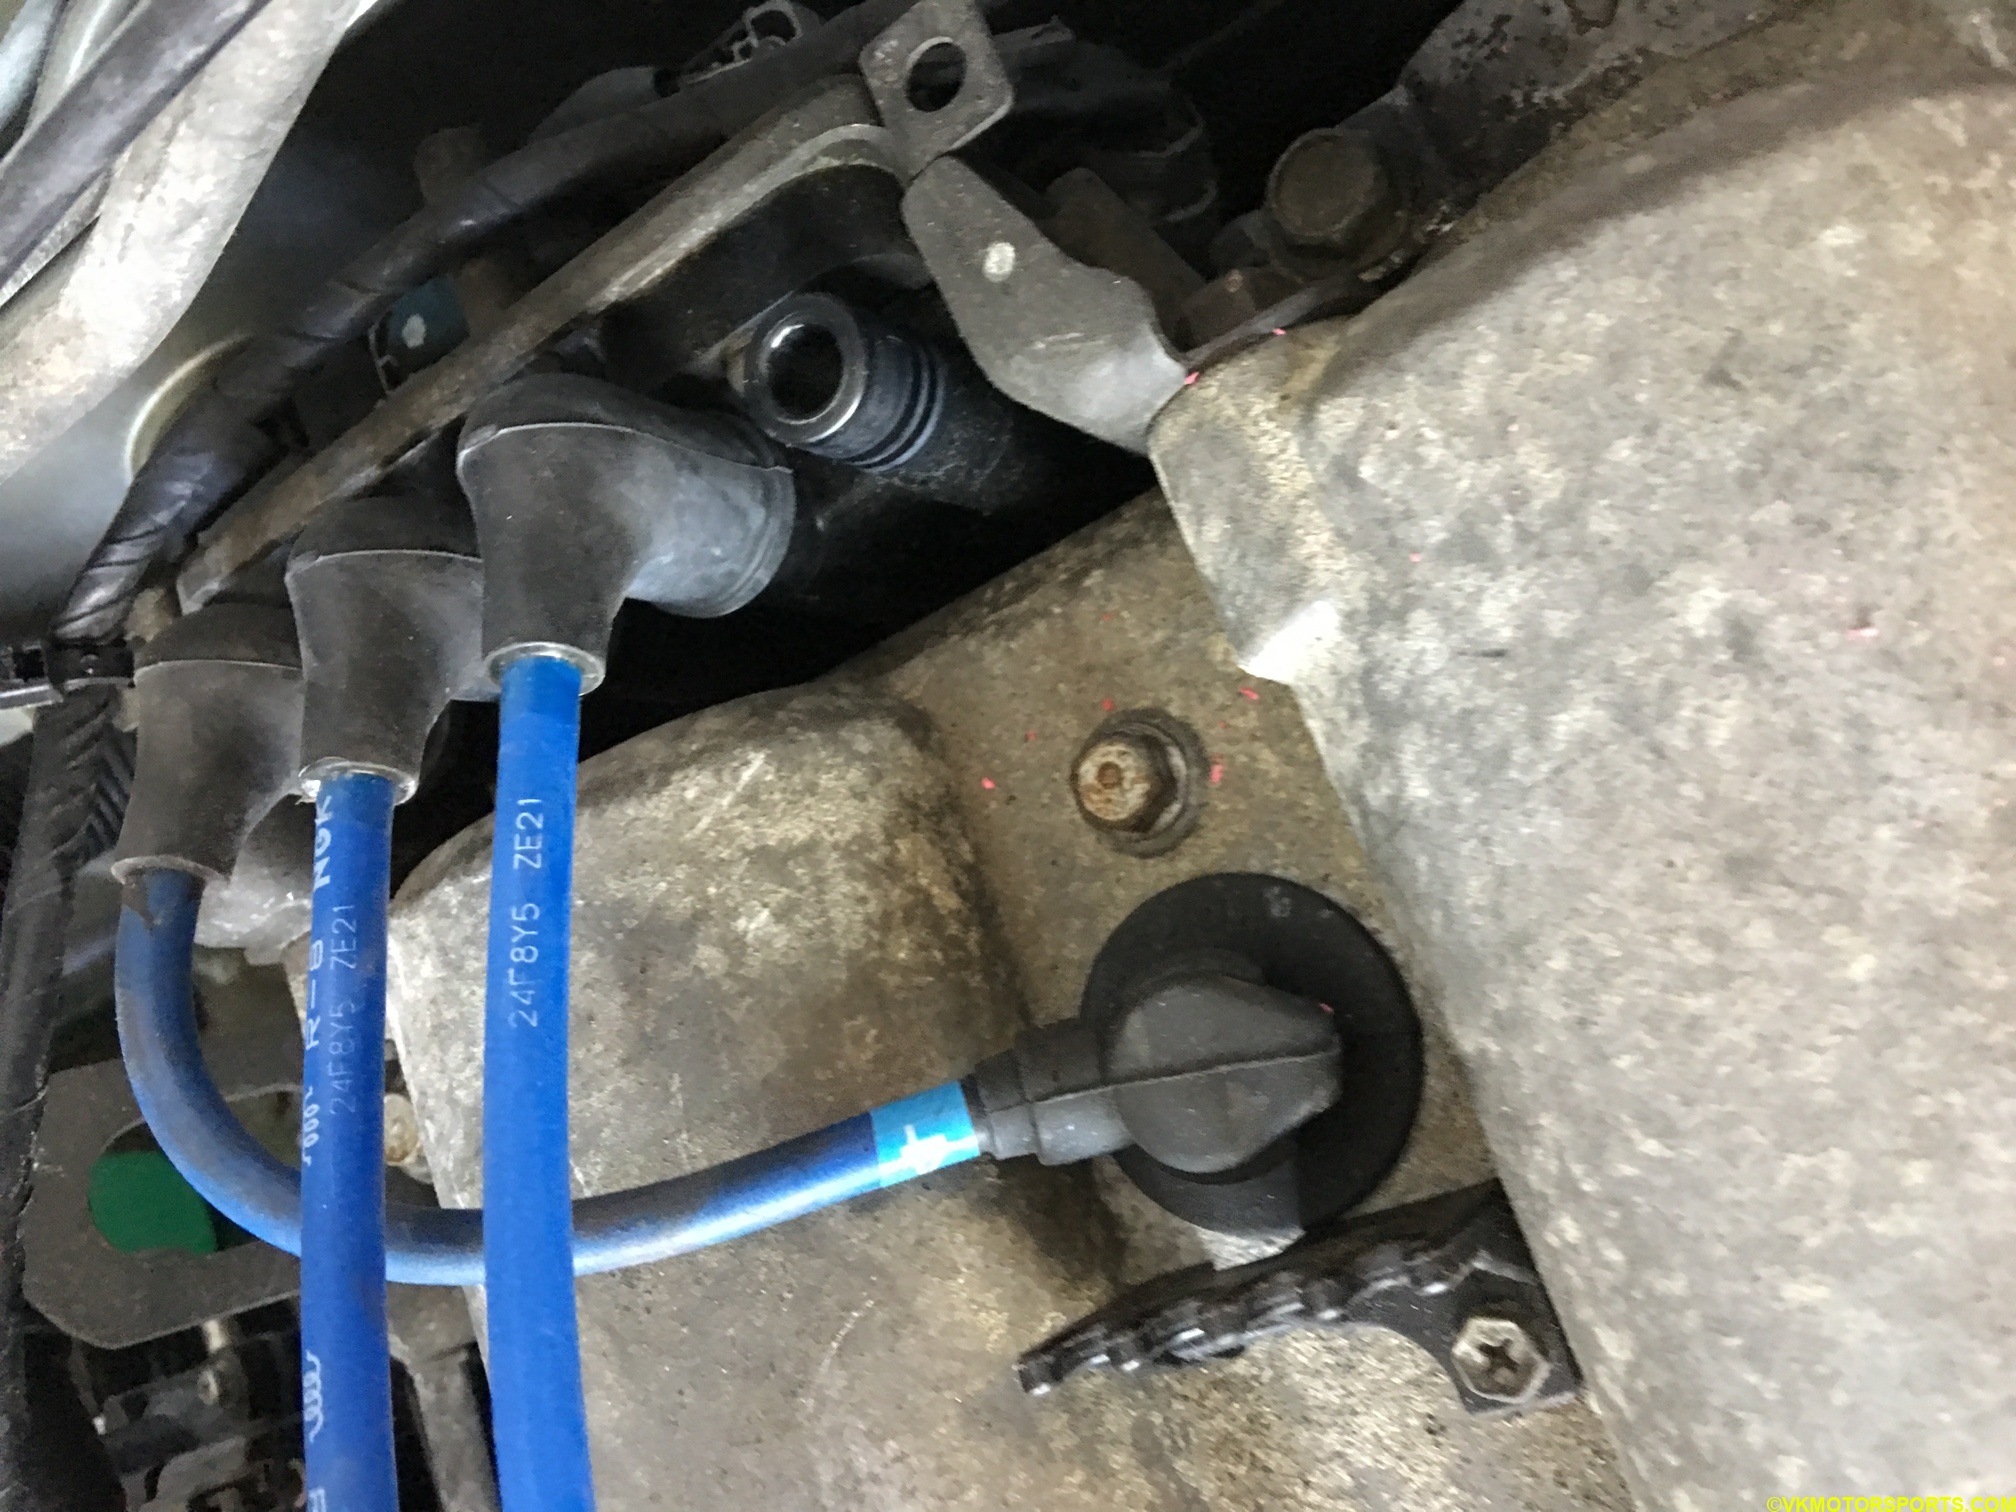 Figure 14. Remove the plug wire
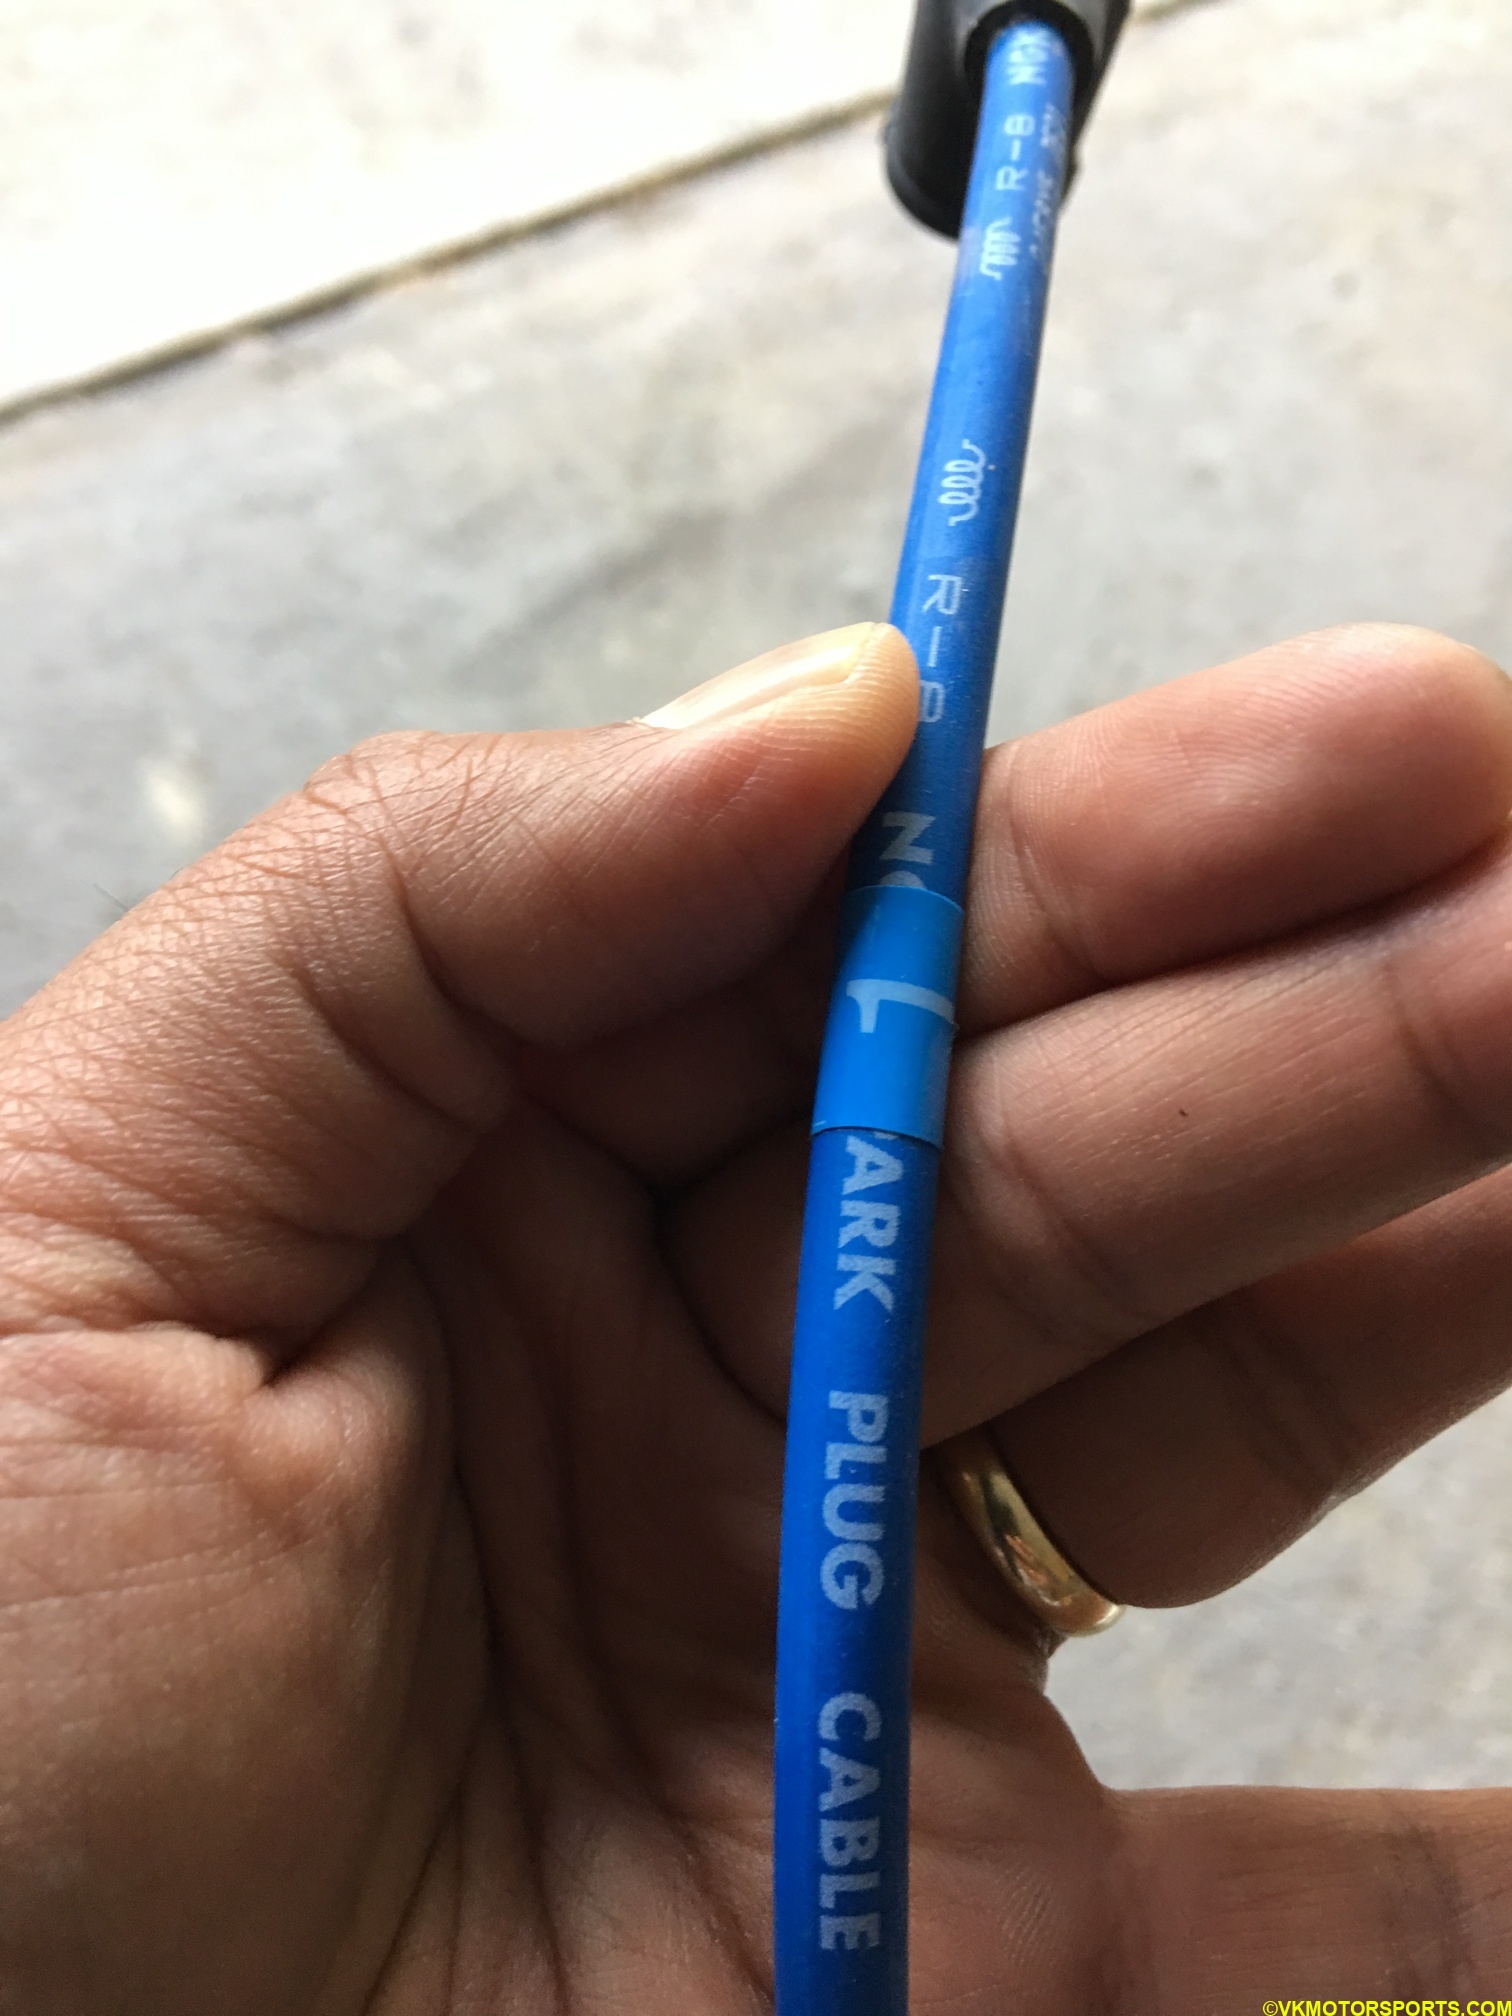 Figure 15. Replace the plug wire with a new one
Step 8: Repeat steps 1 through 7 for each of the spark plugs and plug wire, but I recommend you do them one at a time, so you do not mix up the plug wiring. Once you are done it should look like Figure 16.
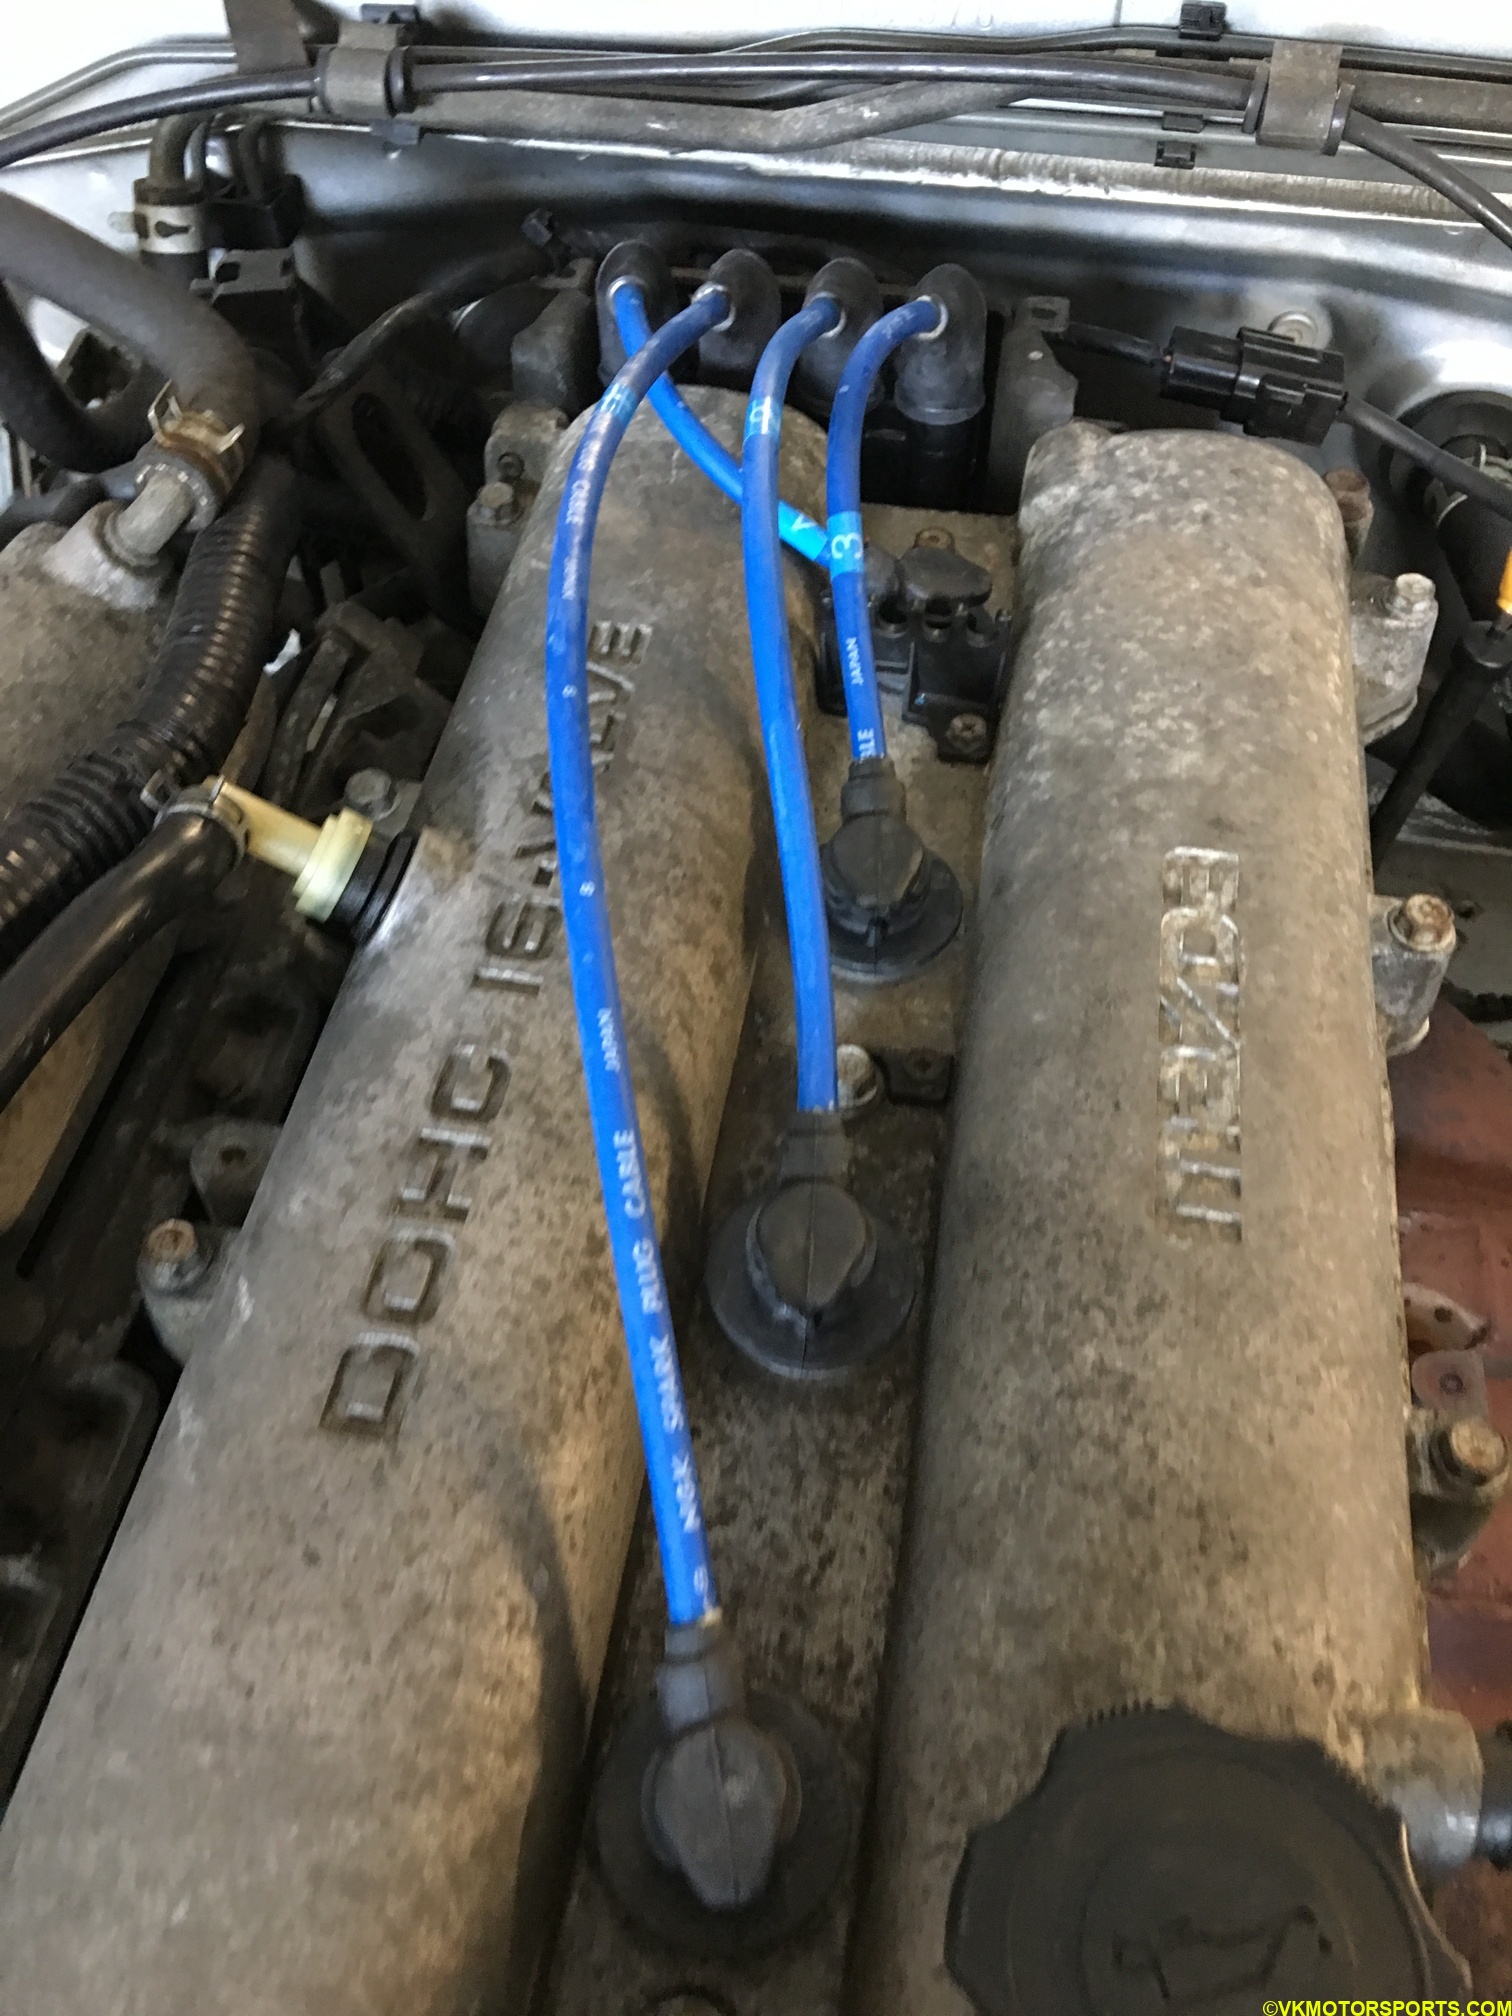 Figure 16. All spark plugs and plug wires are replaced
Step 9: Start the car and make sure no misfire codes happen or check engine light turns on.
Turns out I ended up getting the check engine light (CEL) on, and a code P0304 which is for 4th cylinder misfire getting thrown. I then checked the 4th spark plug and realized that I had broken it during installation by not placing the torque wrench full over it. Figure 17 shows the long divider I used to pull the plug out after loosening it with the T-handle socket tool. This was a life-saver. I then purchased a replacement plug and re-installed it carefully. Everything worked well after that, and I took the car for a drive.
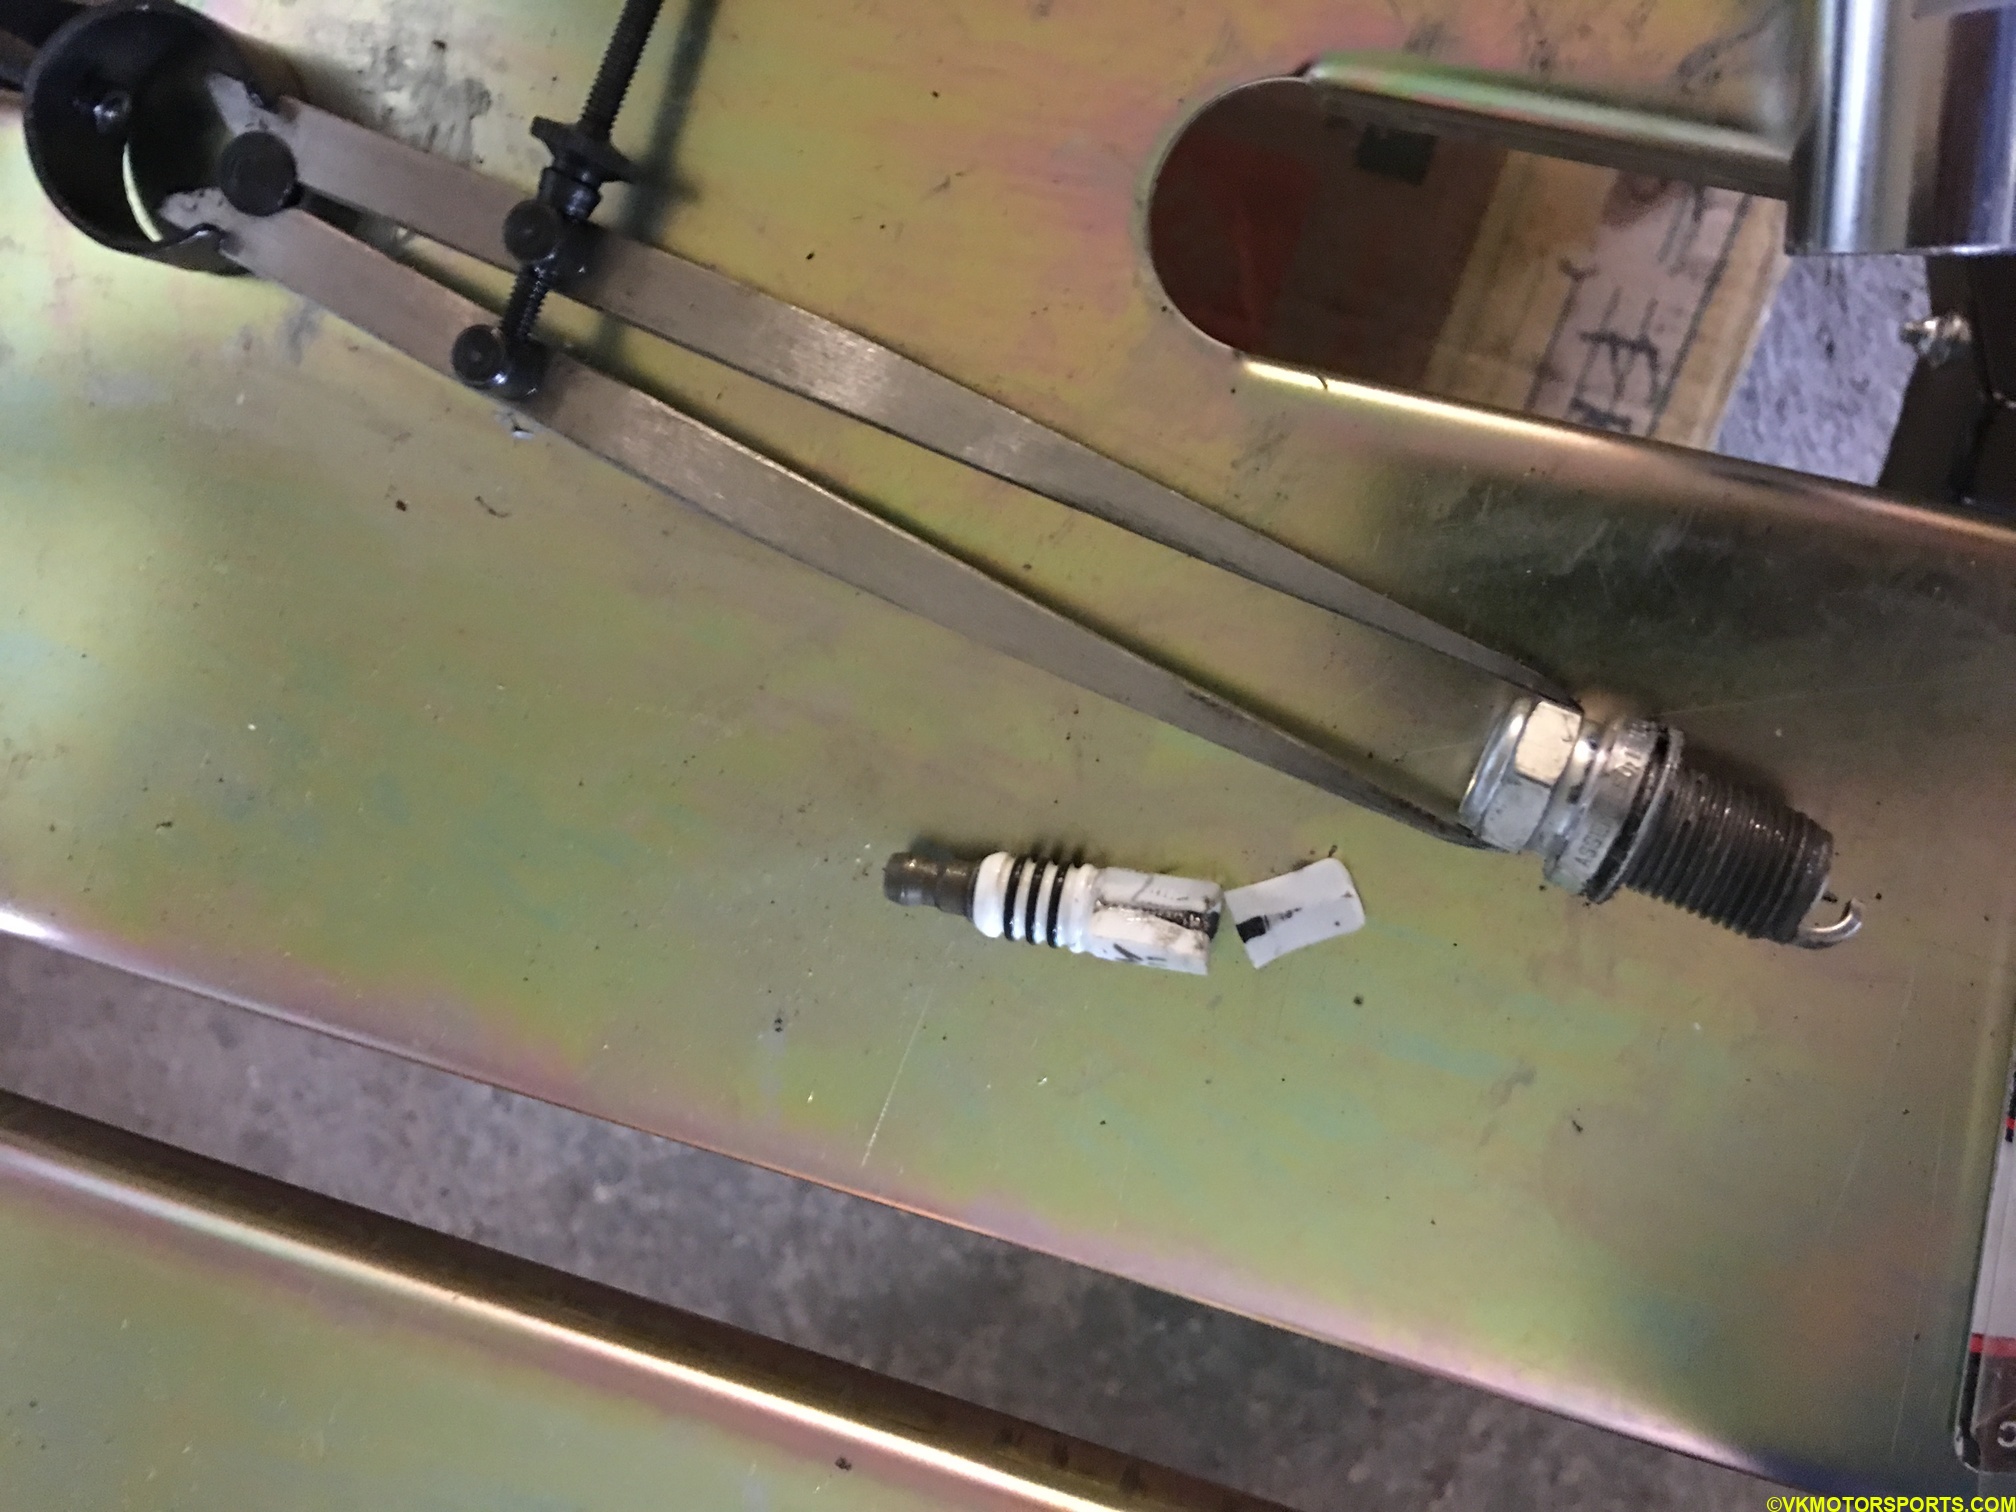 Figure 17. Removing the broken spark plug
 Figure 18. All the work is now completed