In a previous post, we had replaced the rotors and brake calipers in the Miata, and this one describes changing the brake pads and bleeding the brakes. You need to bleed the brakes if you change the calipers. You must buy DOT-3 brake fluid, 2-3 cans just in case, from your local parts store.
Details on the front brake pads change can also be found in an earlier post.
FRONT BRAKE PADS
Changing the front brake pads is easy. You must have the wheels off and the car on jack stands or on a lift.
Step 1: Loosen the bolt that flips the caliper open as shown in Figure 1 using a 10mm socket, and flip the caliper open as shown in Figure 2. Since the caliper is new, we do not need to adjust the brake cylinders like we did in the earlier post.
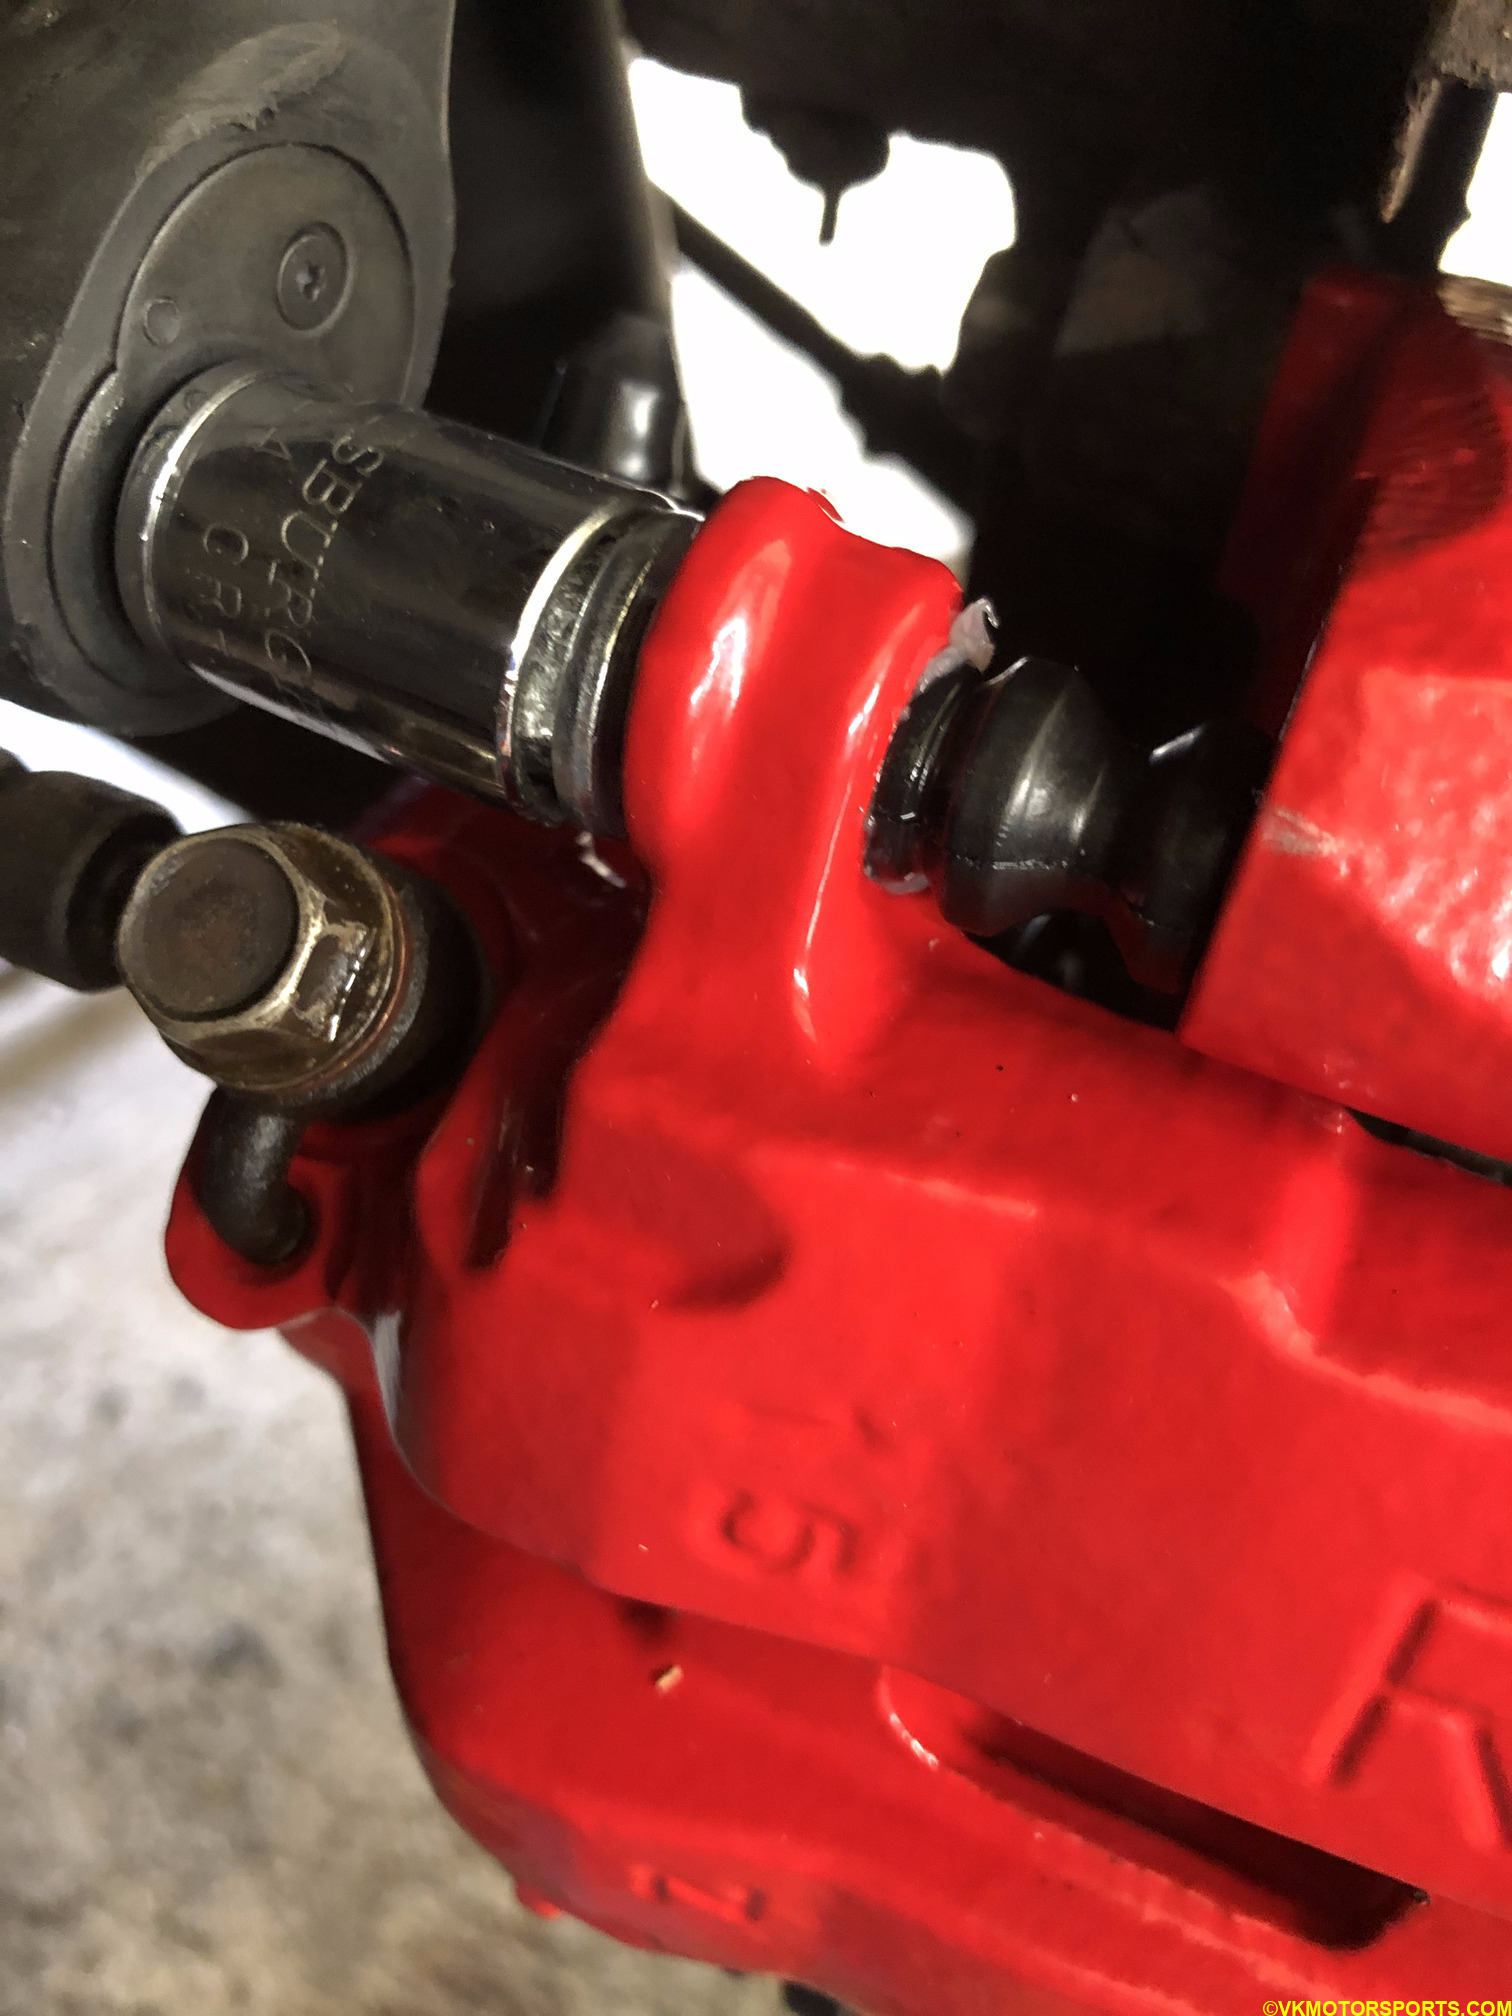 Figure 1. Loosen bolt on caliper
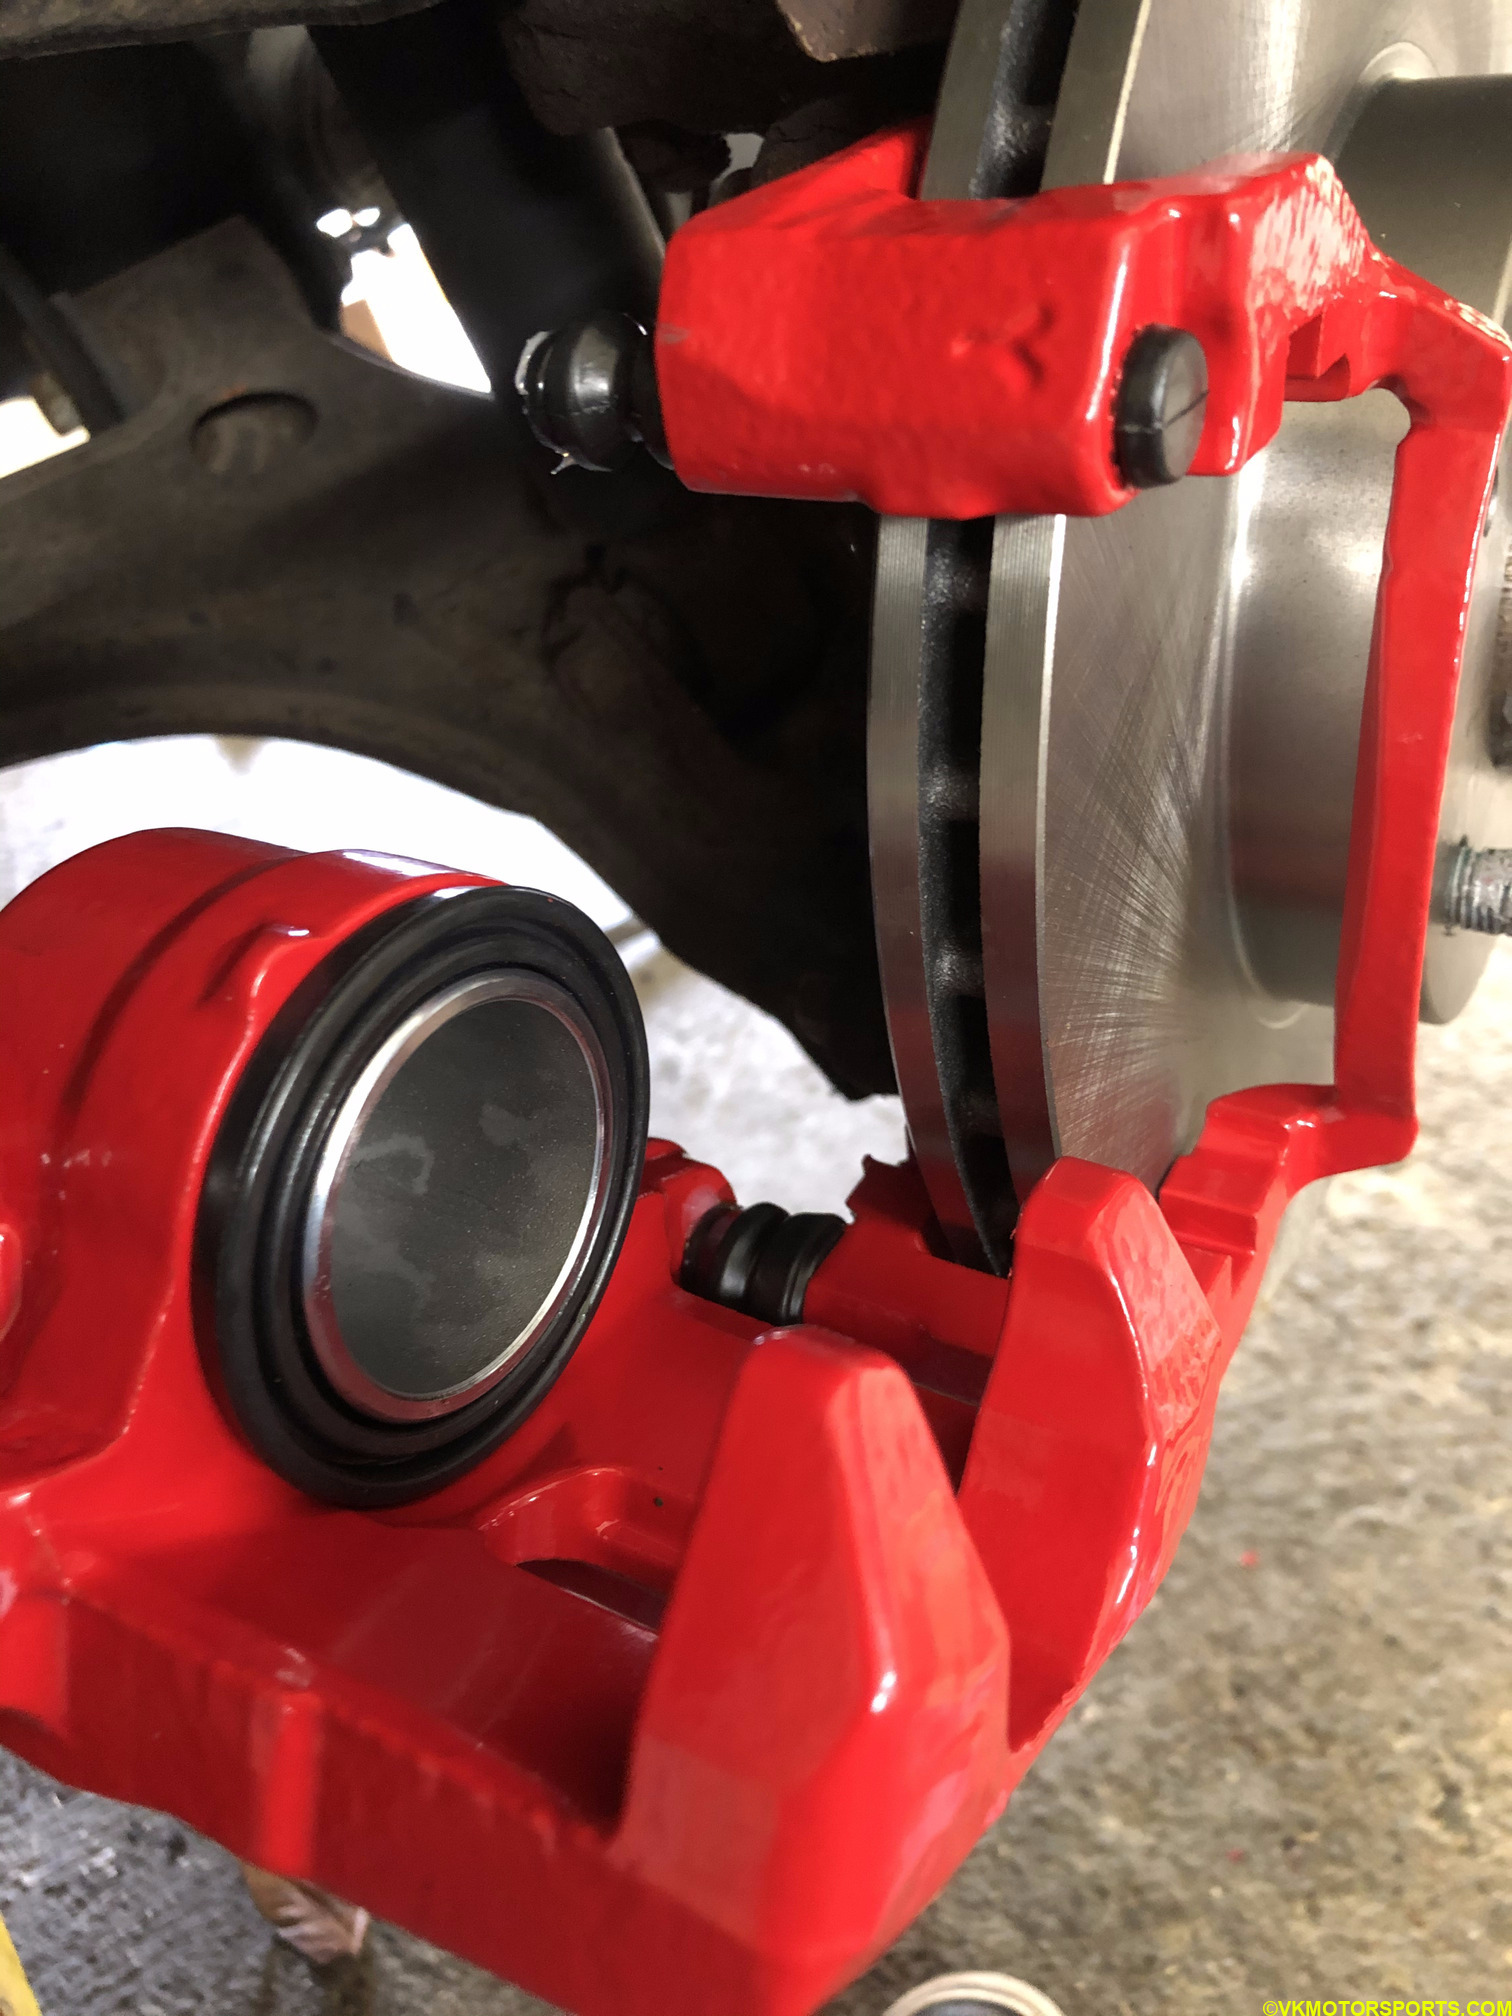 Figure 2. Flip the caliper open
Step 2: Place new clips or reuse your old clips on the caliper bracket. These prevent the brake pads from rubbing on the caliper. The below figures show the same clips from different viewing angles.
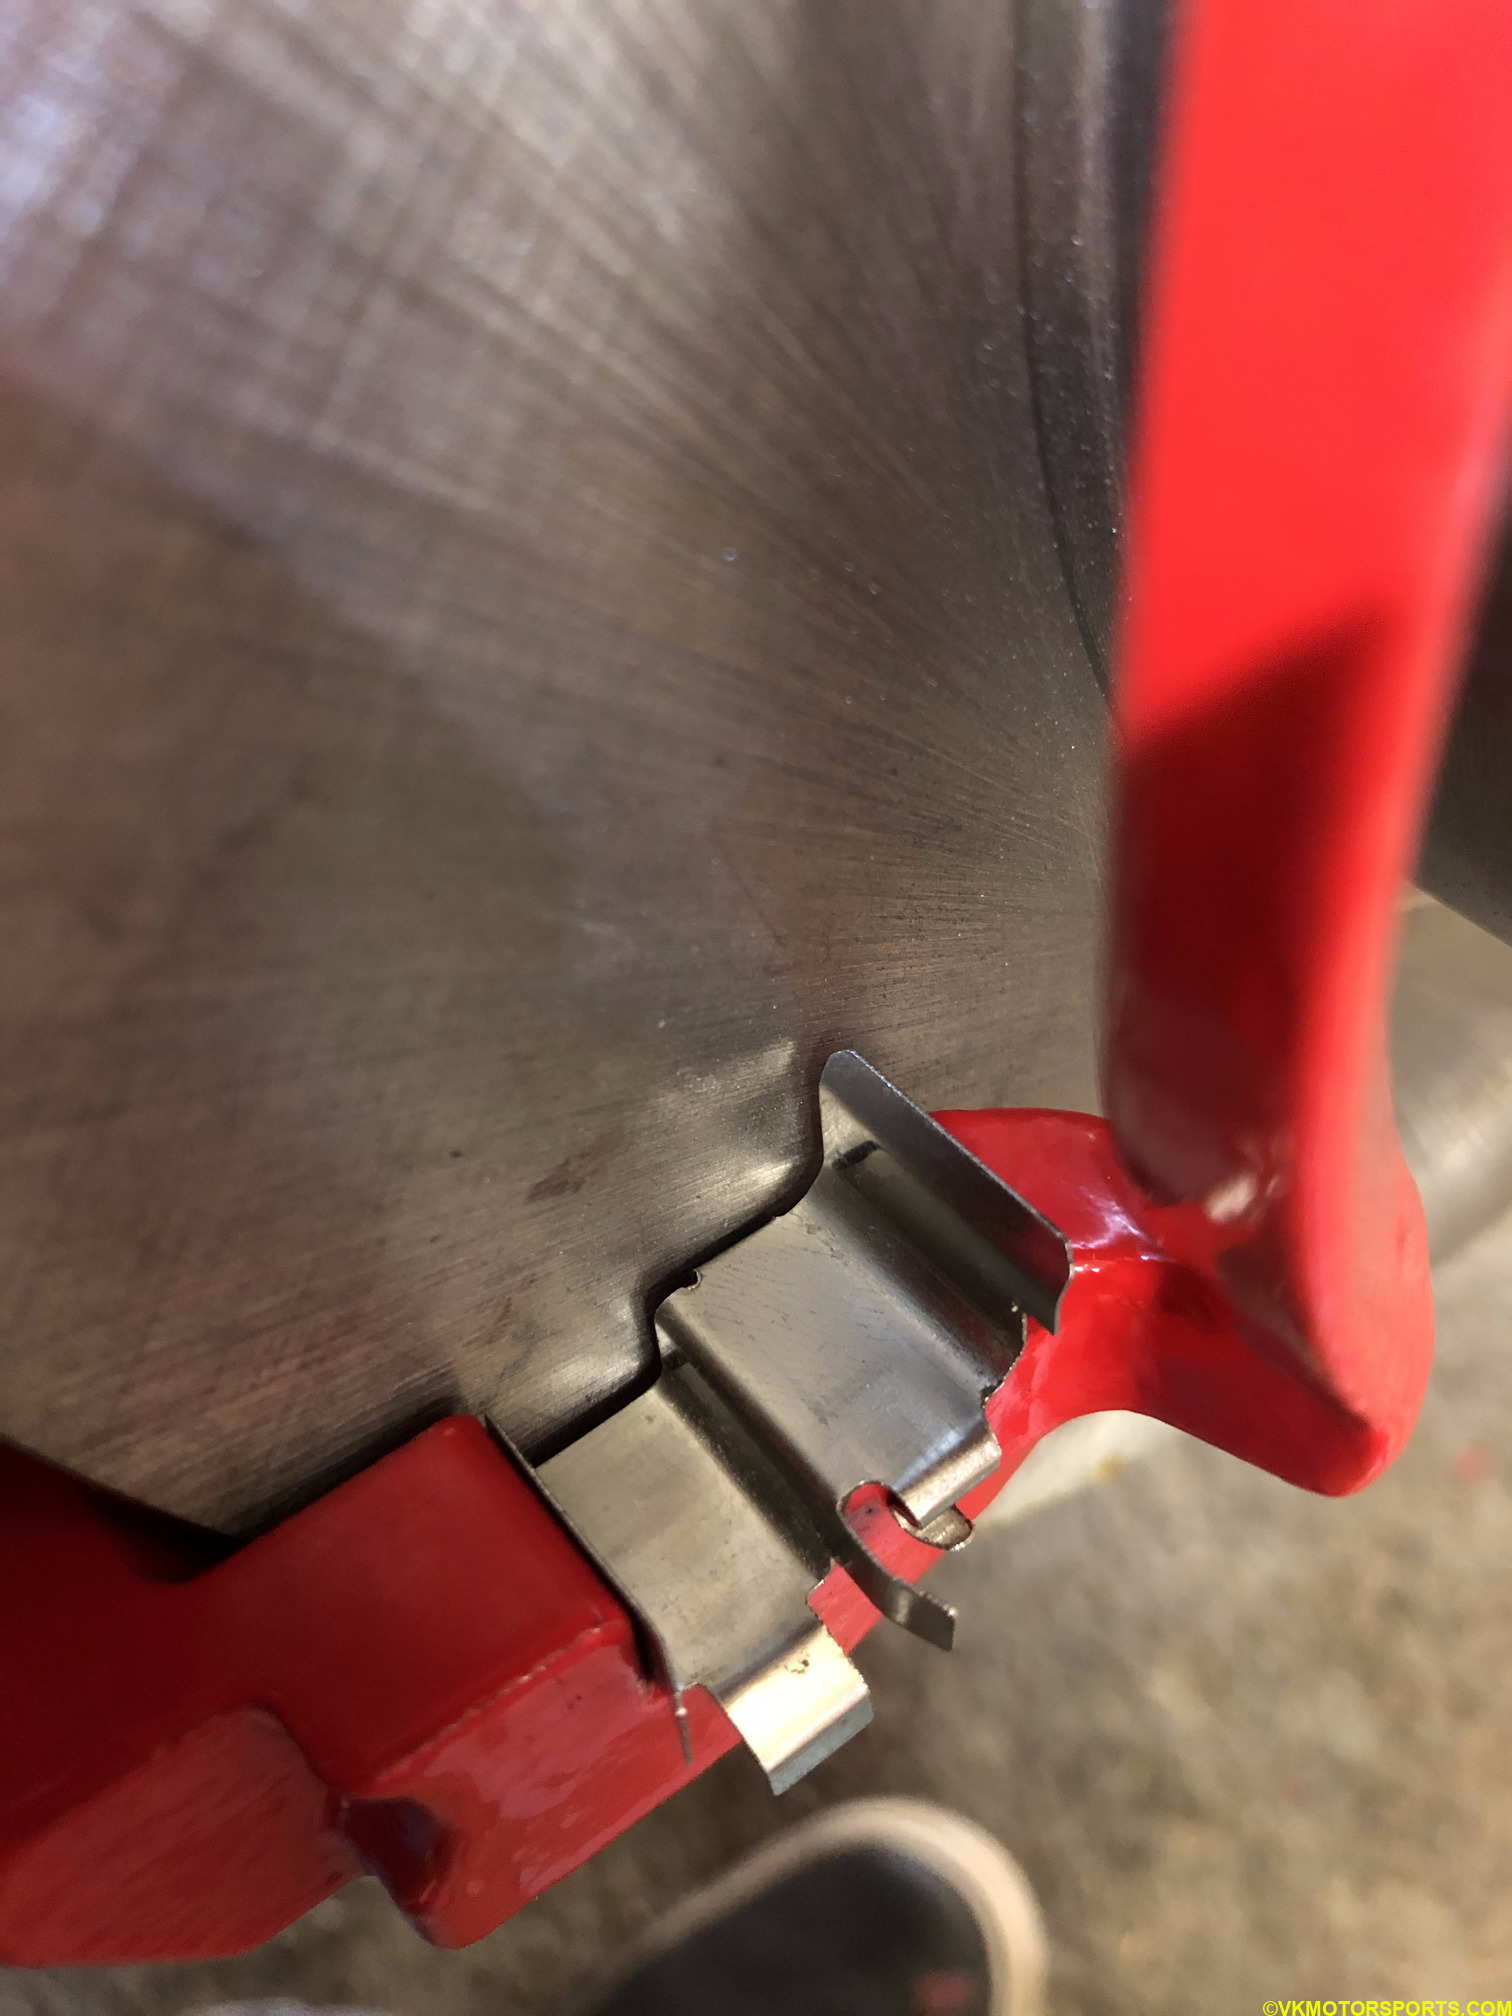 Figure 3a. Place clips on the caliper bracket
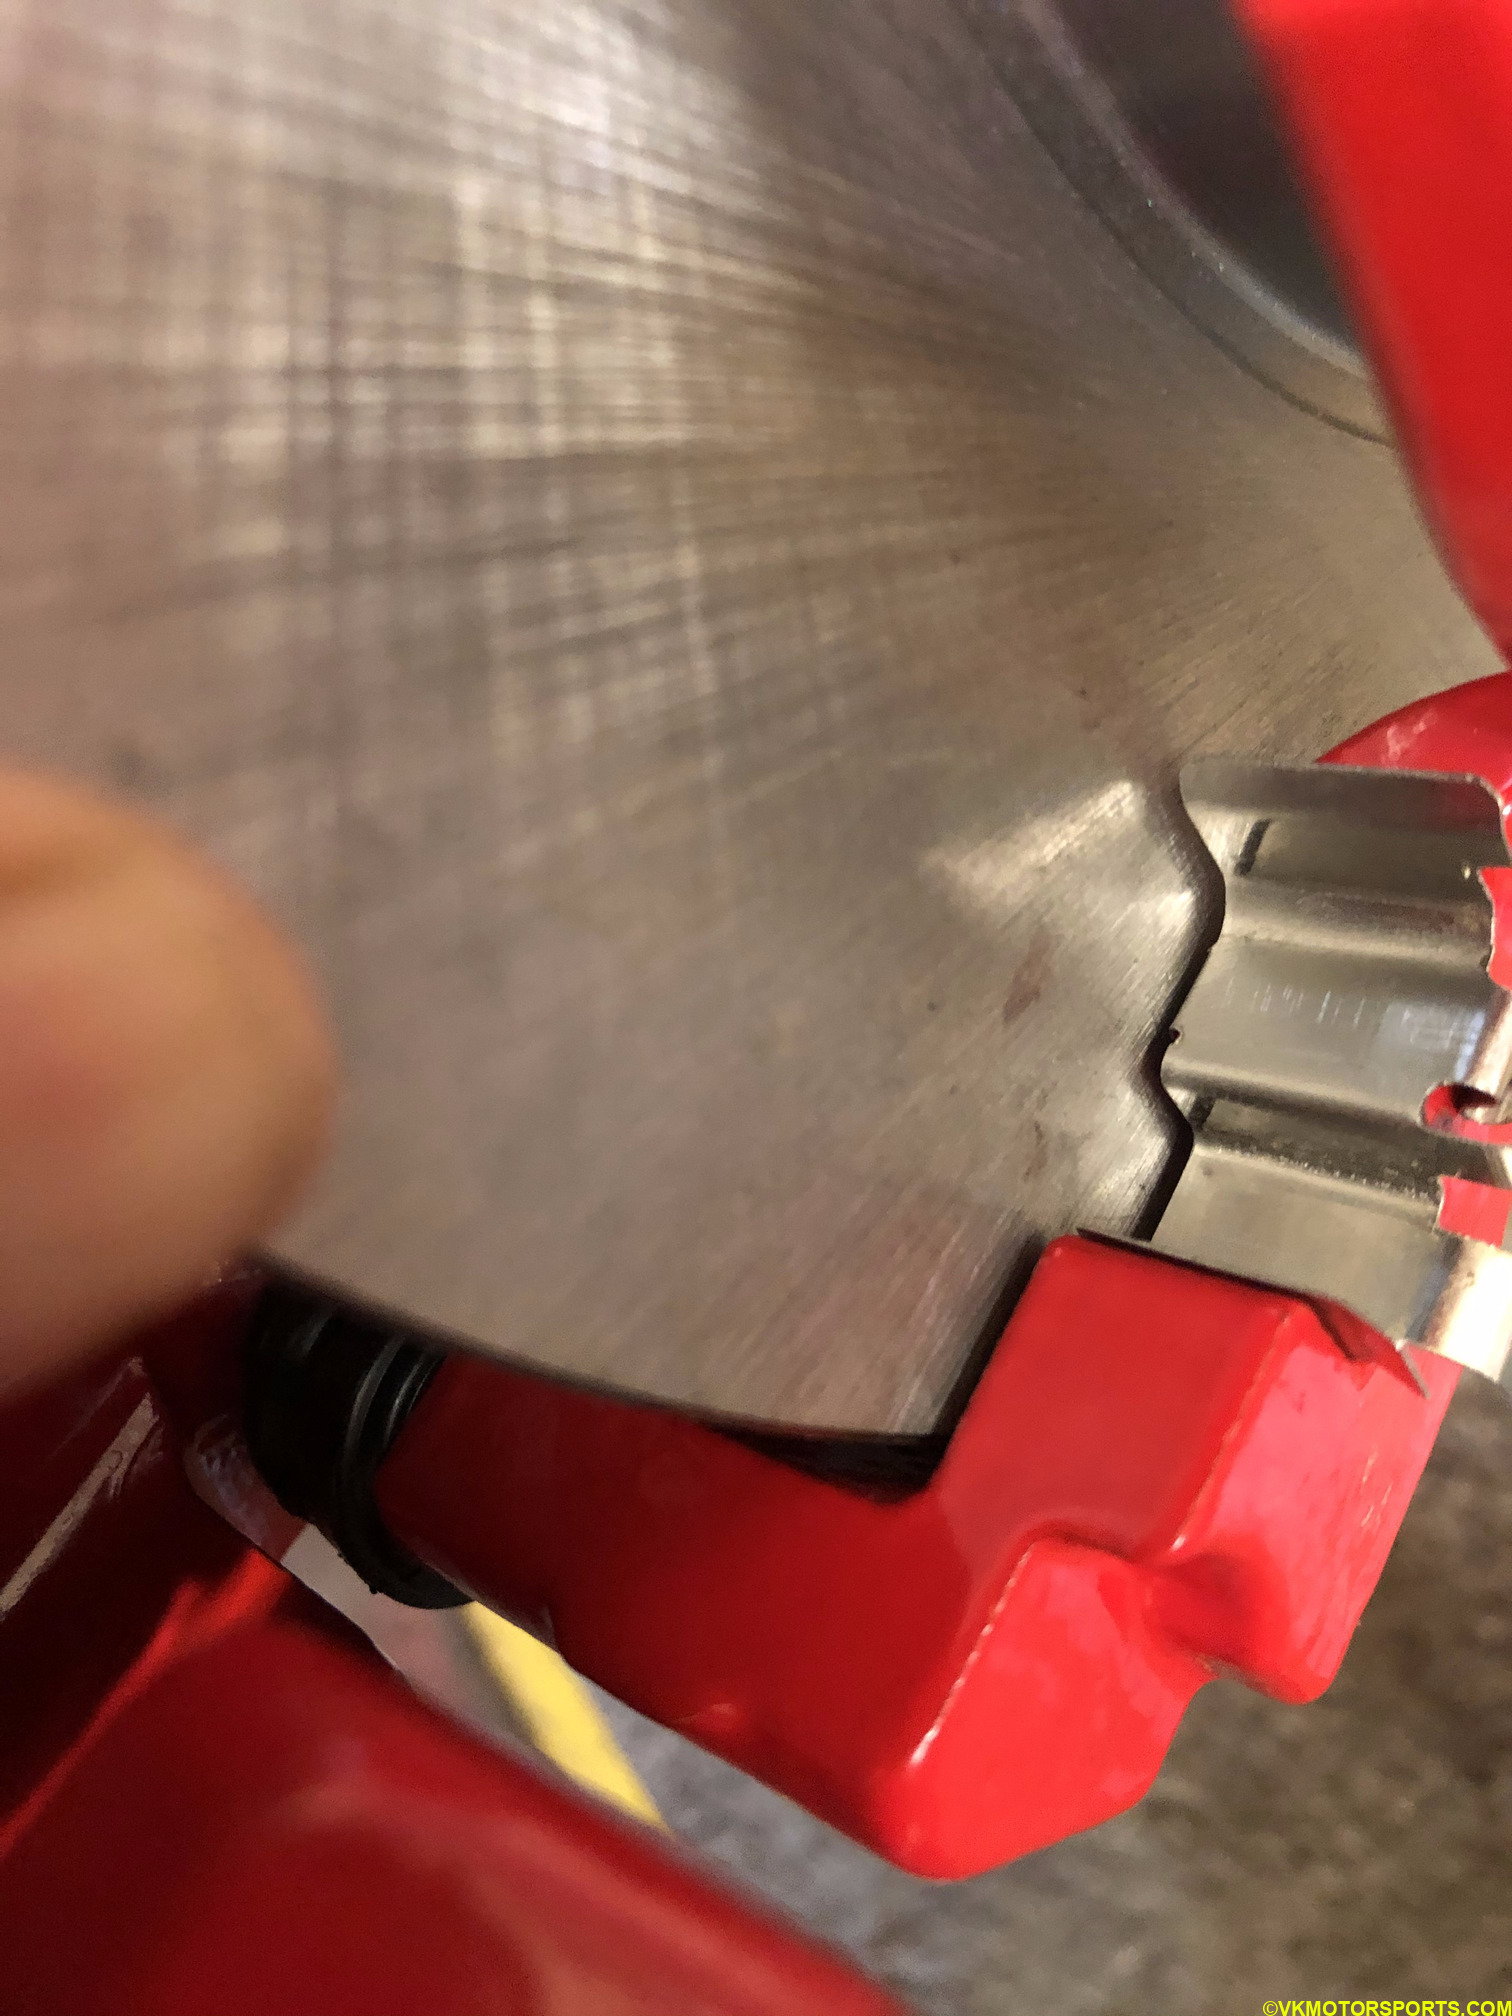 Figure 3b. Place clips on the caliper bracket
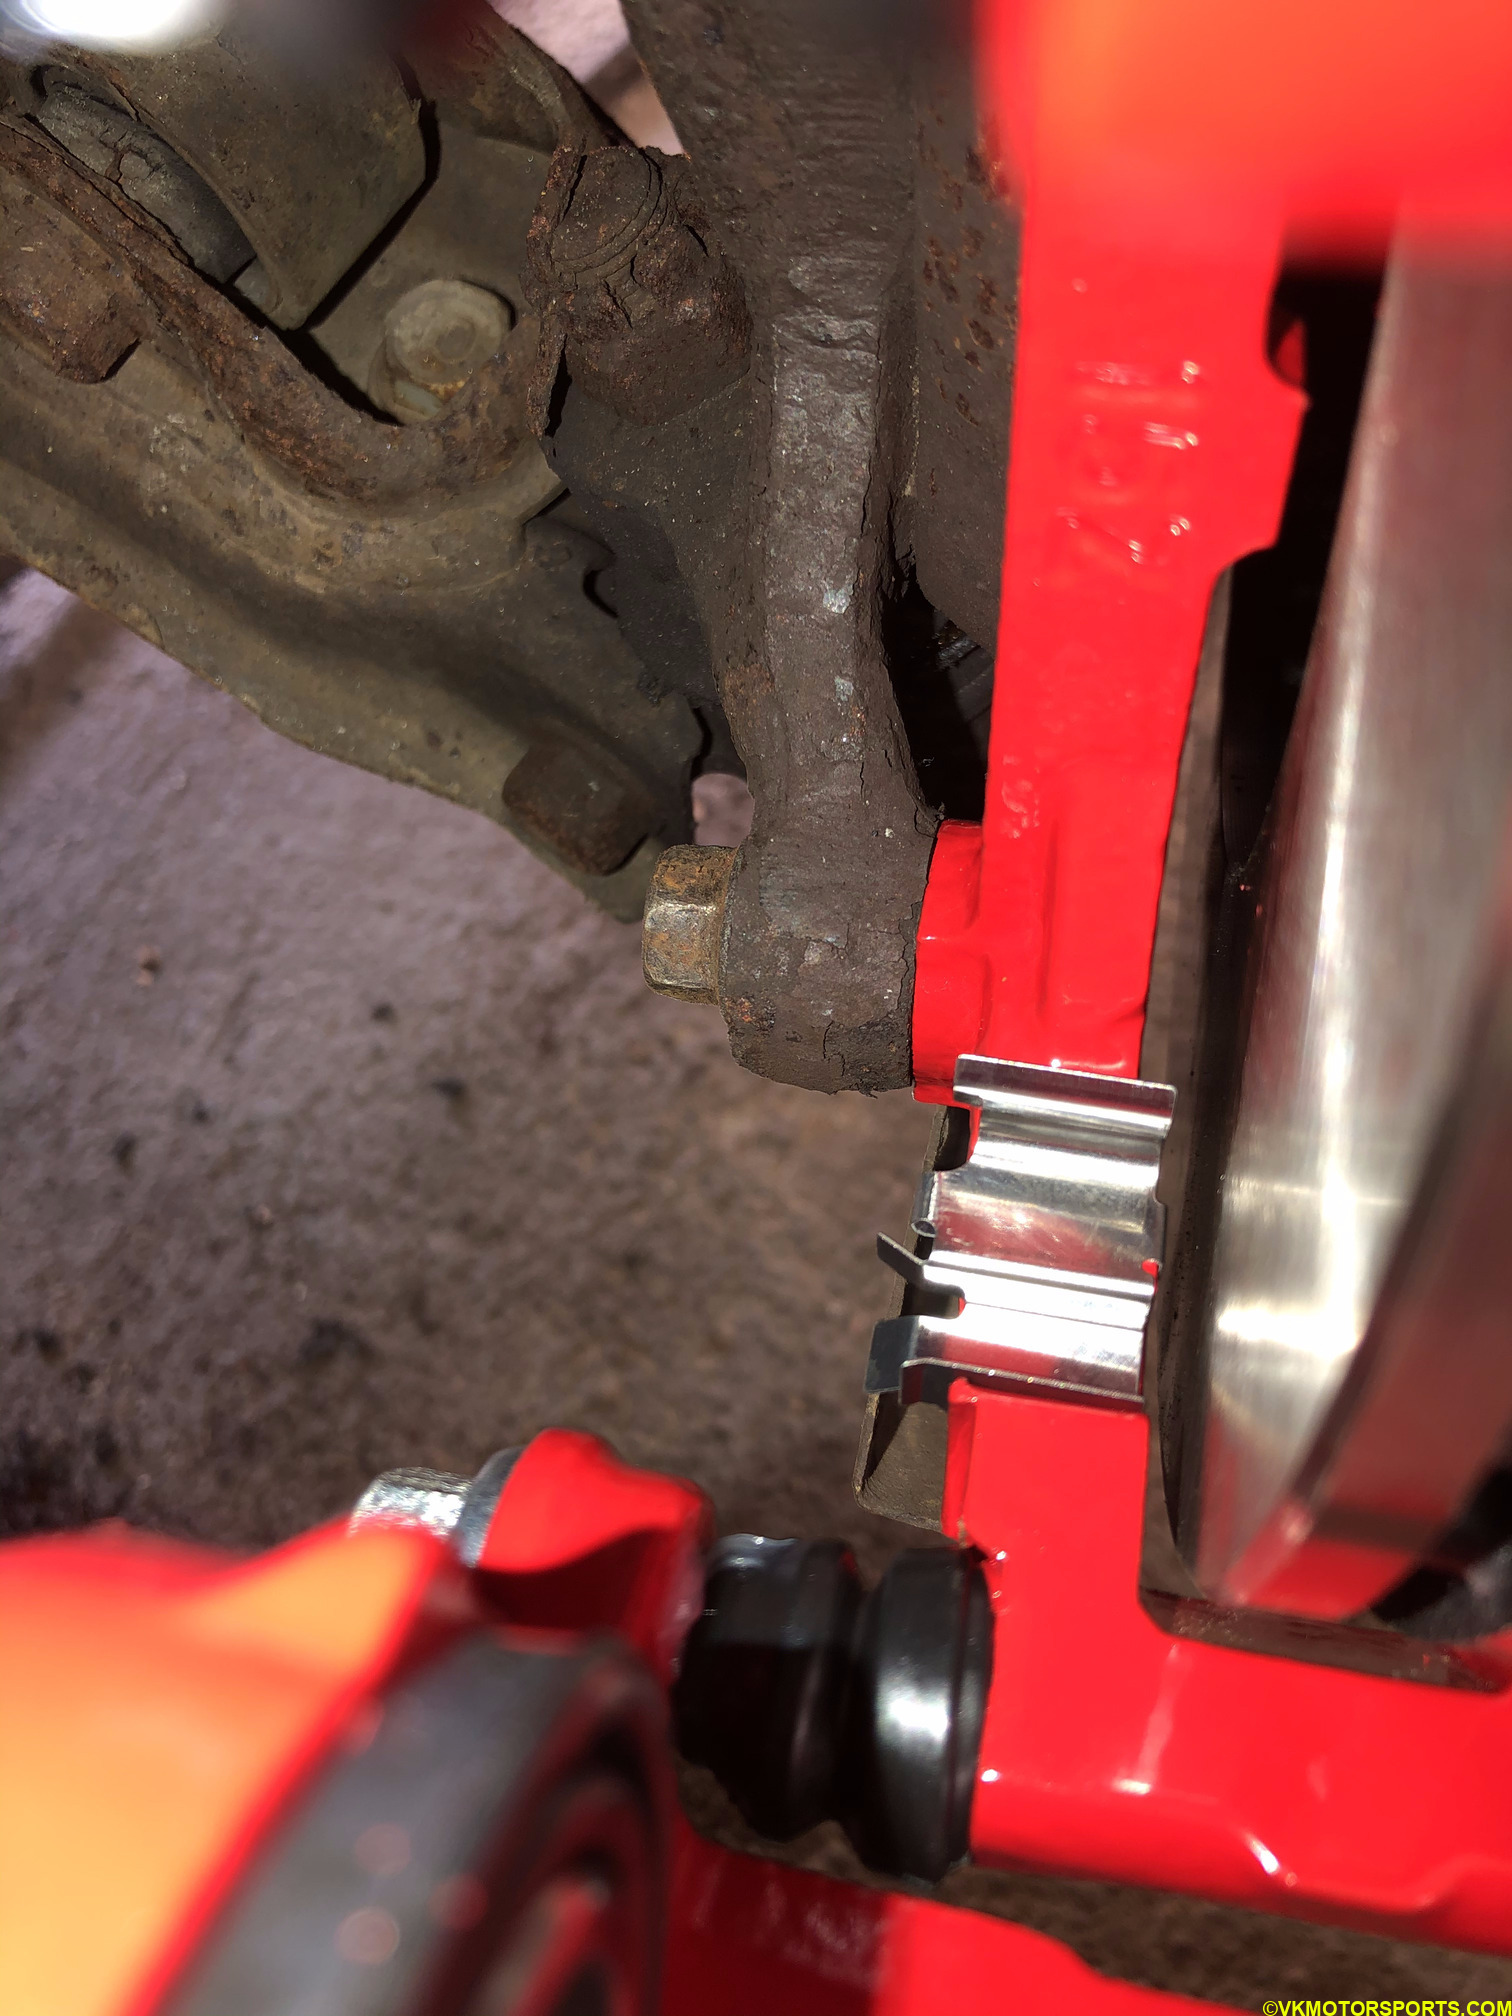 Figure 3c. Place clips on the caliper bracket
Step 3: Apply brake grease to the brake pads and install them on the caliper and hook the pad clips on the holes on the pads. It should look like Figure 4.
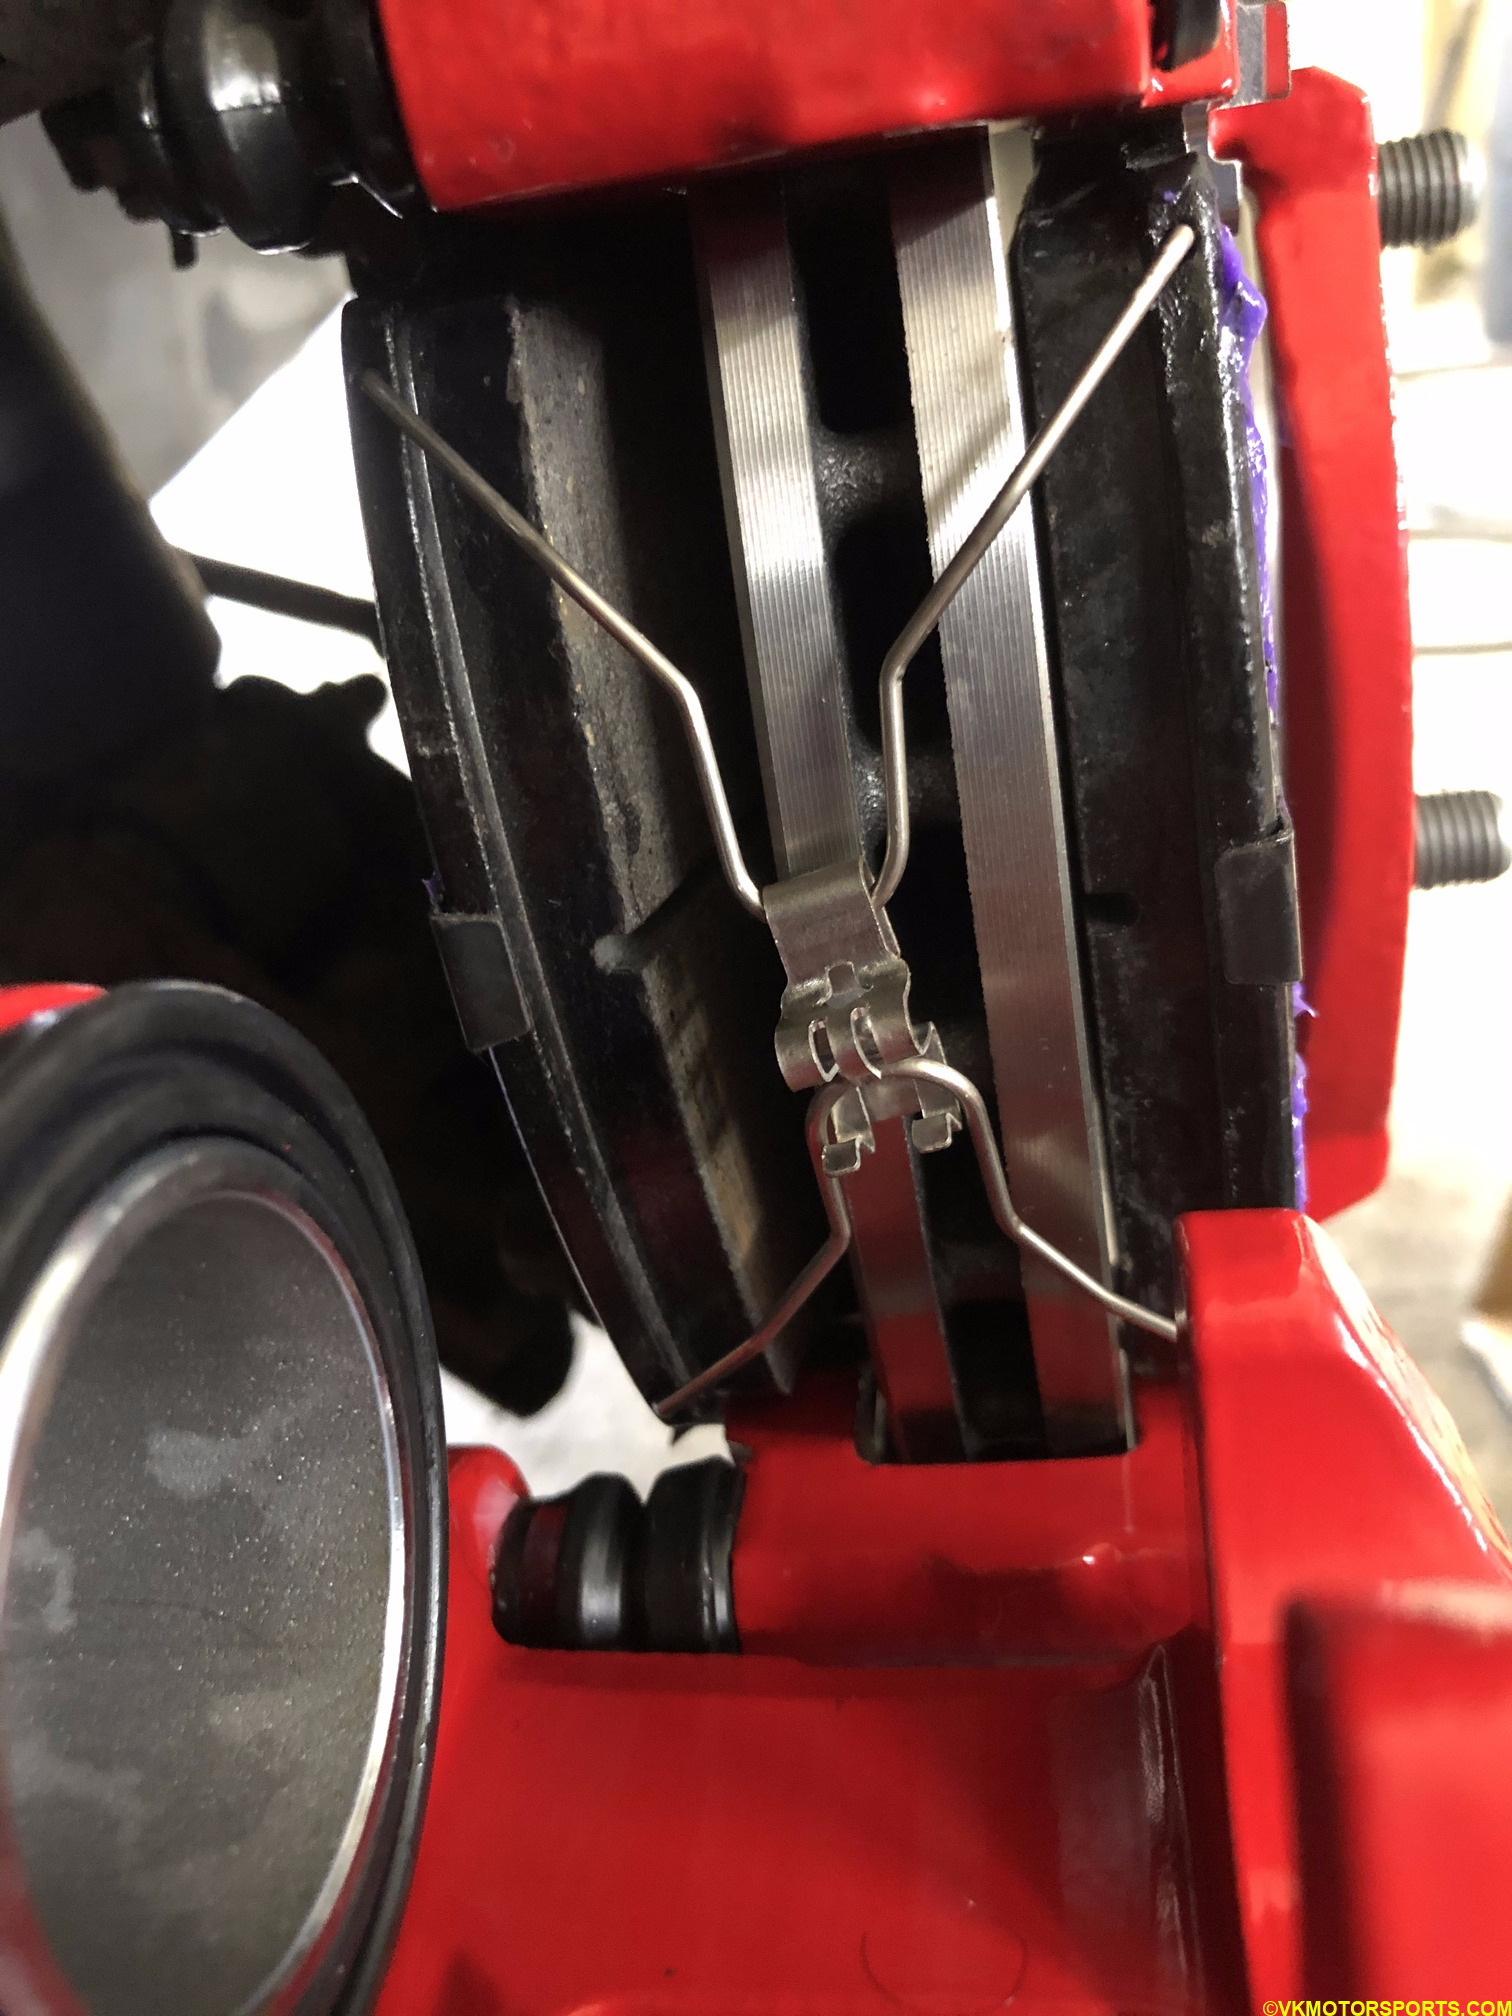 Figure 4. Brake pads installed with clips
Step 4: Now close the caliper up gently and adjust its position so that you can insert the bolt back in and tighten it.
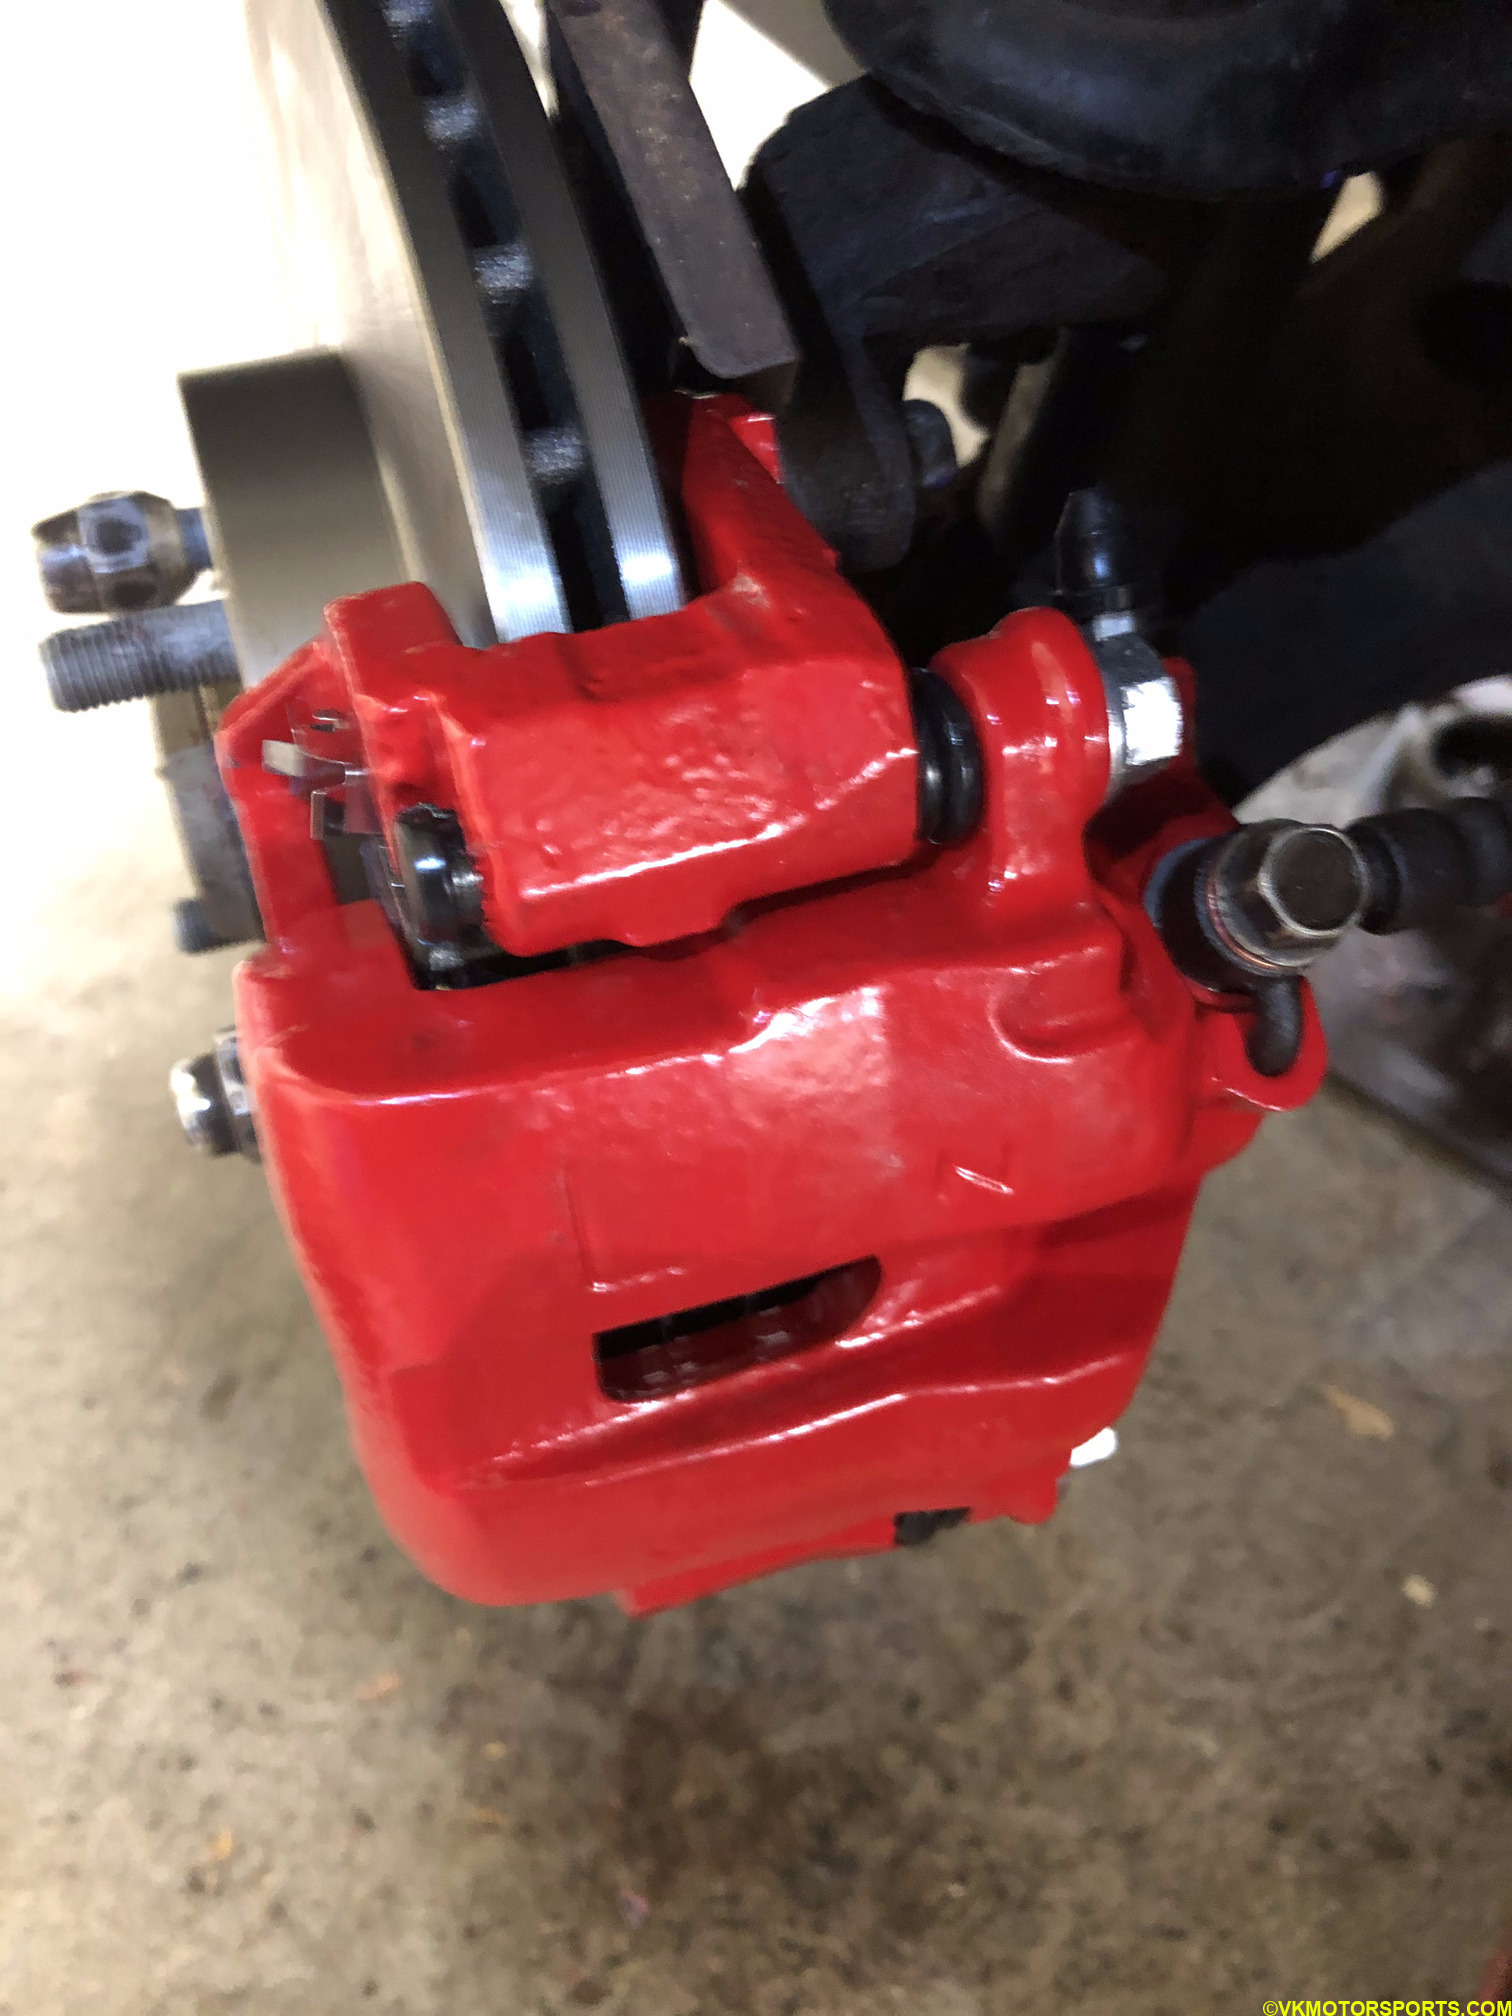 Figure 5. Close the caliper and install the bolt back
REAR BRAKE PADS
Rear brake pad install is also relatively simple, but different from the front brake pads since the caliper is different.
 Figure 6. View of brake calipers without the brake pads
Step 1: Locate the hidden bolt behind the caliper that needs to be loosened, using a 10mm socket or wrench, to open the caliper up for installing the brake pads.
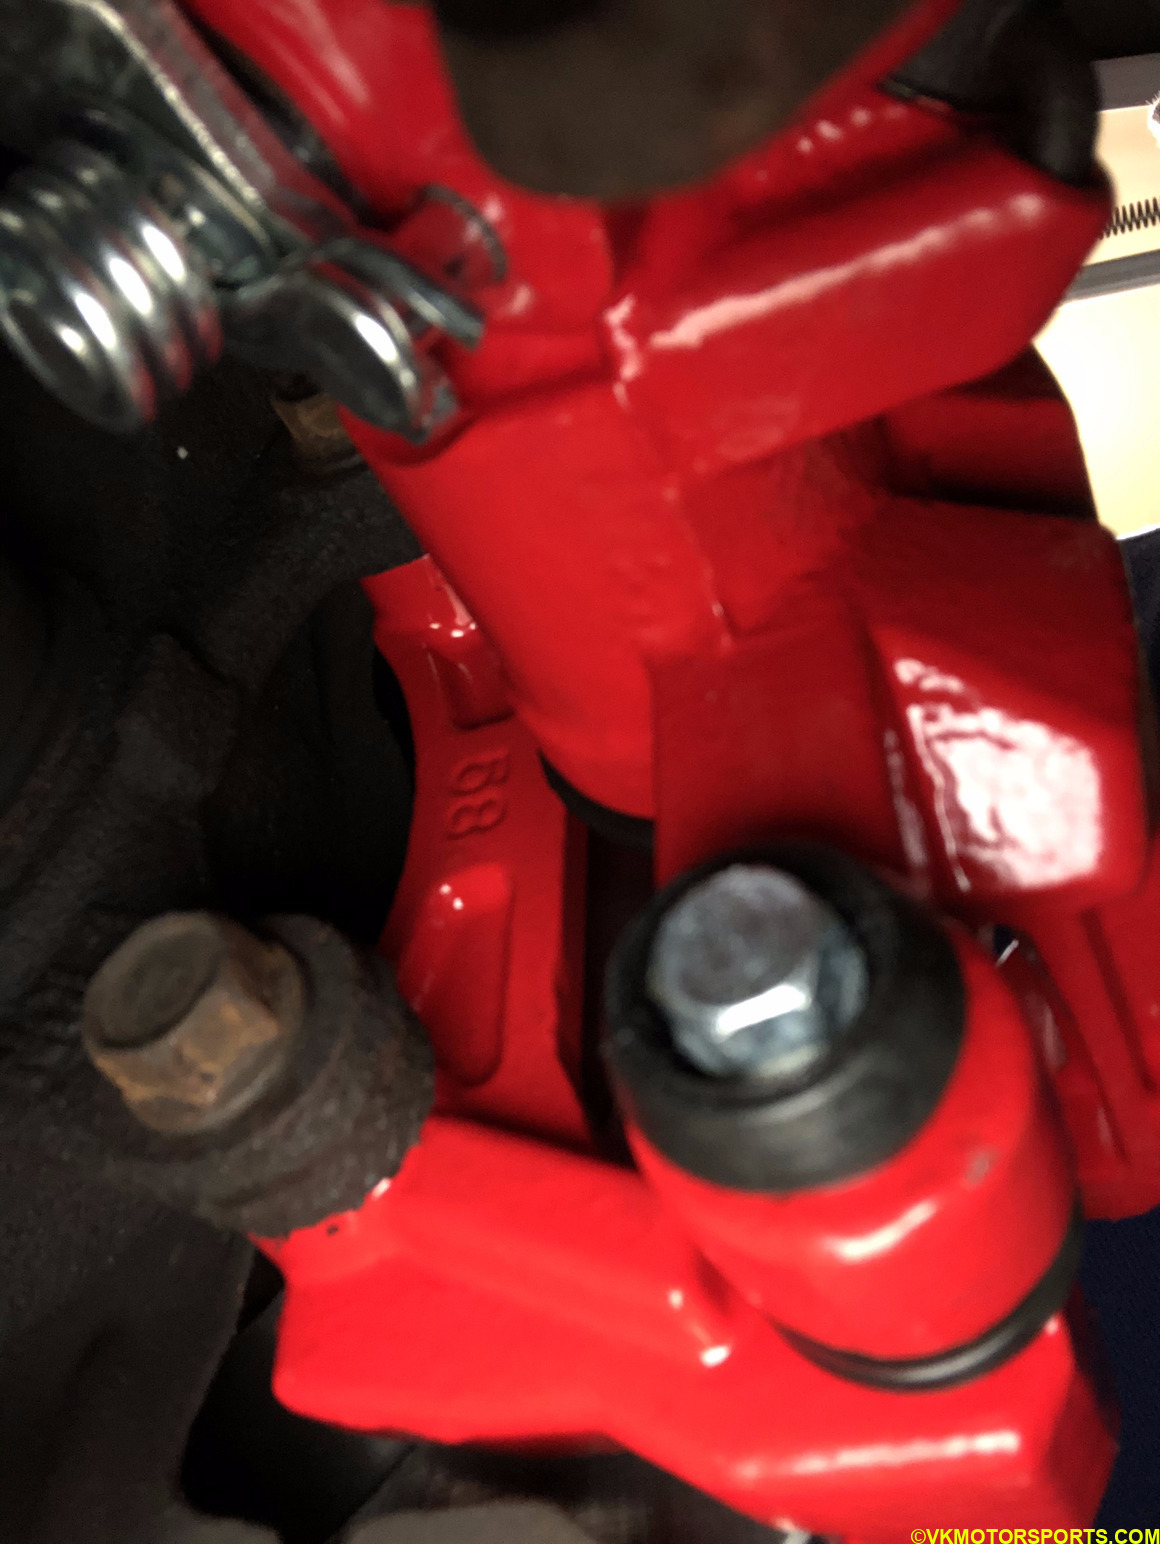 Figure 7. Locate rear bolt behind the caliper
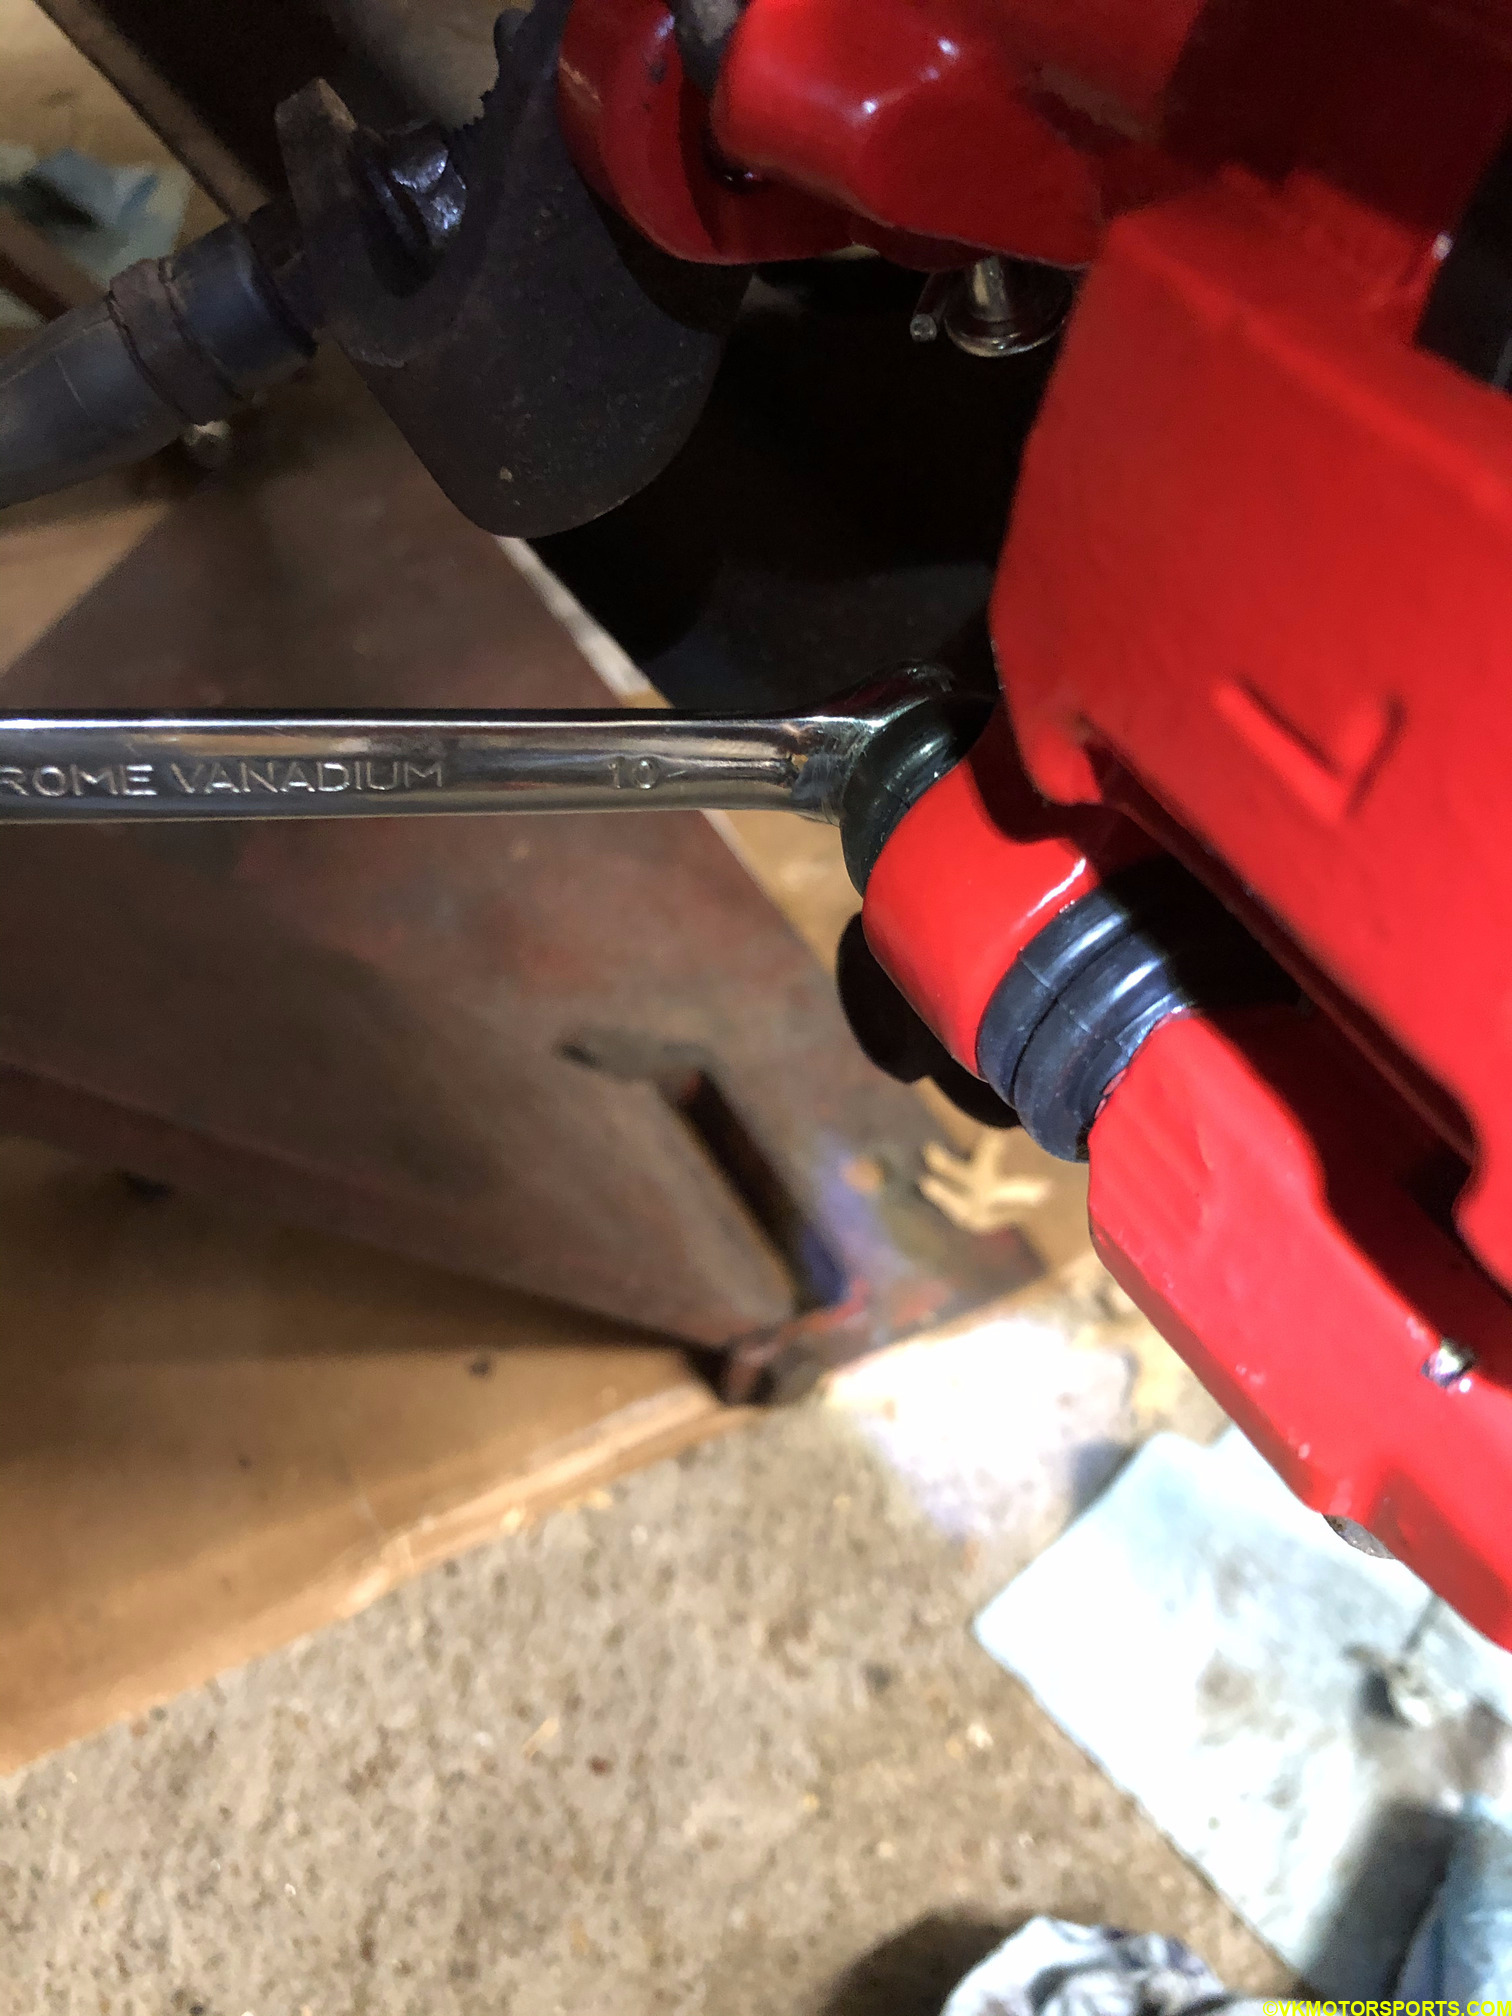 Figure 8. Loosen the bolt
Step 2: Once the caliper is opened, you must install the clips as shonw in Figure 9, on which you have to seat the brake pads.
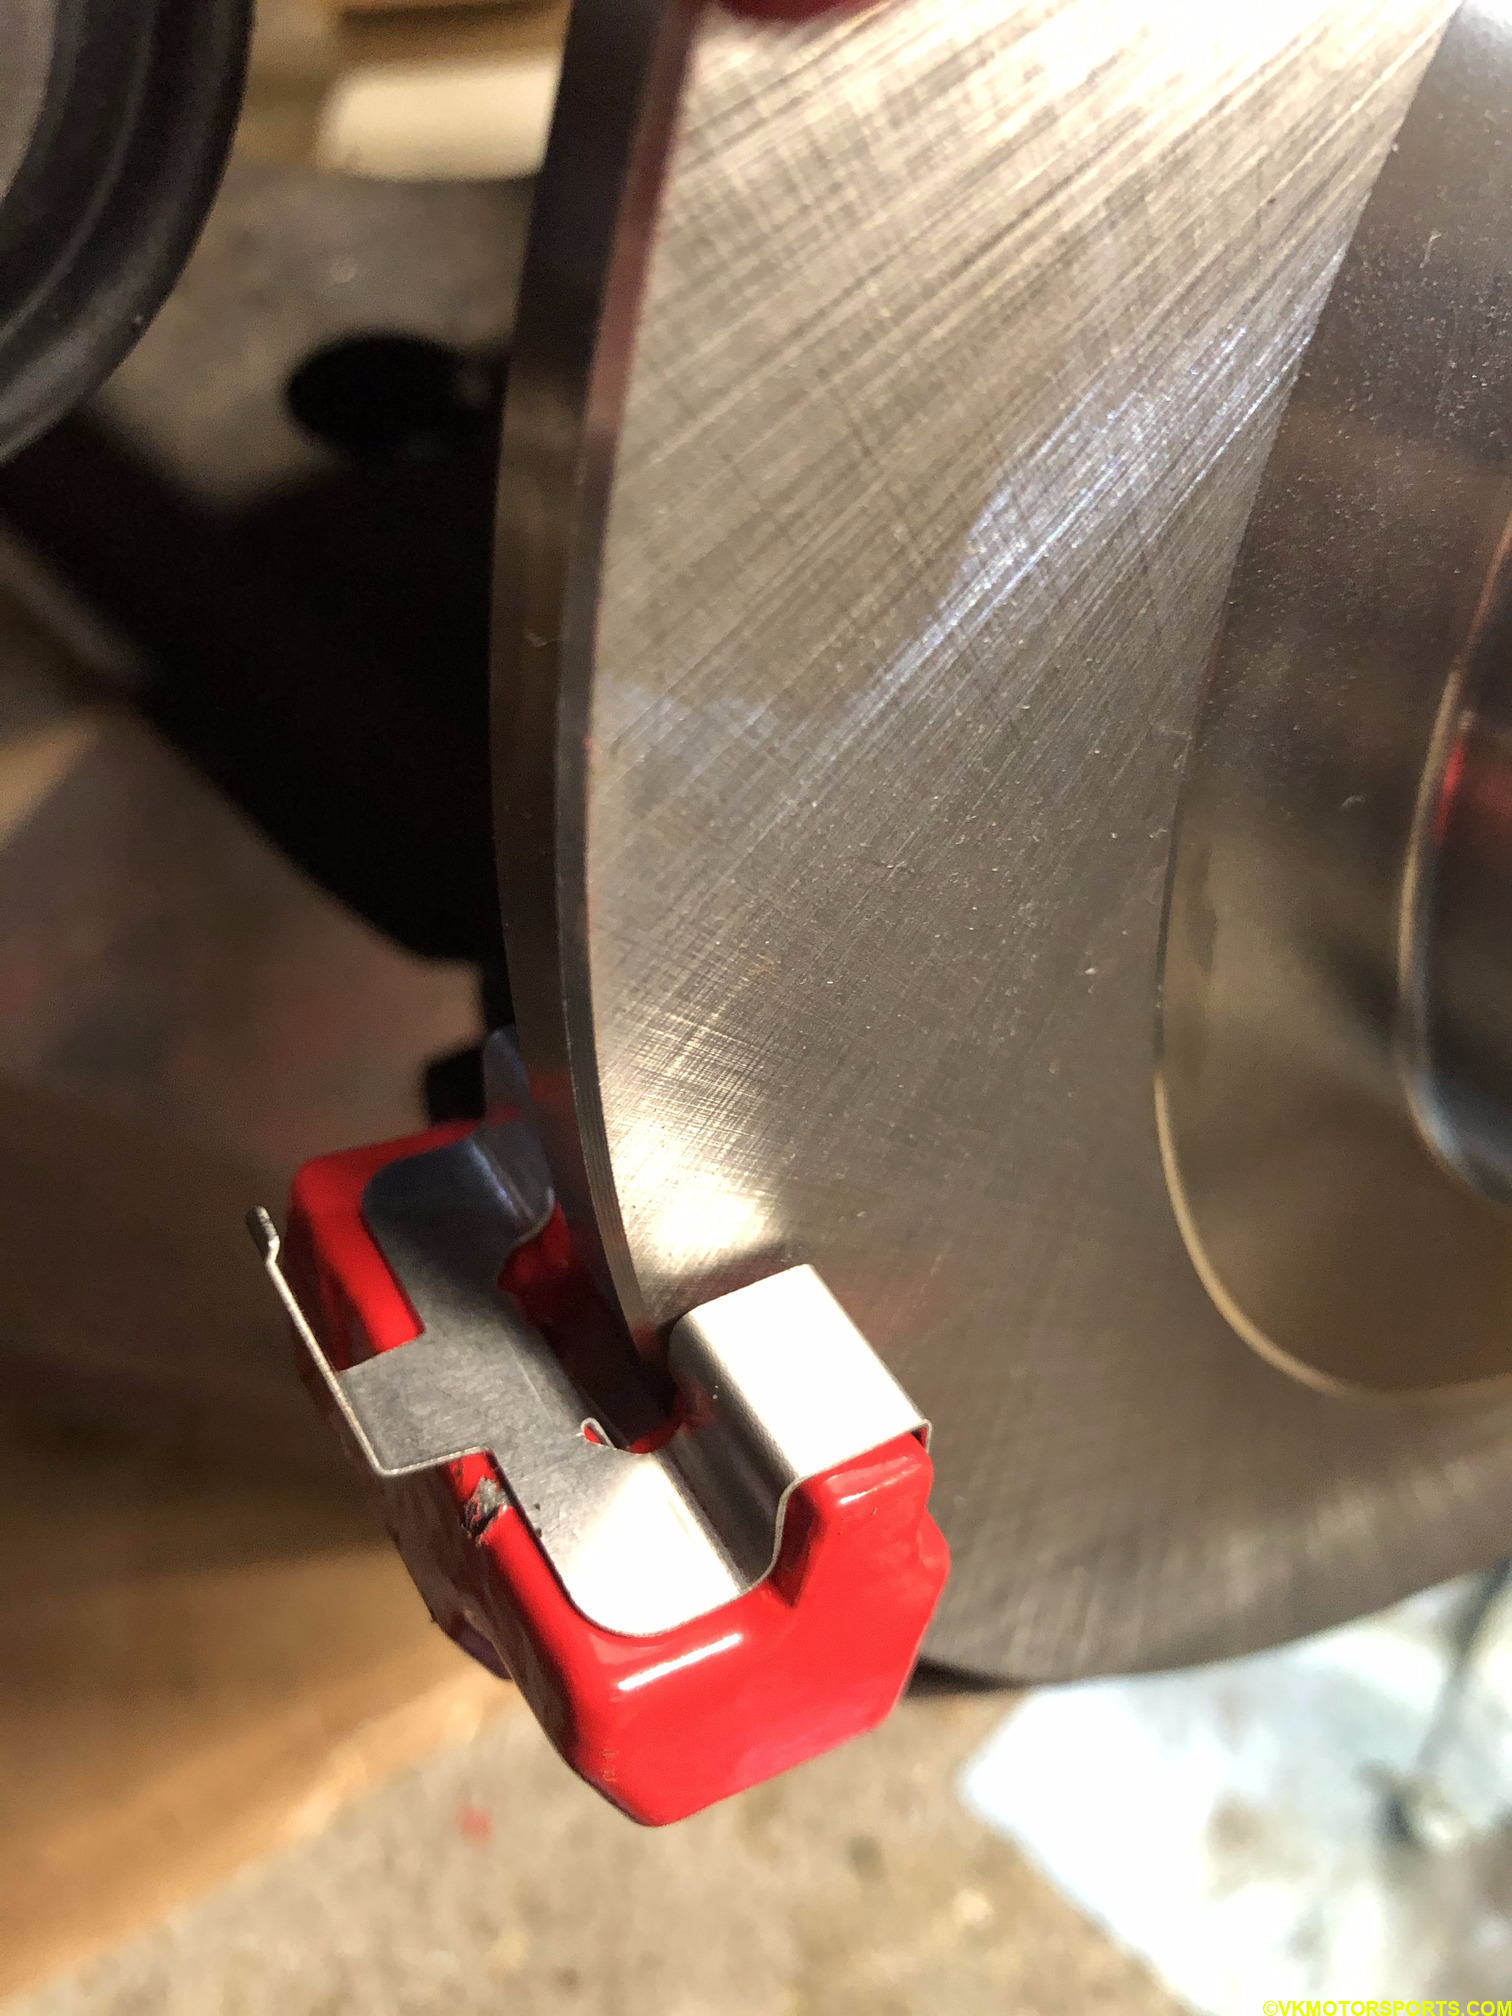 Figure 9. Place clips on the caliper for seating the brake pads
Step 3: Using brake grease, lubricate the pads (Figure 10), and seat the pads back in position as shown in Figure 11, and close the caliper as shown in Figure 12.
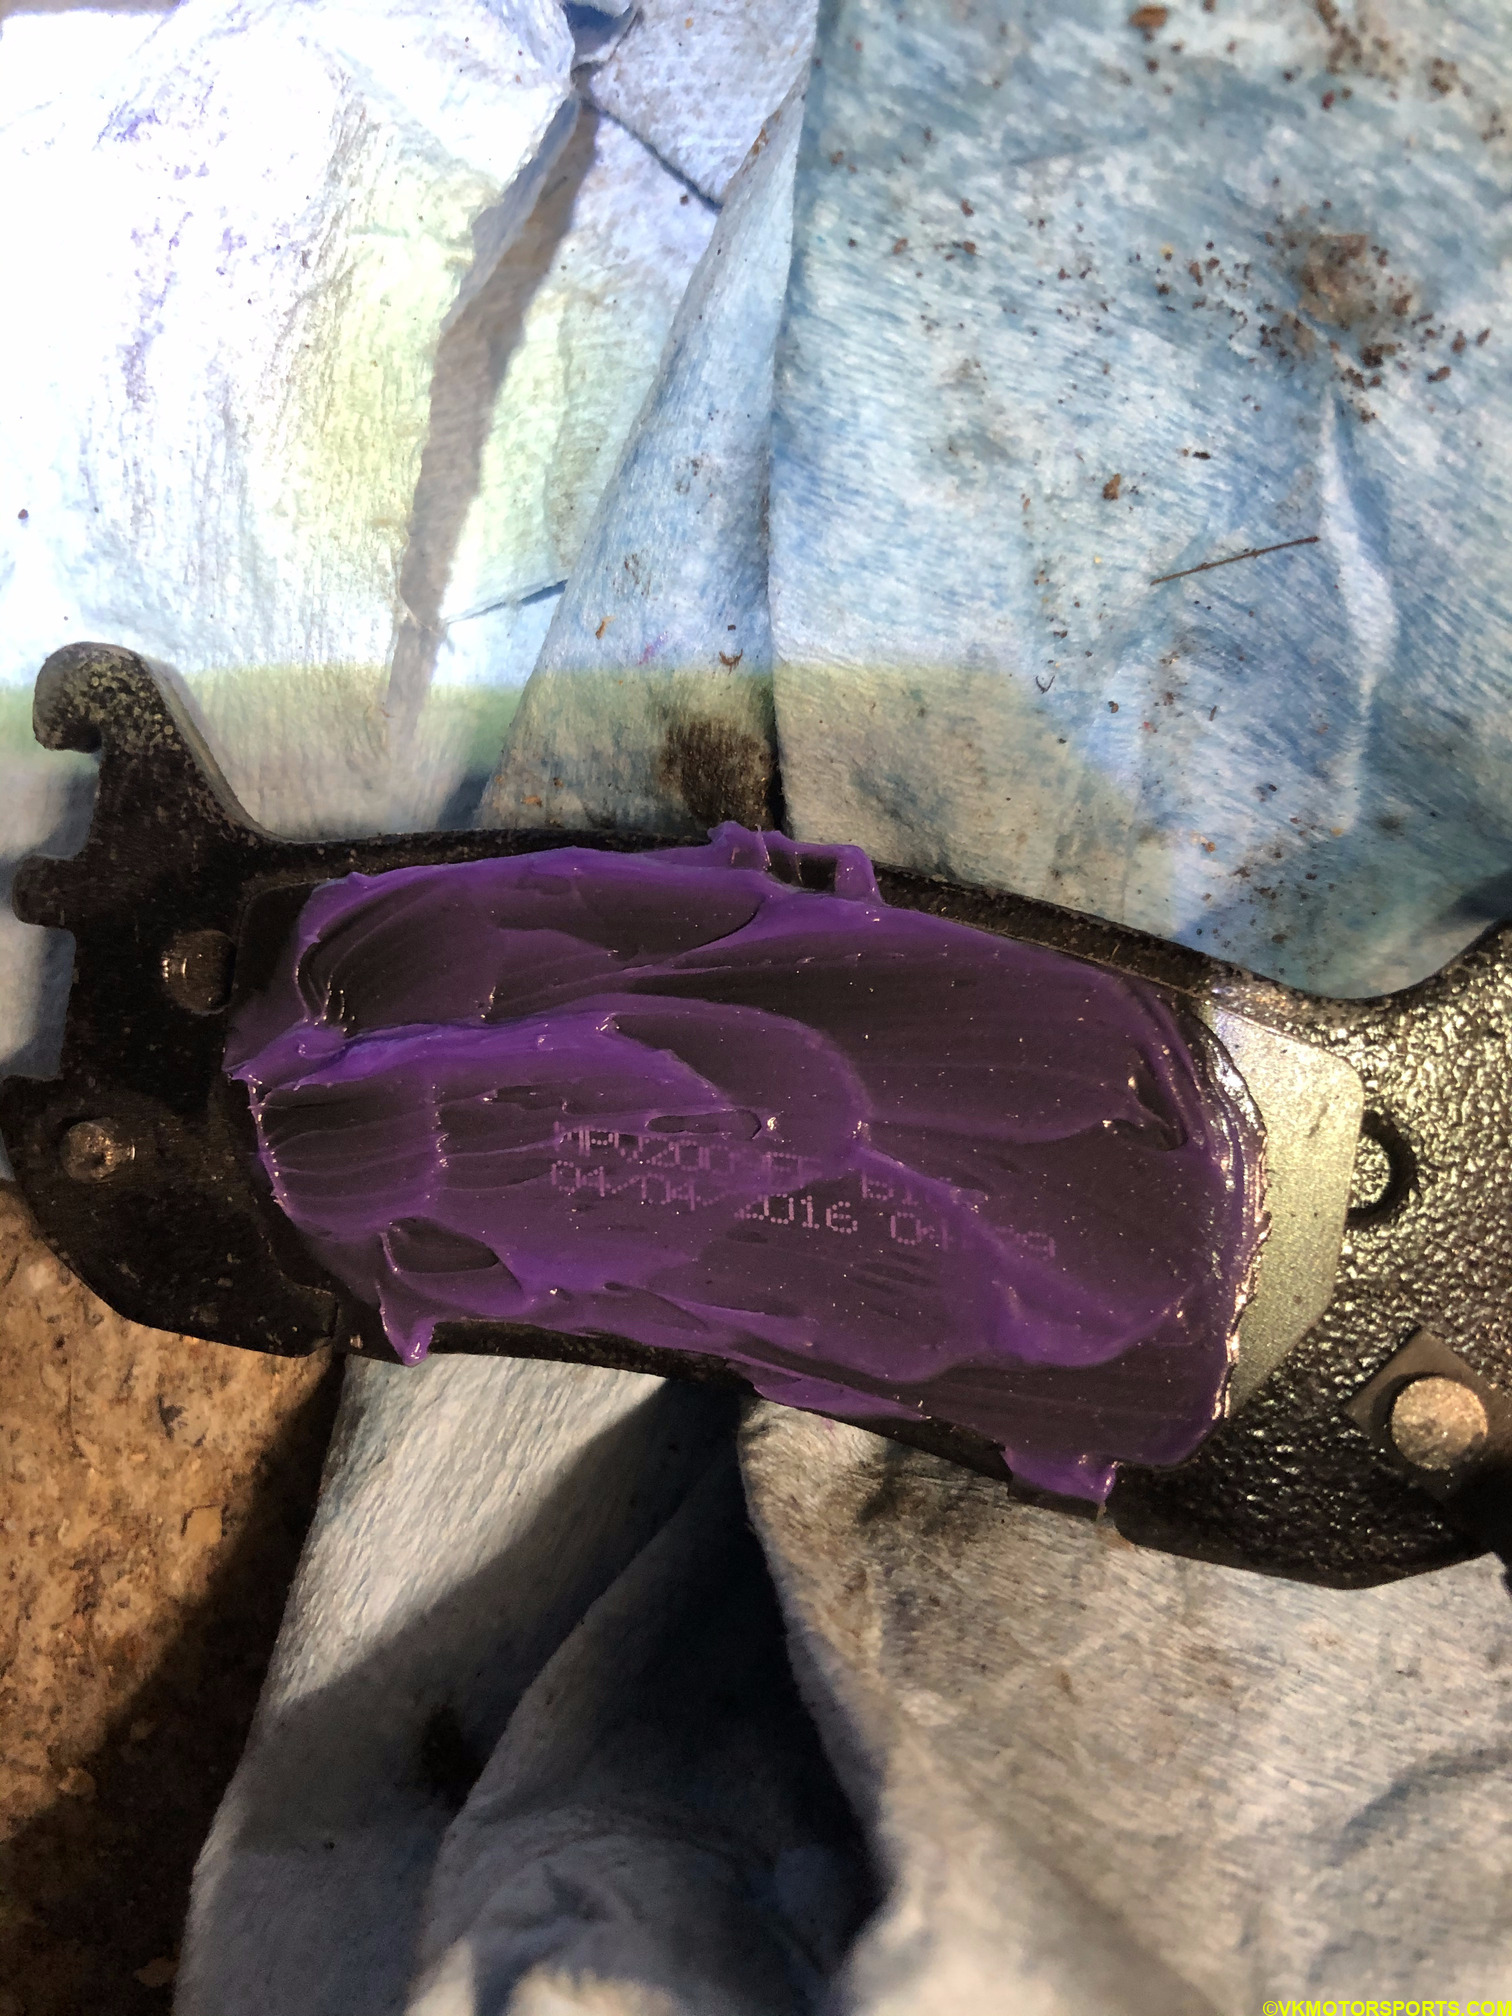 Figure 10. Lubricate the brake pads
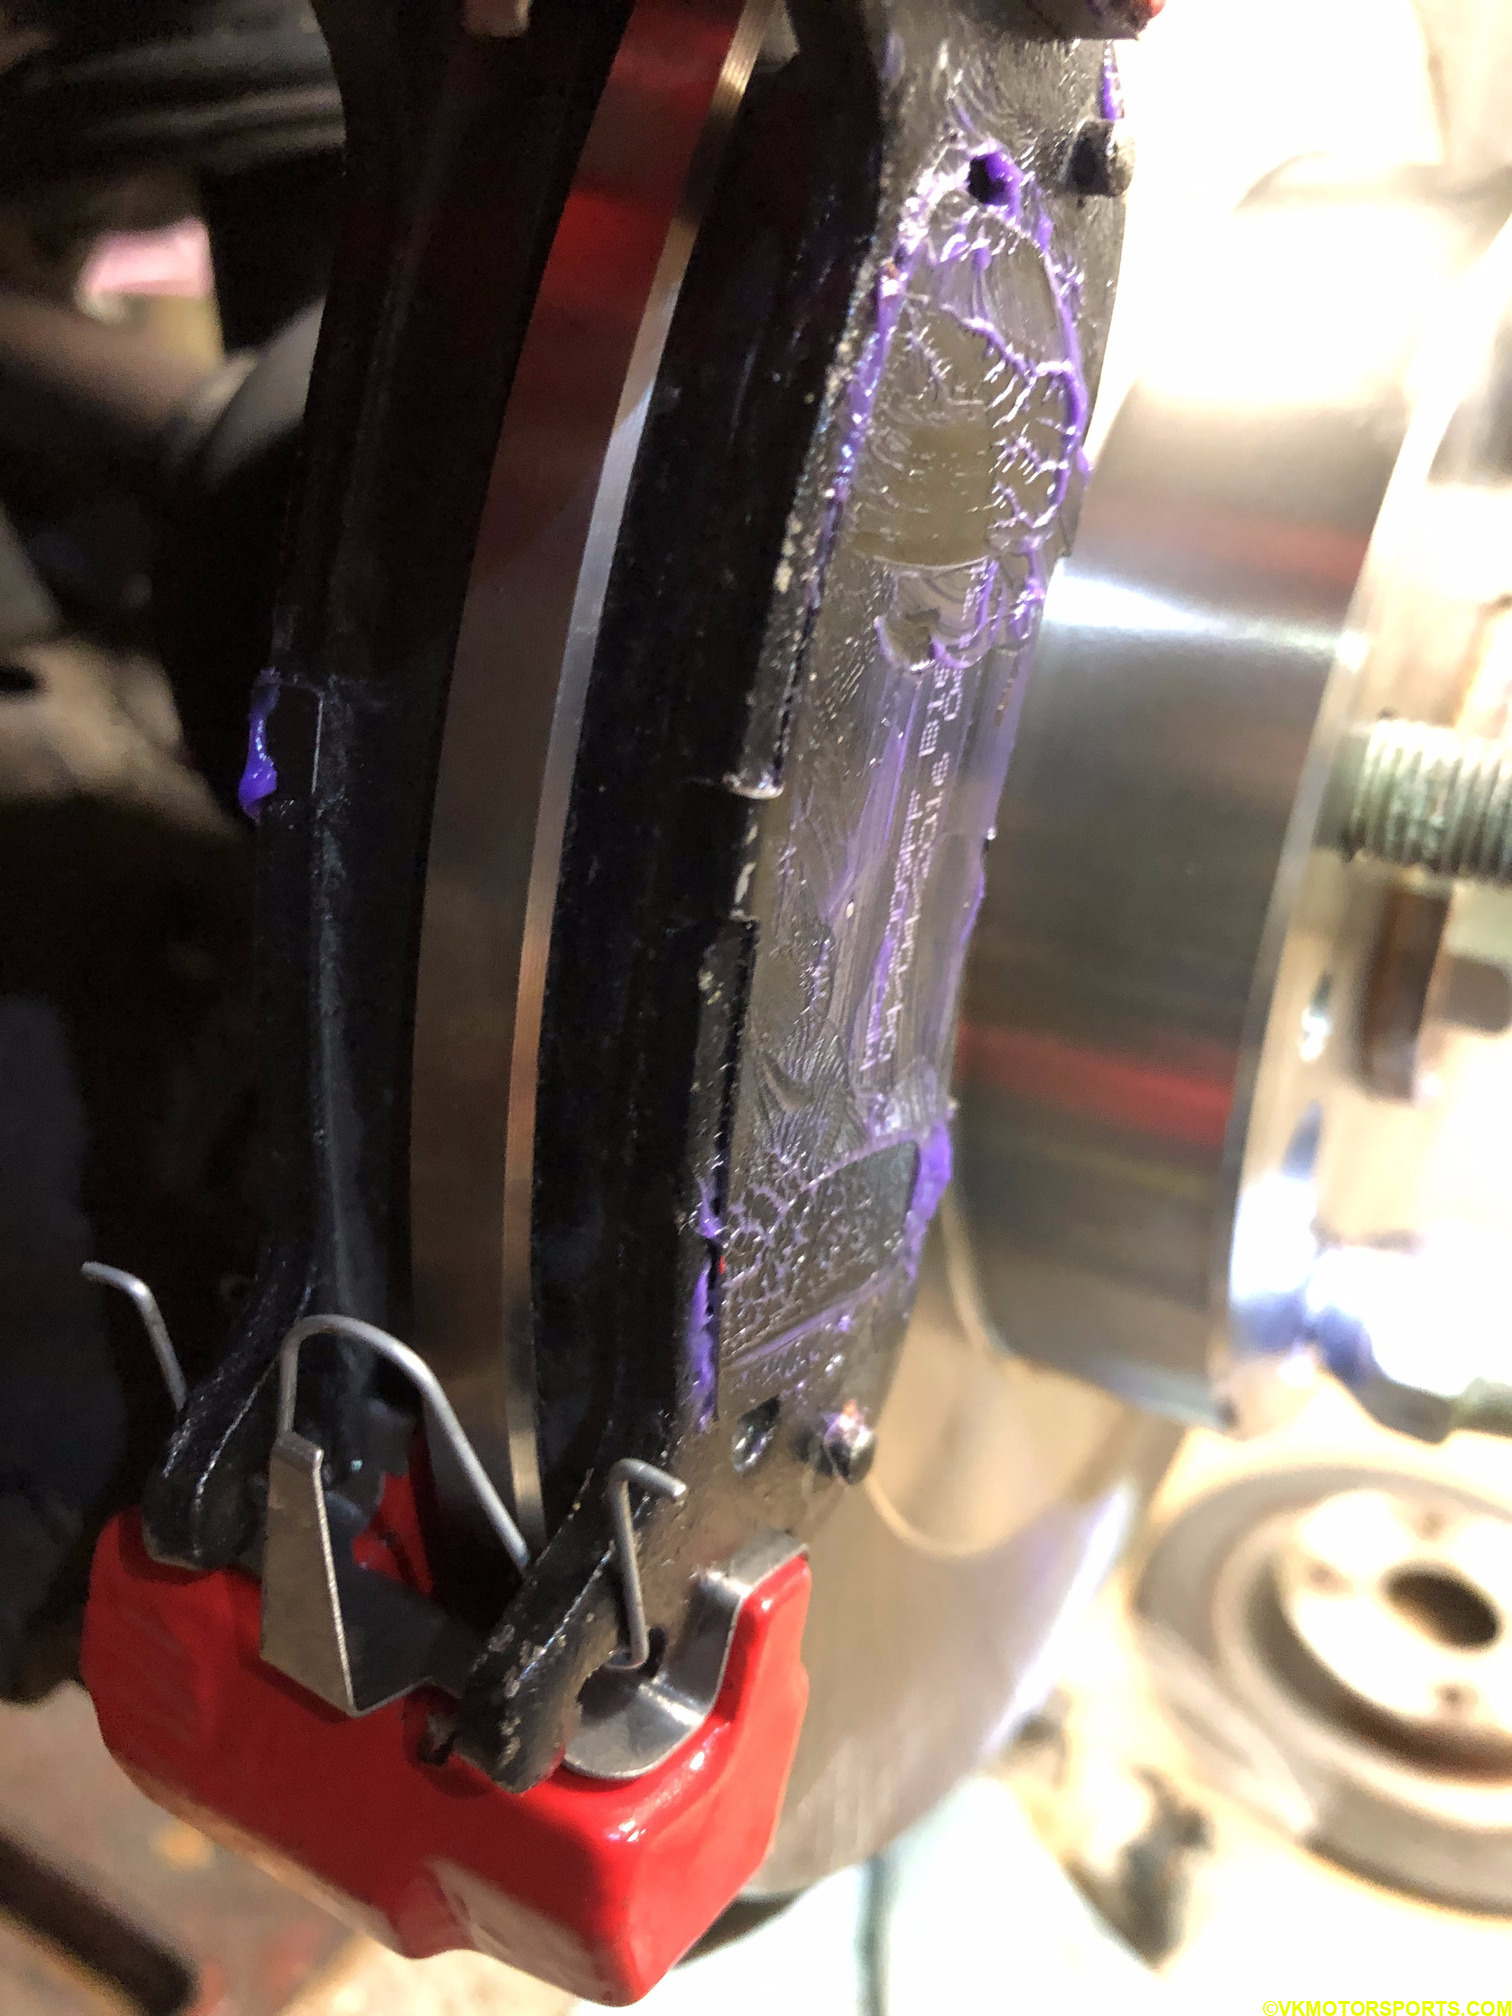 Figure 11. Seat the brake pads in position
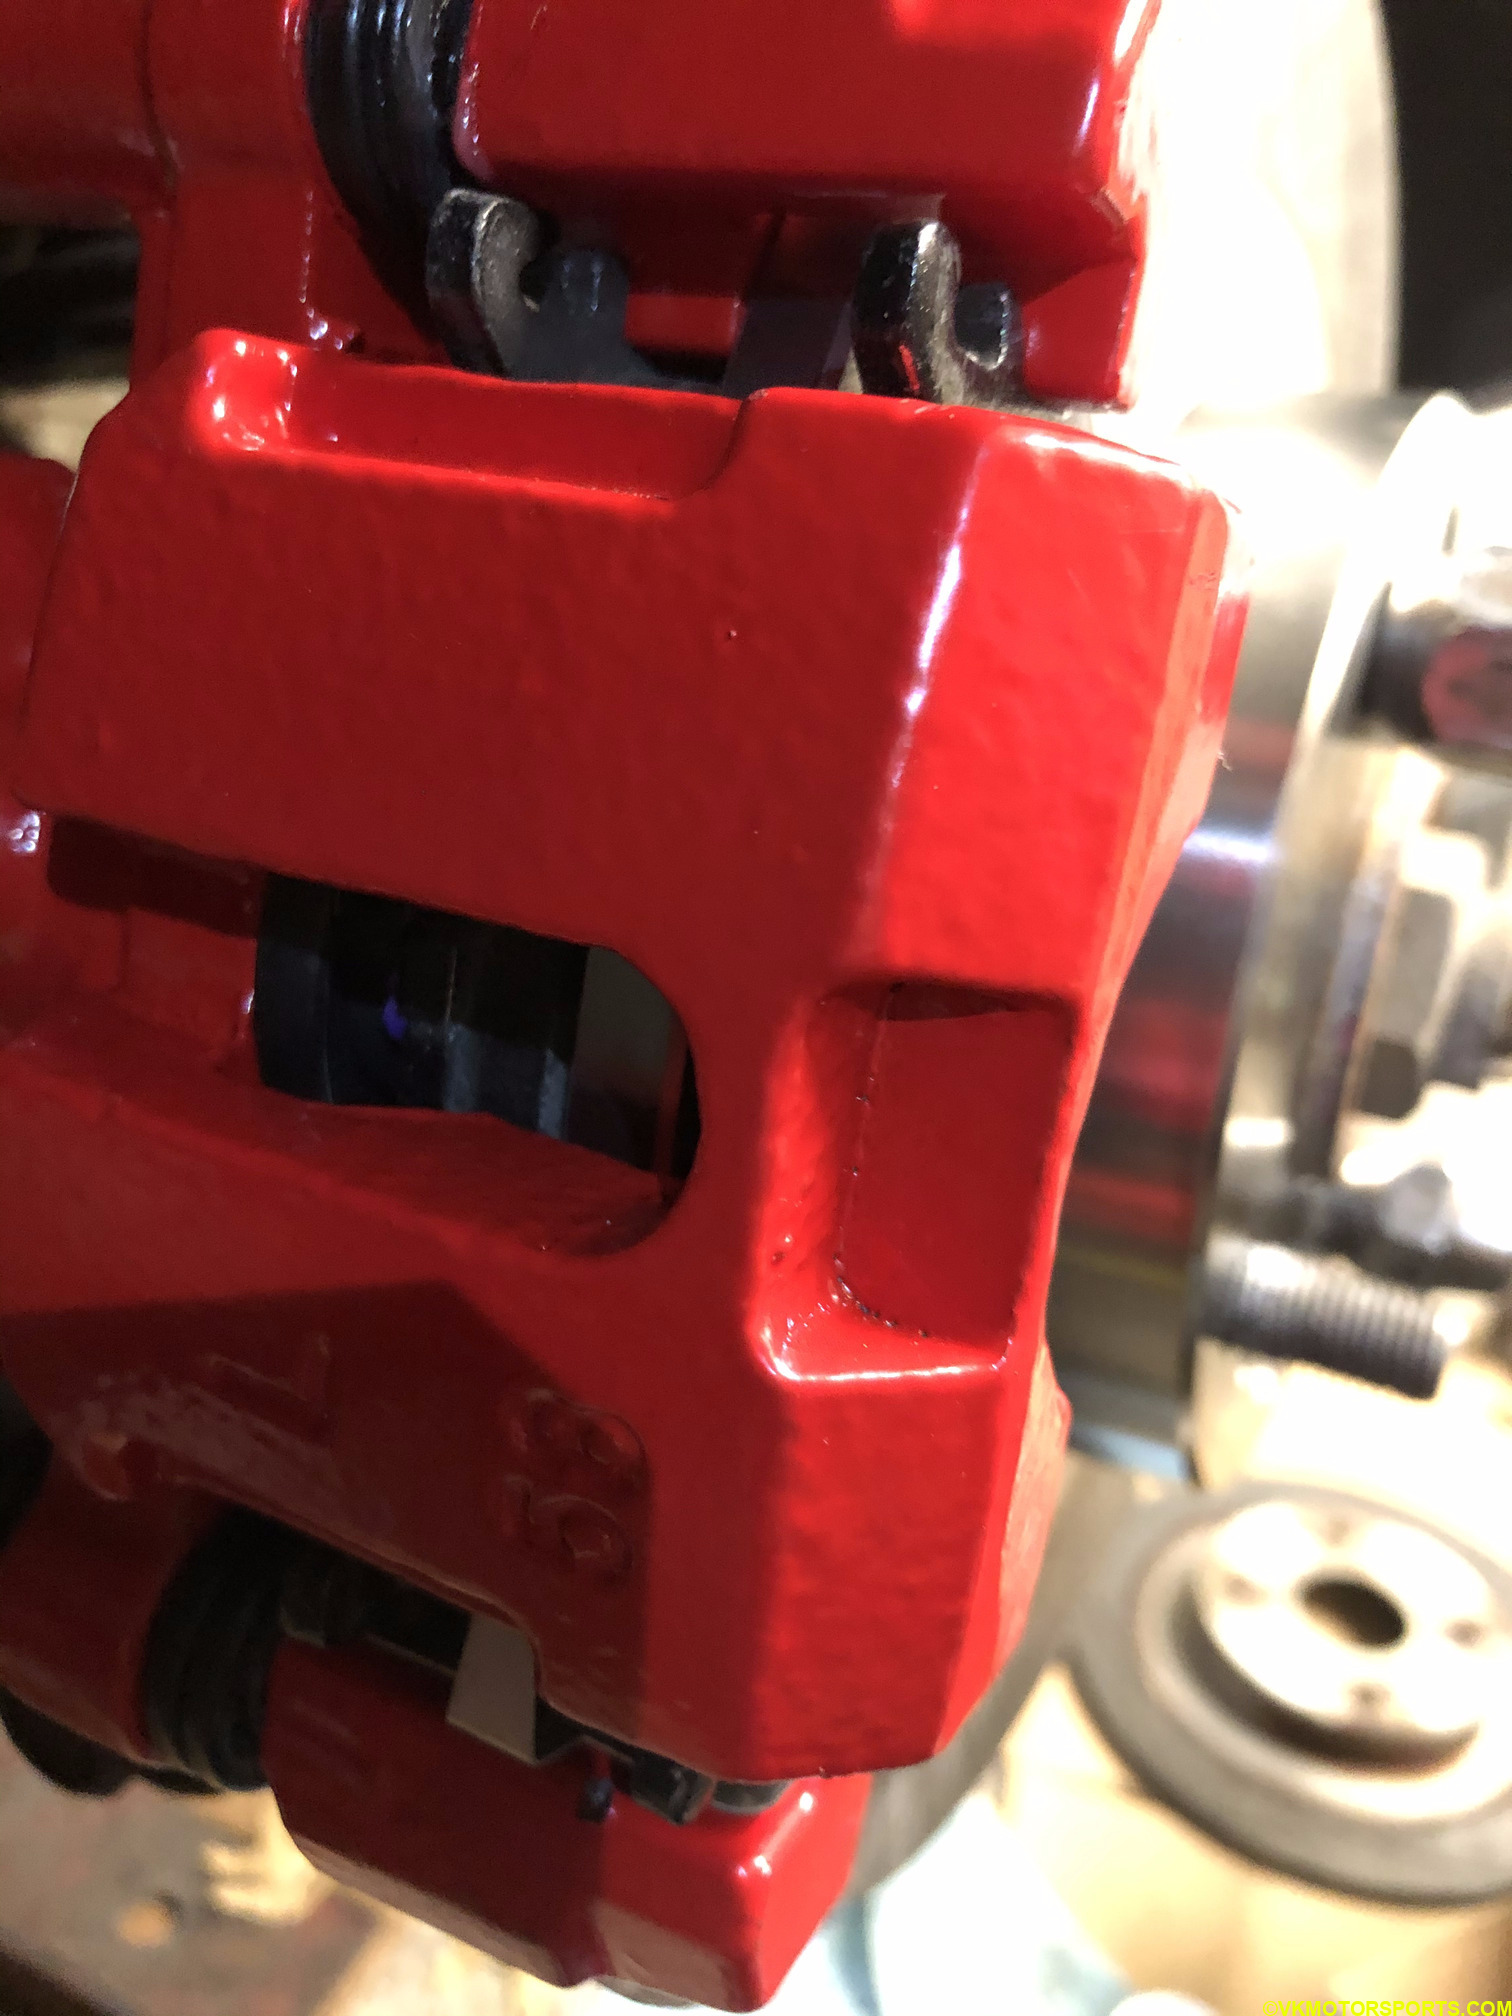 Figure 12. Close the caliper up
Step 4: Now install the bolt back on and tighten it. A view of the caliper with the brake pads installed is shown in Figure 13.
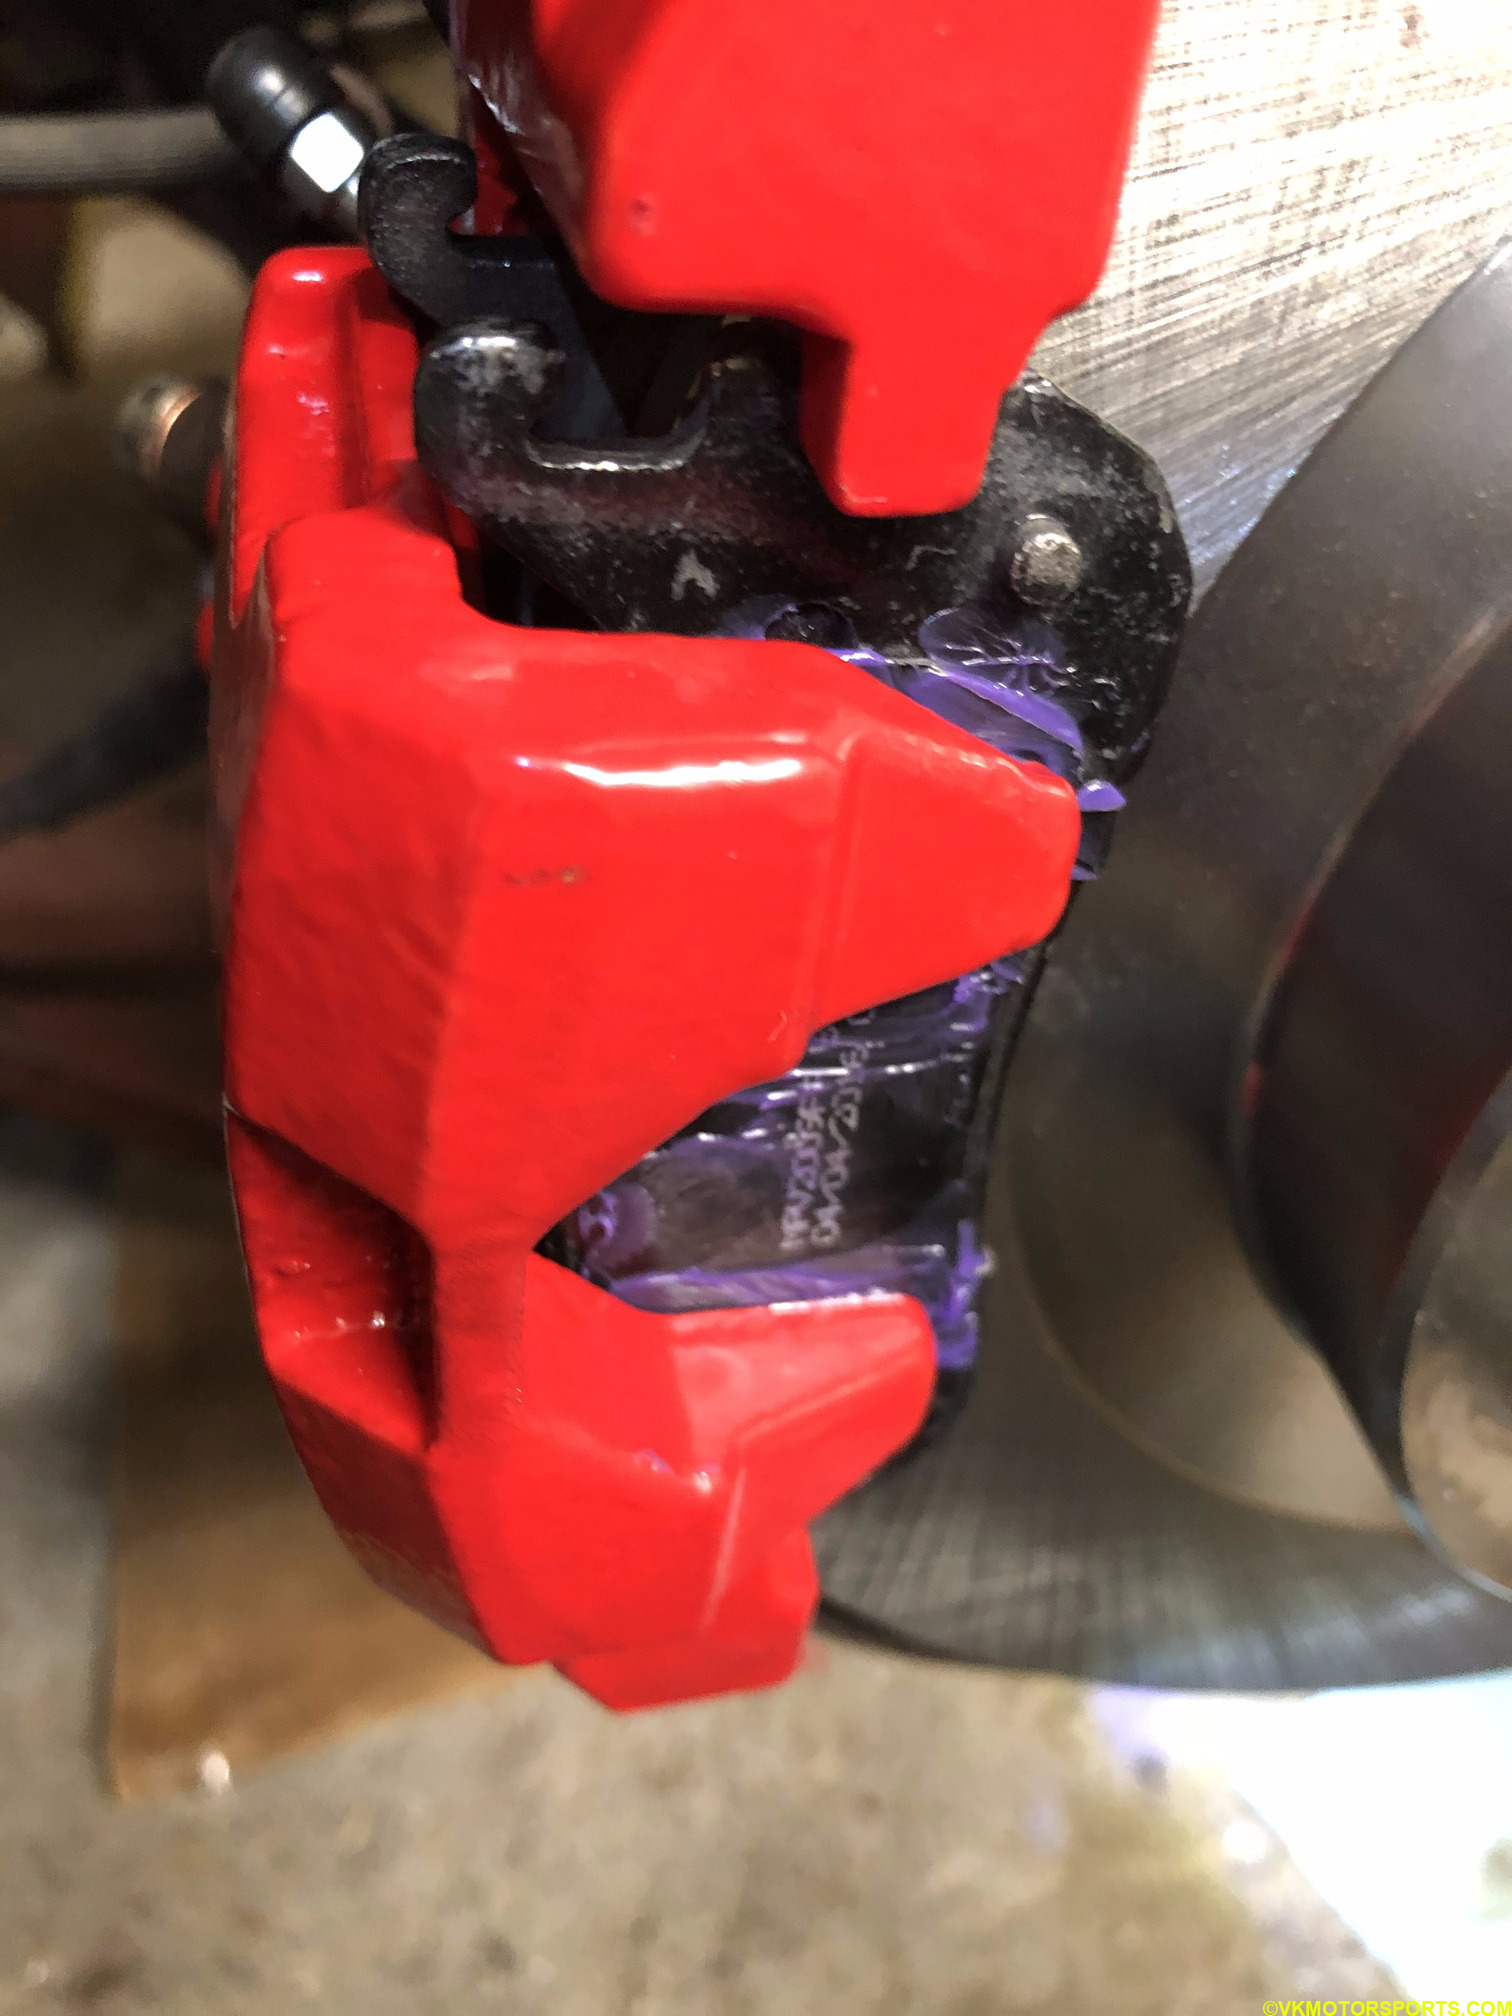 Figure 13. Rear brake pads have been installed
Step 5: Now torque all the bolts on every caliper based on the specifications listed in Figure 14, which has been taken from a Haynes manual.
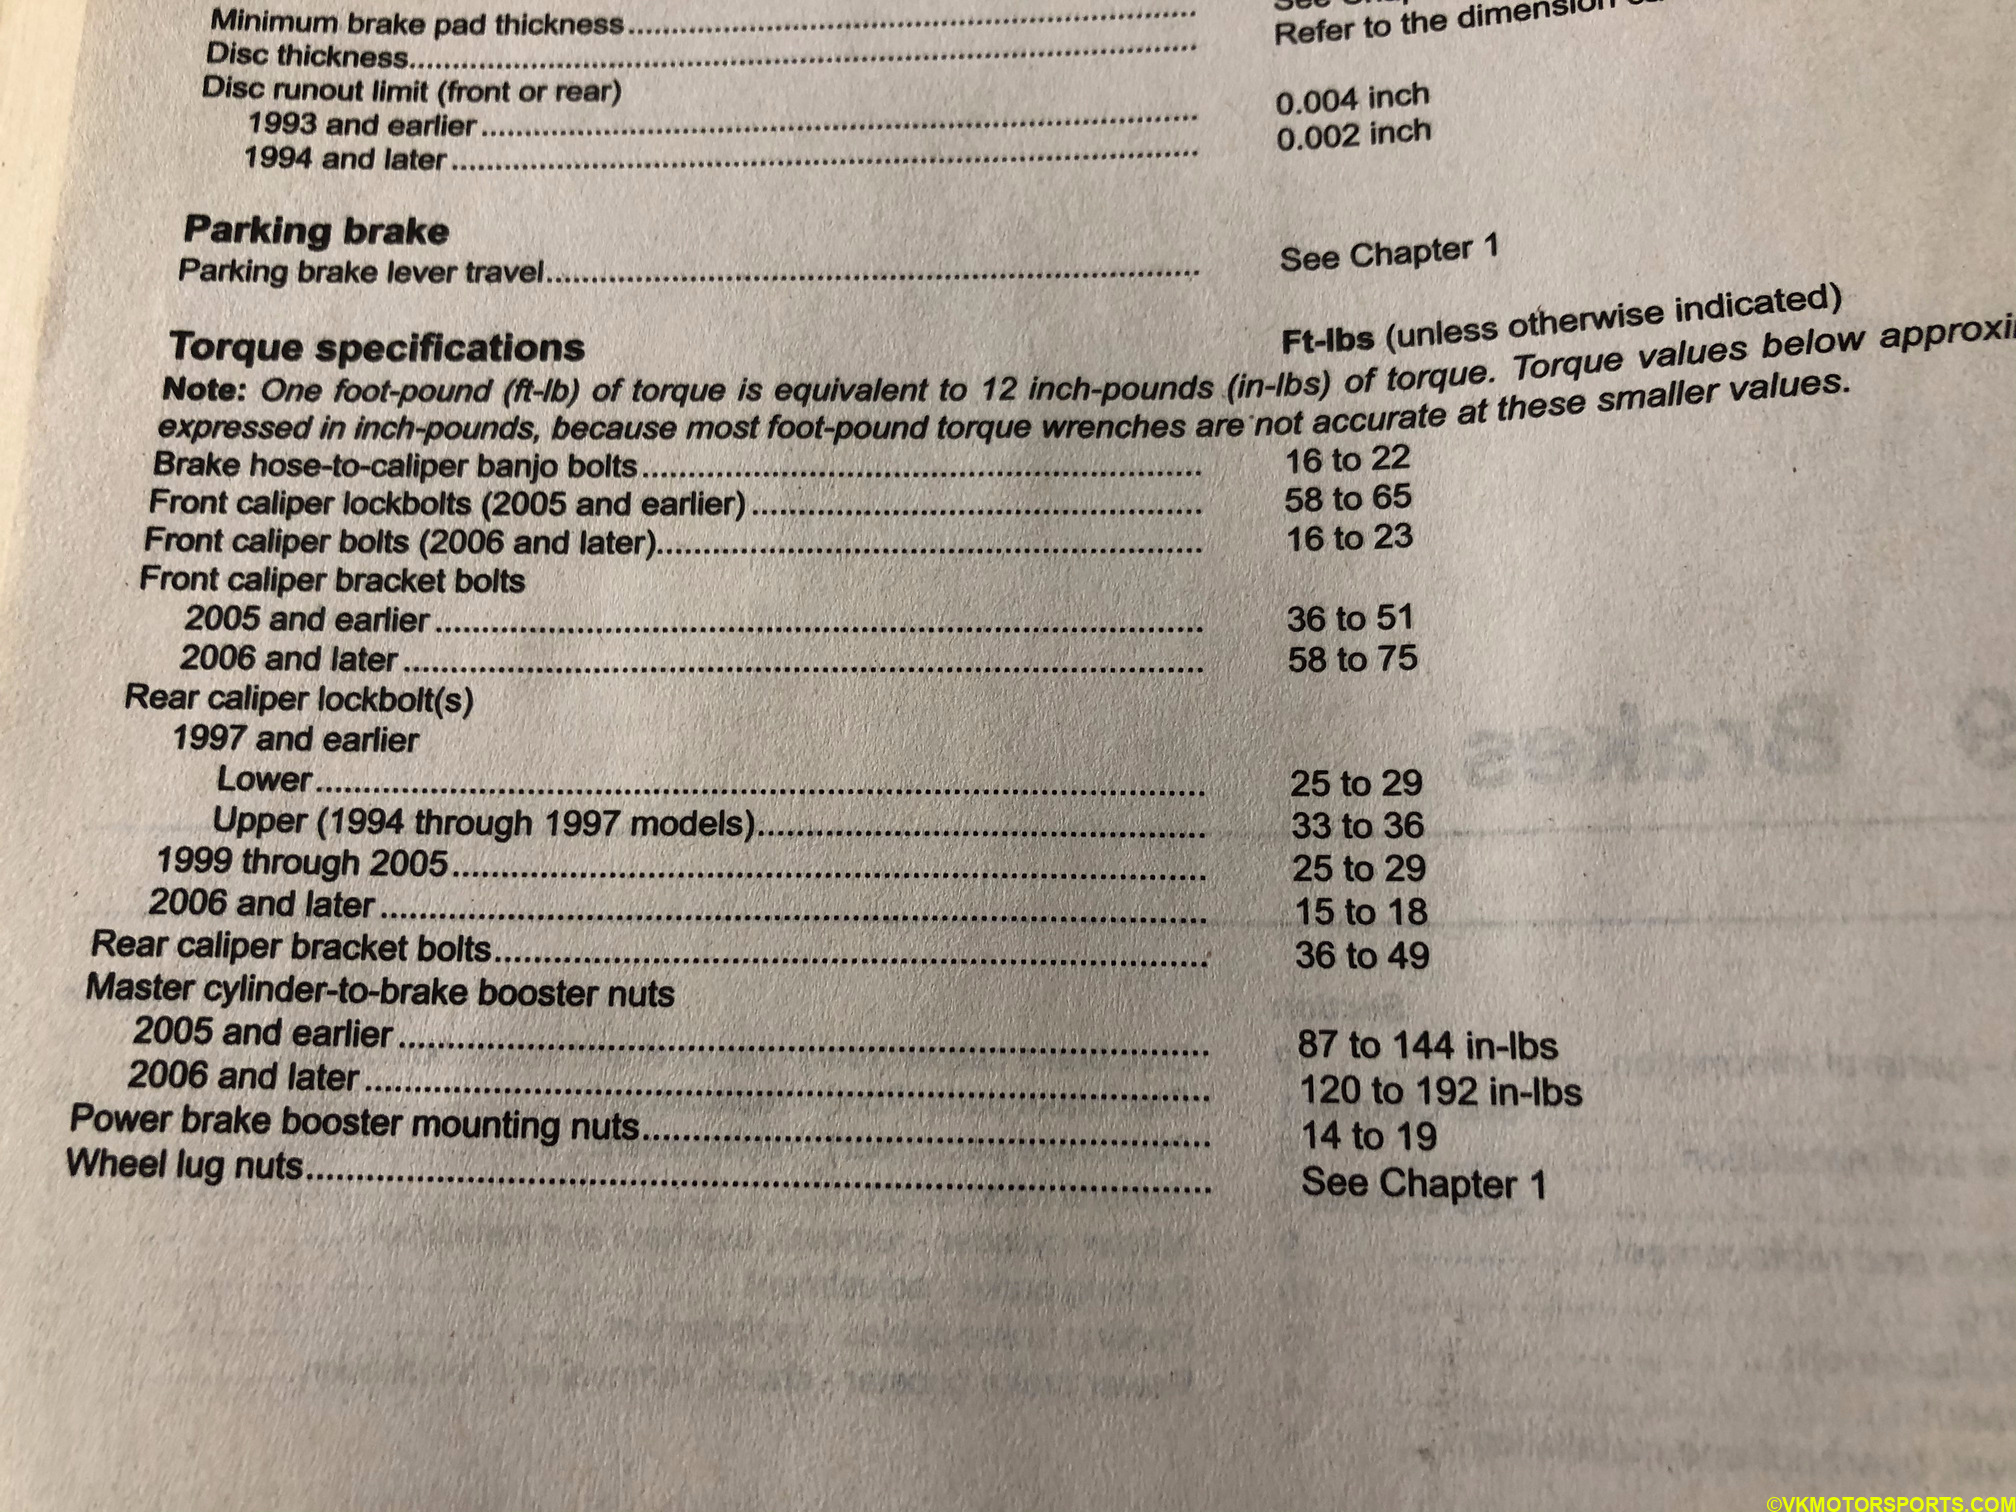 Figure 14. Haynes manual image of the torque specifications for the calipers
BRAKE BLEEDING
It is time to bleed the brakes now.
You need 2-3 cans of brake fluid (DOT-3) from your local parts store. Just remember to not get any brake fluid on the paint as it can remove paint and lead to corrosion of the car body. Fresh brake fluid will look clear and old brake fluid will look like black coffee or brown in color.
Step 1: Open the hood of the car and locate the brake fluid reservoir and open its cap. Remove the old brake fluid from the brake reservoir, as shown in Figure 15, in the using a turkey baster from your grocery store till it is completely empty (Figure 16). Do not re-use the turkey baster for any food, as the brake fluid can be poisonous. Store the old brake fluid in a container that you should then dispose of responsibly at an auto parts store.
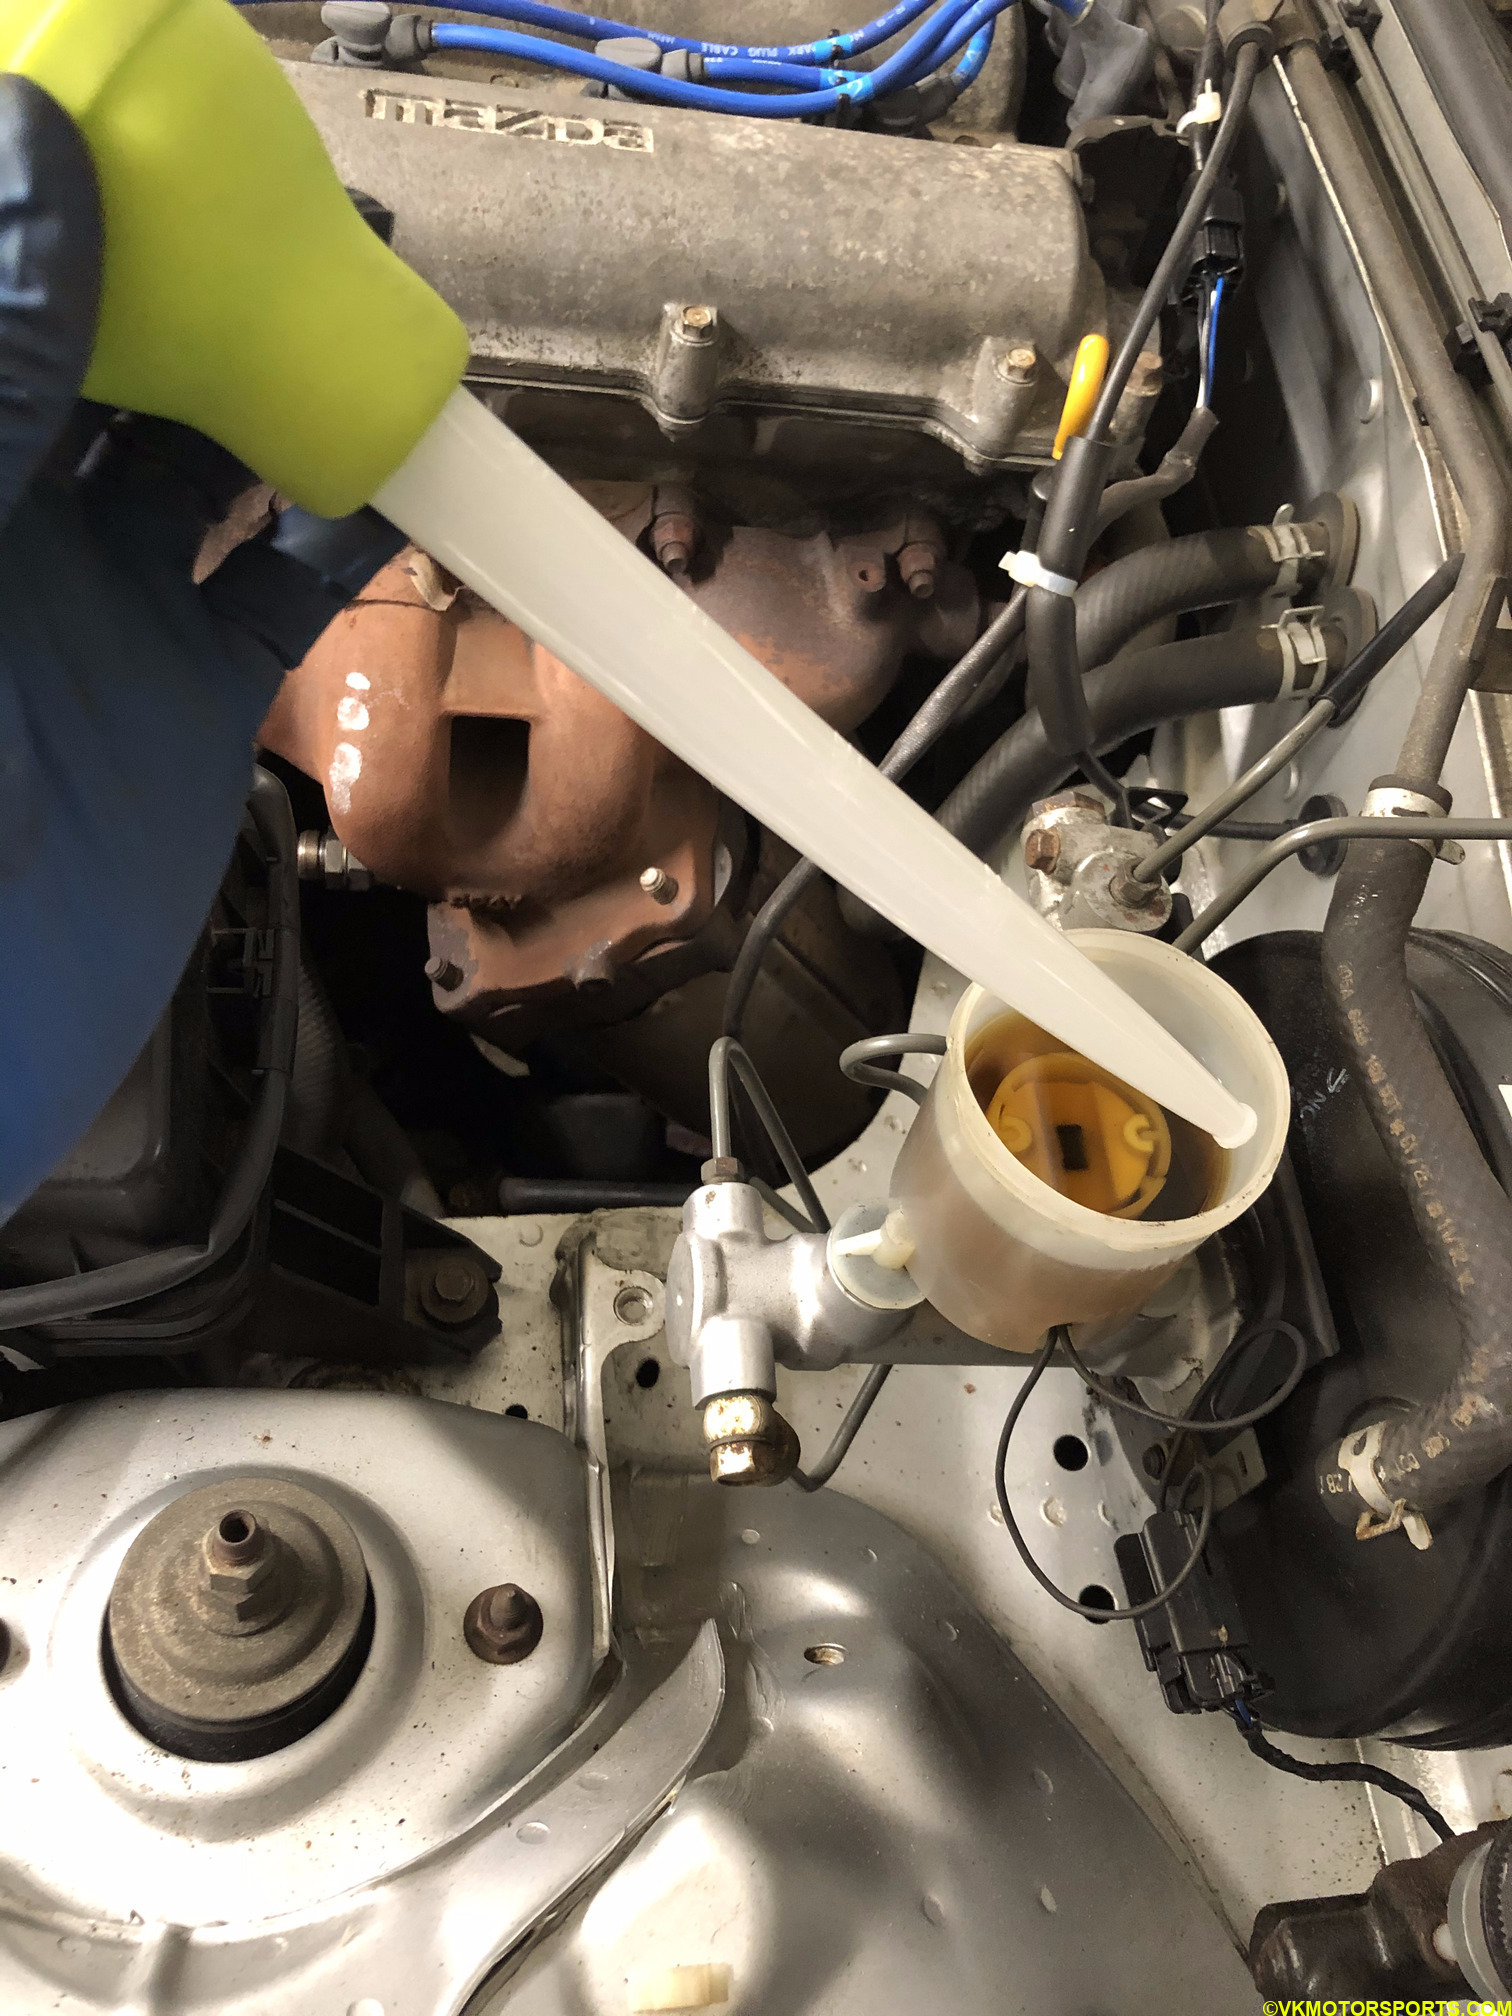 Figure 15. Using turkey baster to remove brake fluid
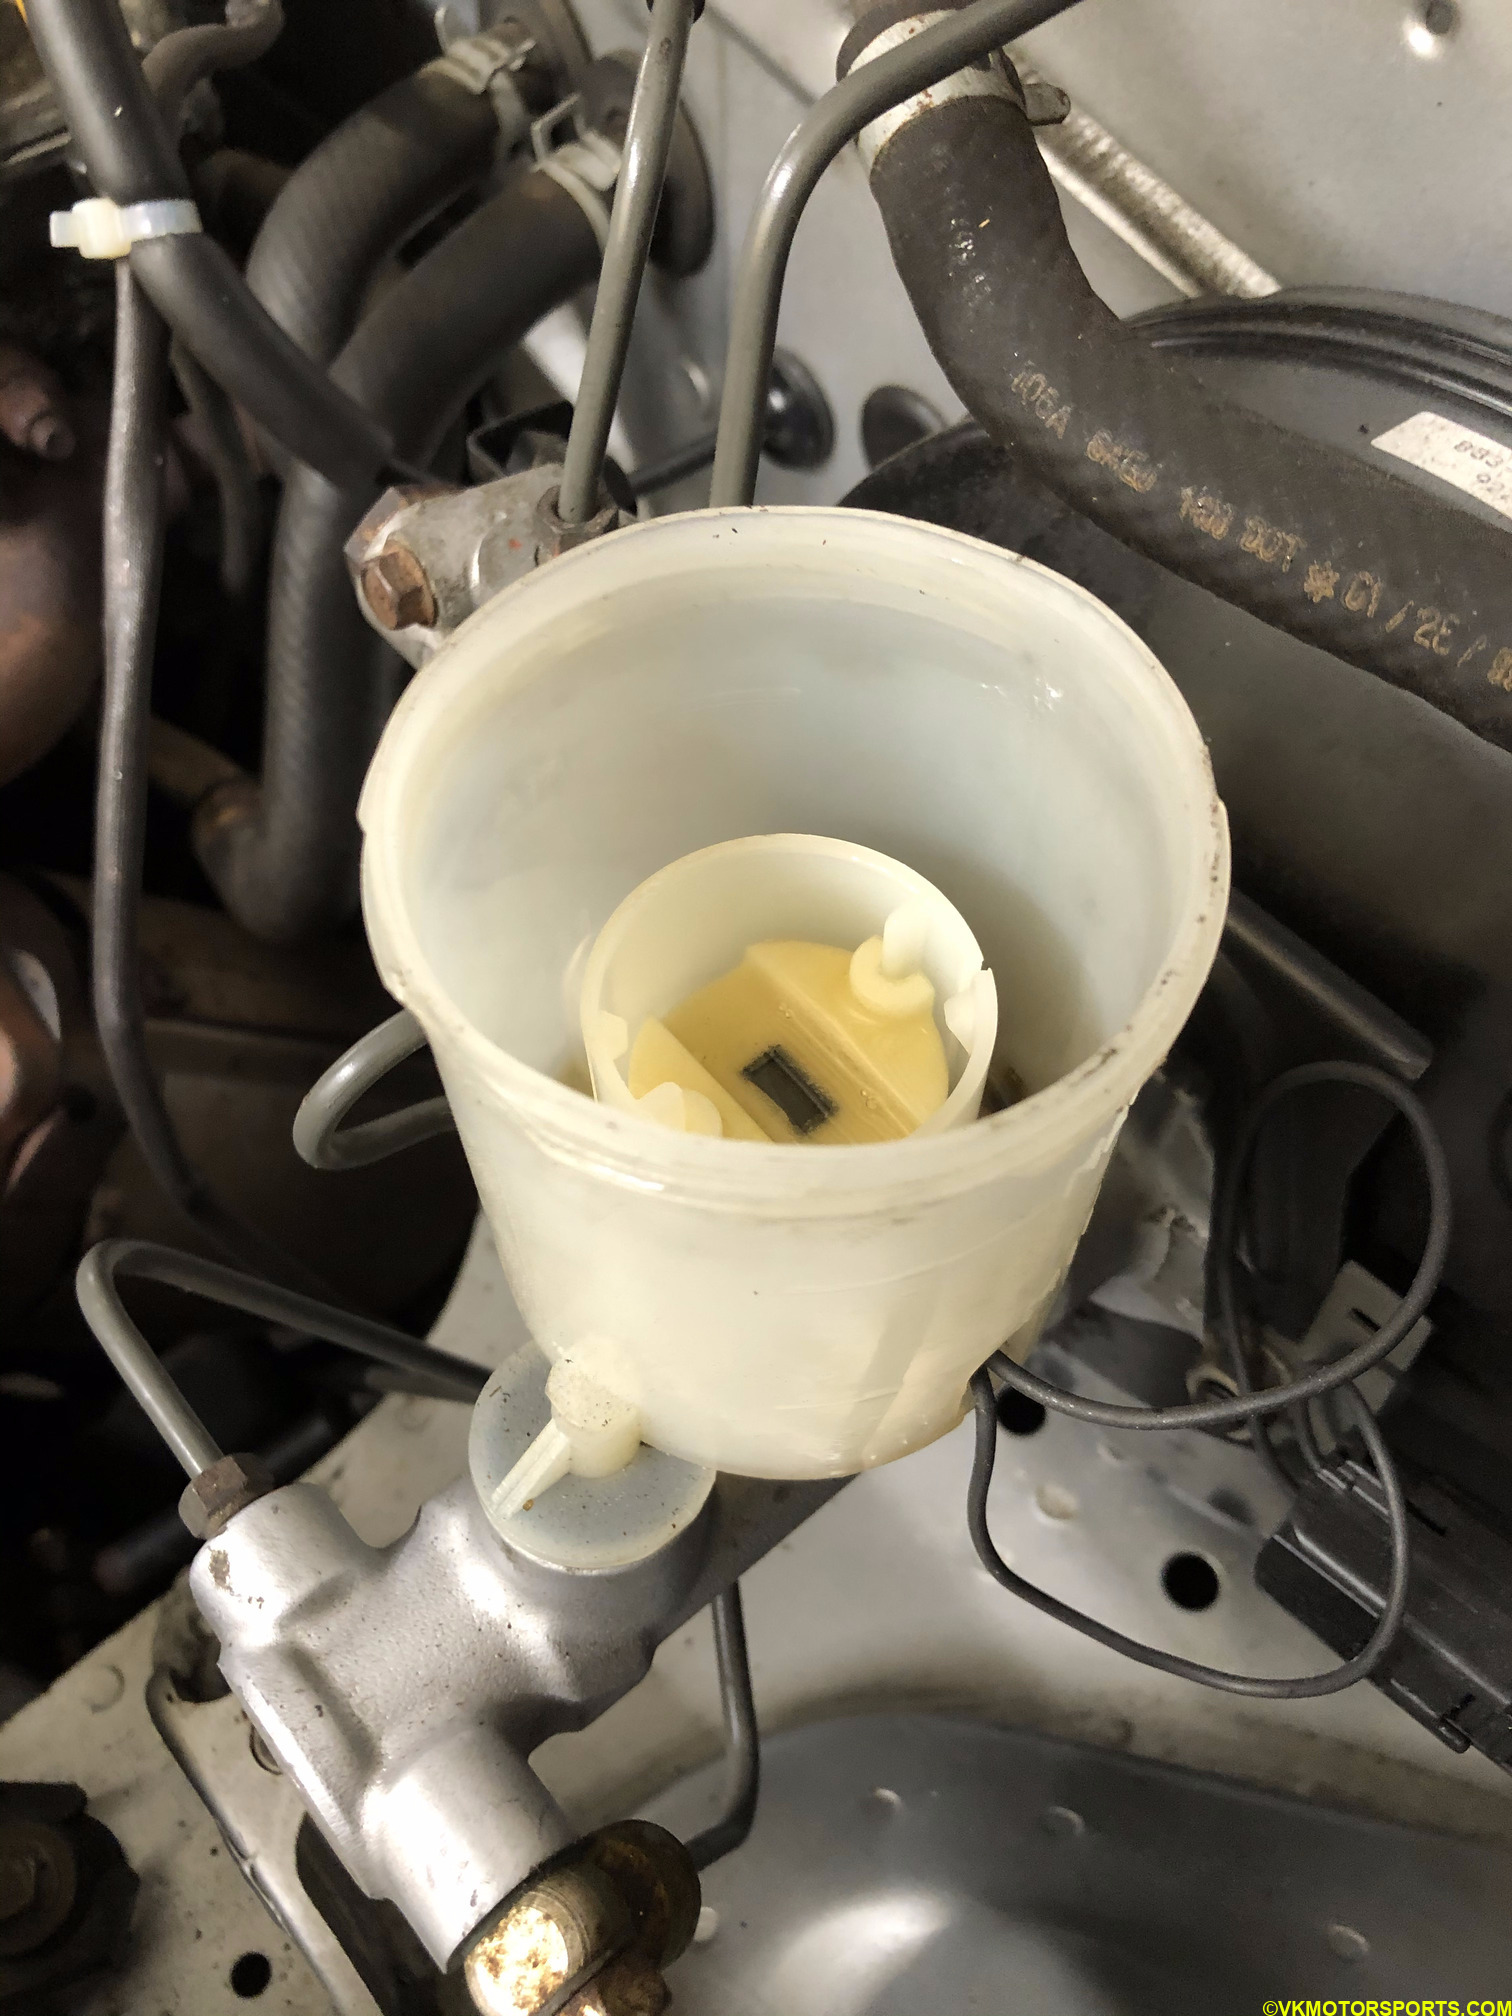 Figure 16. Empty brake fluid reservoir
Step 2: Place a container to catch any overflowing brake fluid from the caliper. Start with the front caliper and then move on to each caliper. The process is the same for all.
 Figure 17. Place container below rotor to catch overflowing brake fluid
Step 3: Loosen the bleed valve on the caliper. This is the small nut with a black cap. Now remove the protective plastic/rubber cap on the new caliper where the brake line is supposed to fit (Figure 18) and locate a new washer from the caliper parts box (Figure 19) which will be used here.
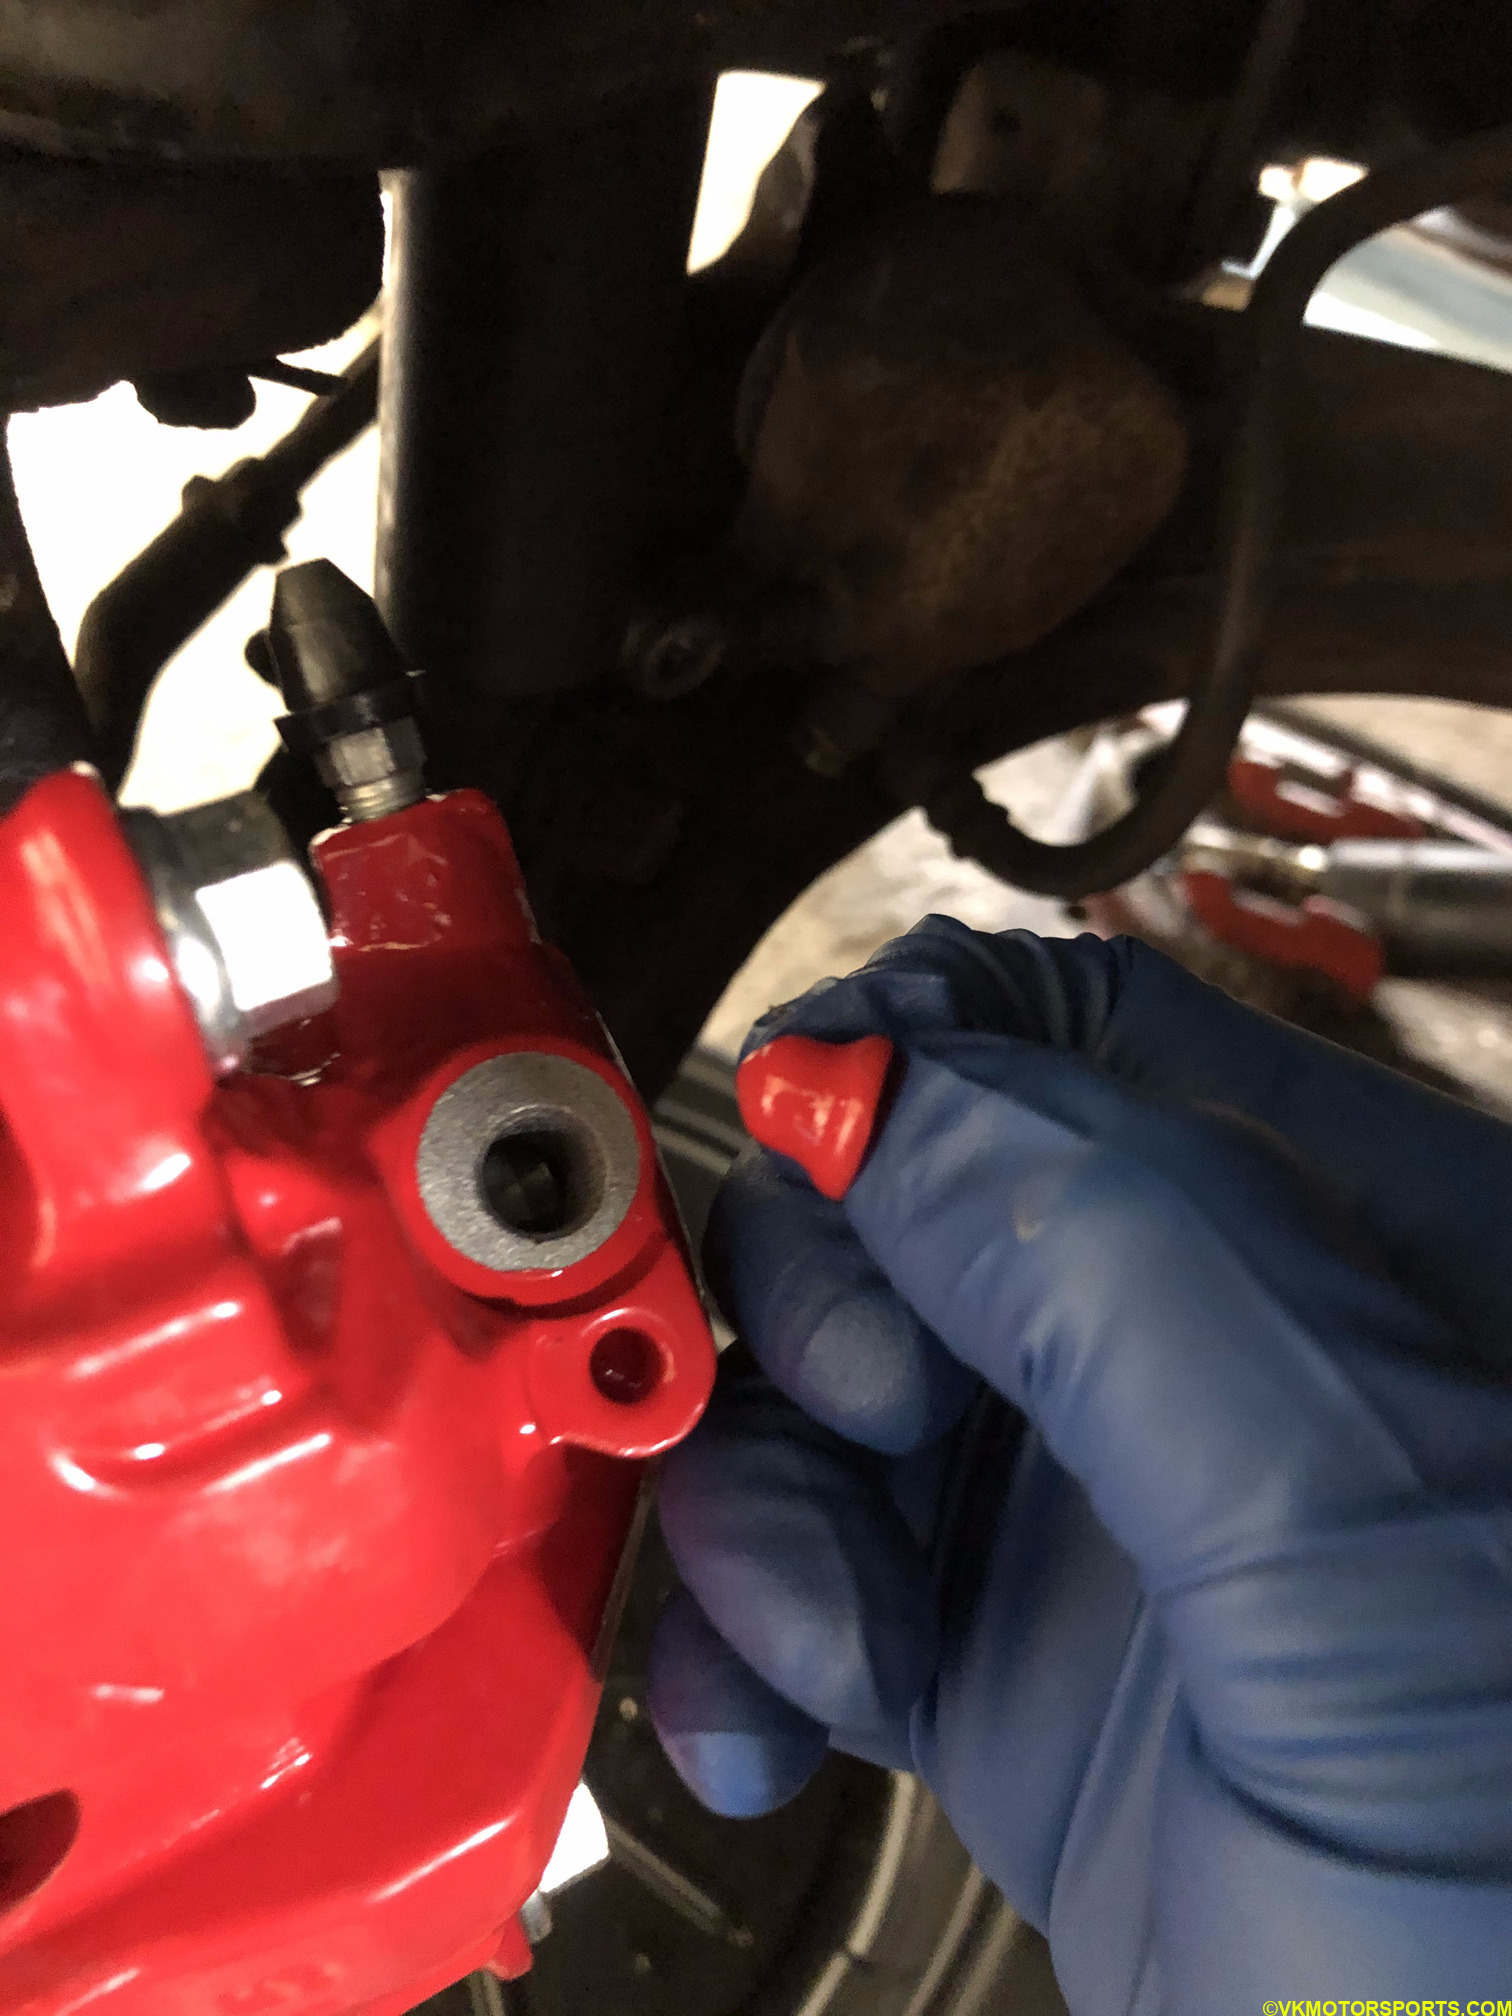 Figure 18. Remove the plastic/rubber cap
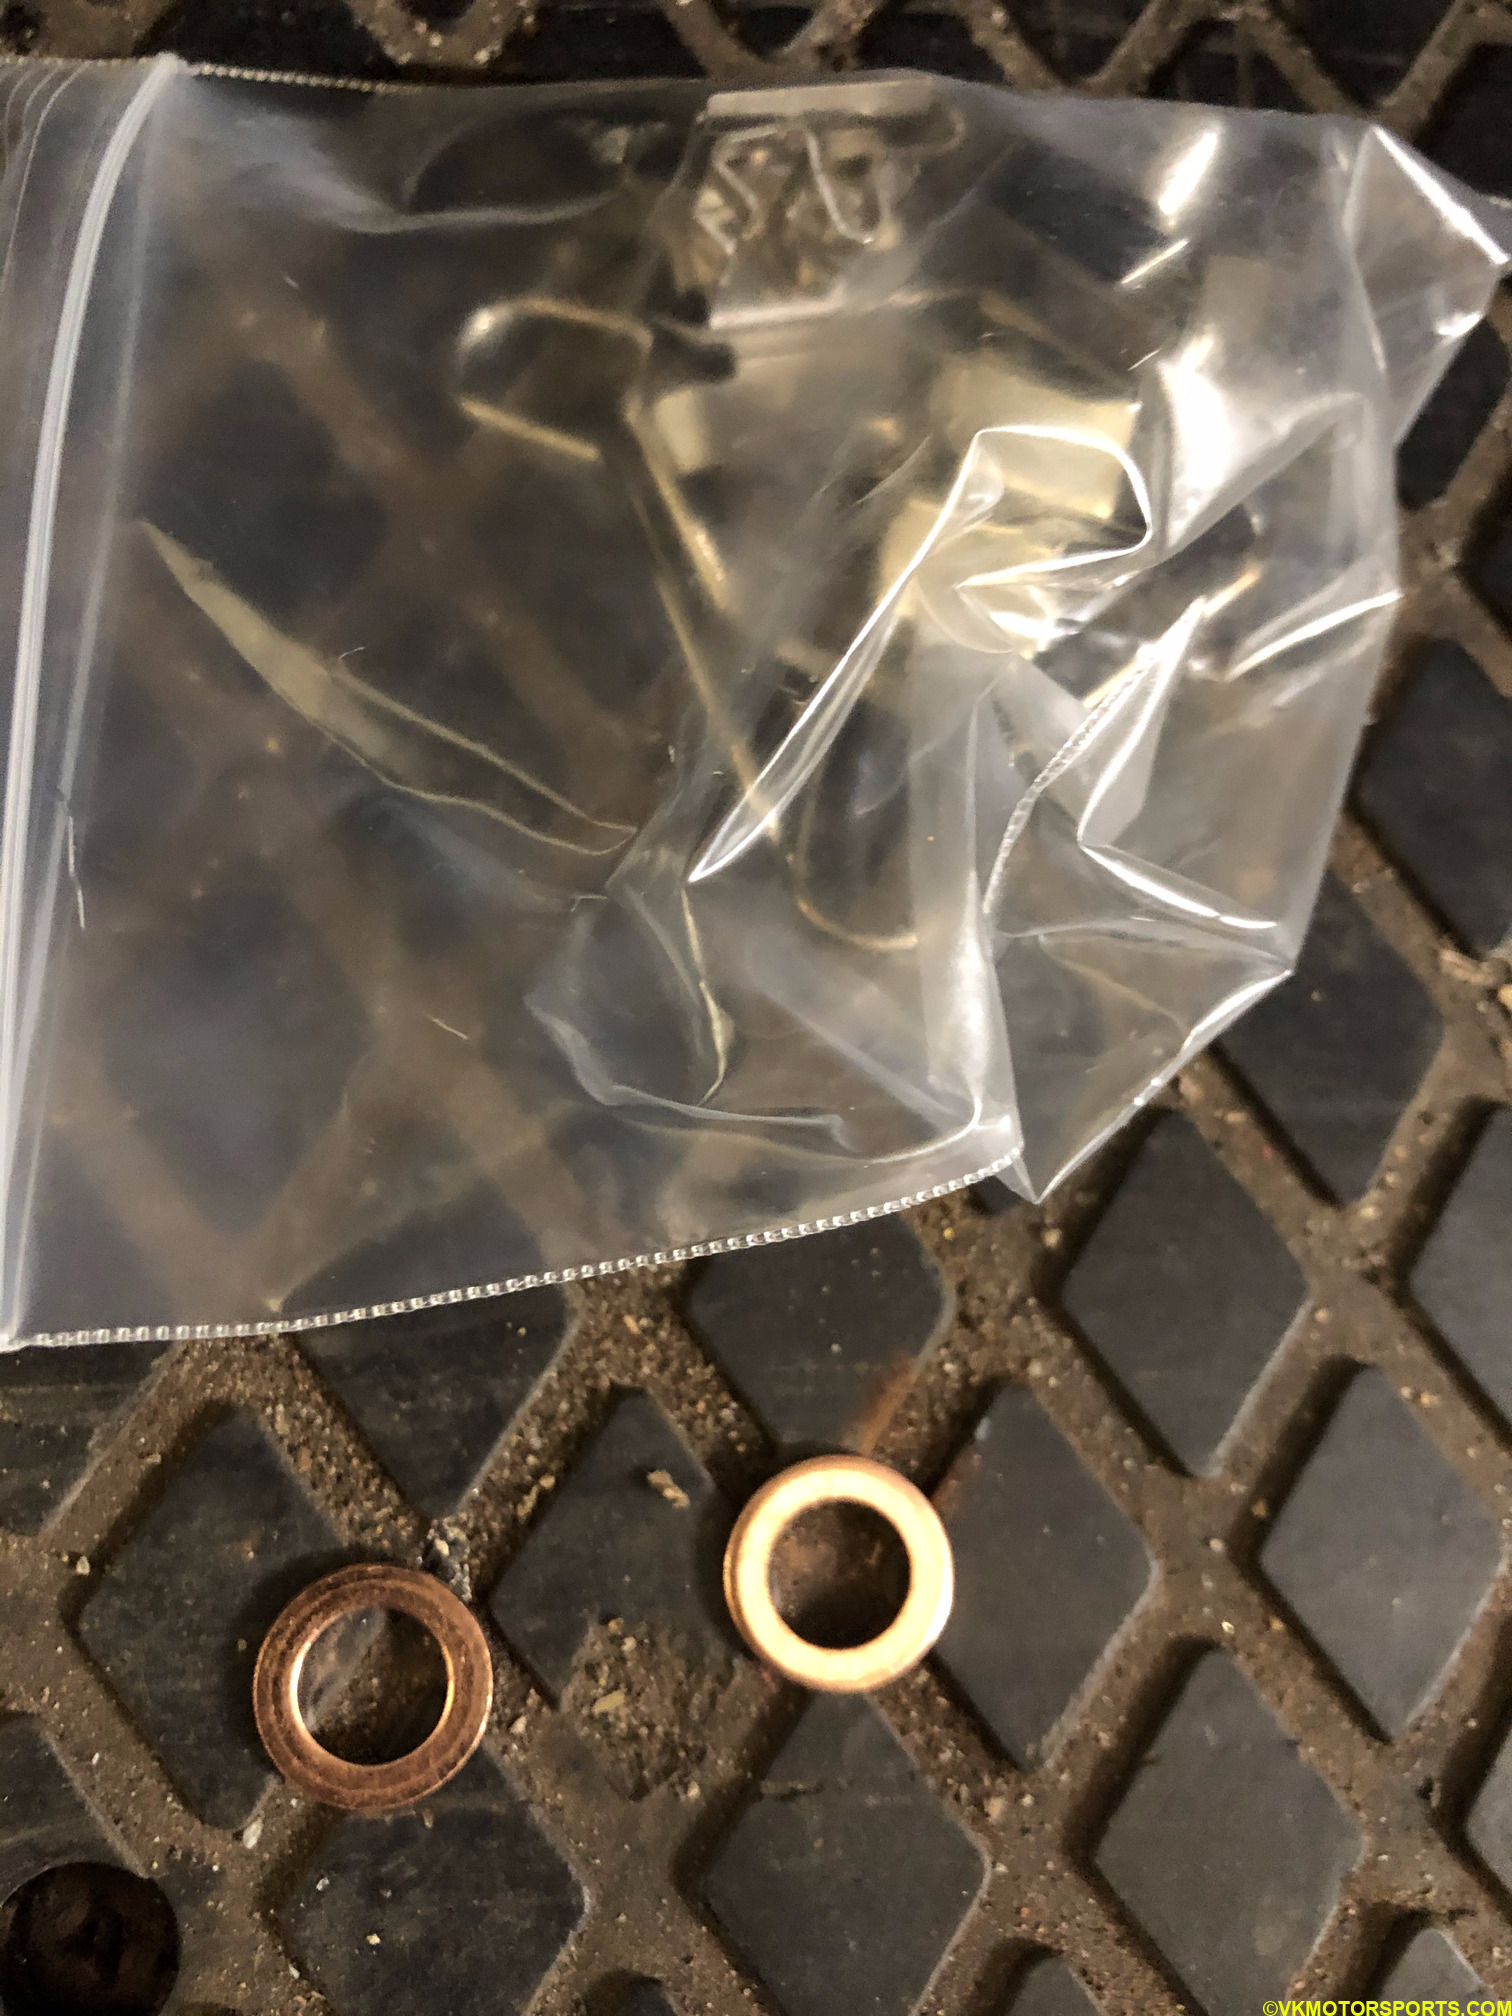 Figure 19. Washers in the parts package
Step 4: Find the old caliper that you had placed safely and compare it with the installed new caliper. You can match the position of the brake line attached to the old caliper, and see the position of the removed cap in the new caliper which is where the brake line must be attached.
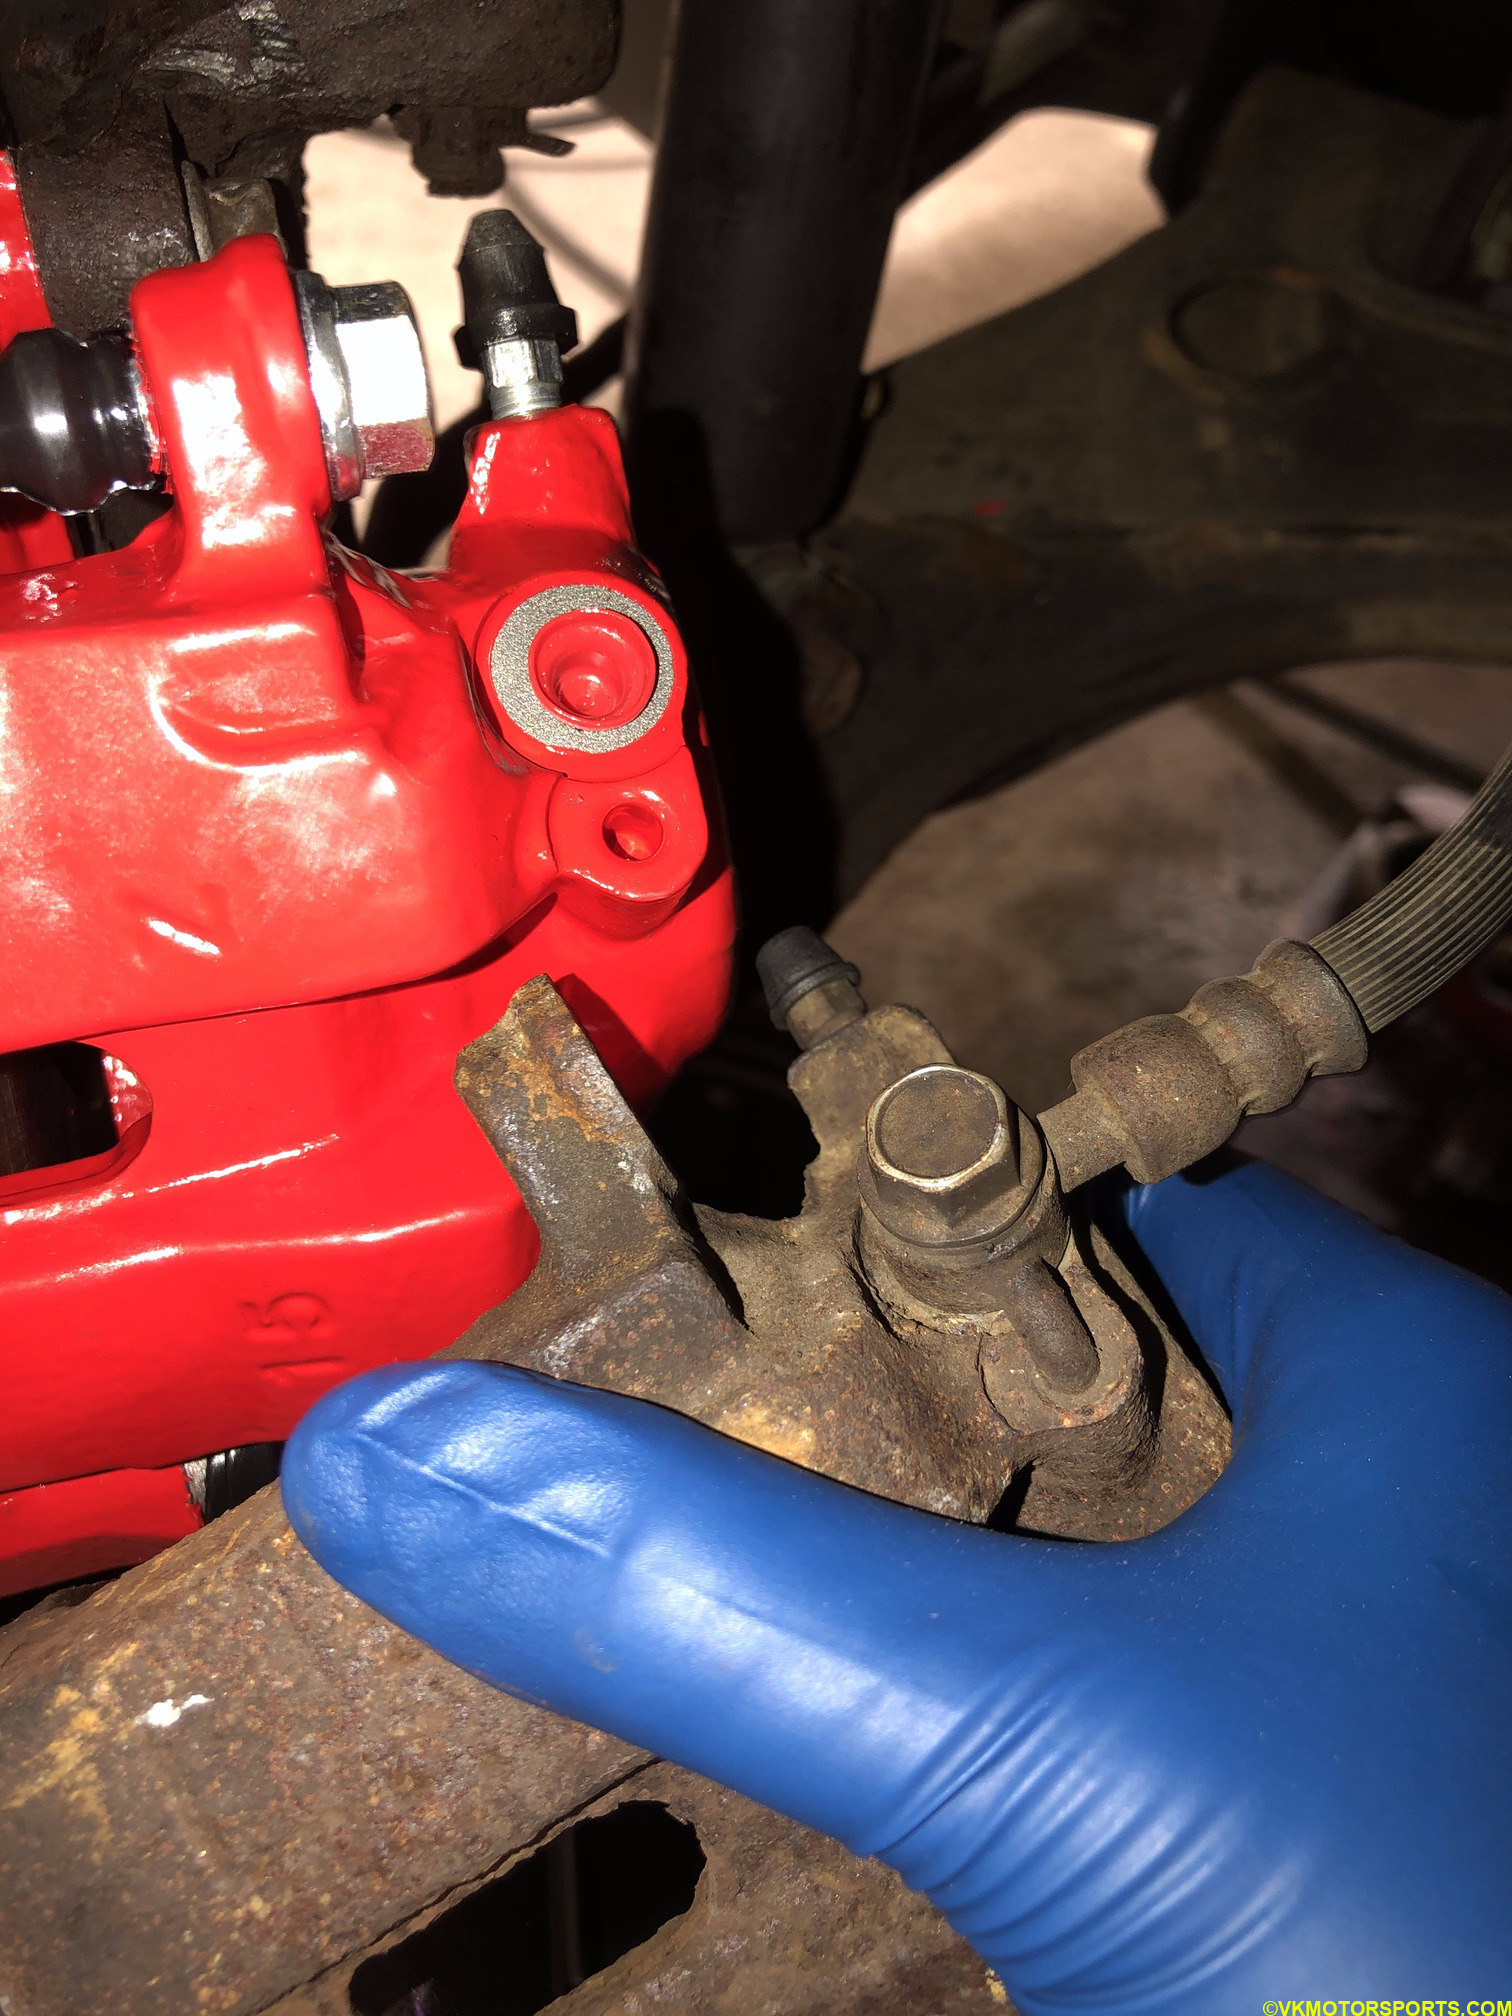 Figure 20. Compare the brake line attachment on the old caliper with the position in the new one
Step 5: Loosen the brake line nut on the old caliper using a 12mm socket or wrench. This was a bit tough to do for me since I had removed the caliper off the rotor, and took more effort to take off the nut. Next time, I would recommend the user to take off this bolt while the caliper is attached to the rotor, and let the brake fluid leak out before changing the caliper.
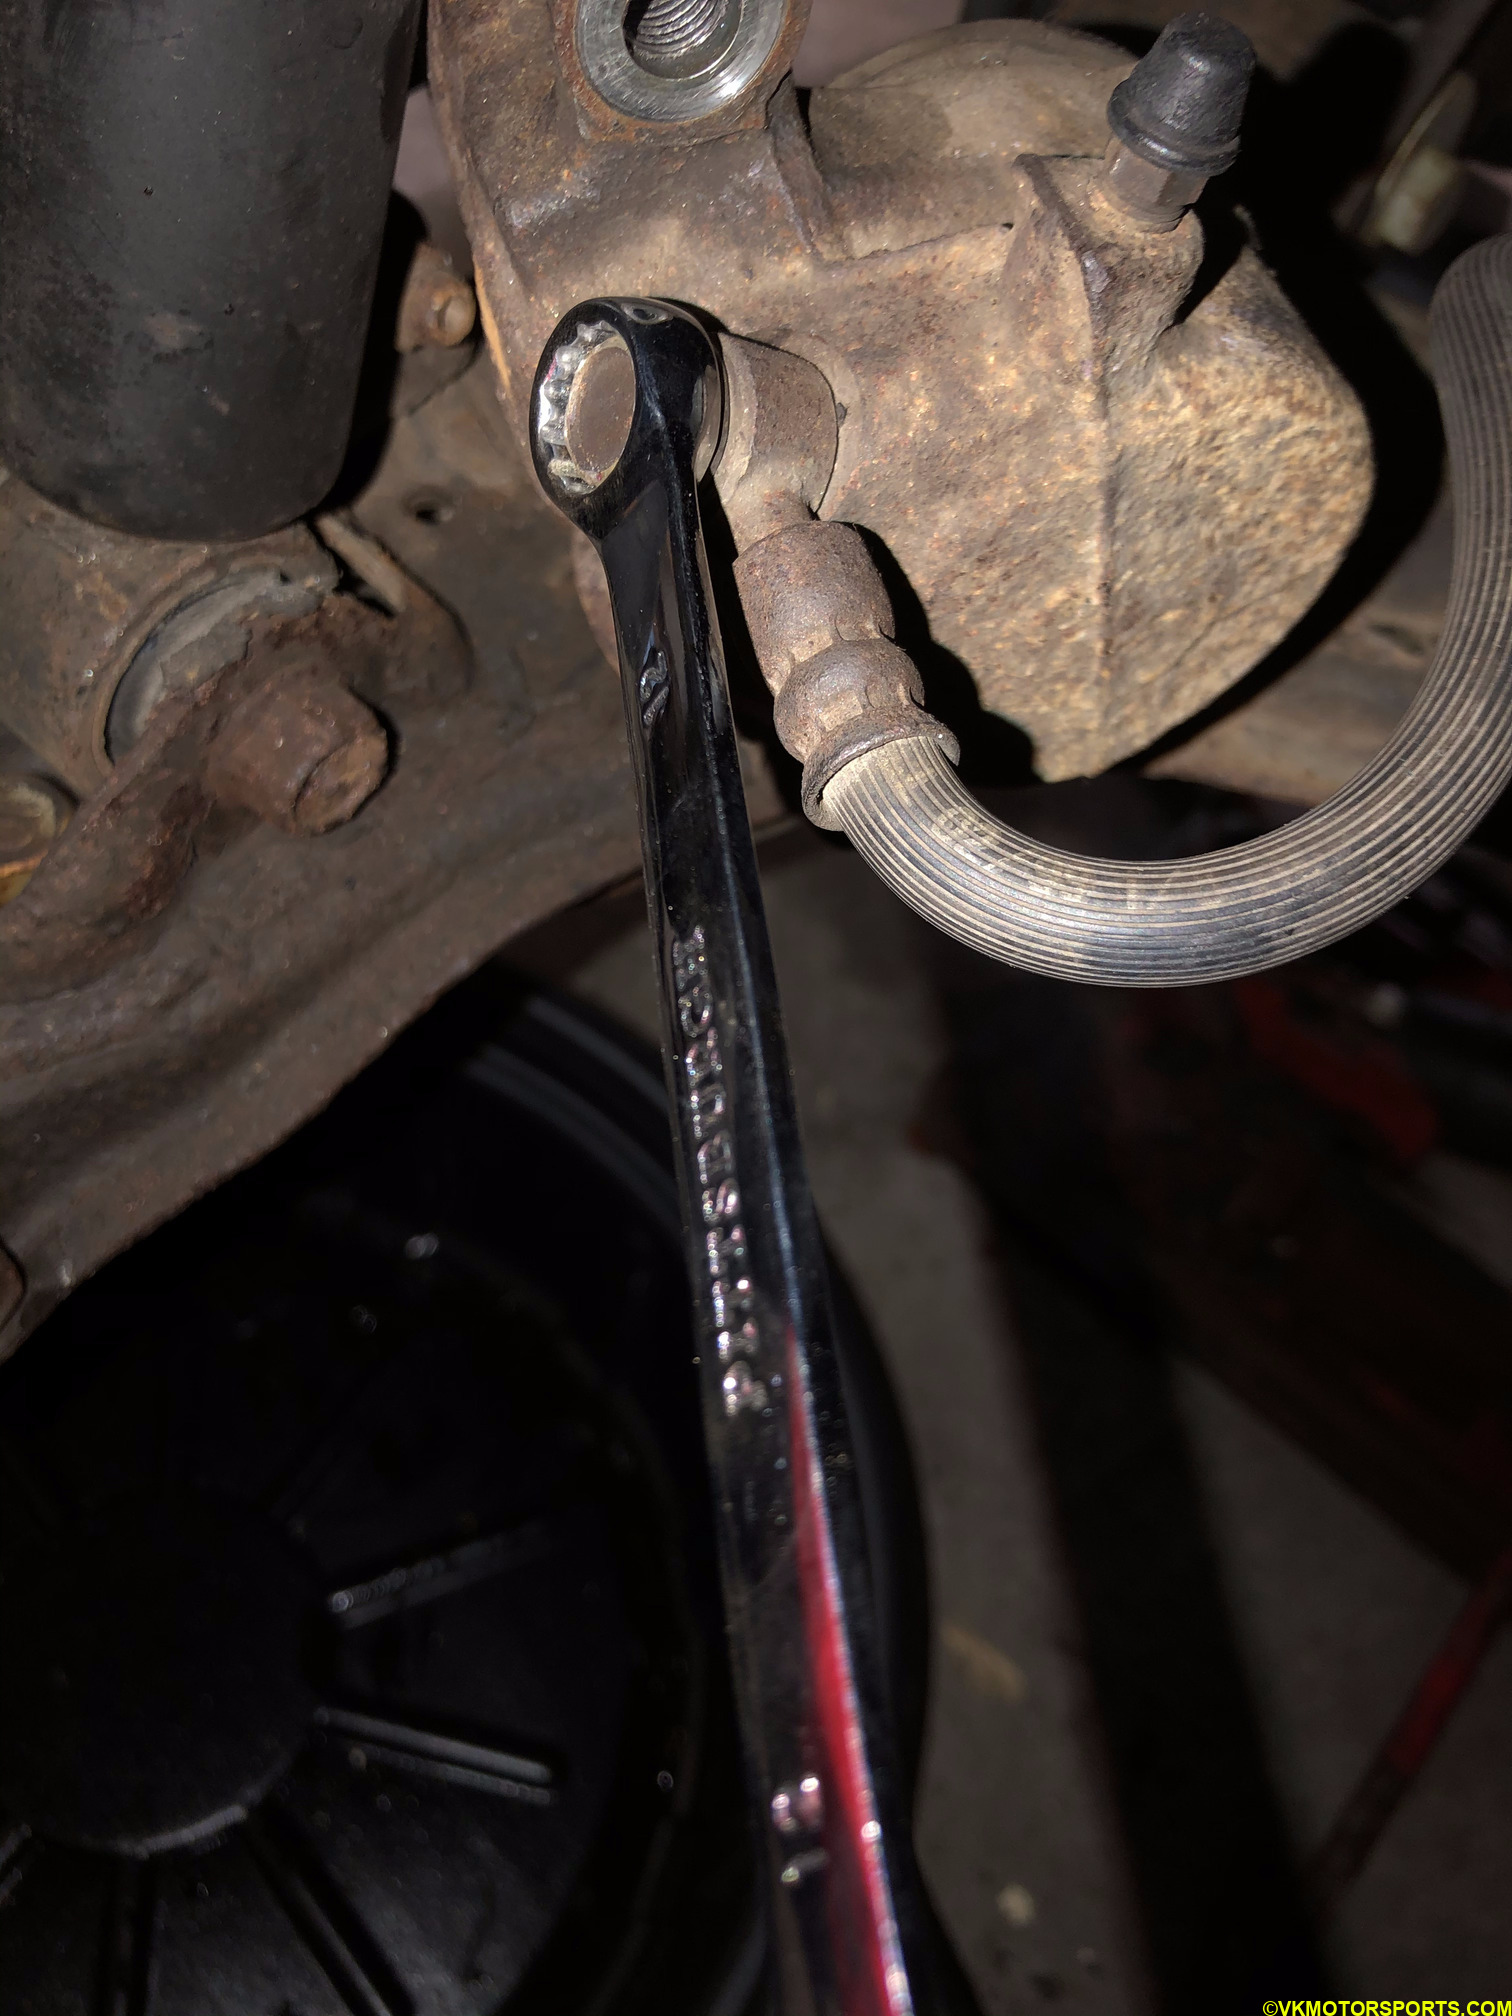 Figure 21. Loosen the brake line bolt using a 12mm socket/wrench
Step 6: Once the brake line is out of the caliper, replace the washer with two new ones (Figure 19) and set them up so it looks like Figure 22.
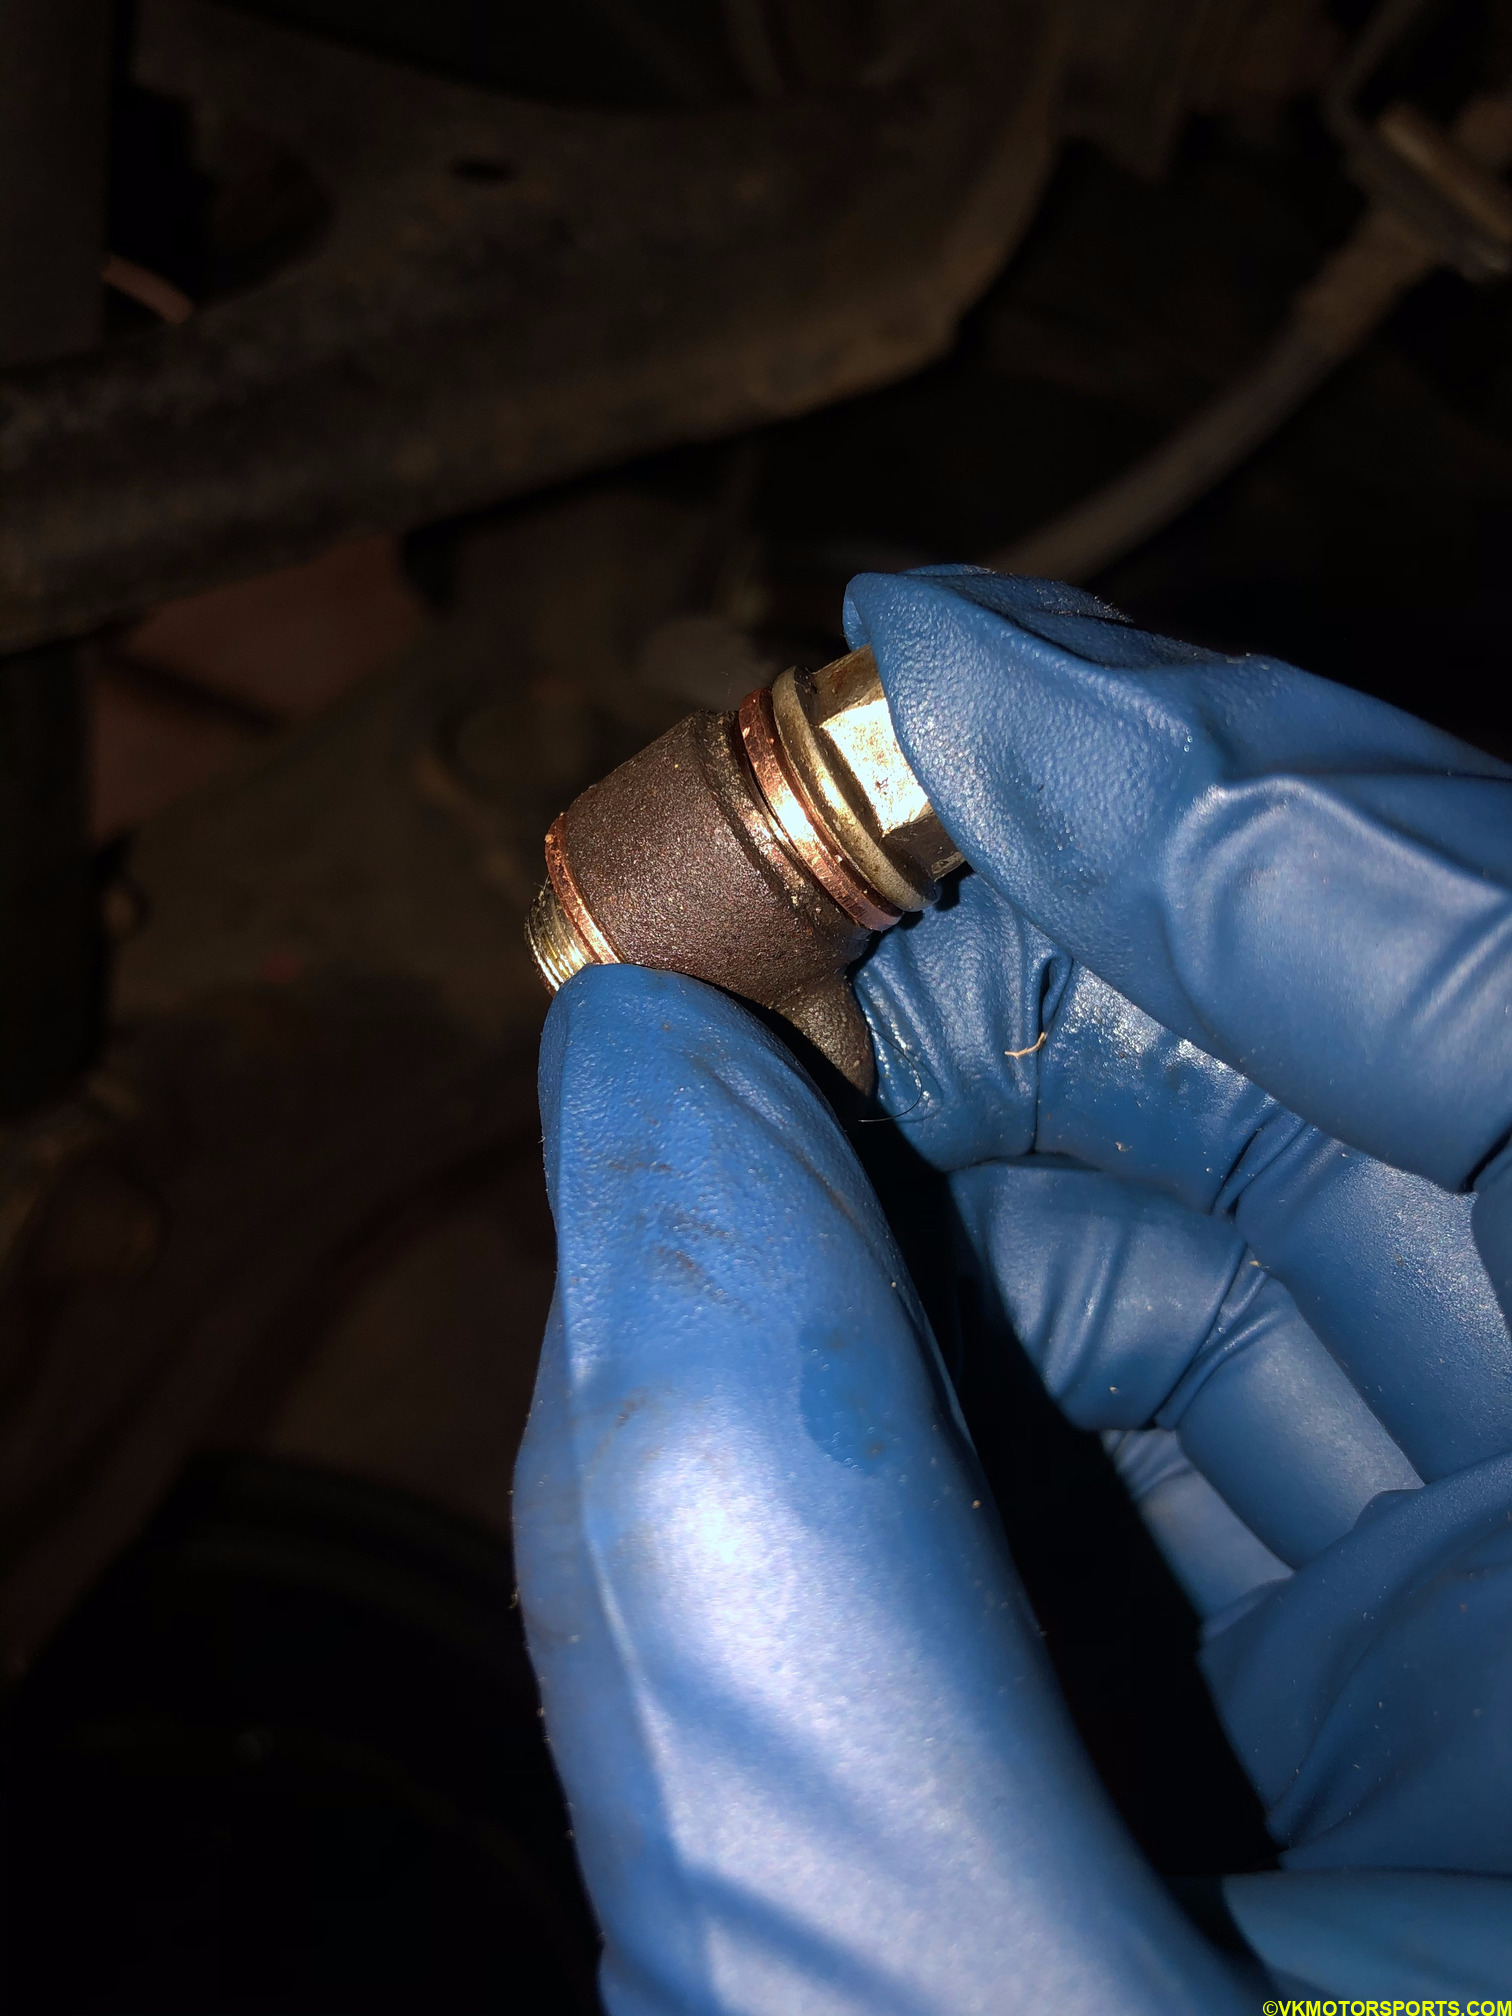 Figure 22. Arrange the new washers in position
Step 7: Place the brake line in the new caliper as shown in Figure 23 and tighten the nut so it stays in position (Figure 24). Make sure that the brake line does not come off the caliper.
 Figure 23. Install new line in the spot
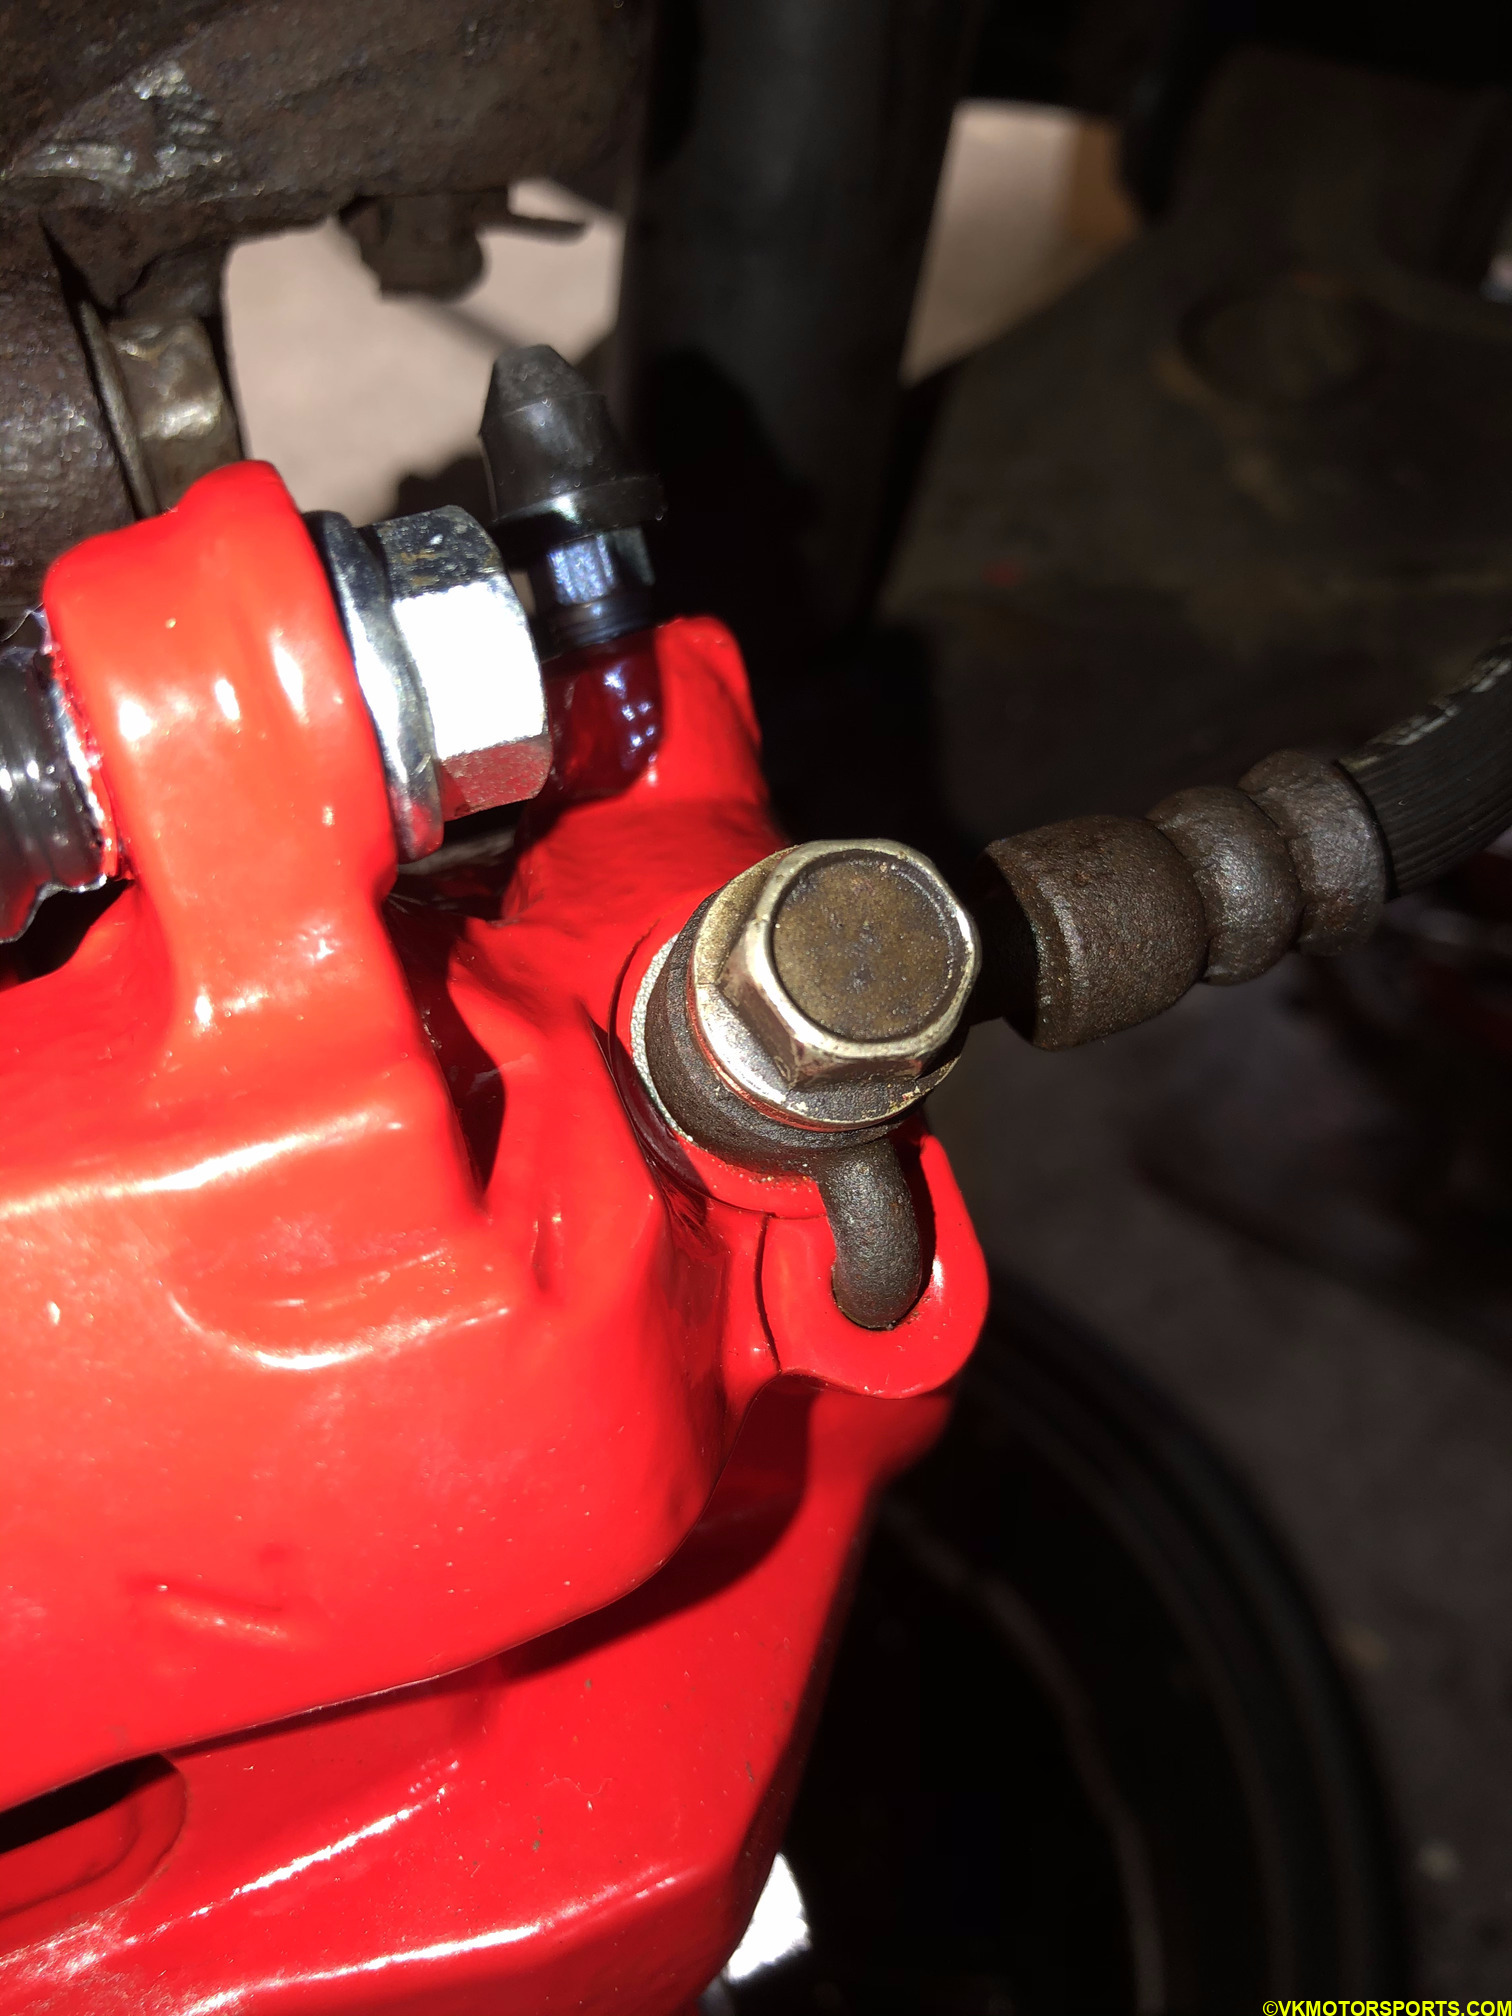 Figure 24. Tighten the brake line nut using a 12mm socket
Step 8: Repeat the process on the passenger side front caliper as shown in Figures 25 and 26.
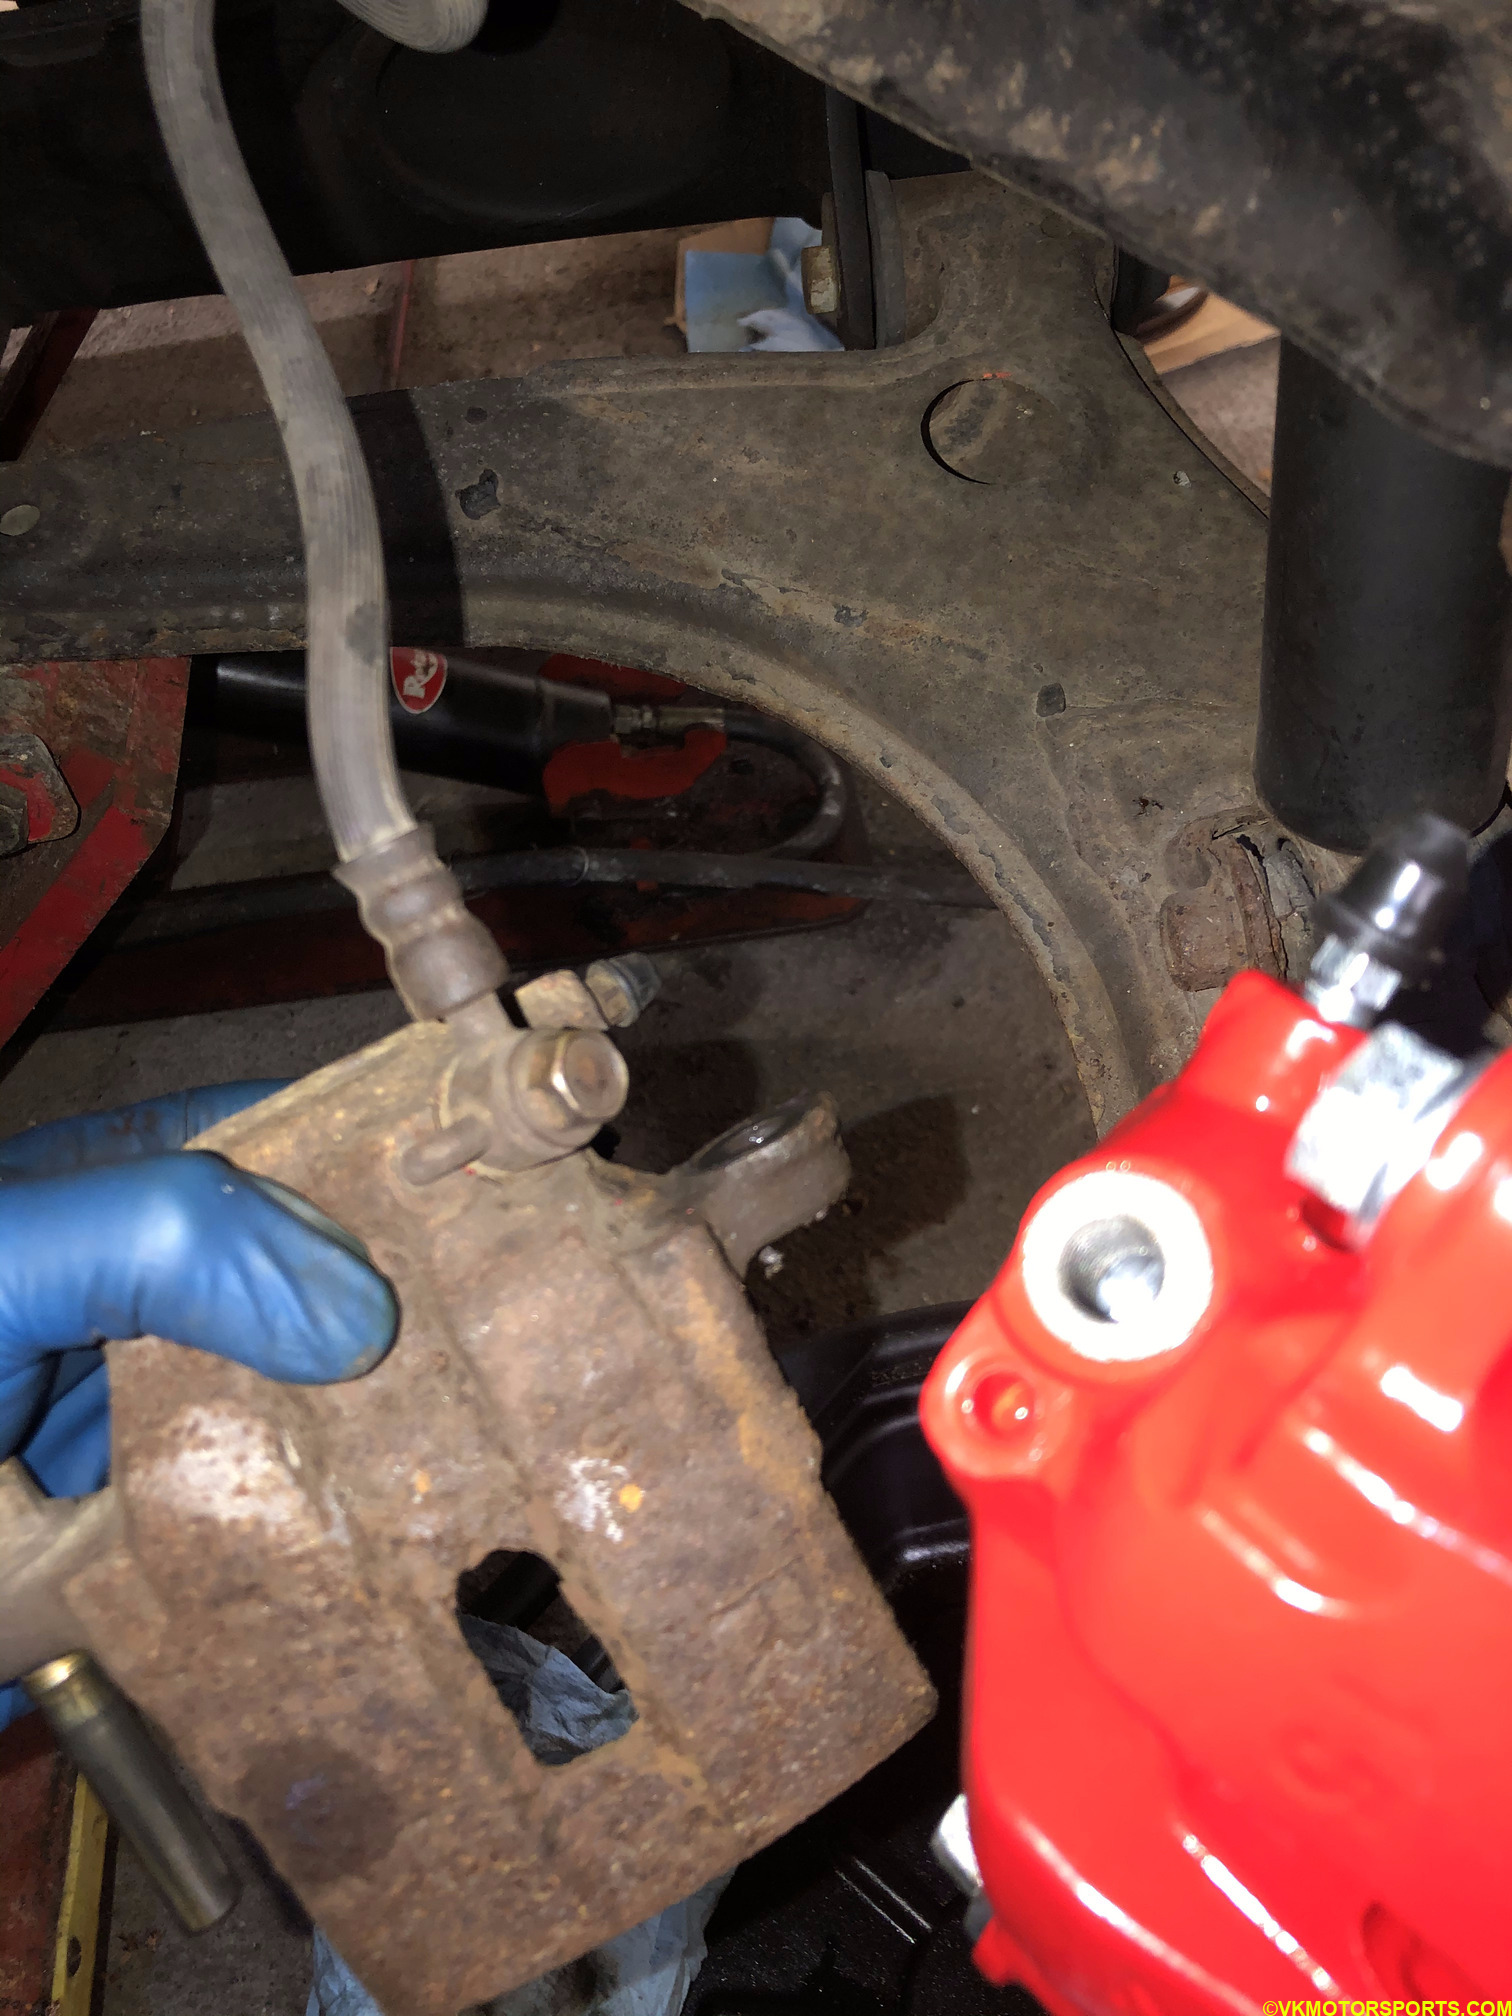 Figure 25. Passenger side front caliper ready for brake line
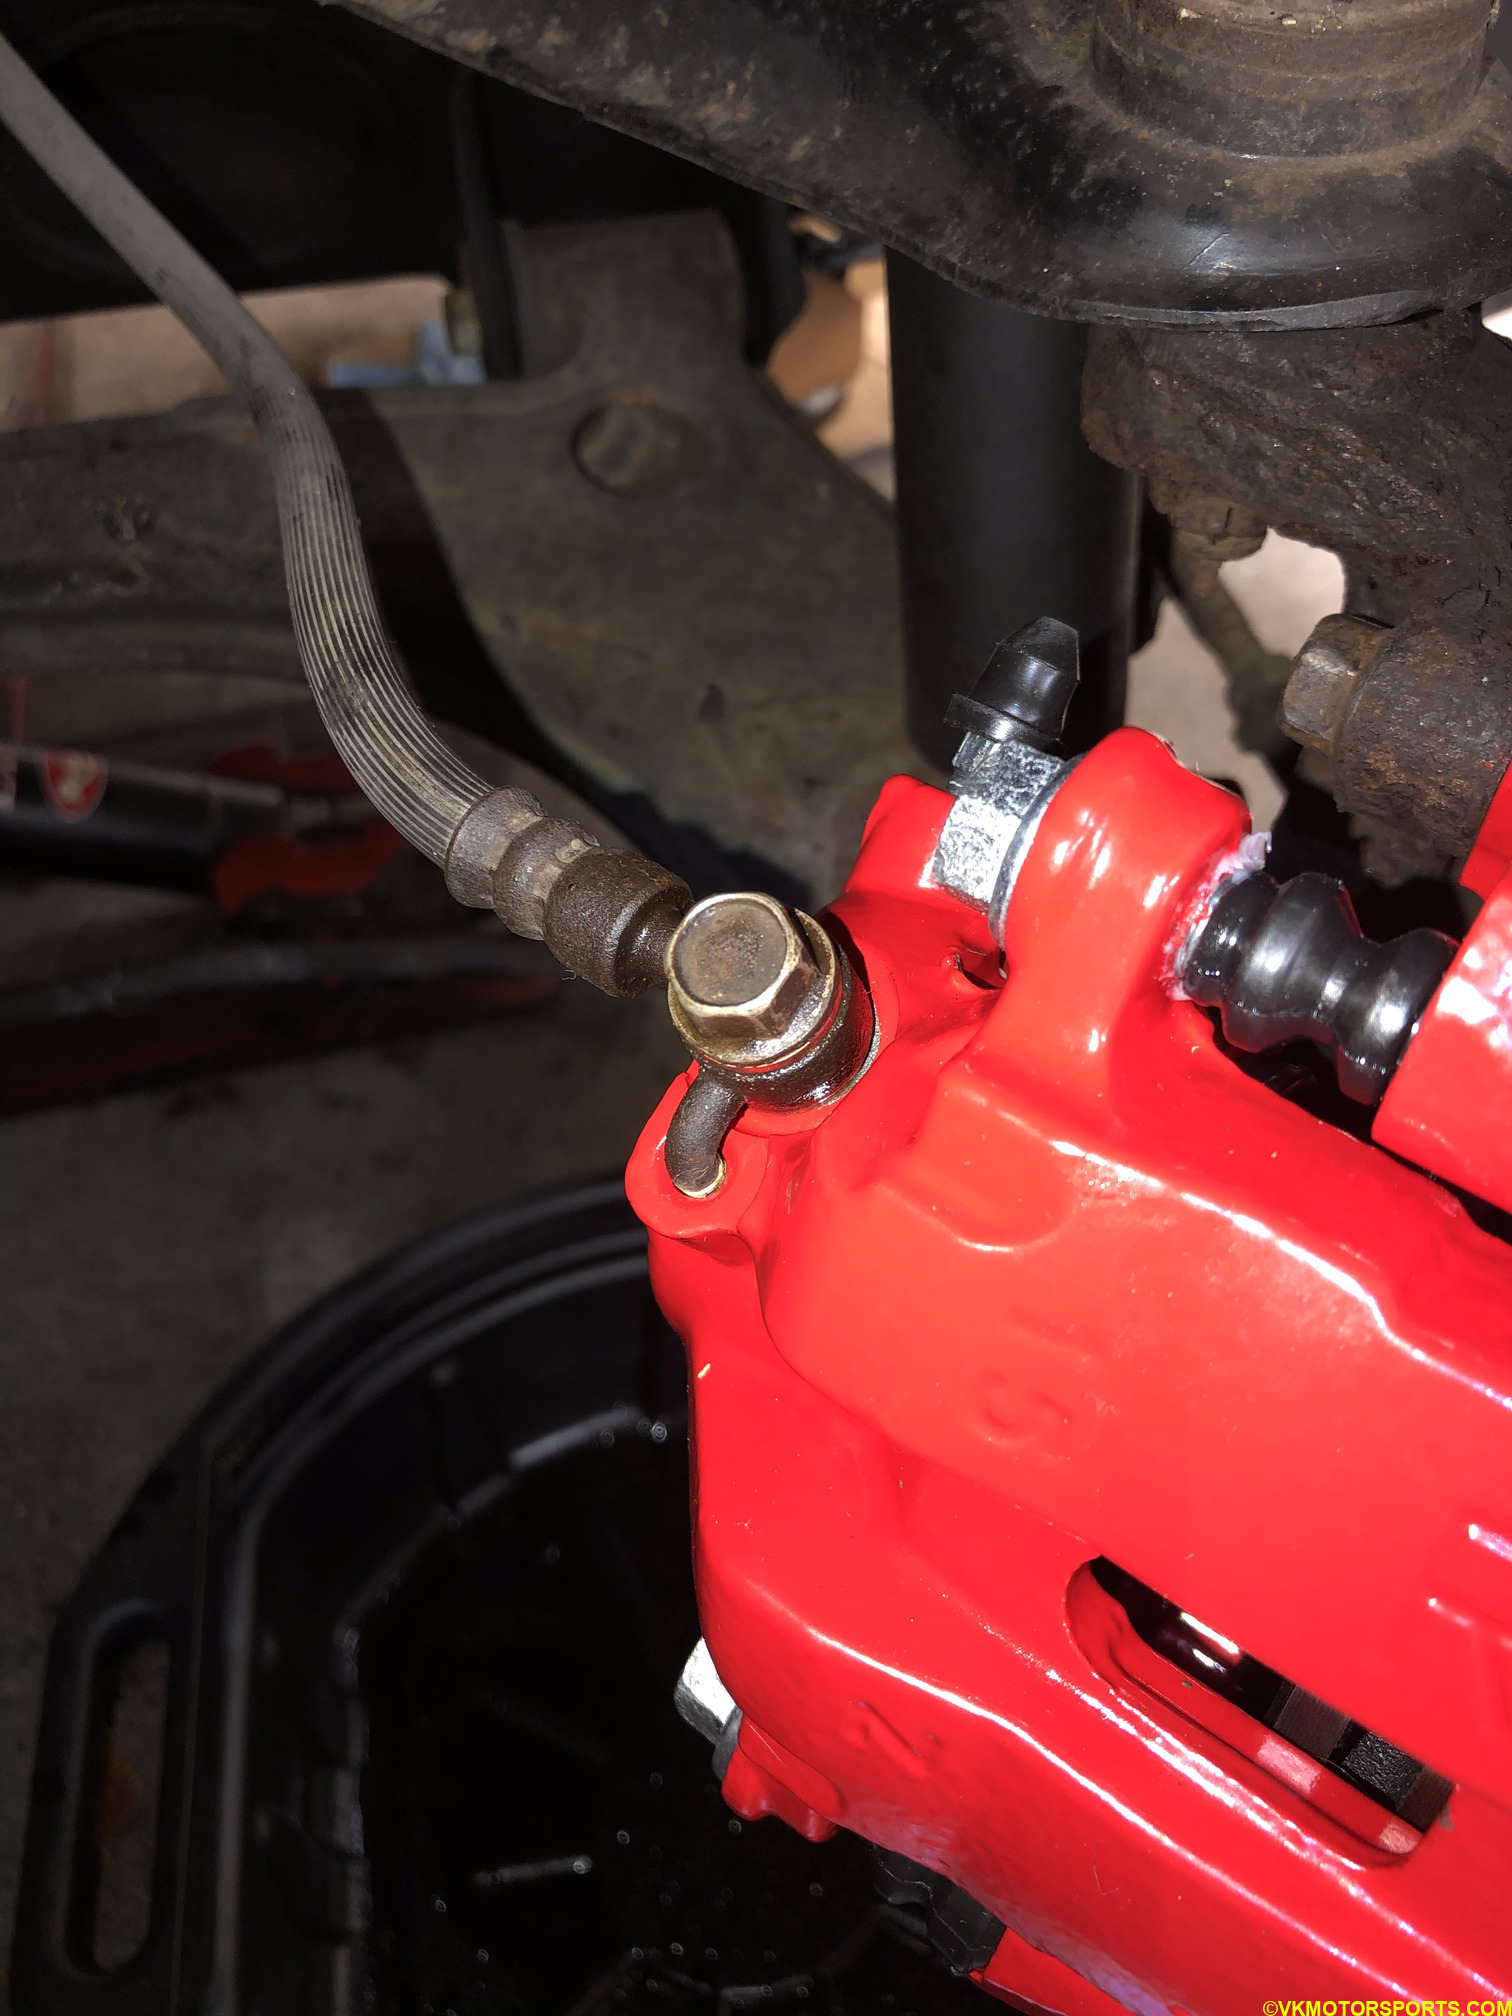 Figure 26. Passenger side brake caliper with the brake line installed
Step 9: Similarly compare the rear caliper brake lines, and install the brake line as shown in Figures 28-30.
NOTE: Remember to loosen the bleed valve on all the calipers.
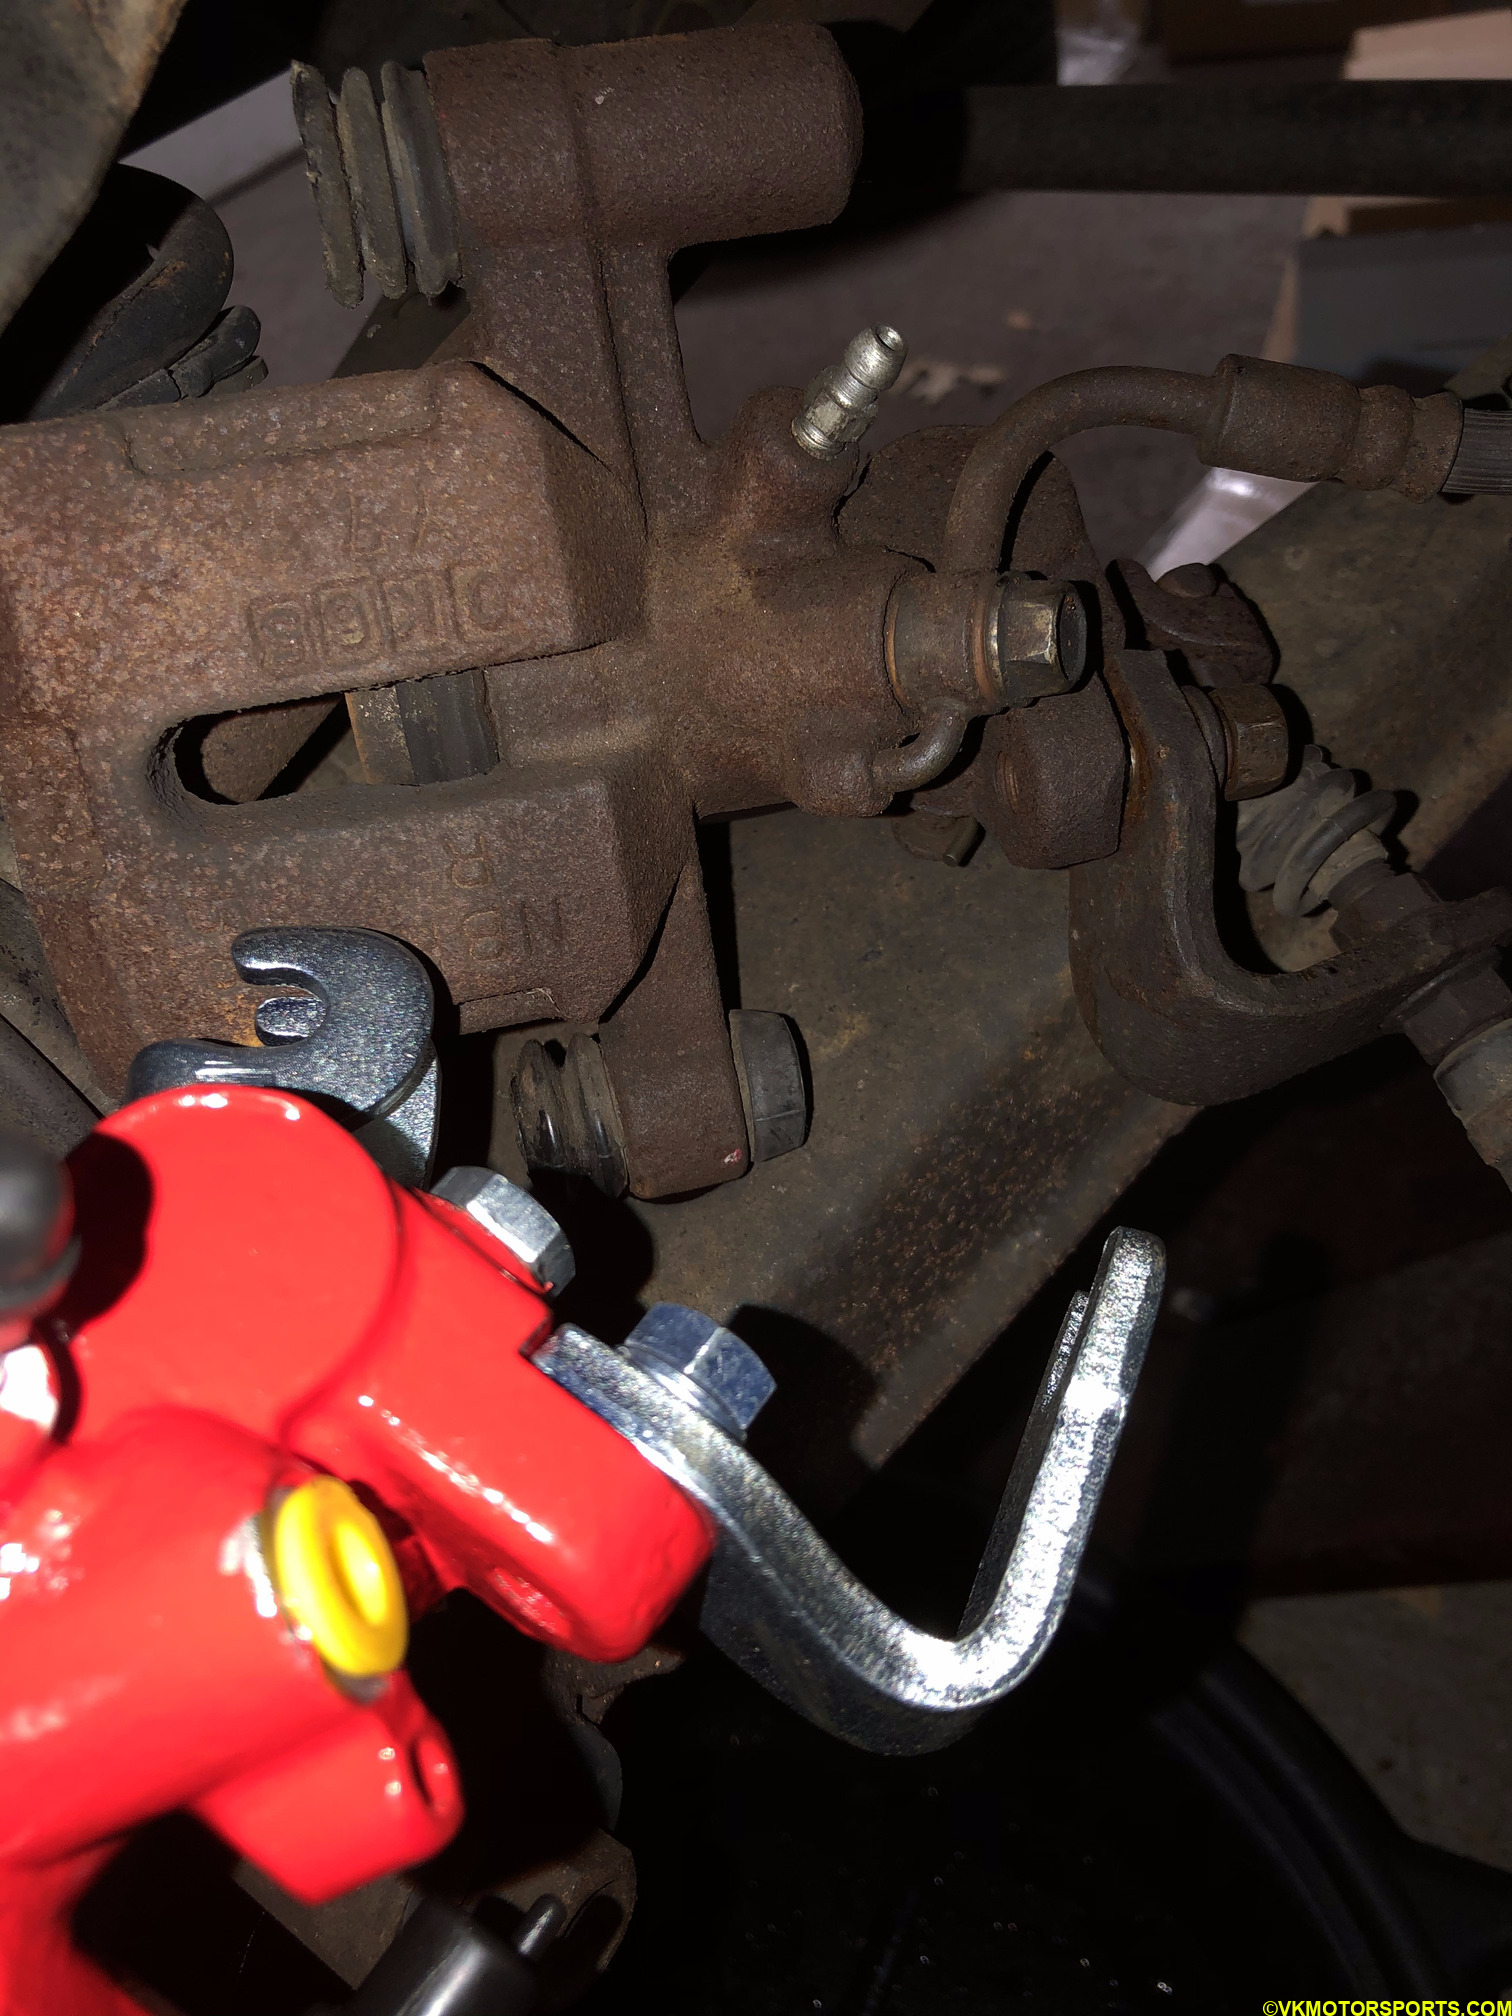 Figure 27. Compare brake lines on the old rear caliper on the driver’s side
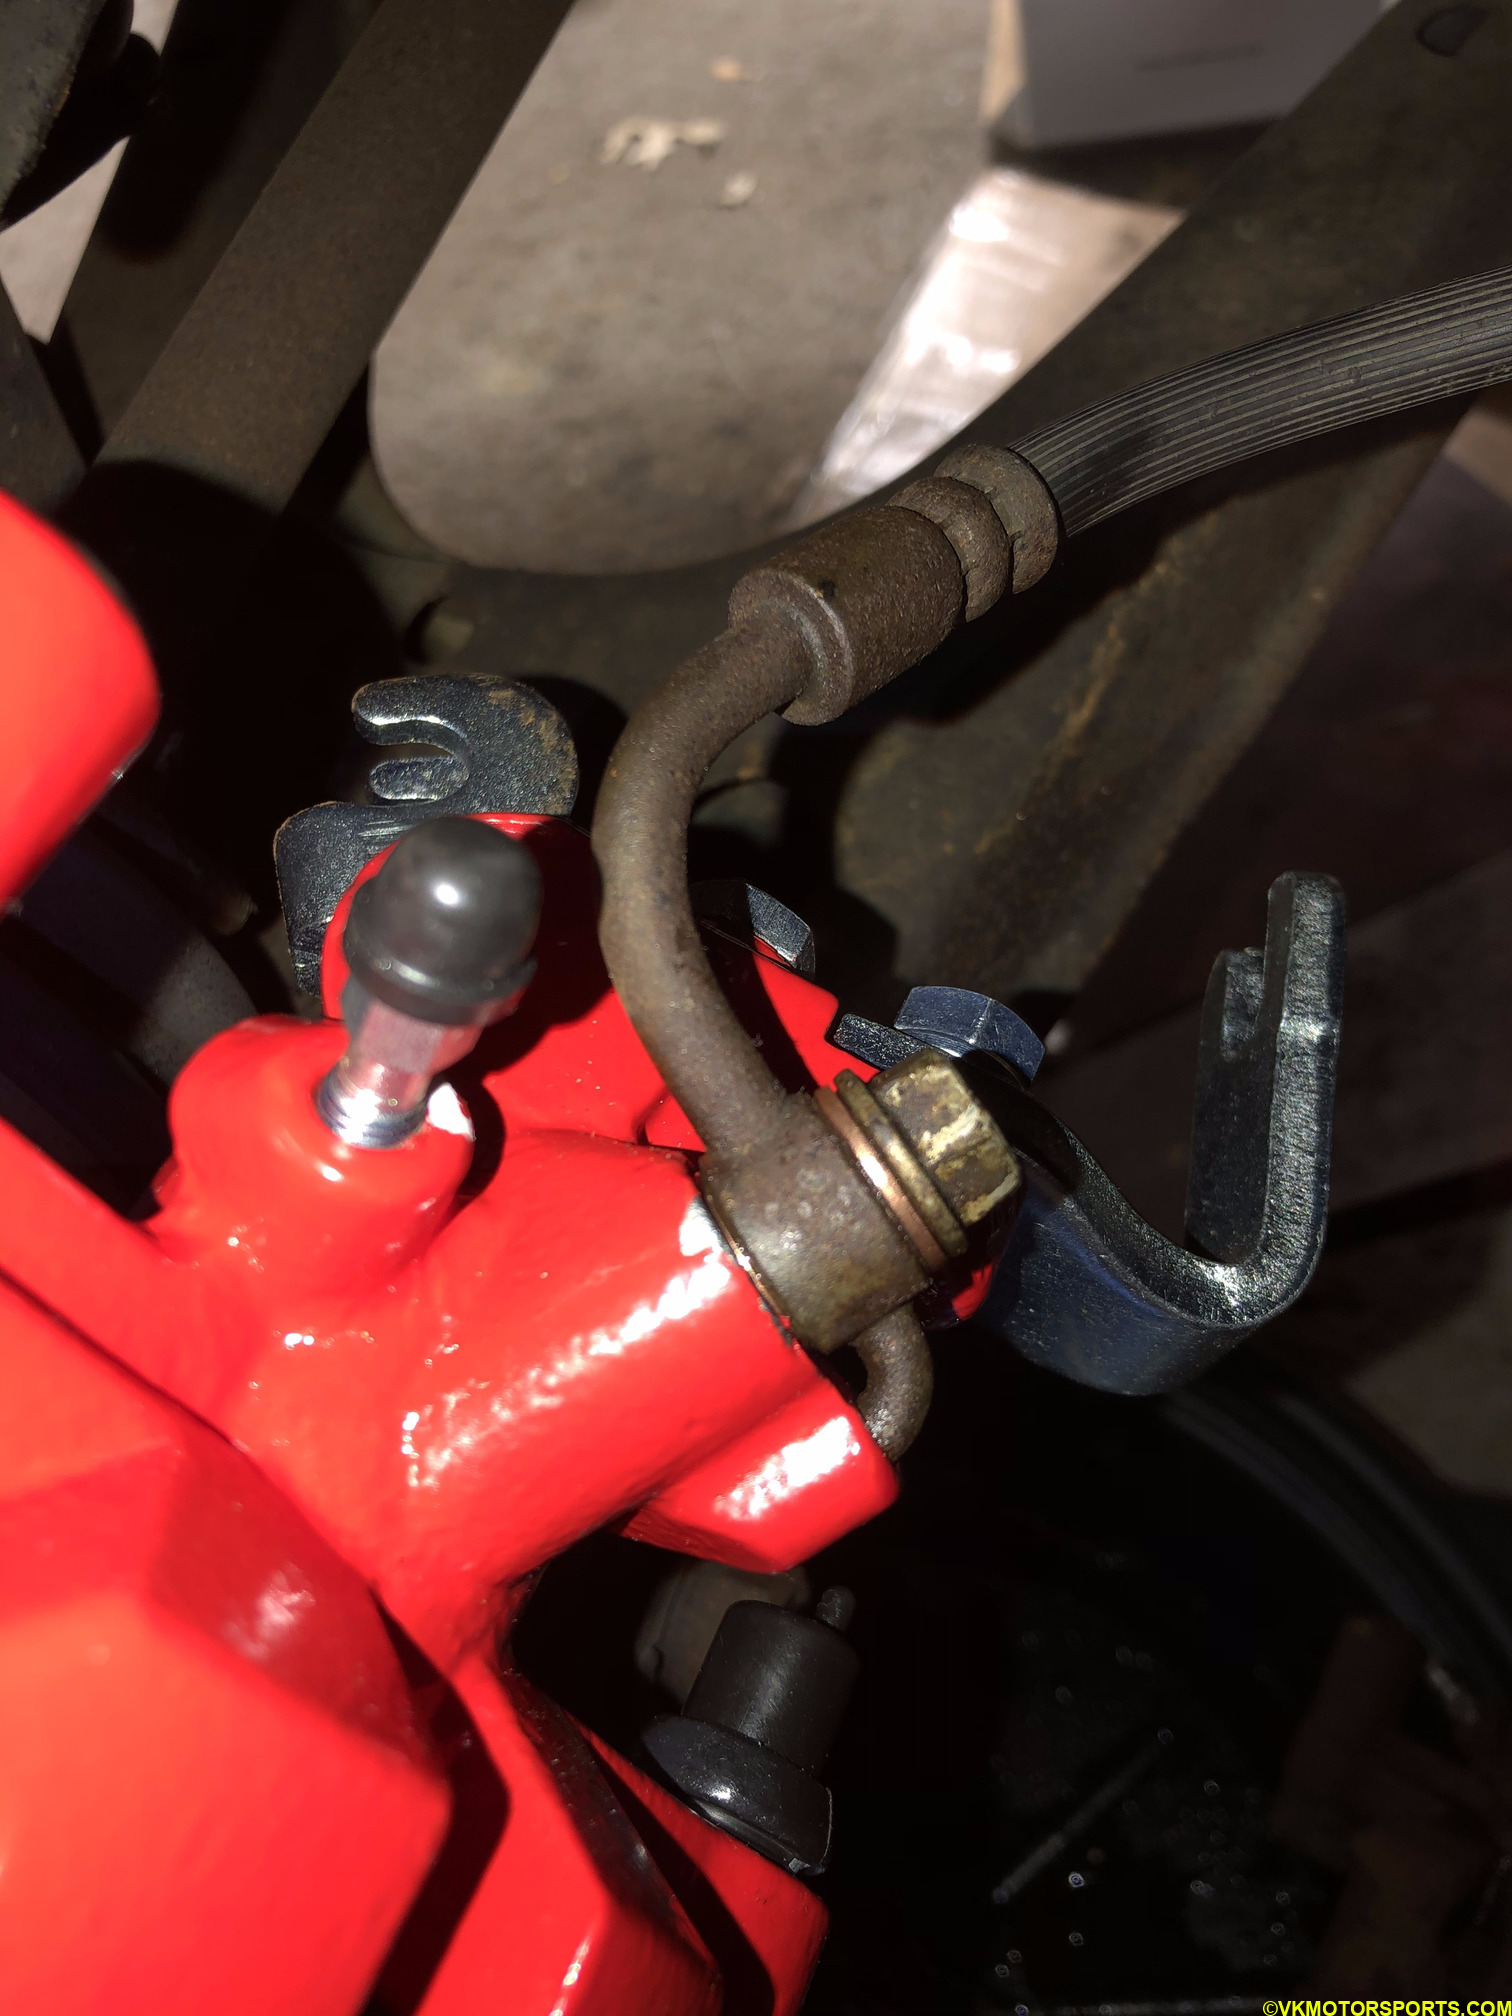 Figure 28. Brake line installed on the rear caliper on the driver’s side
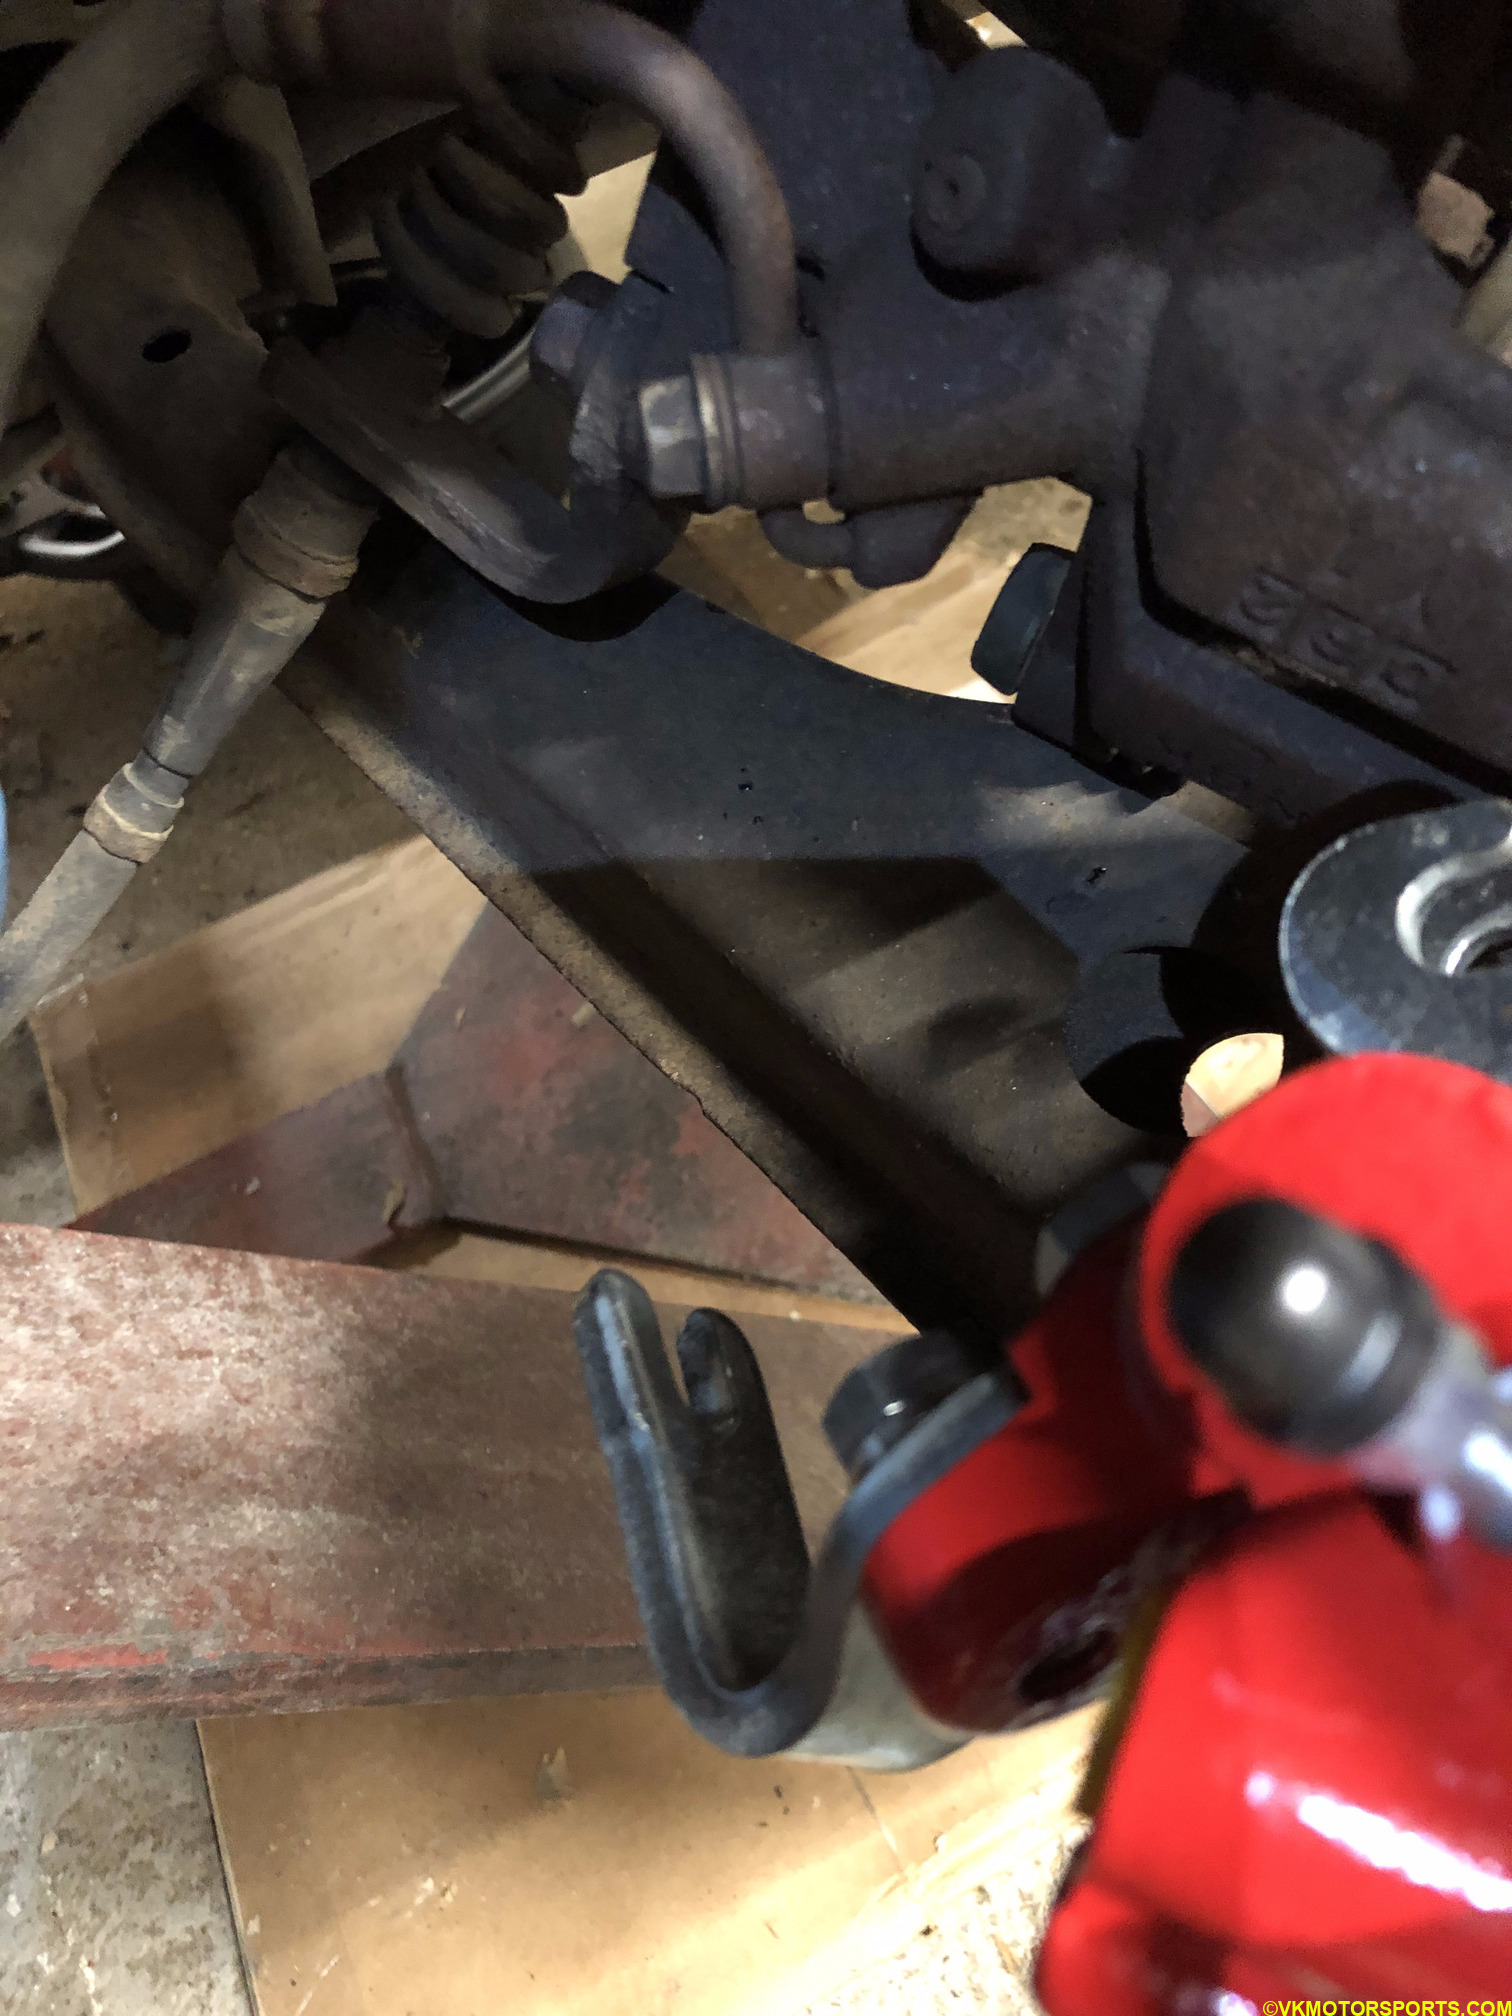 Figure 29. Compare brake lines on the old rear caliper on the passenger’s side
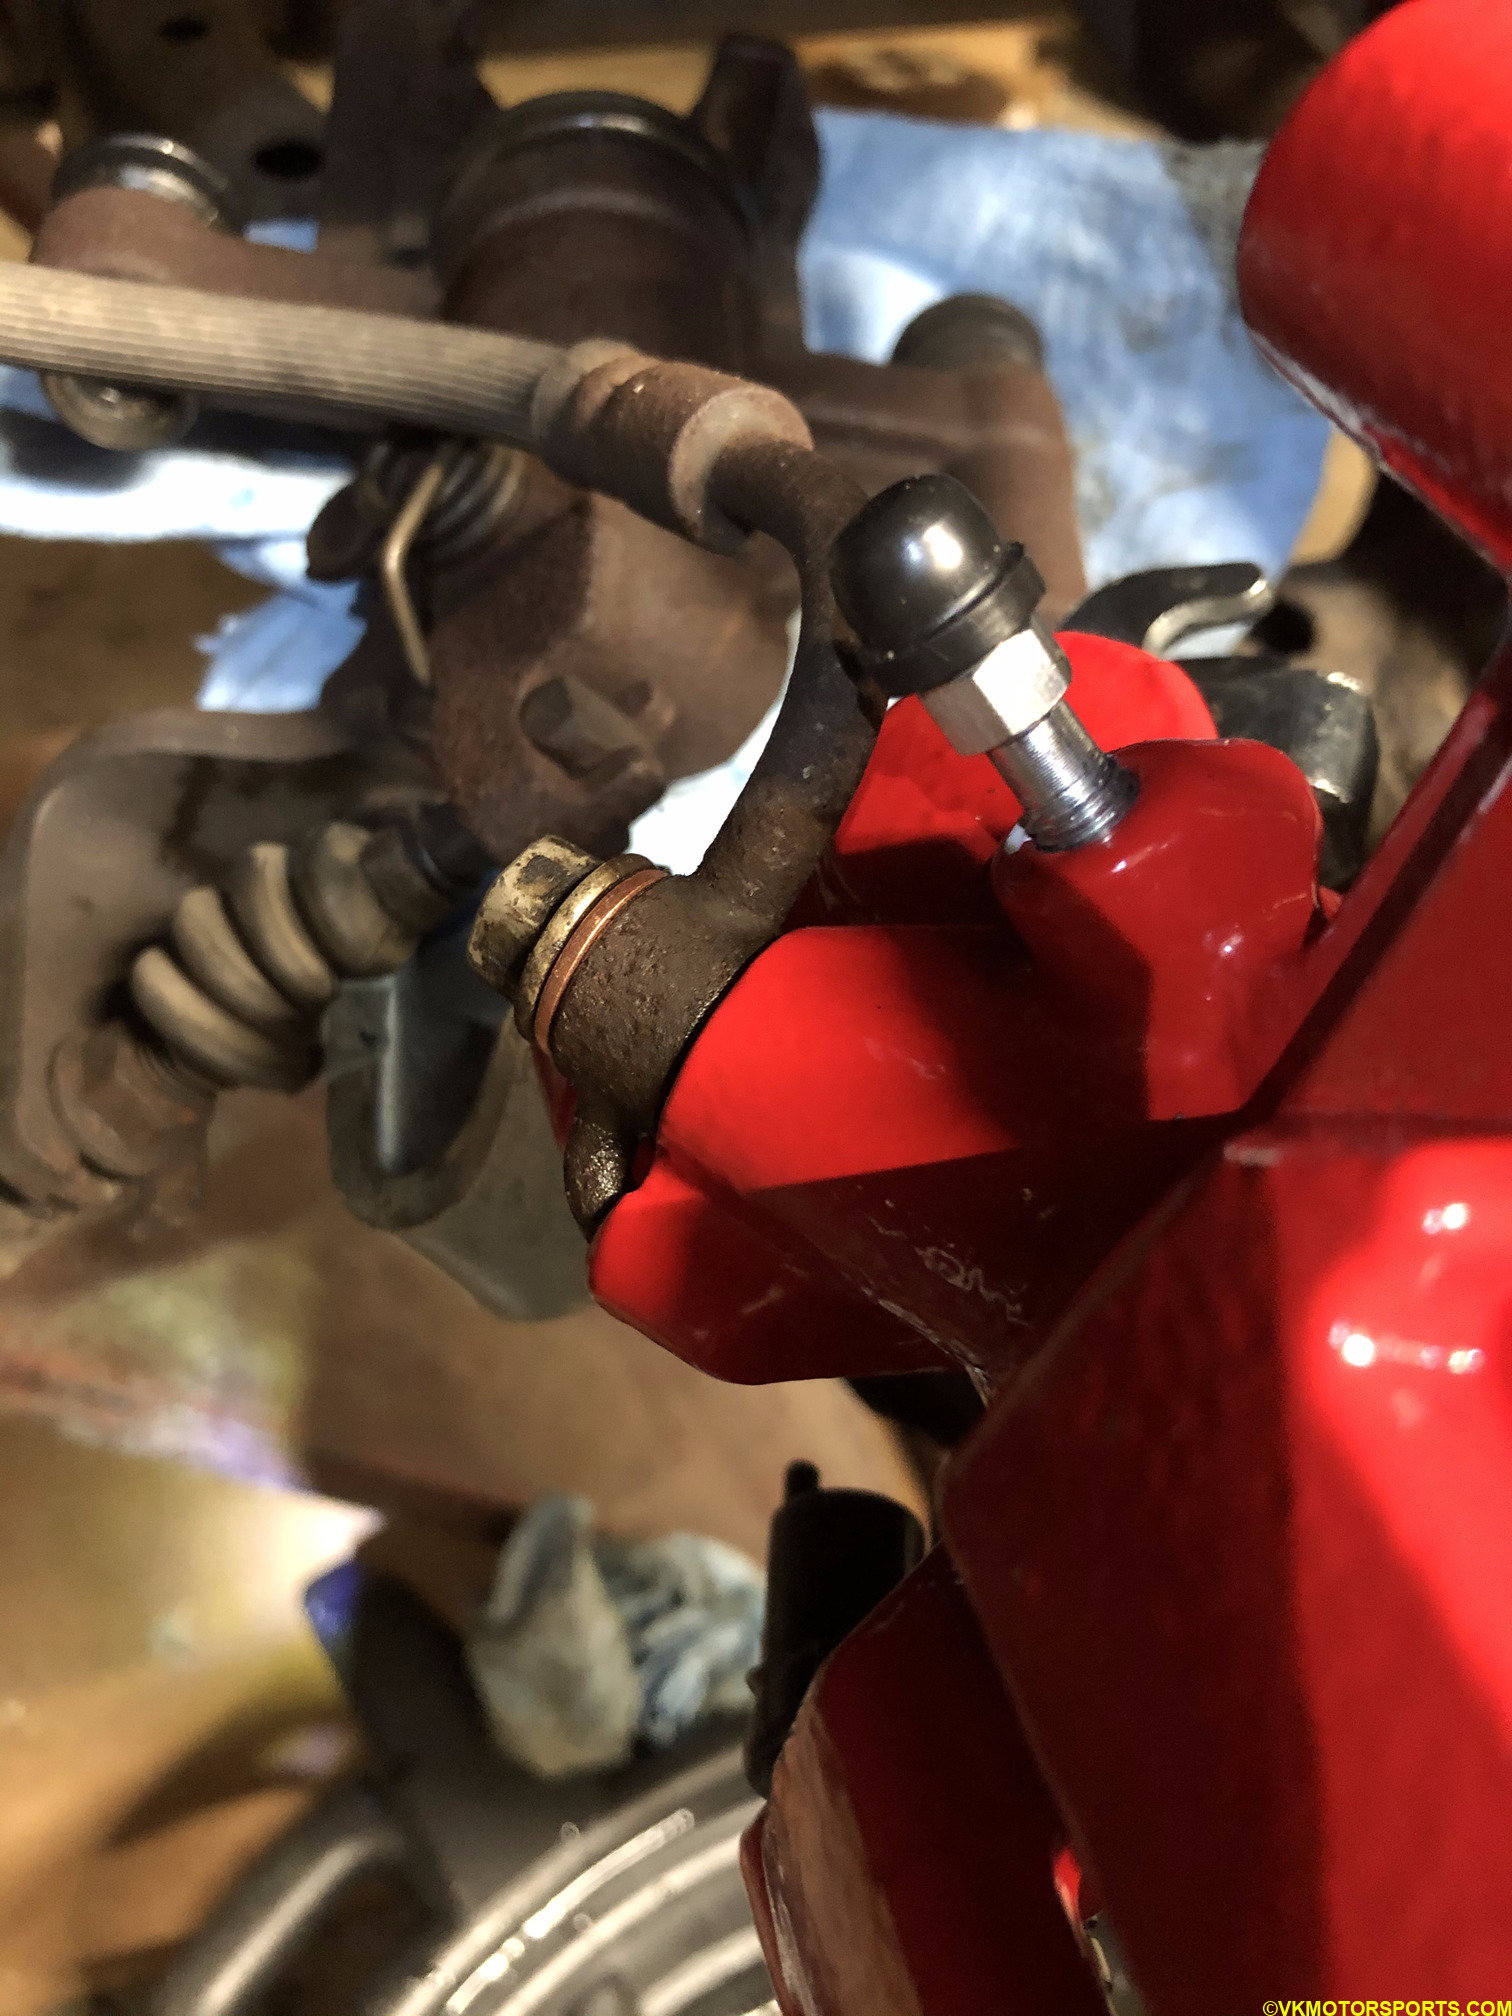 Figure 30. Brake line installed on the rear caliper on the passenger’s side
Step 10: Now we need to setup the e-brake cable. Again, this is something better removed from the old caliper before you take it off. However, since I had already done that I just took a shortcut and installed the cable bracket from the old caliper into the new one, rather than use a new bracket.
Ideally you want to loosen the e-brake cable nuts as shown in Figure 31 and take the cable off the bracket it is held on. But, I was unable to do that. So instead I removed the bracket, to which the cable is attached, from the old caliper as shown in Figure 32 and installed it on the rear caliper as shown in Figure 33. Remember to tighten the bolts only after the cable has been hooked on correctly.
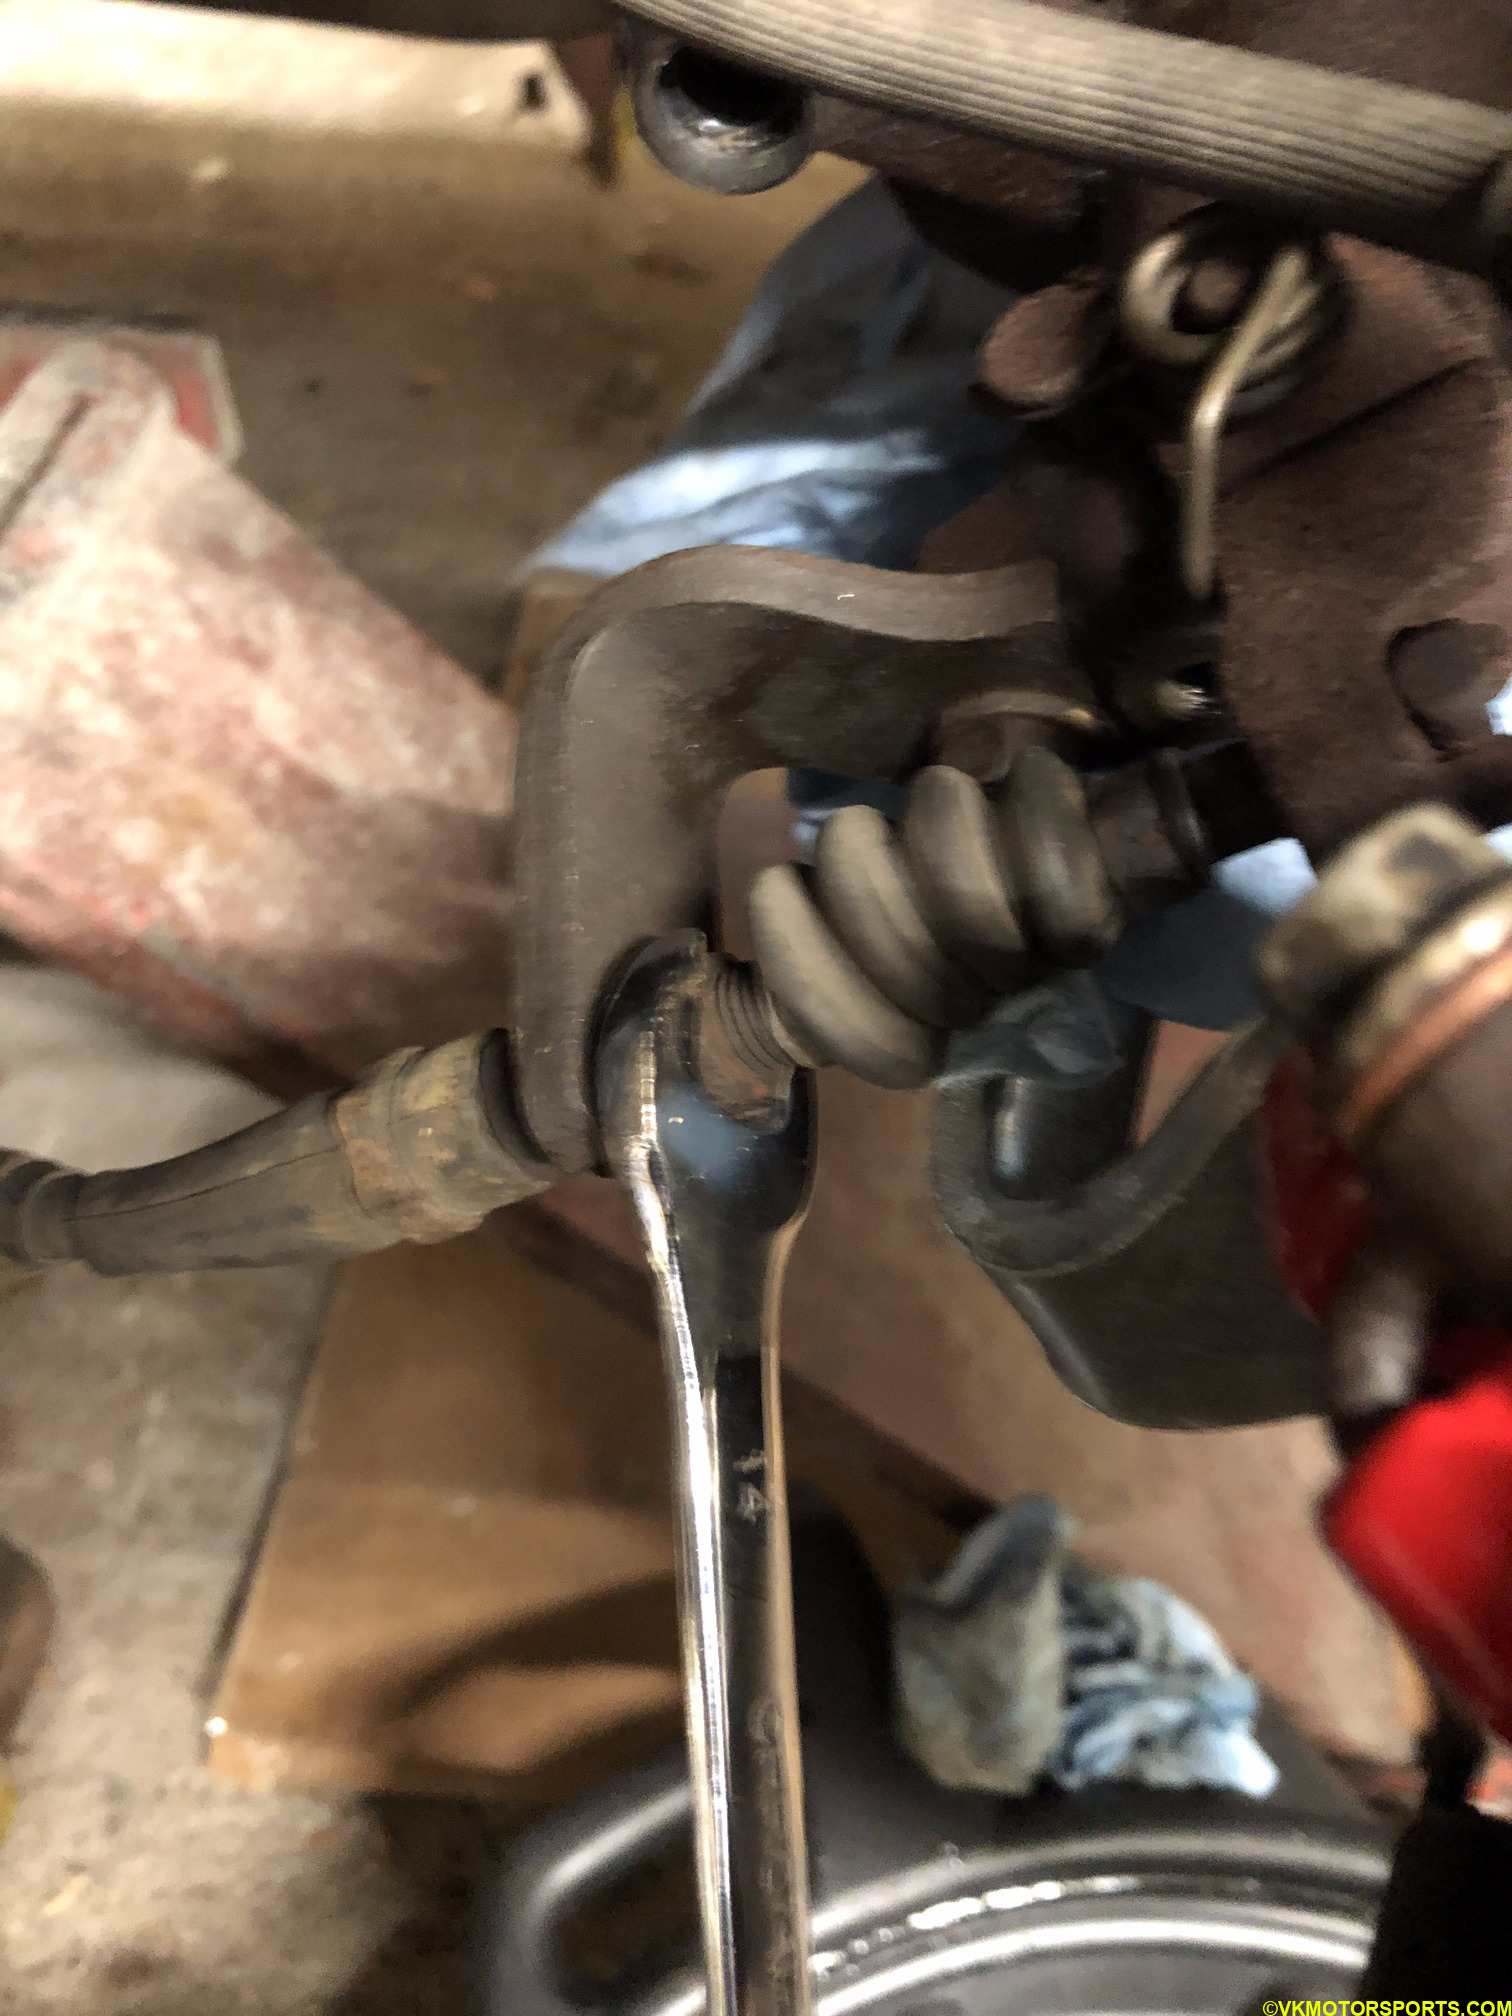 Figure 31. Loosen the e-brake cable nuts if possible
 Figure 32. Loosen the nut on the old caliper’s e-brake cable bracket
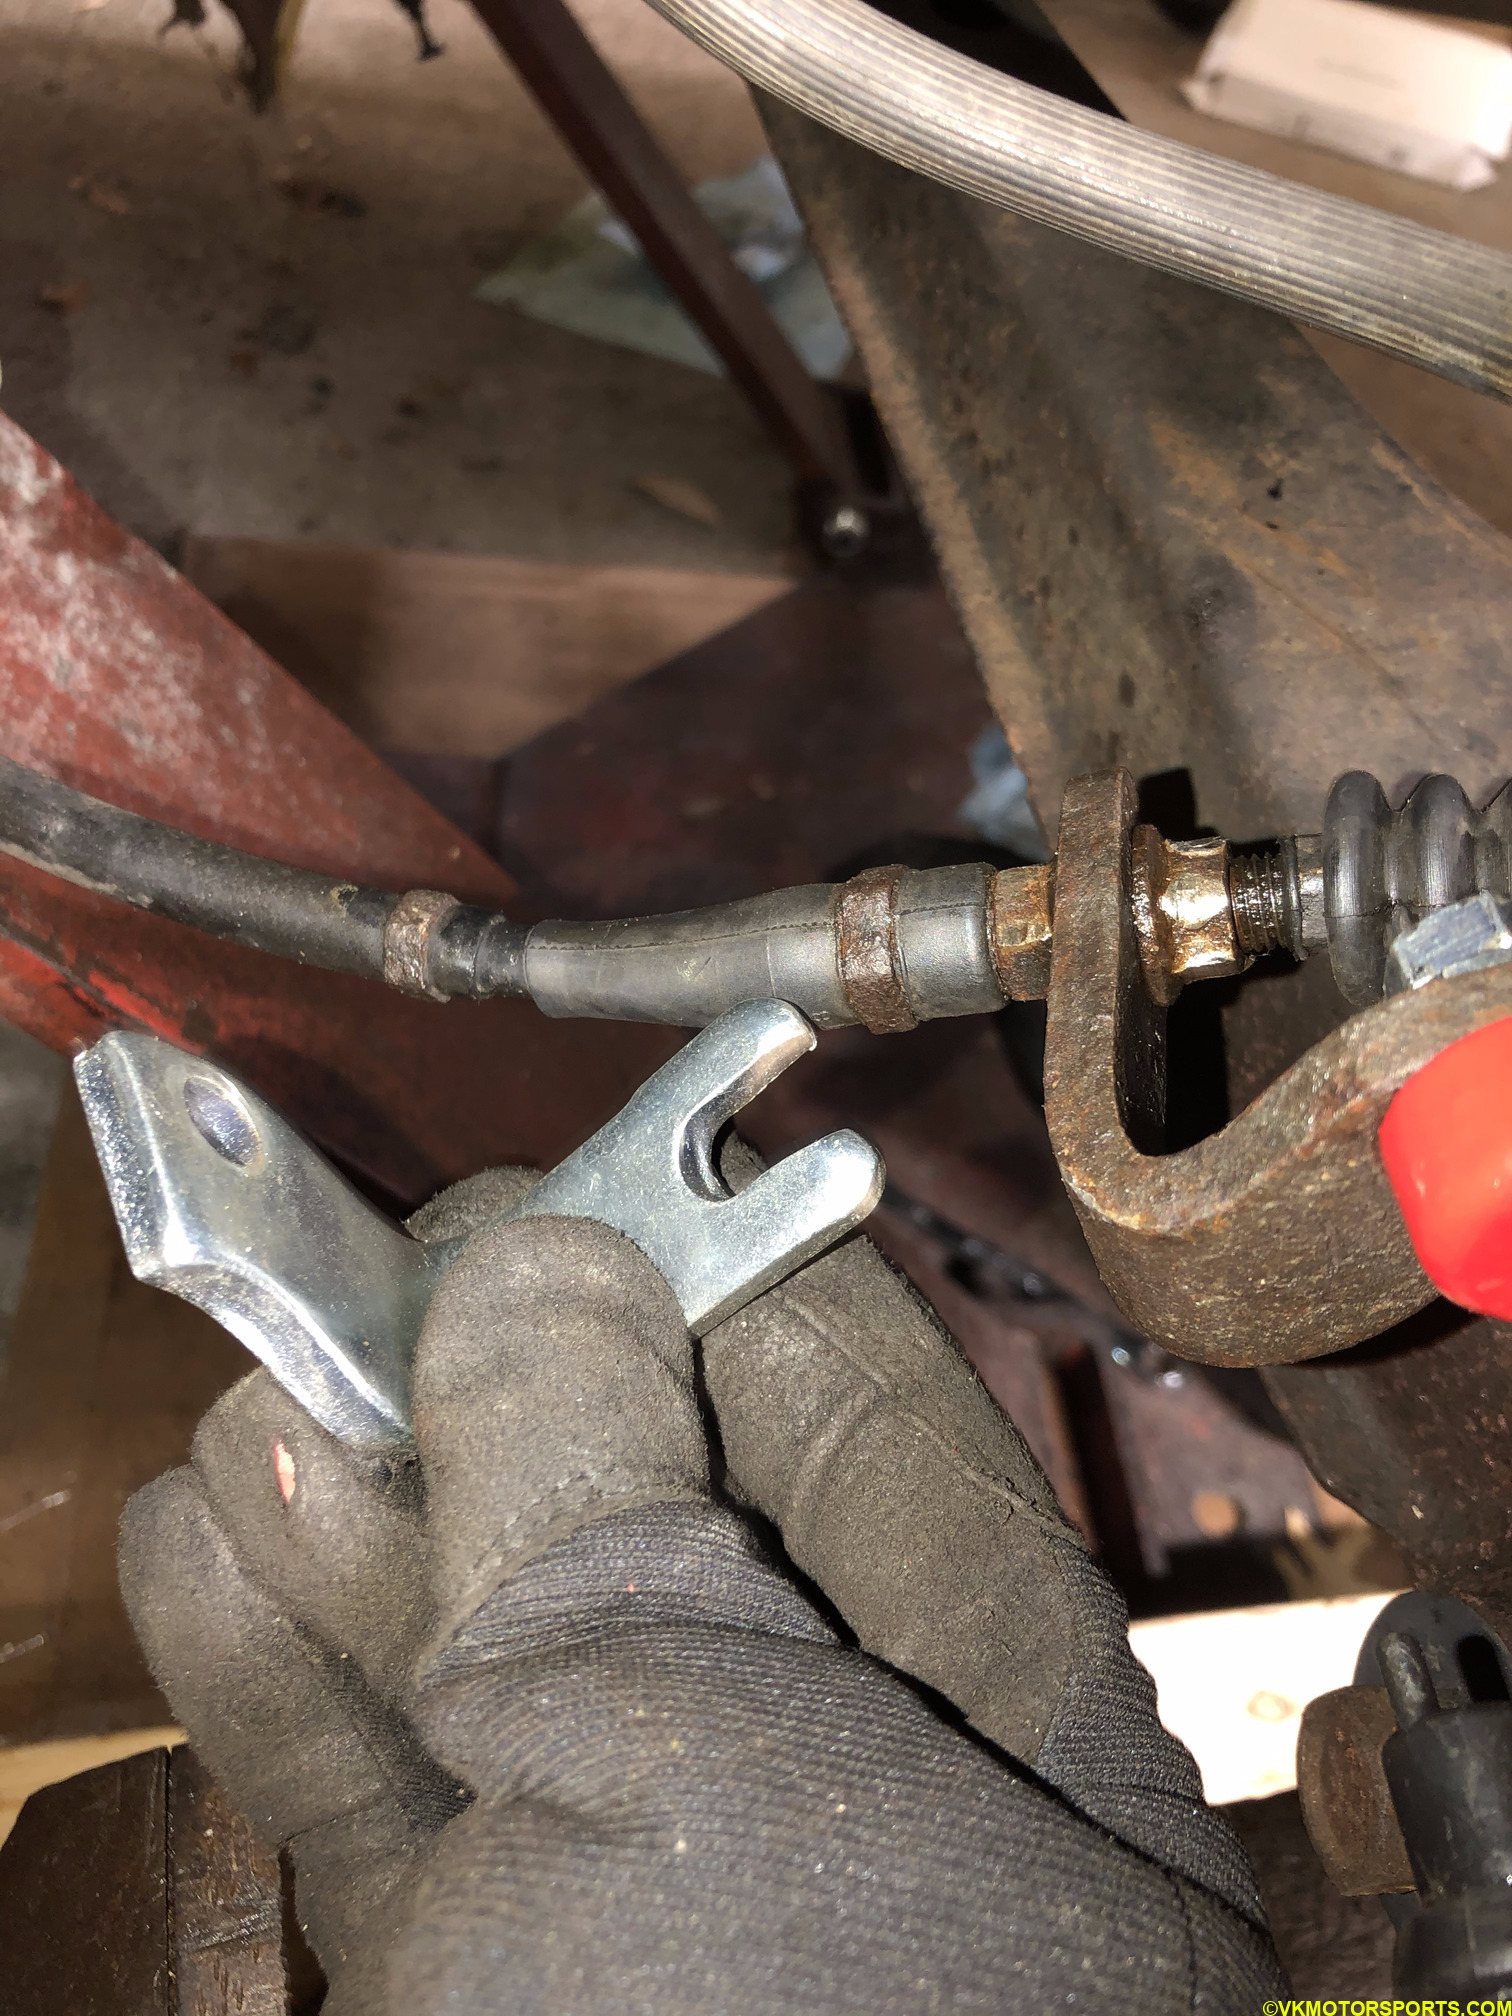 Figure 33. Remove the new bracket and replace with the old one
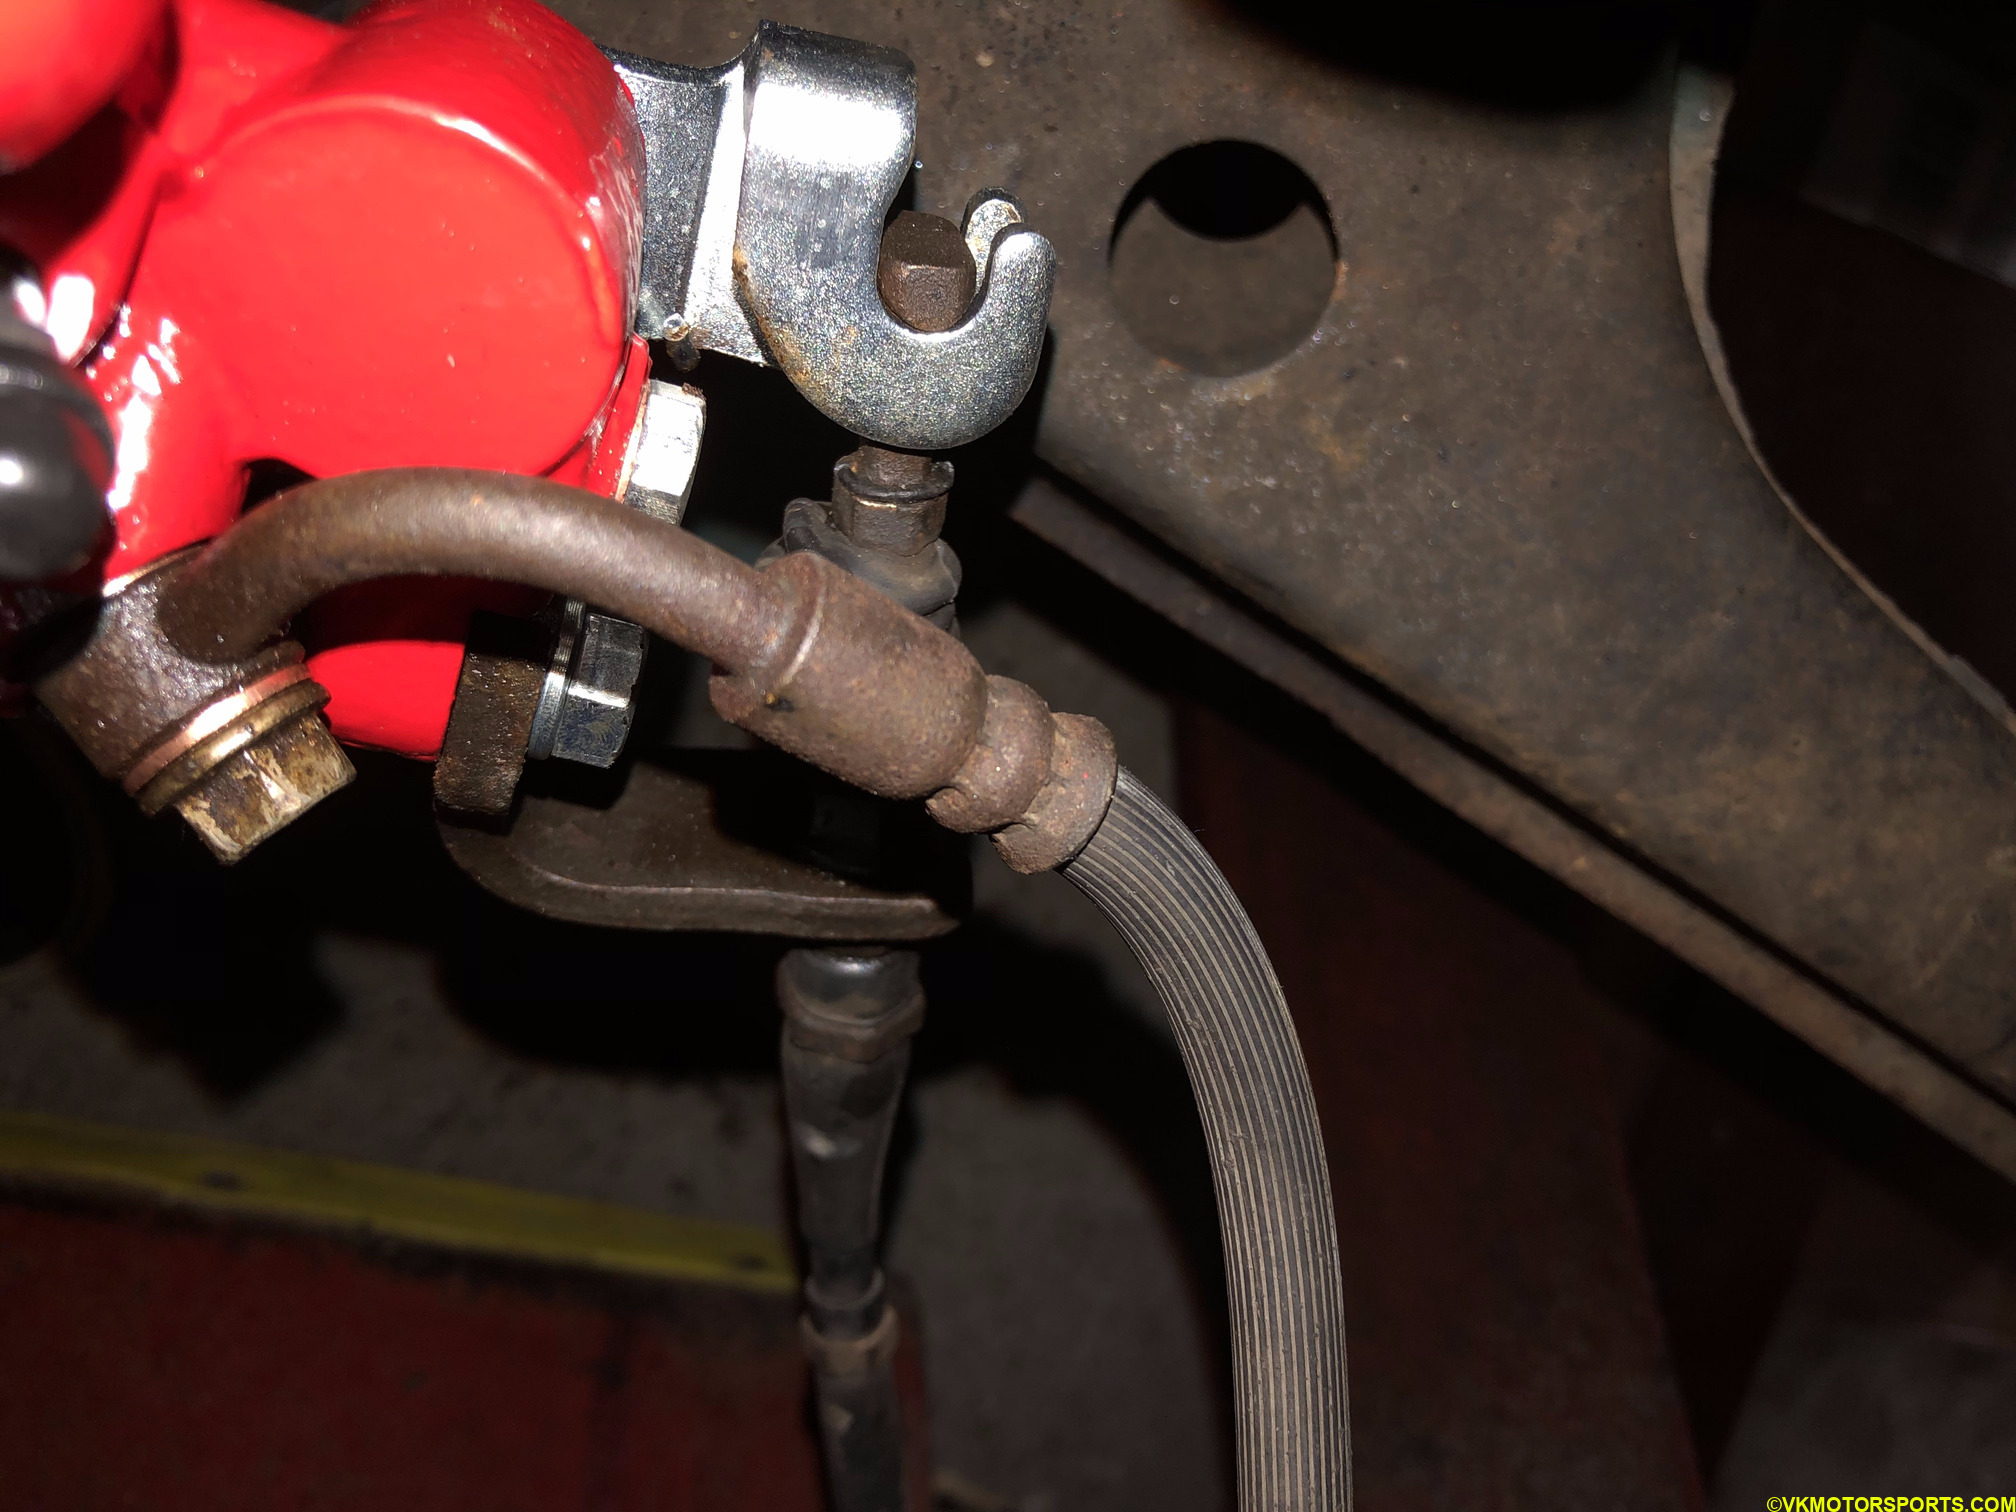 Figure 34. Hook the cable on the end
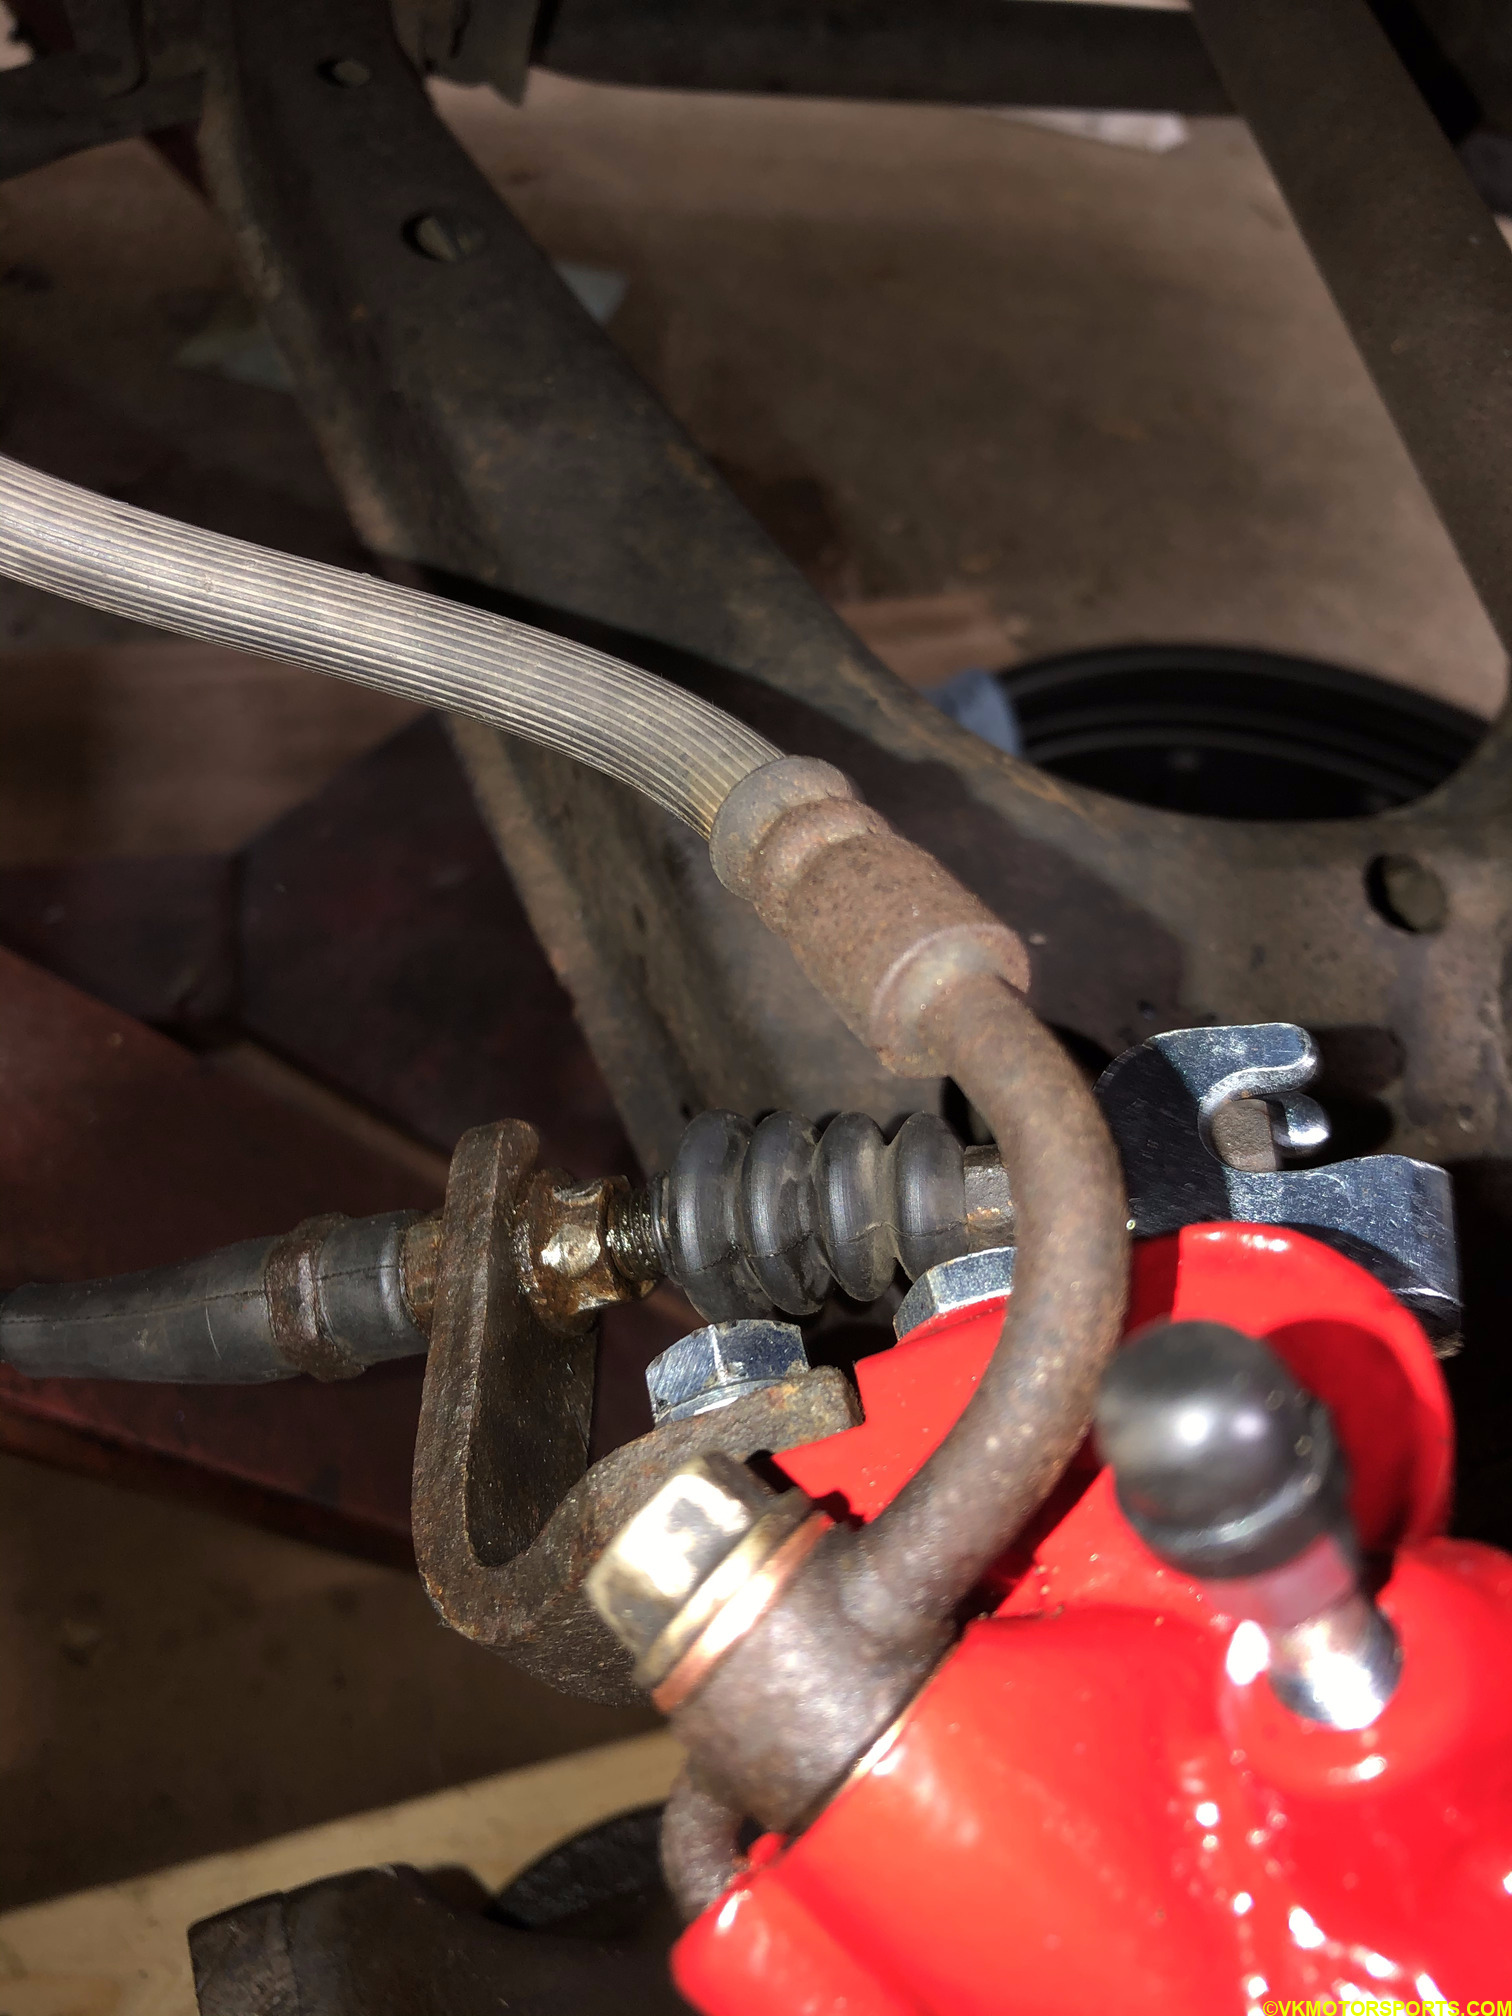 Figure 35. Complete the install of the e-brake cable
Step 11: Keep the brake reservoir cap open, and have a friend help you bleed the brakes. Unfortunately, I have no pictures for this process so I recommend watching one of the several Youtube videos on this topic, or read this.
Once you have bled the brakes correctly you should see the brake fluid in your brake reservoir be clear like in Figure 36.
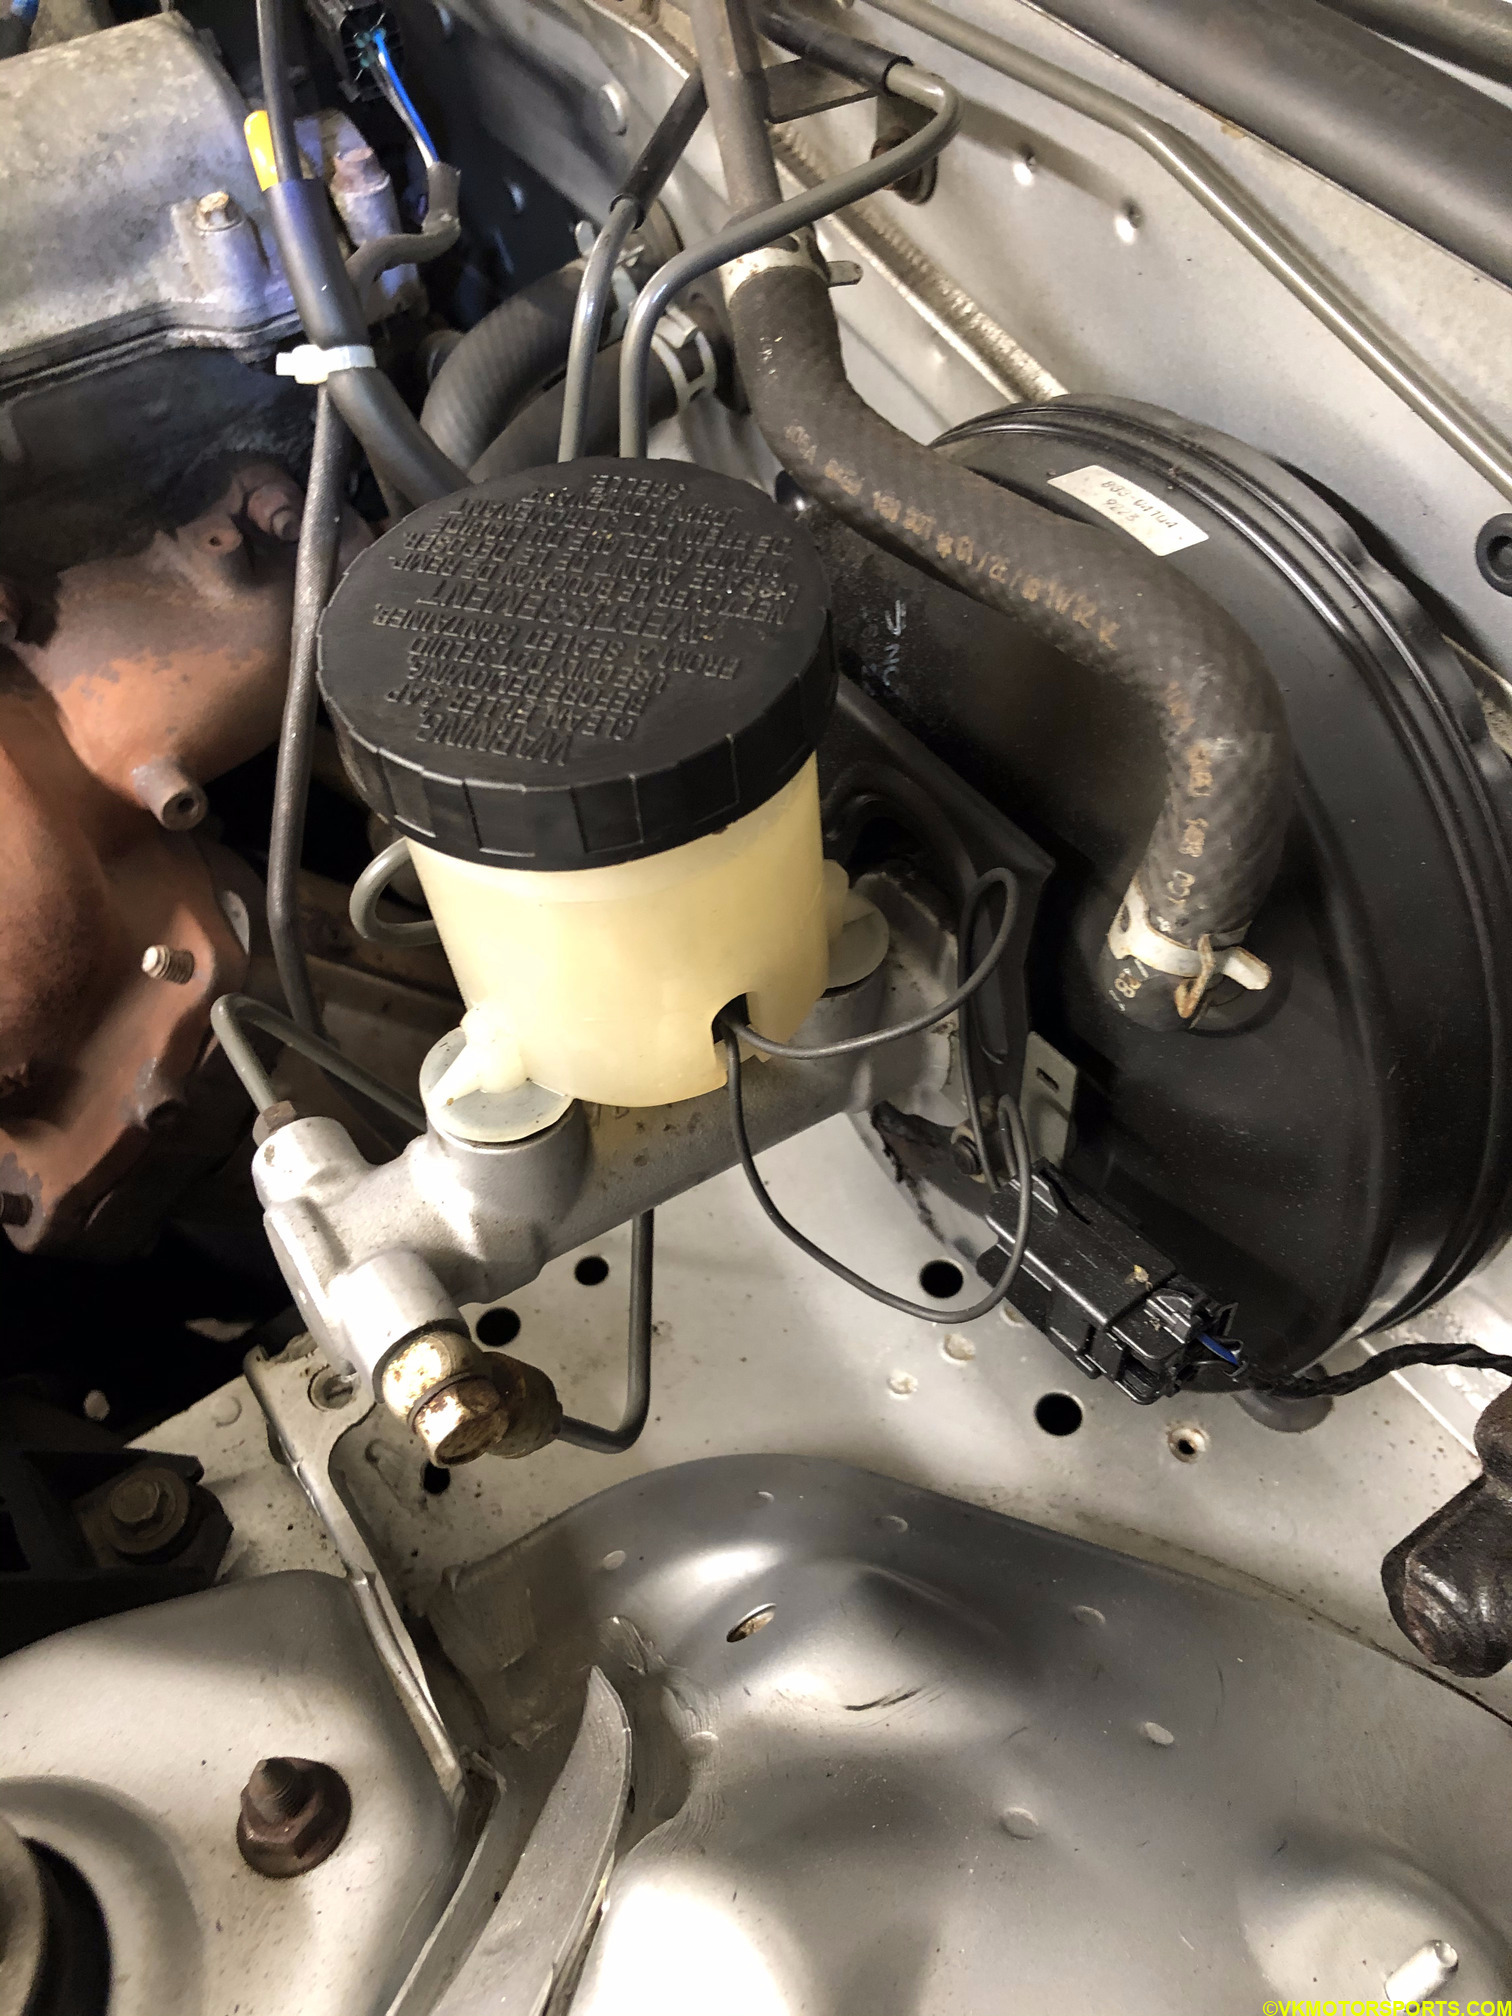 Figure 36. Brake reservoir with fresh fluid
Finally install all the wheels back on, and torque the lug nuts to 80ft-lbs. Then take out the car for a drive, first slowly and test that the car stops when the brake pedal is pressed, in both forward and reverse gear.
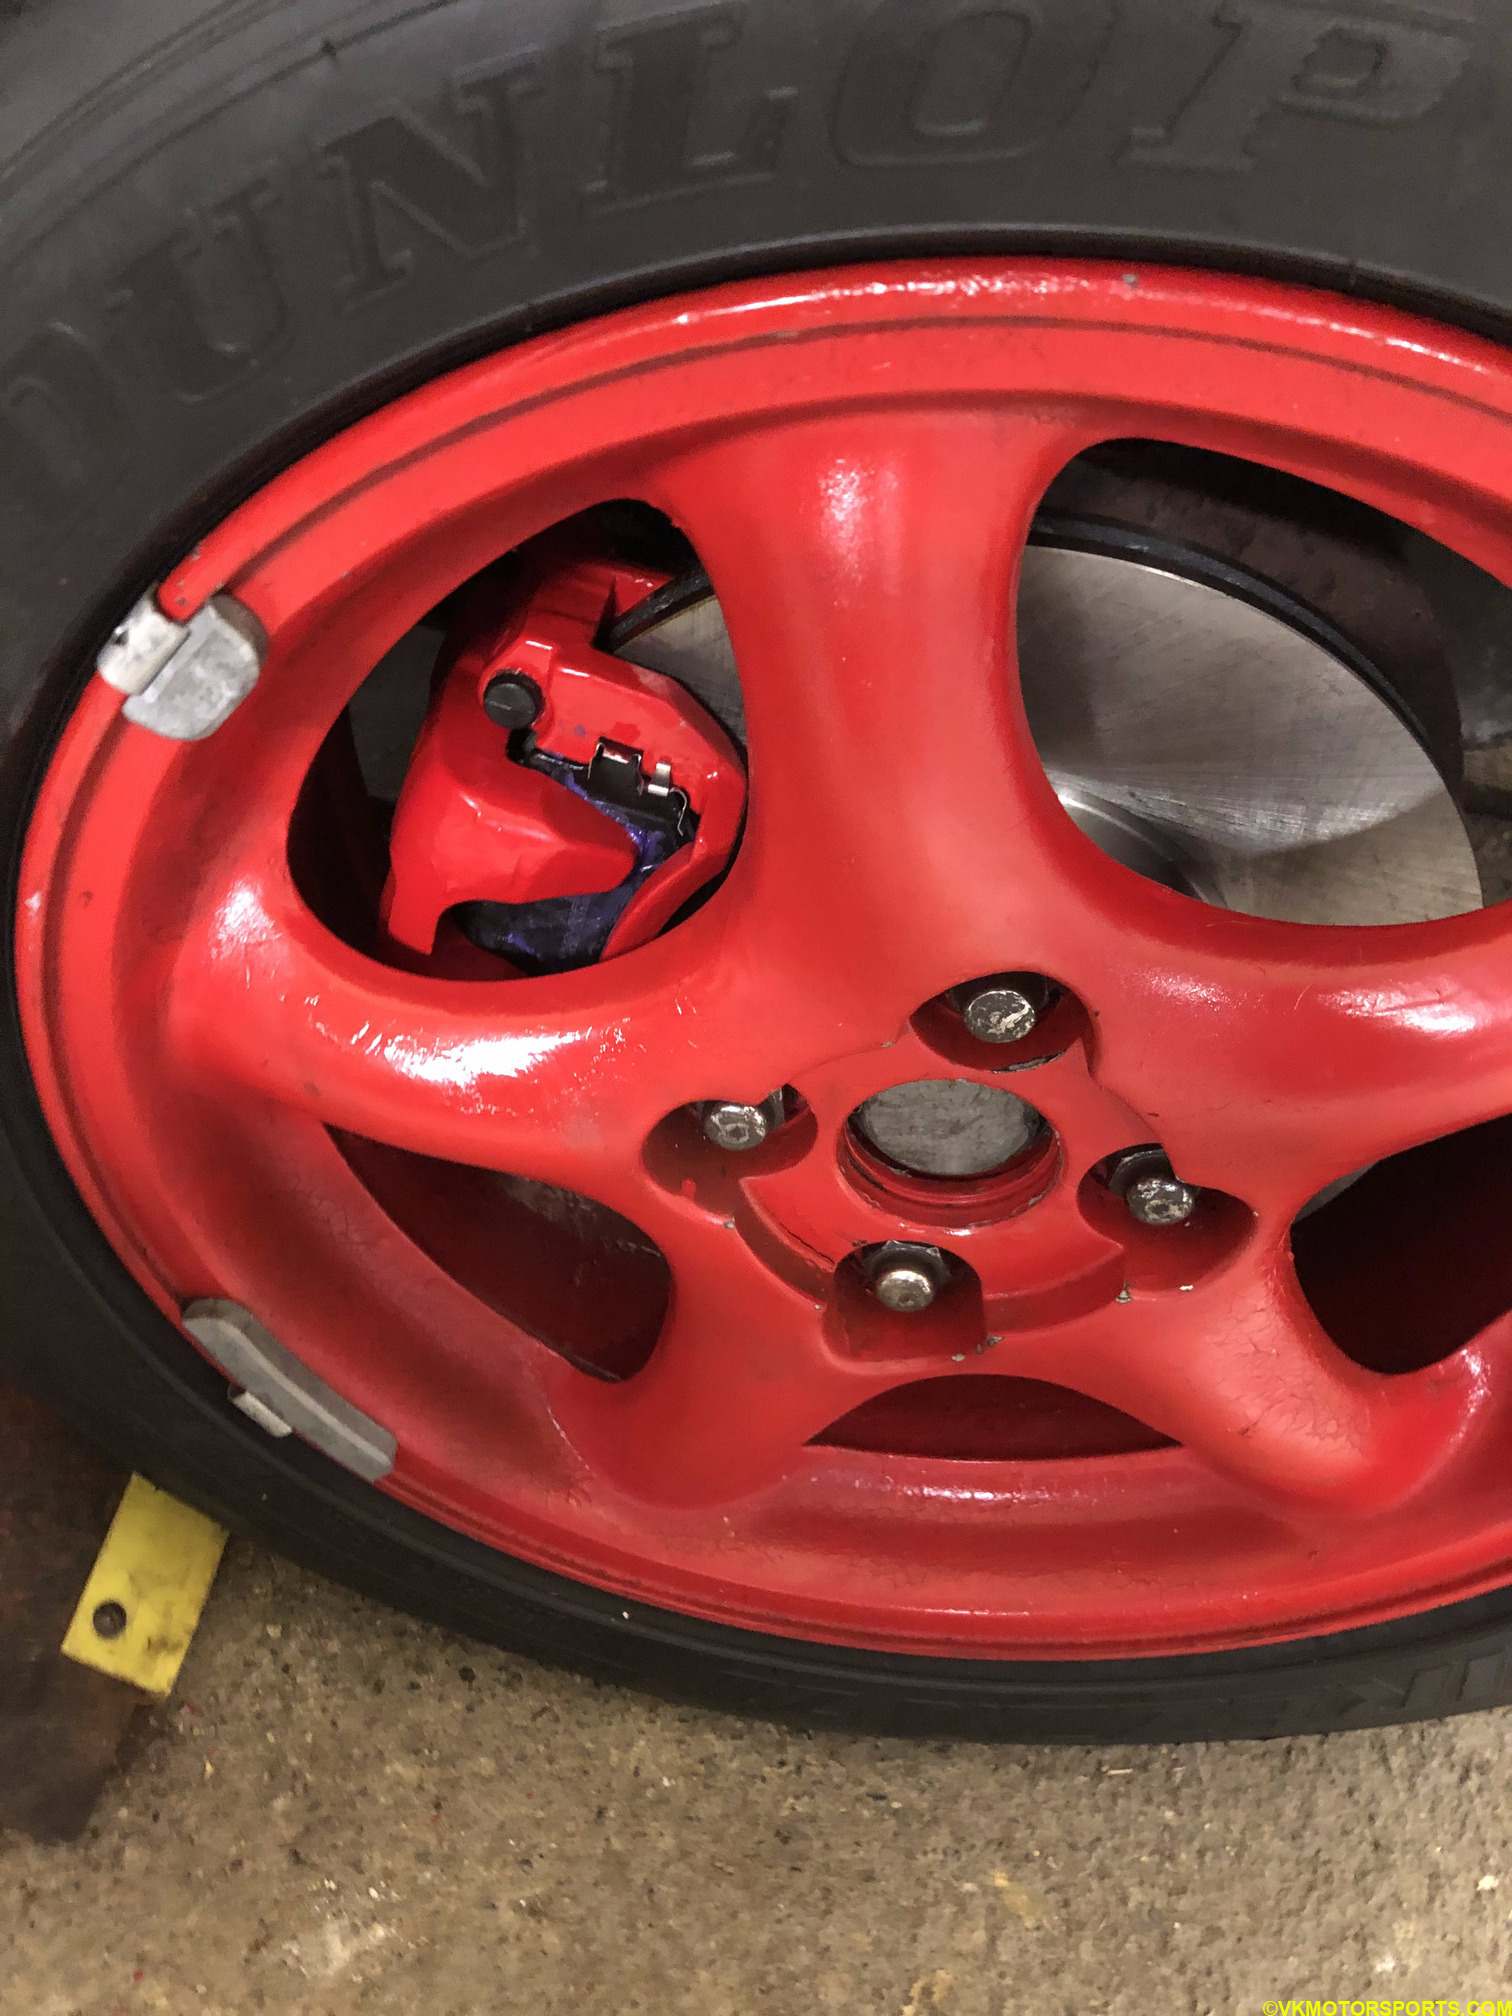 Figure. Install the wheels back on