The Miata had gone two years without any brake changes by me, and having never done it before I thought it would be a good idea to learn how to change brake pads. This would be a skill very useful before going on the track or for an autocross event. In this post, I demonstrate how to change the front brake pads.
CAUTION: Brake parts can have toxic chemicals around them, so it is advised to use gloves to do the work.
Step 1: First I raised the car using my lift as shown in Figure 1, or you can use jack stands.
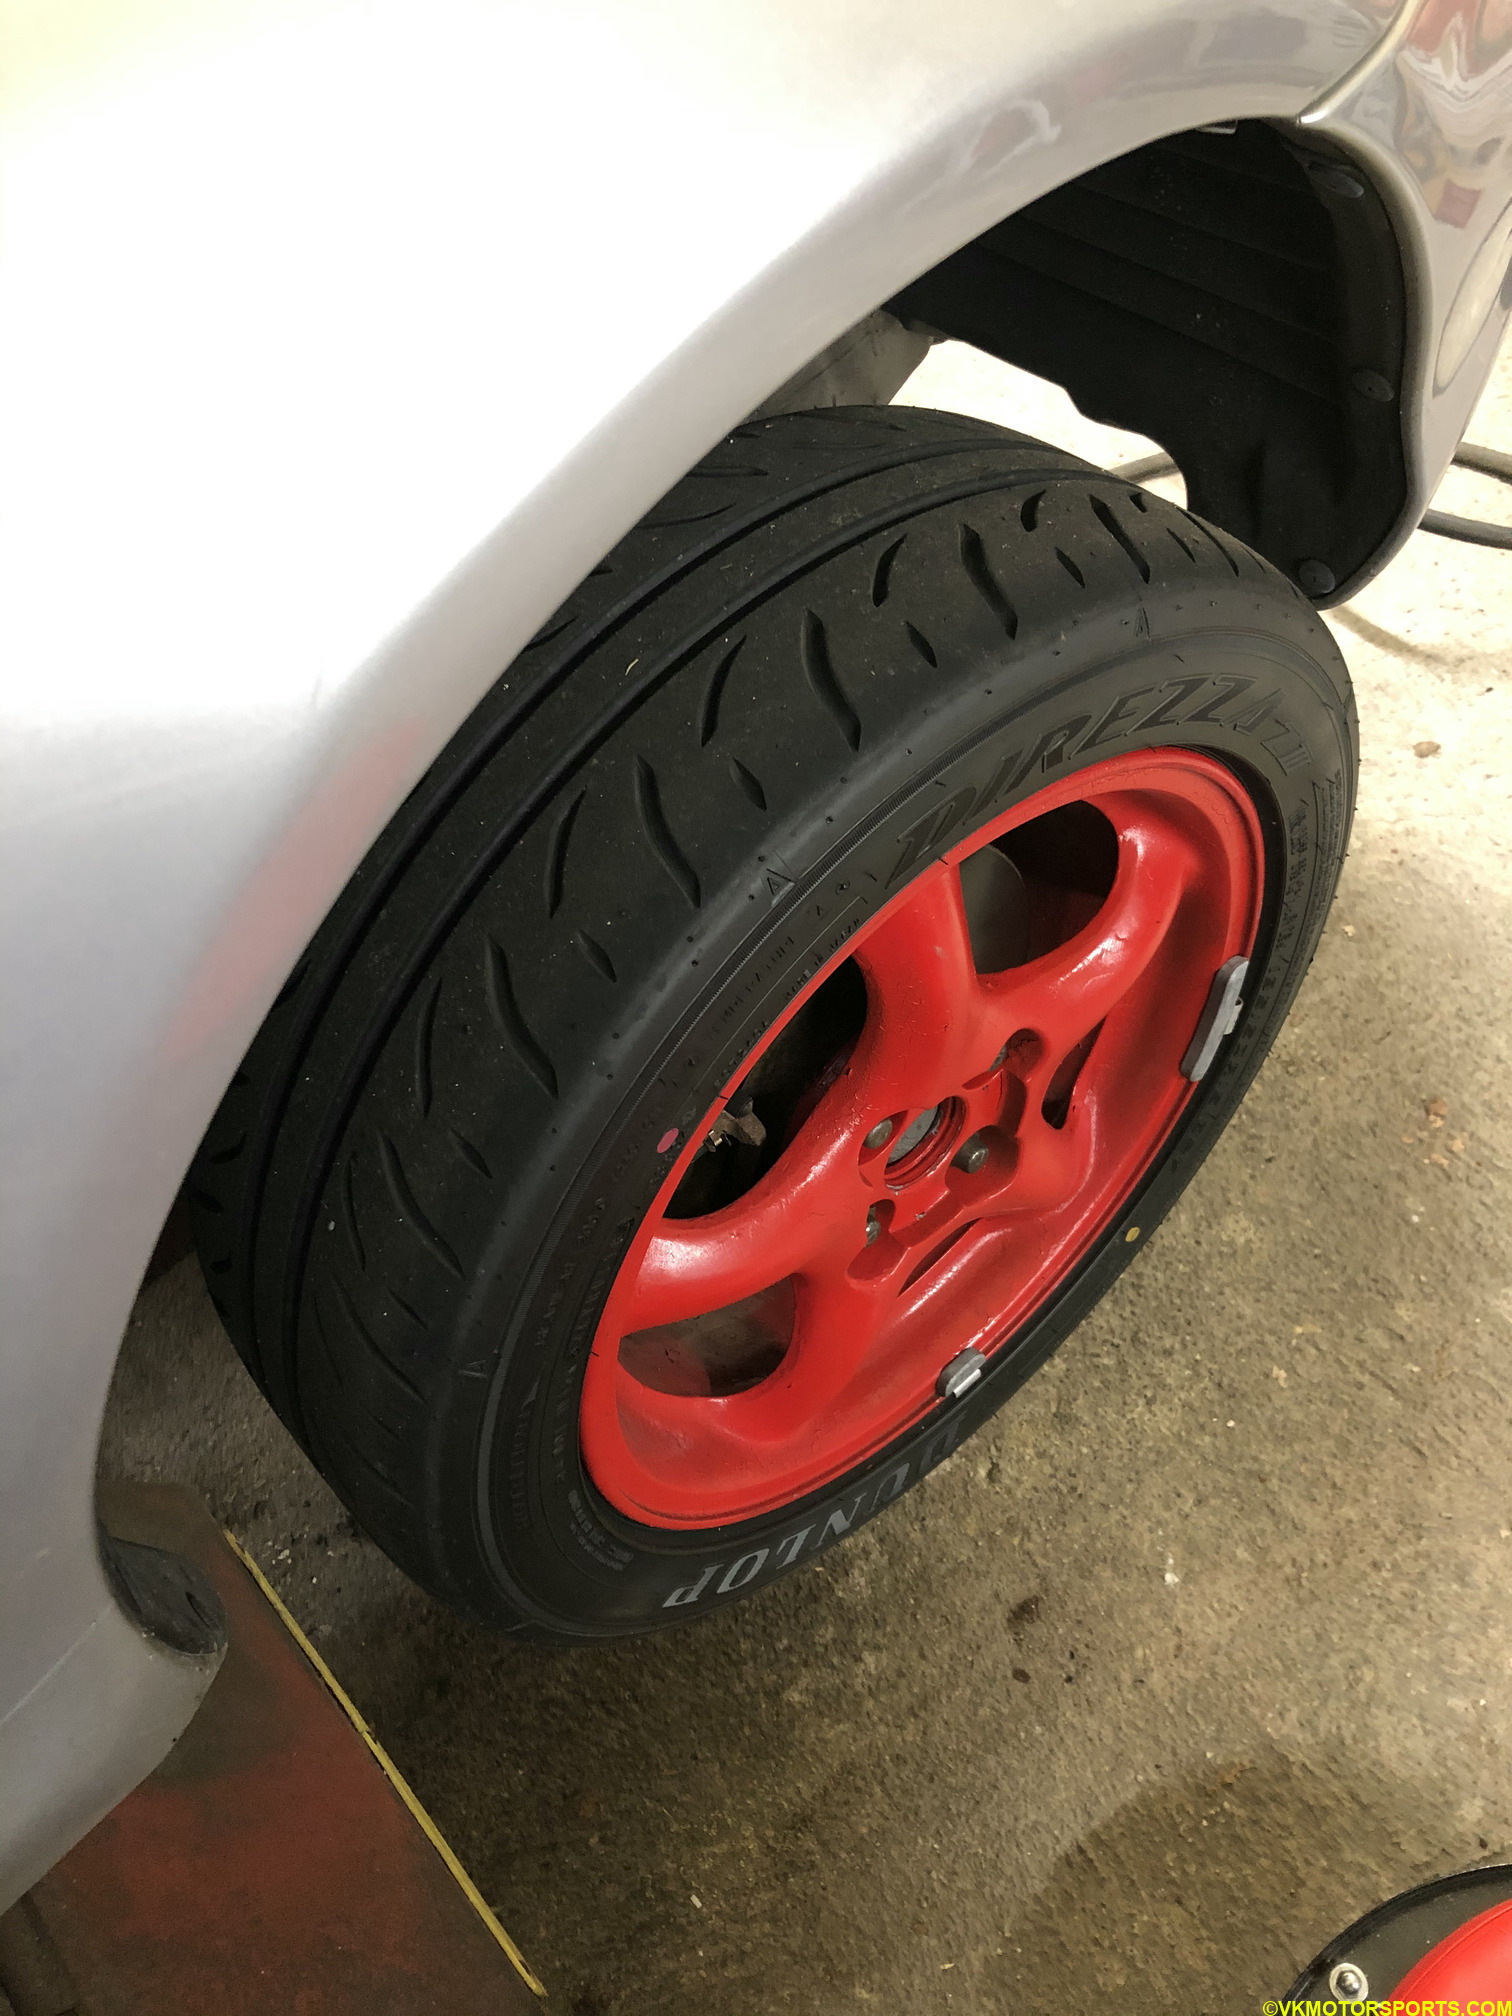 Figure 1. Raise the car on a lift or jack stands
Step 2: Using a 21mm socket and a breaker bar remove the front driver and passenger wheels.
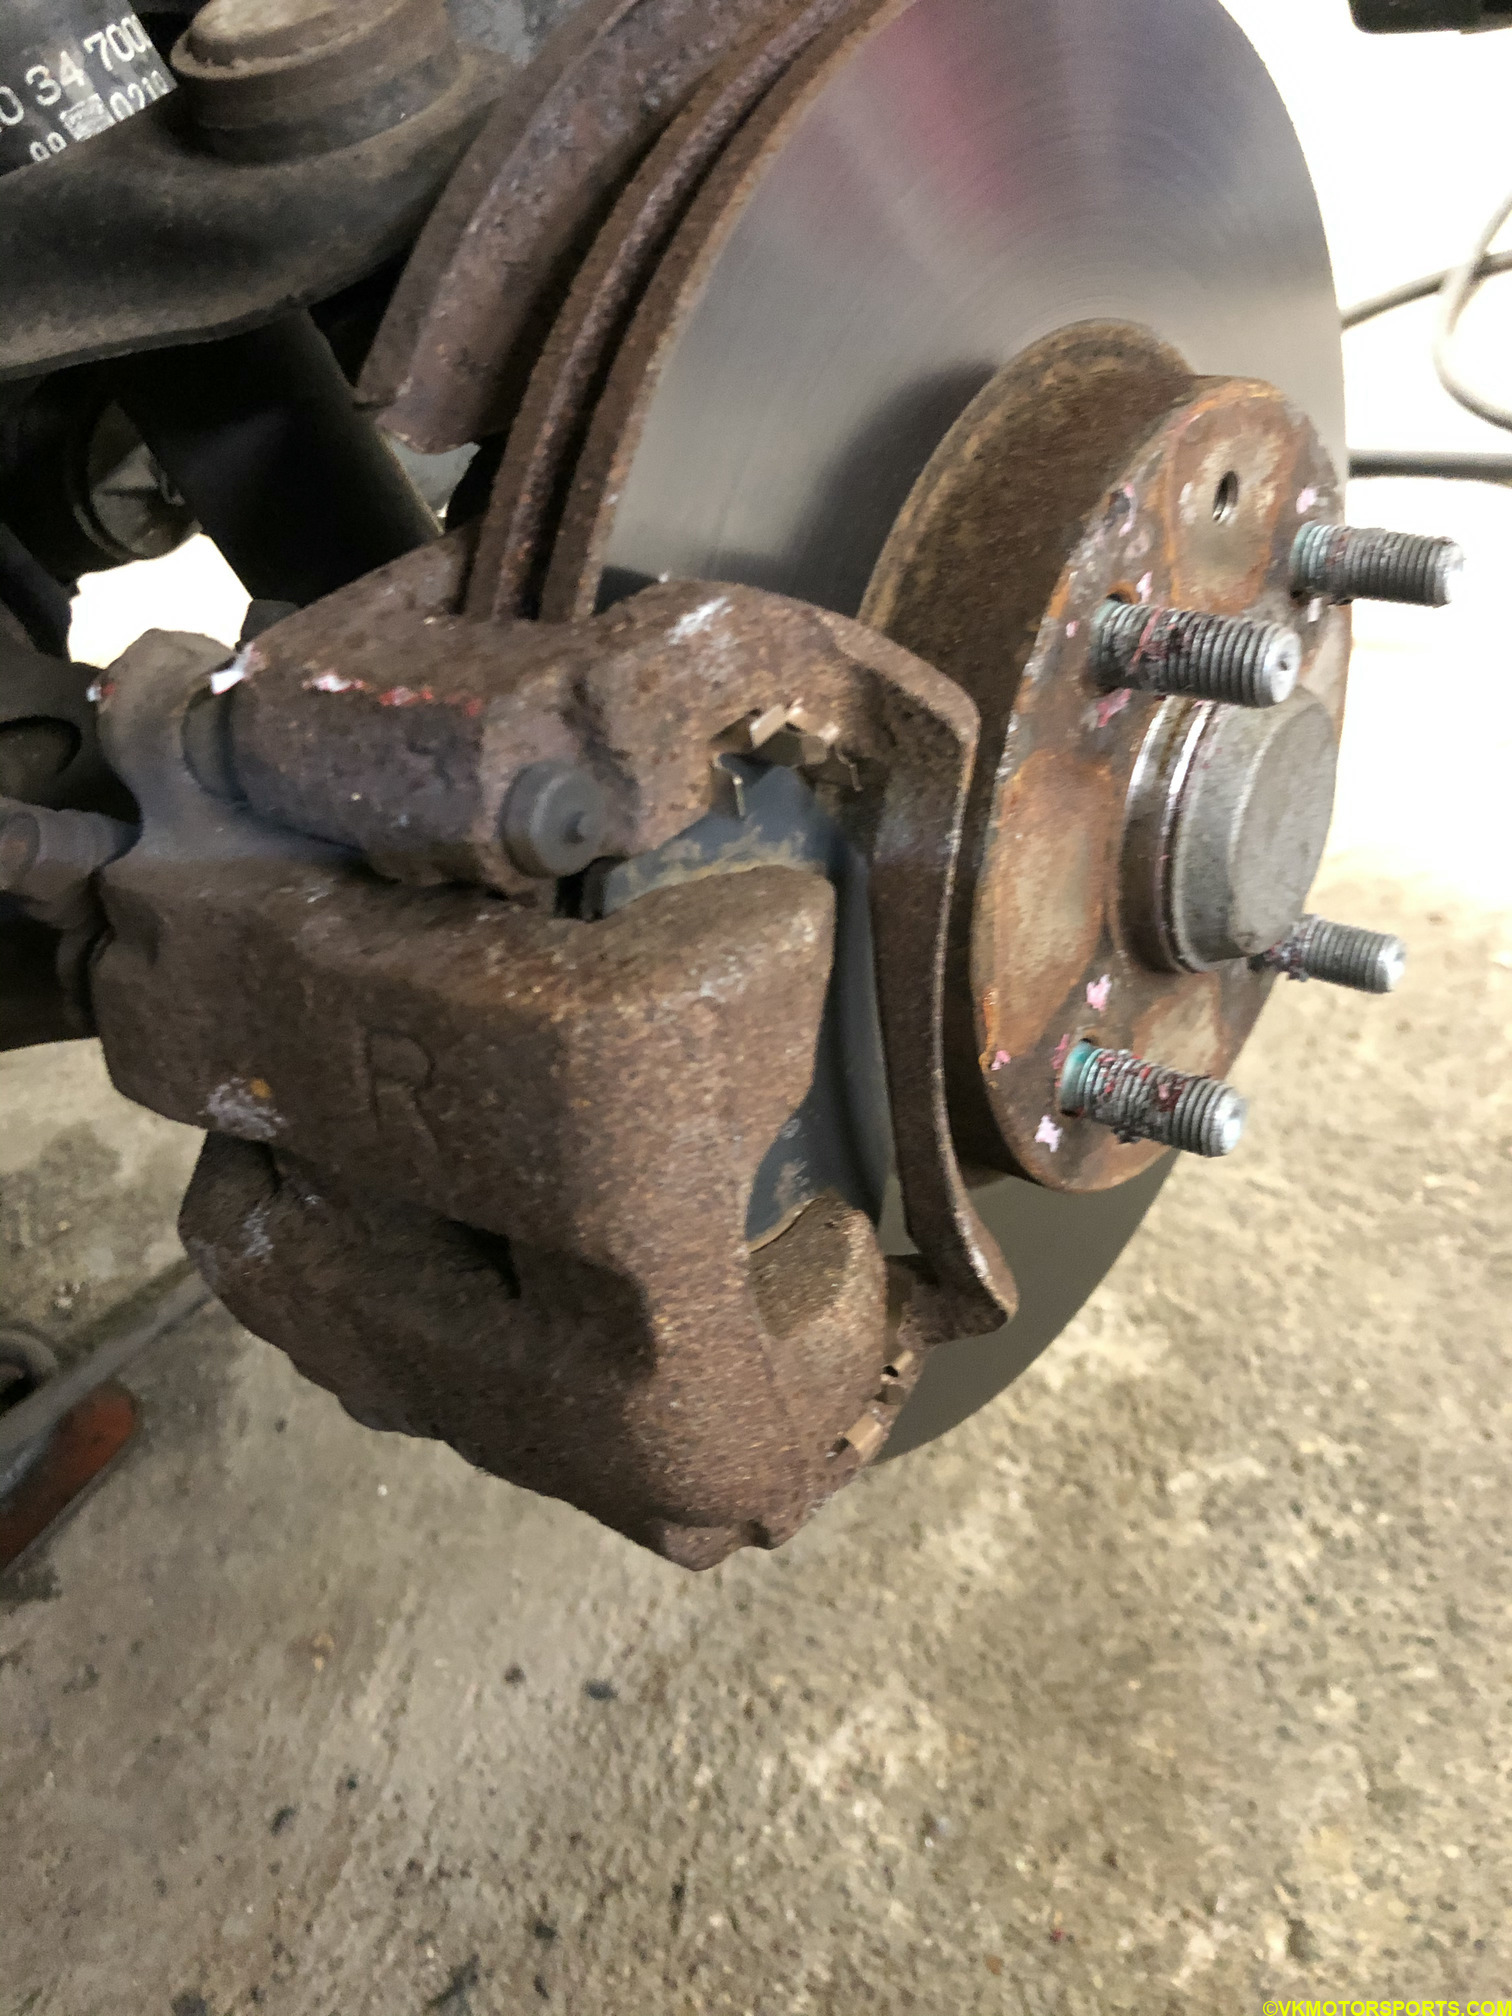 Figure 2. Remove the wheels
NOTE: At this point you would normally check the brake pad thickness, but I wanted to use new pads so I skipped that step. My caliper is pretty rusted and old, probably never changed in the last 20 years. I have placed an order for original Mazda remanufactured ones from RockAuto.com and they will be arriving soon. I have also ordered new rotors.
Step 3: Locate the correct caliper bolt to open. It is the lower bolt on the 1999 NB Miata as shown by the red arrow in Figure 3.
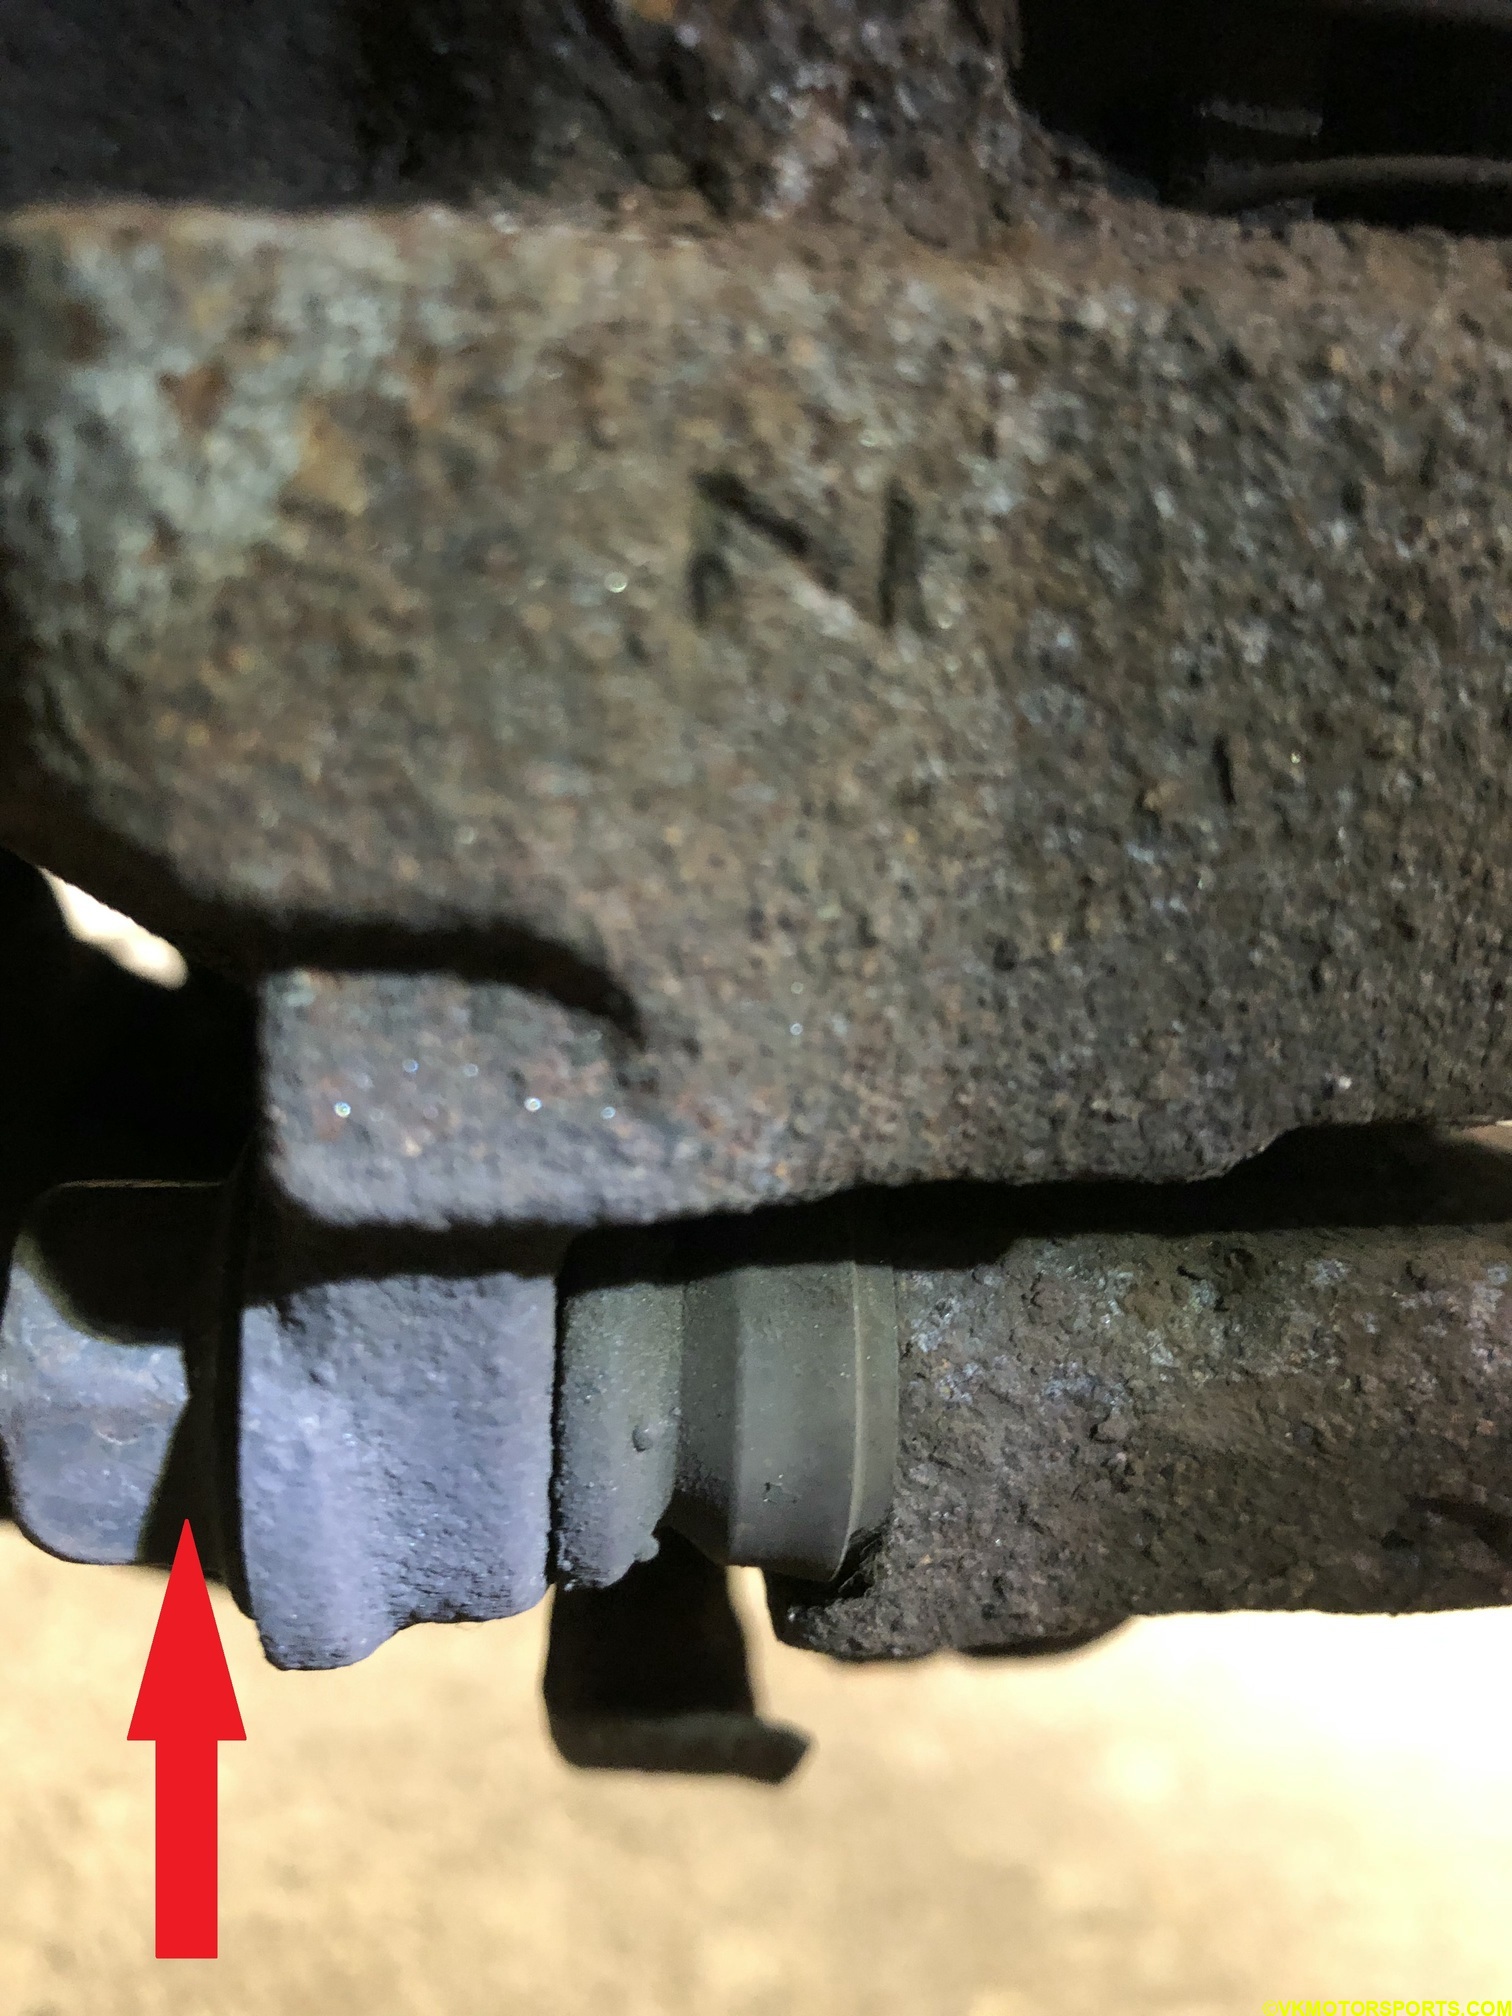 Figure 3. Locate the caliper bolt
Step 4: Using a 14mm socket loosen the bolt as shown in Figure 4 and then using your hand pull it out as shown in Figure 6.
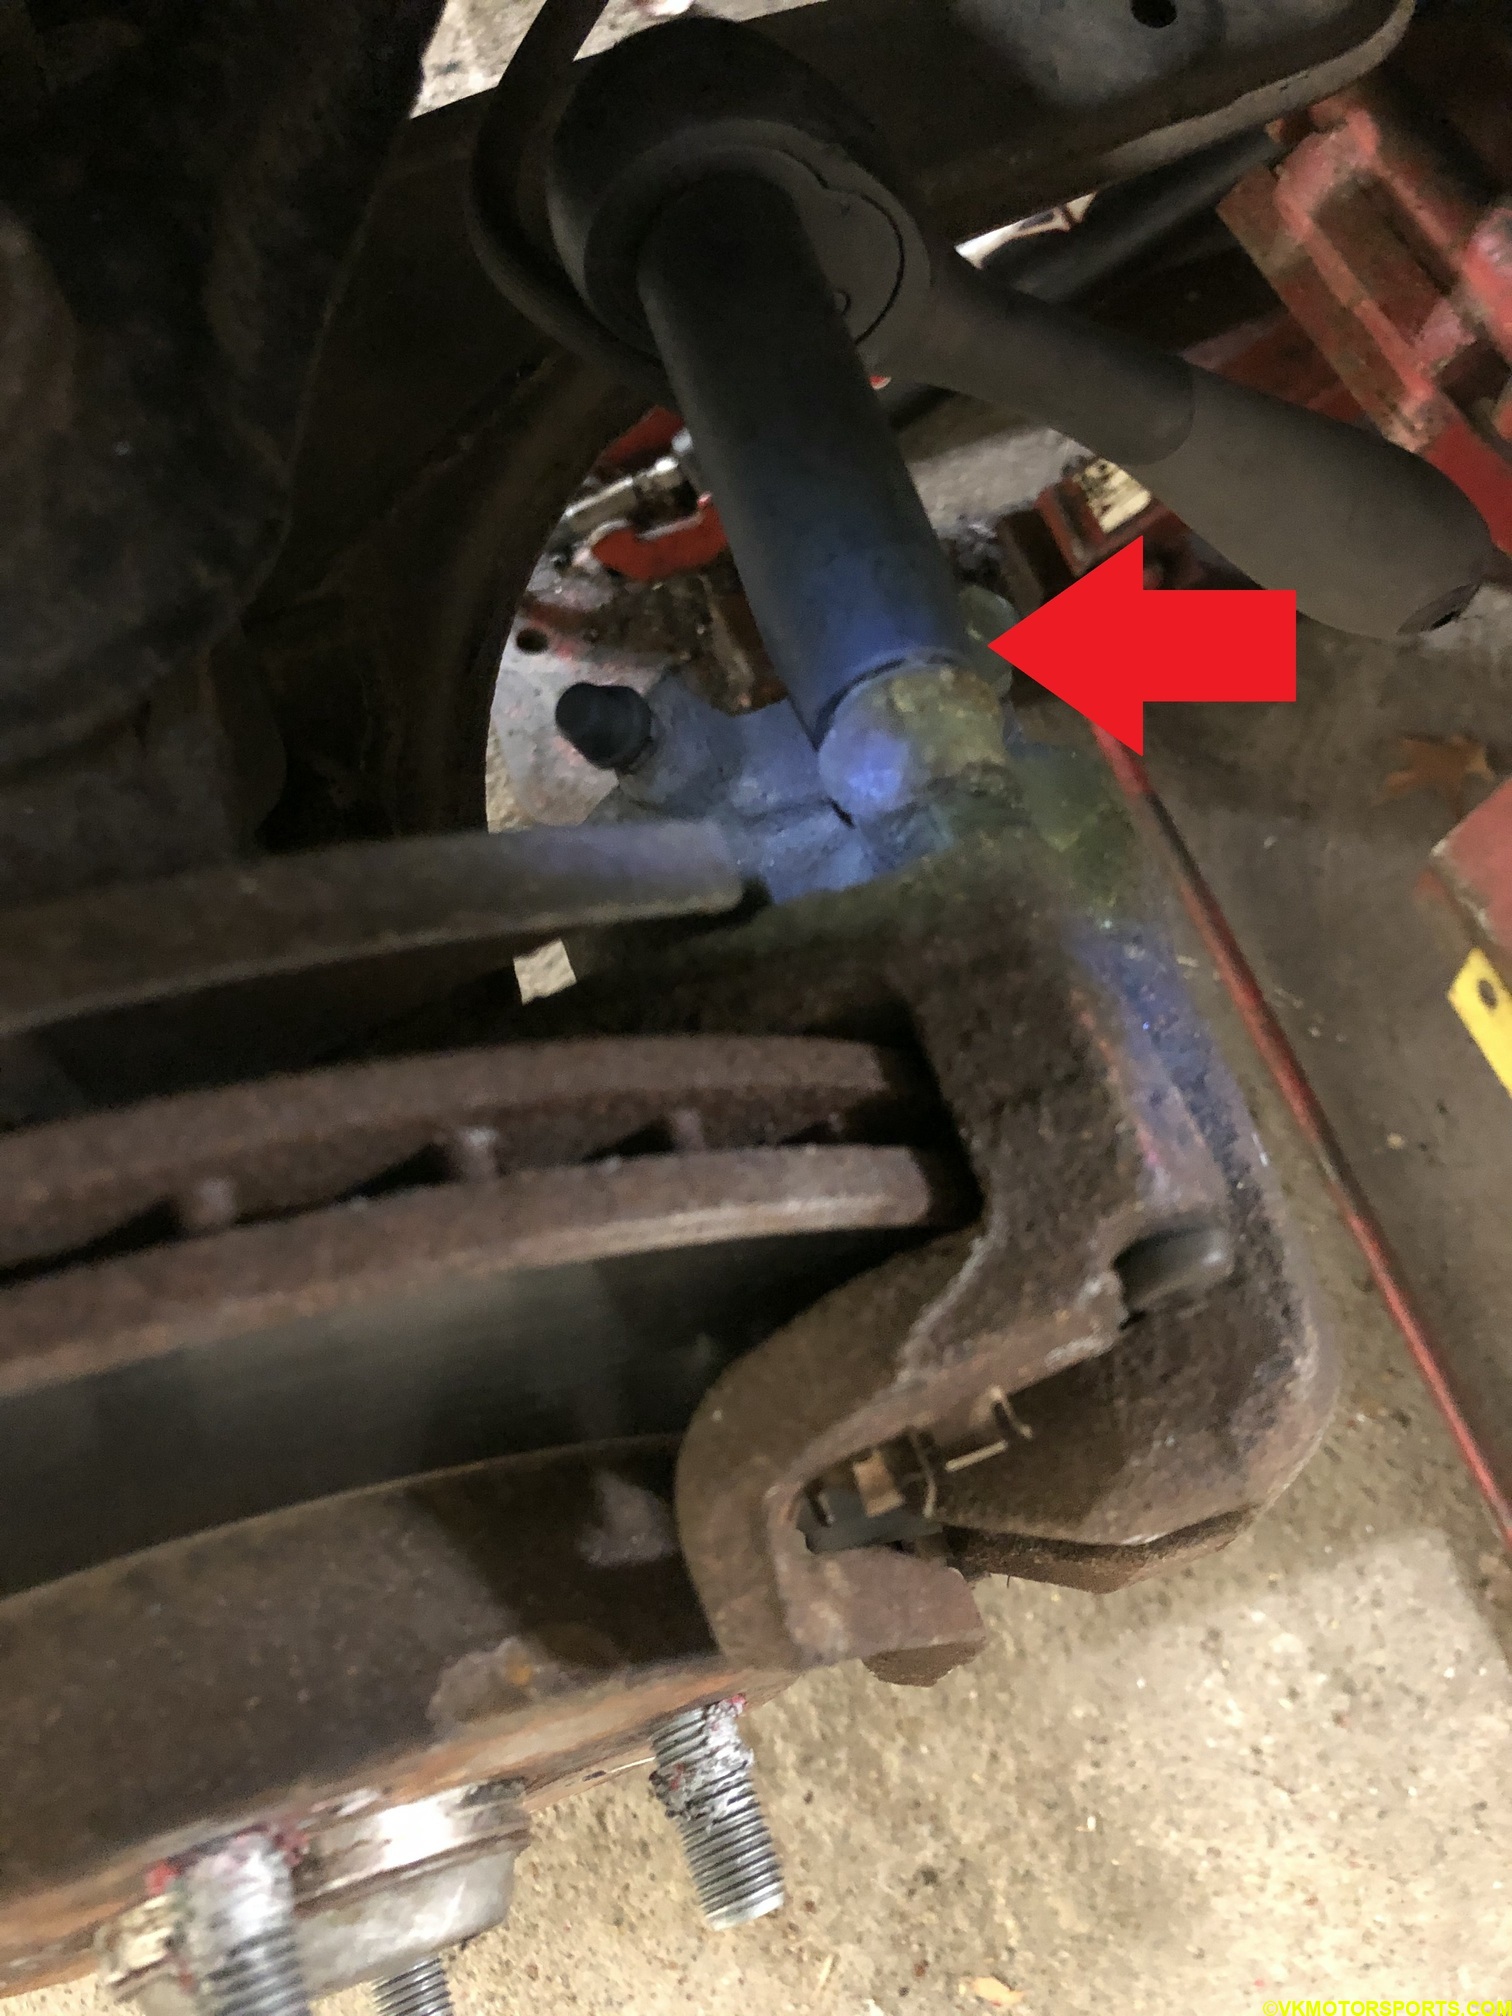 Figure 4. Open caliper bolt with 14mm socket
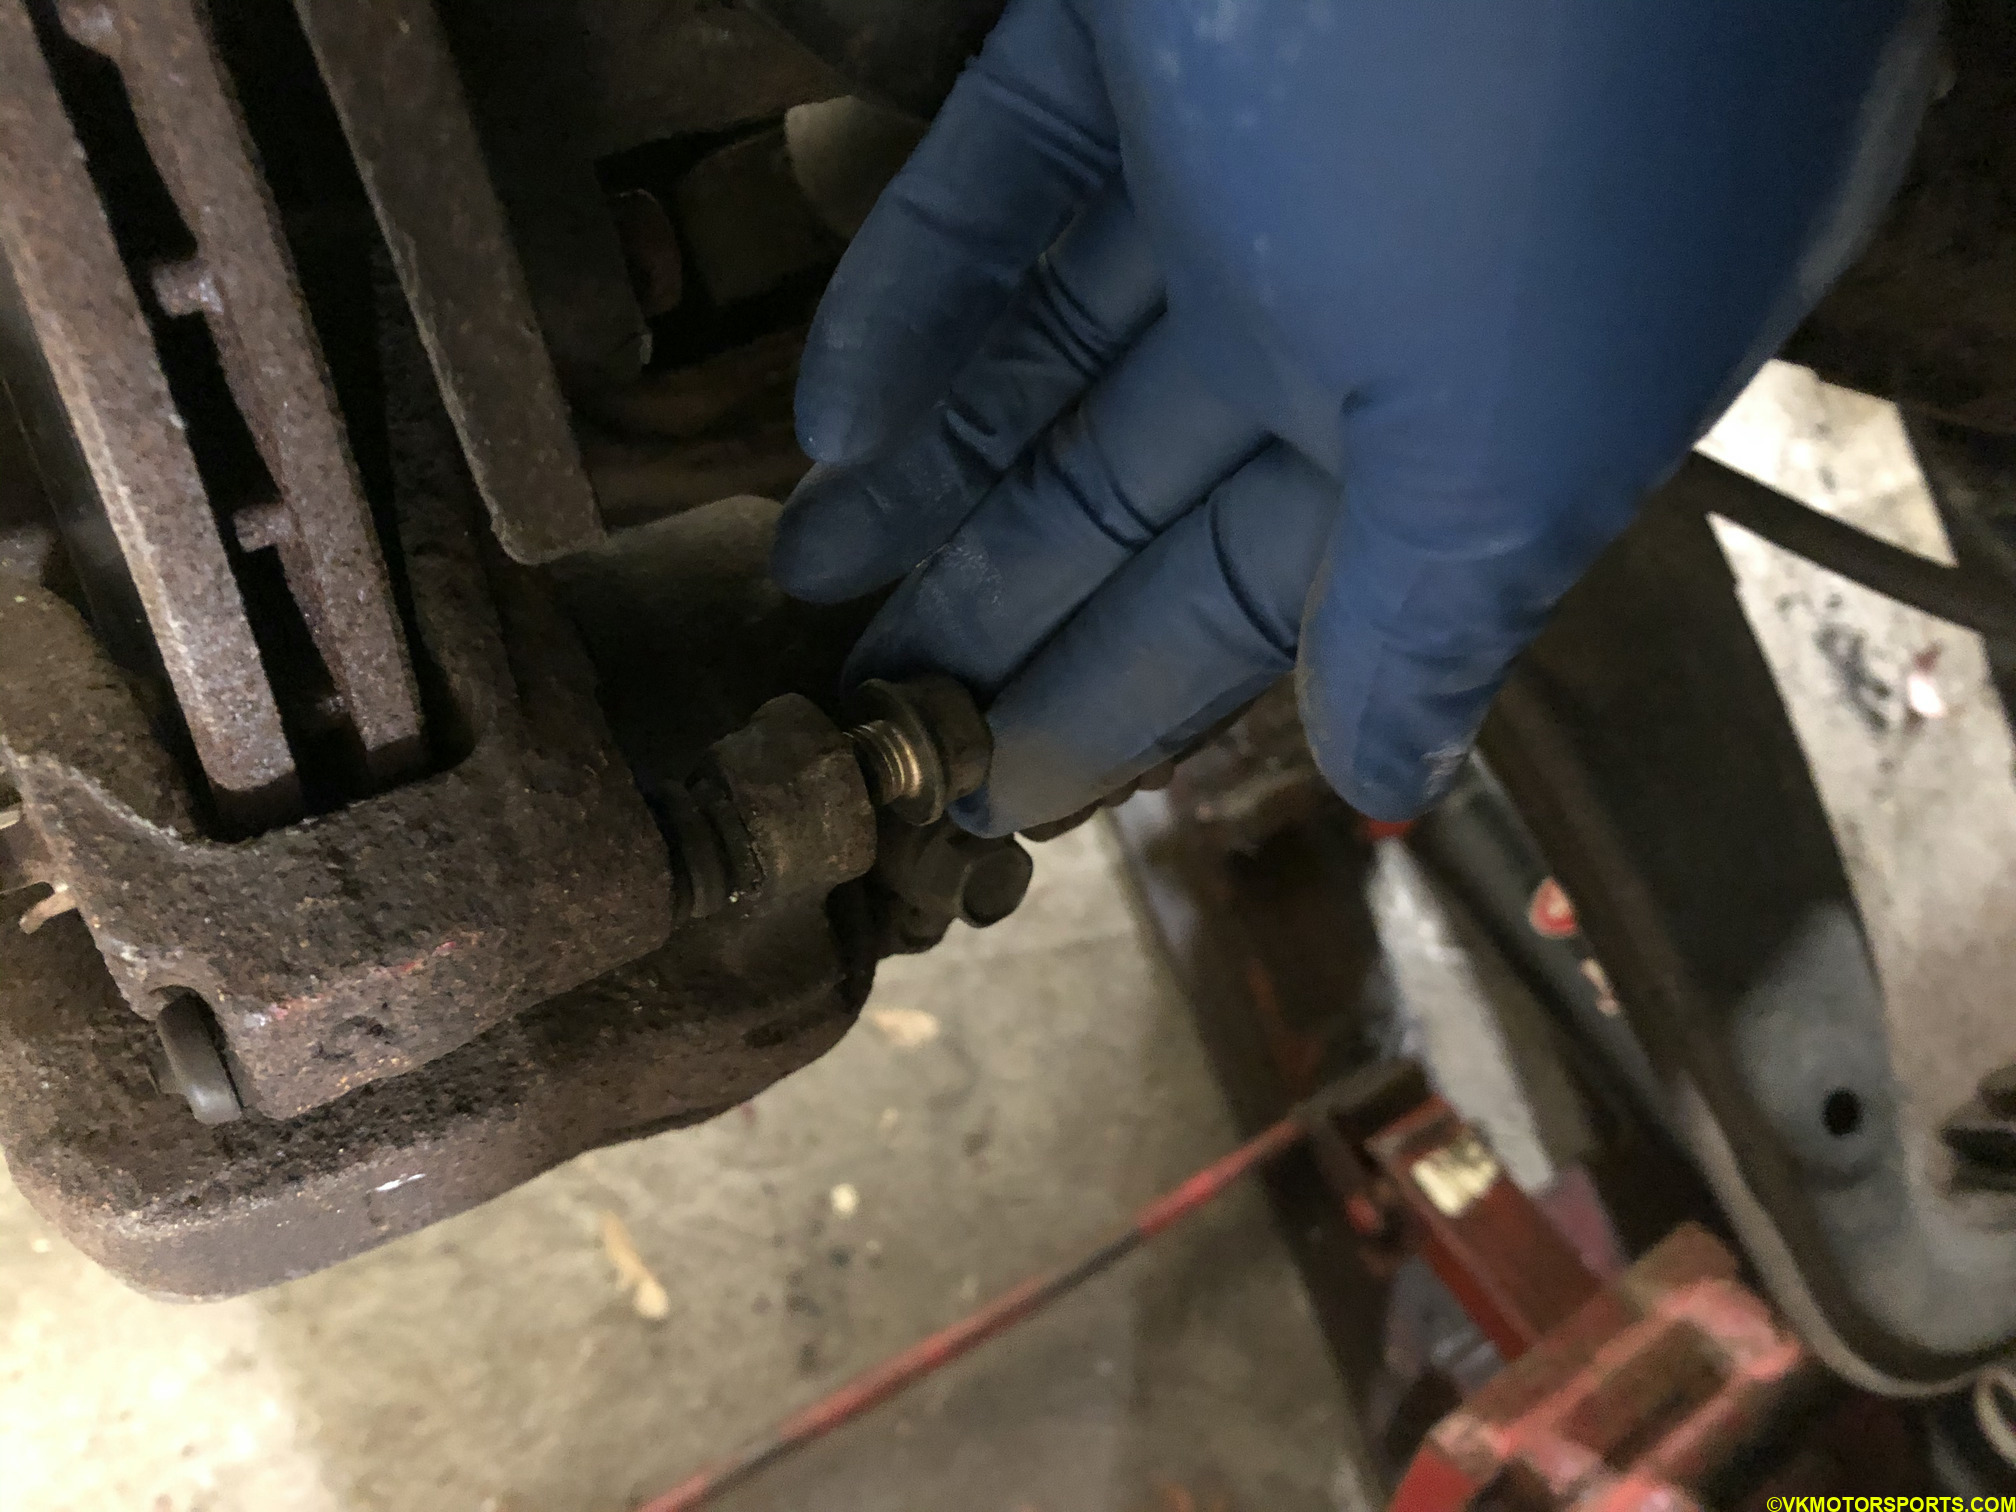 Figure 5. Loose caliper bolt
 Figure 6. Pull out the caliper bolt
Step 5: Flip the caliper downwards by pivoting around the other caliper bolt (yellow arrow). You can see one brake pad (red arrow) on each side of the rotor, and the holding clip (green arrow) as seen in Figure 7.
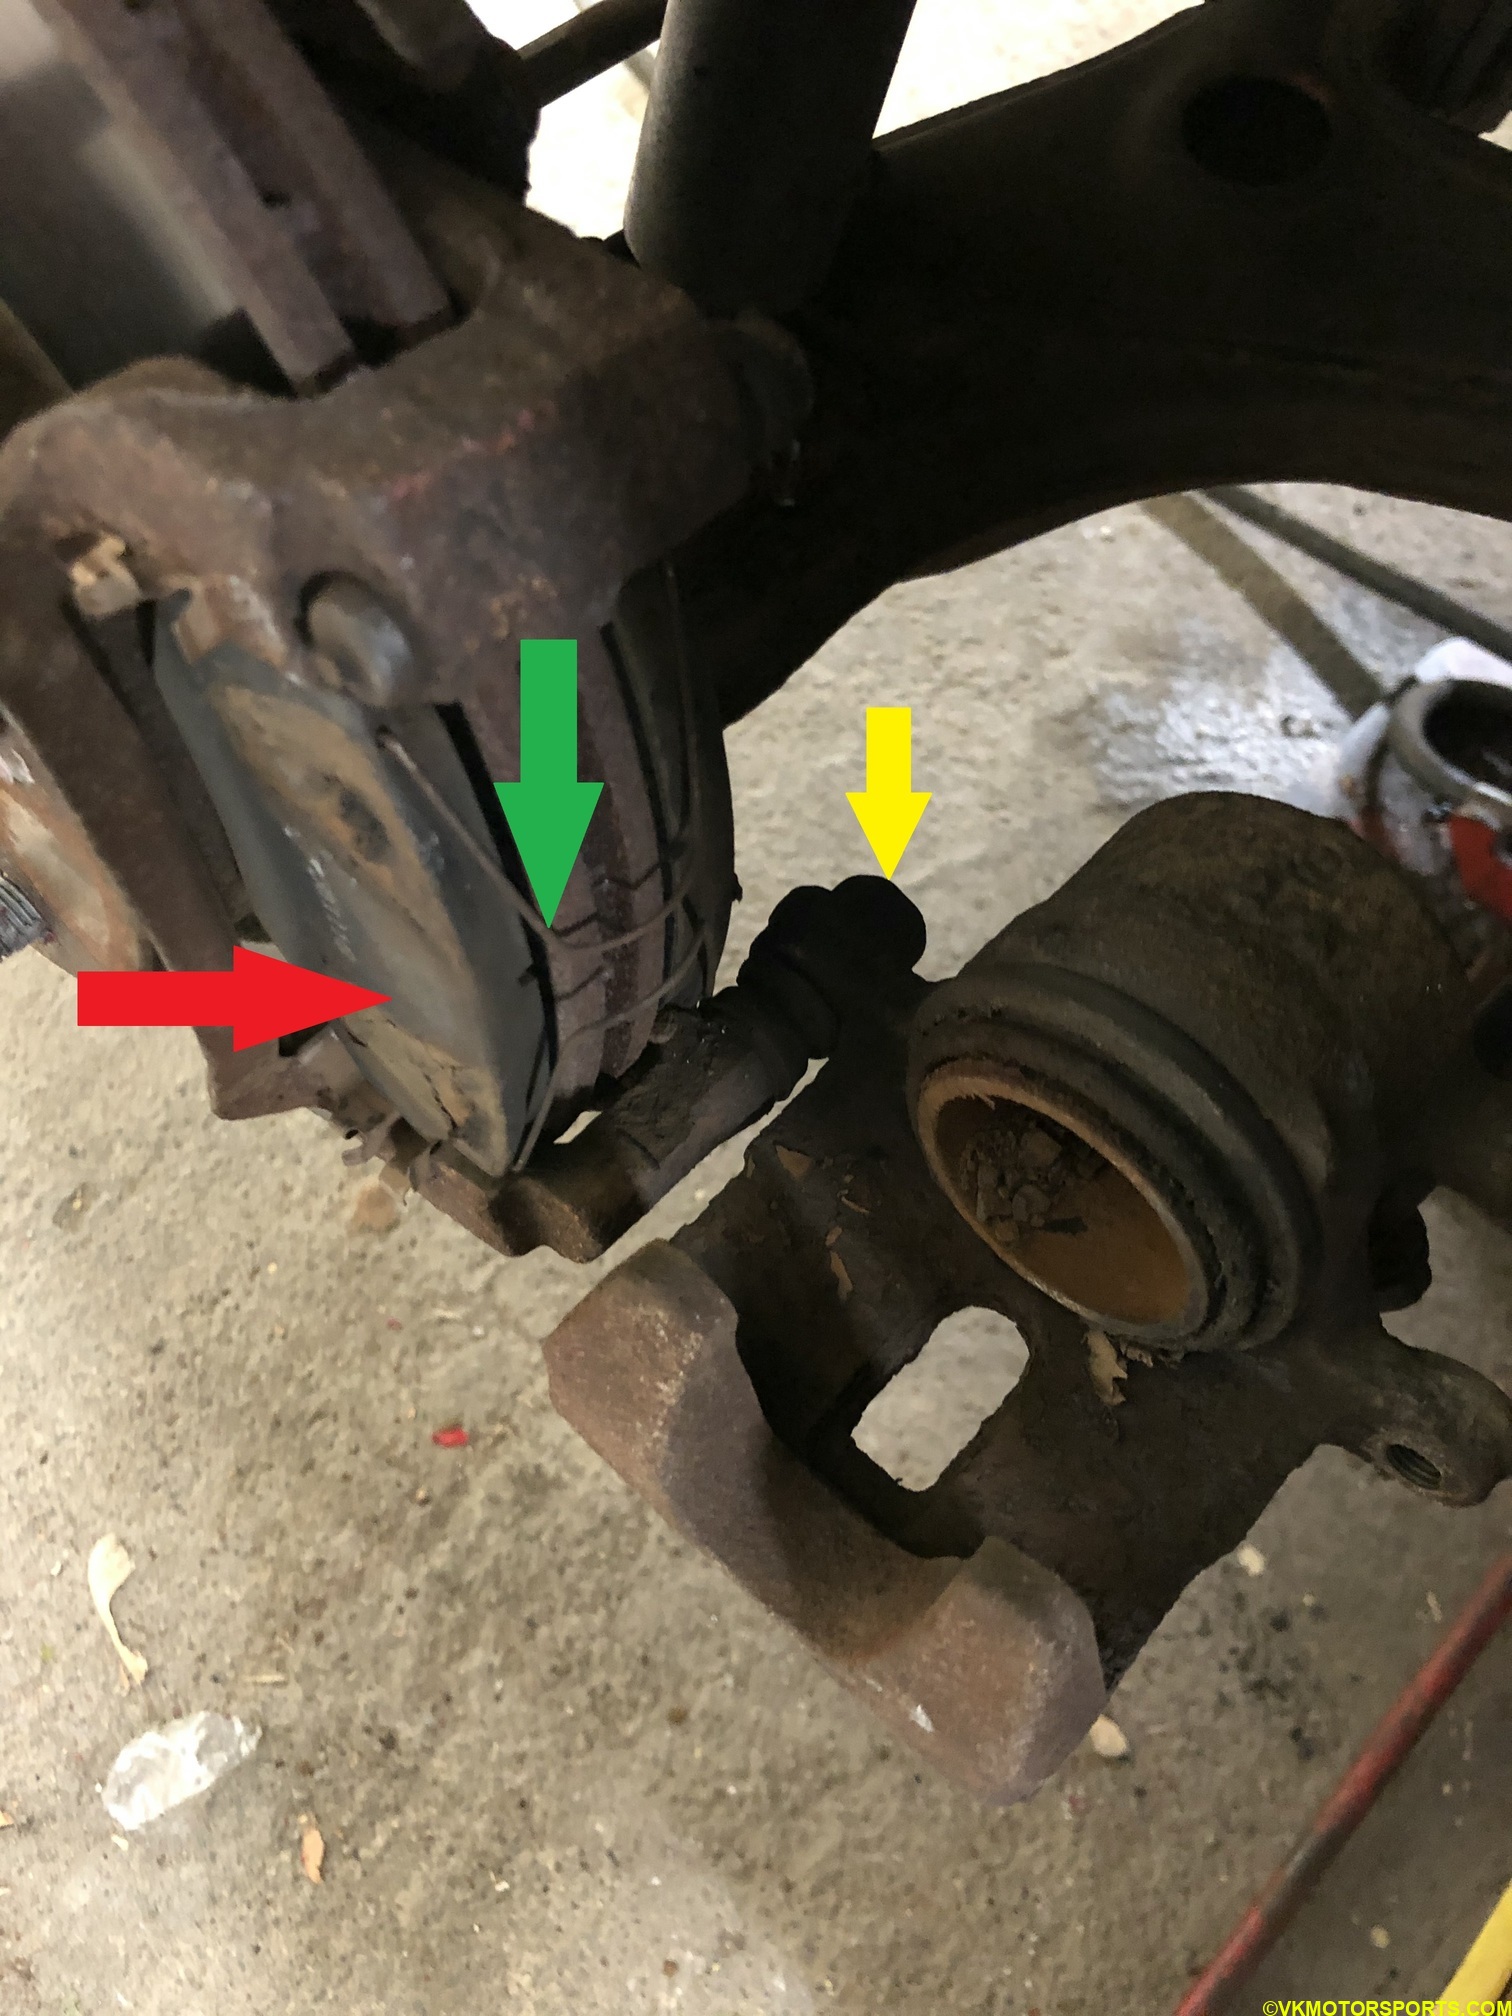 Figure 7. Flipped caliper showing the old pads and holding clip
Step 6: Remove the holding clip first and carefully take out the old pads. You will need to re-use the holding clip so keep it safely. Notice how the pads (FIgure 8) have markings from the caliper touching the pad. This is where we have to apply some lubricant or anti-squeal compound.
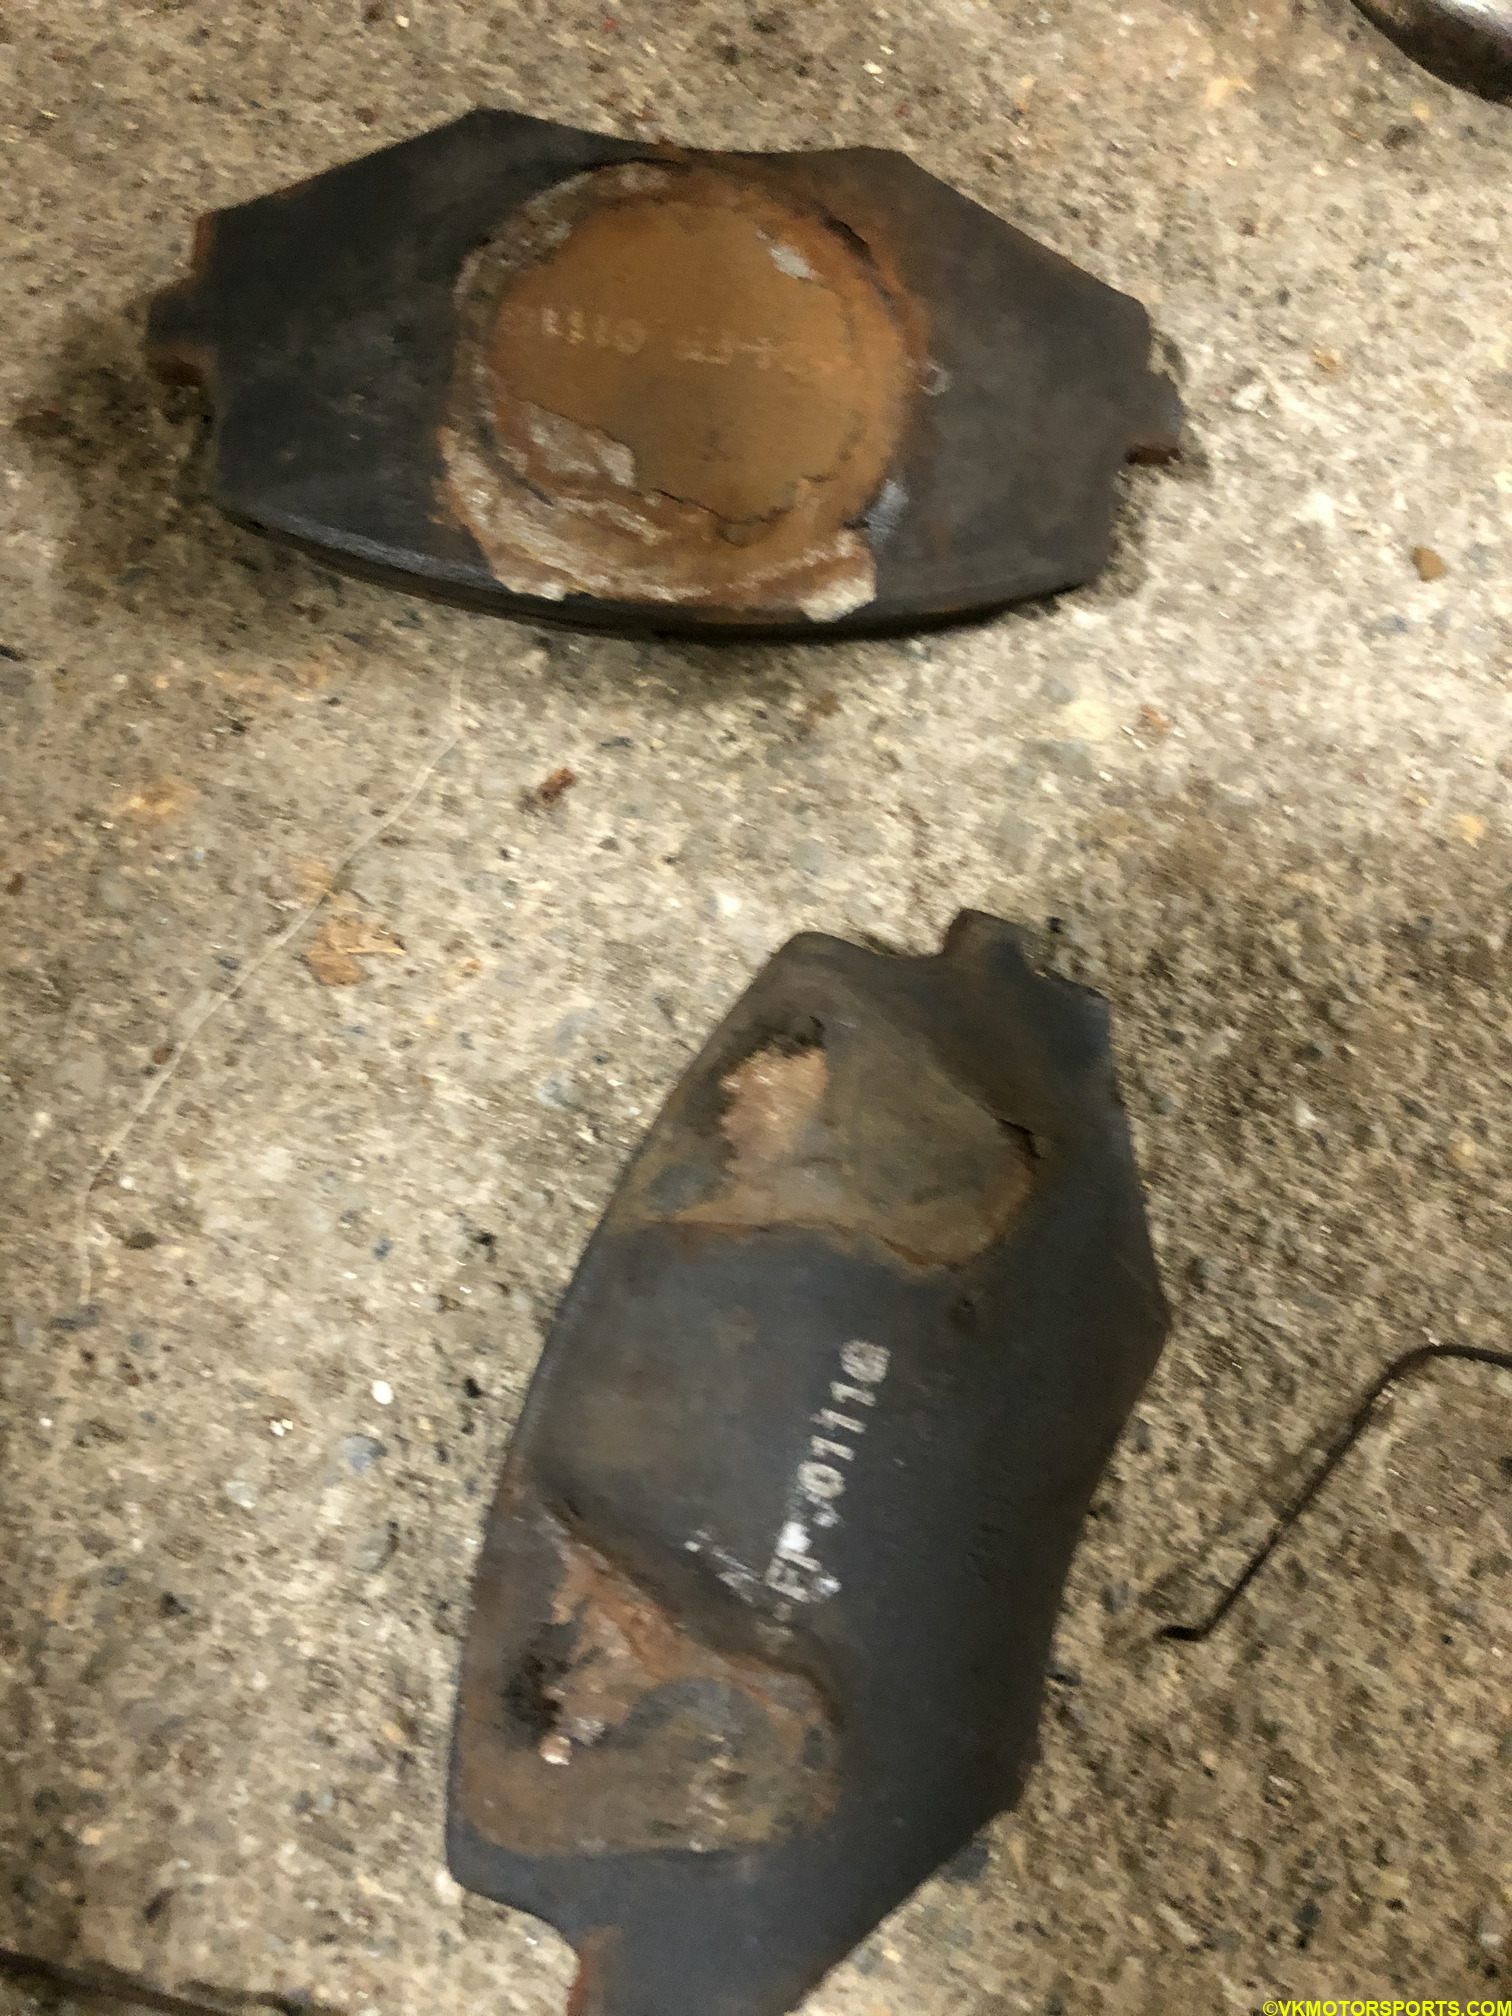 Figure 8. Take out the old brake pads and holding clip
Step 7: Using a ceramic or copper-based brake lubricant apply some to the new brake pads on the side that is away from the rotor.
 Figure 9. Apply anti-squeal lubricant to new pads
Step 8: Figure 10 shows the steel circular caliper piston that is jutting out of its slot. As the brake pads wear out, the piston juts out so that the brake pads can continue pressing against the rotor with the maximum pressure when applying the brakes. We have to push the piston back in, so that the new and thicker brake pads can fit inside the caliper. It may seem that the piston is out only a few mm in thickness, but that precision could lead to the brake pads not fitting correctly. Hence, we need to push the piston in all the way.
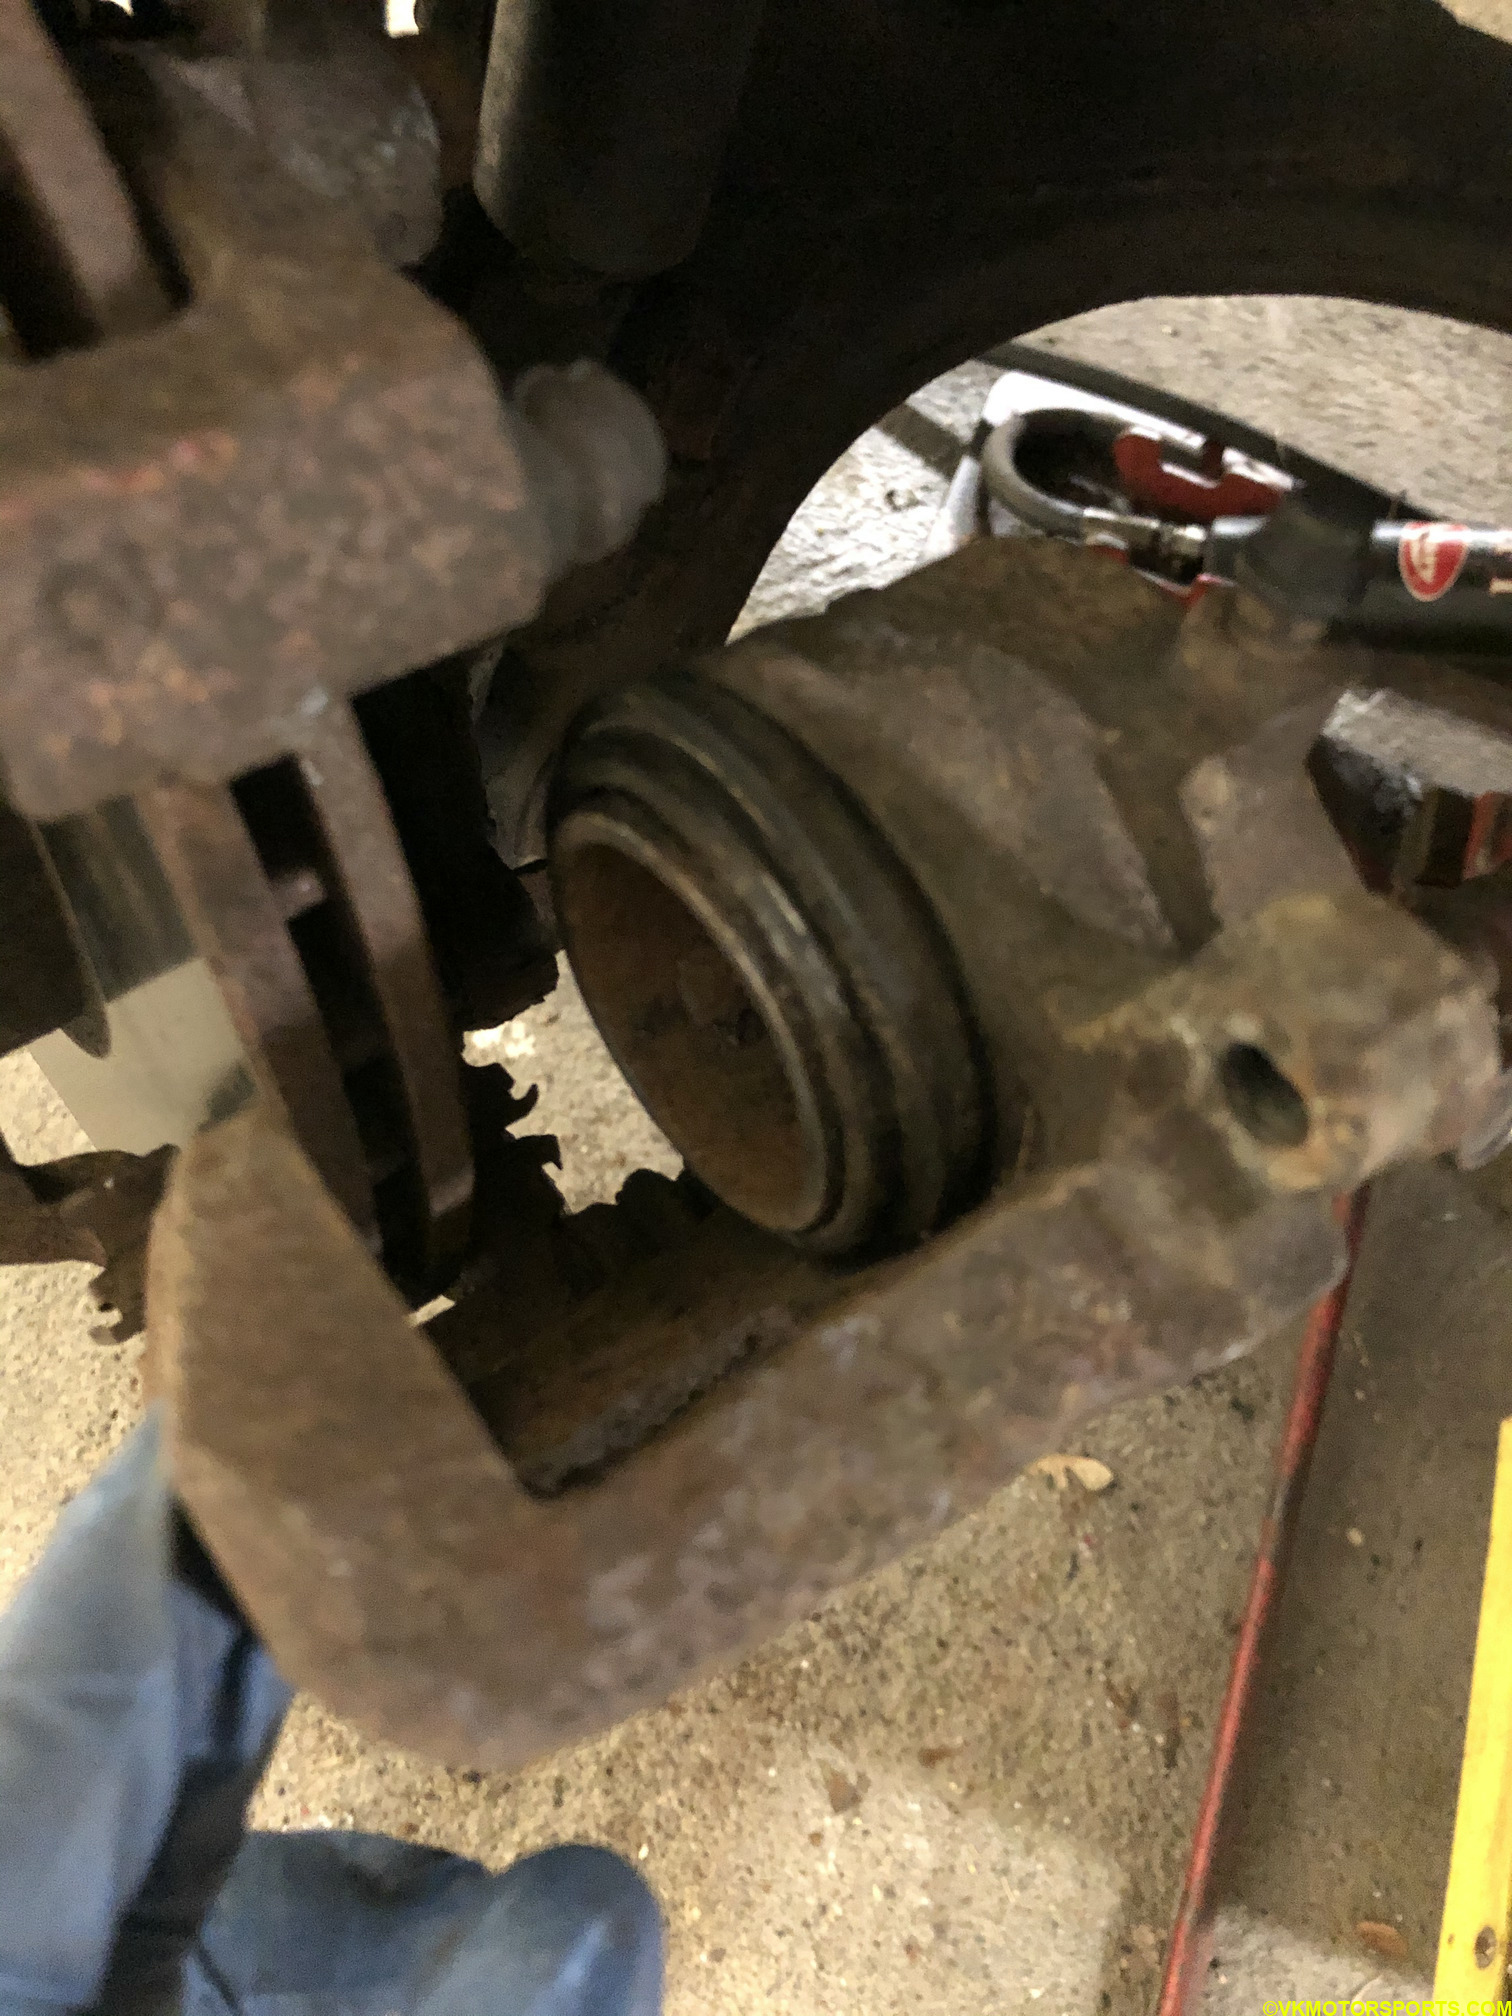 Figure 10. The caliper piston
Our caliper piston is quite dirty and has metal parts in it. Using a cheap Brake Parts Cleaner solvent from Advance Auto Parts we first have to clean the piston and let it dry.
CAUTION: This solvent can have toxic fumes so wear a mask, use gloves and keep your windows open for a while.
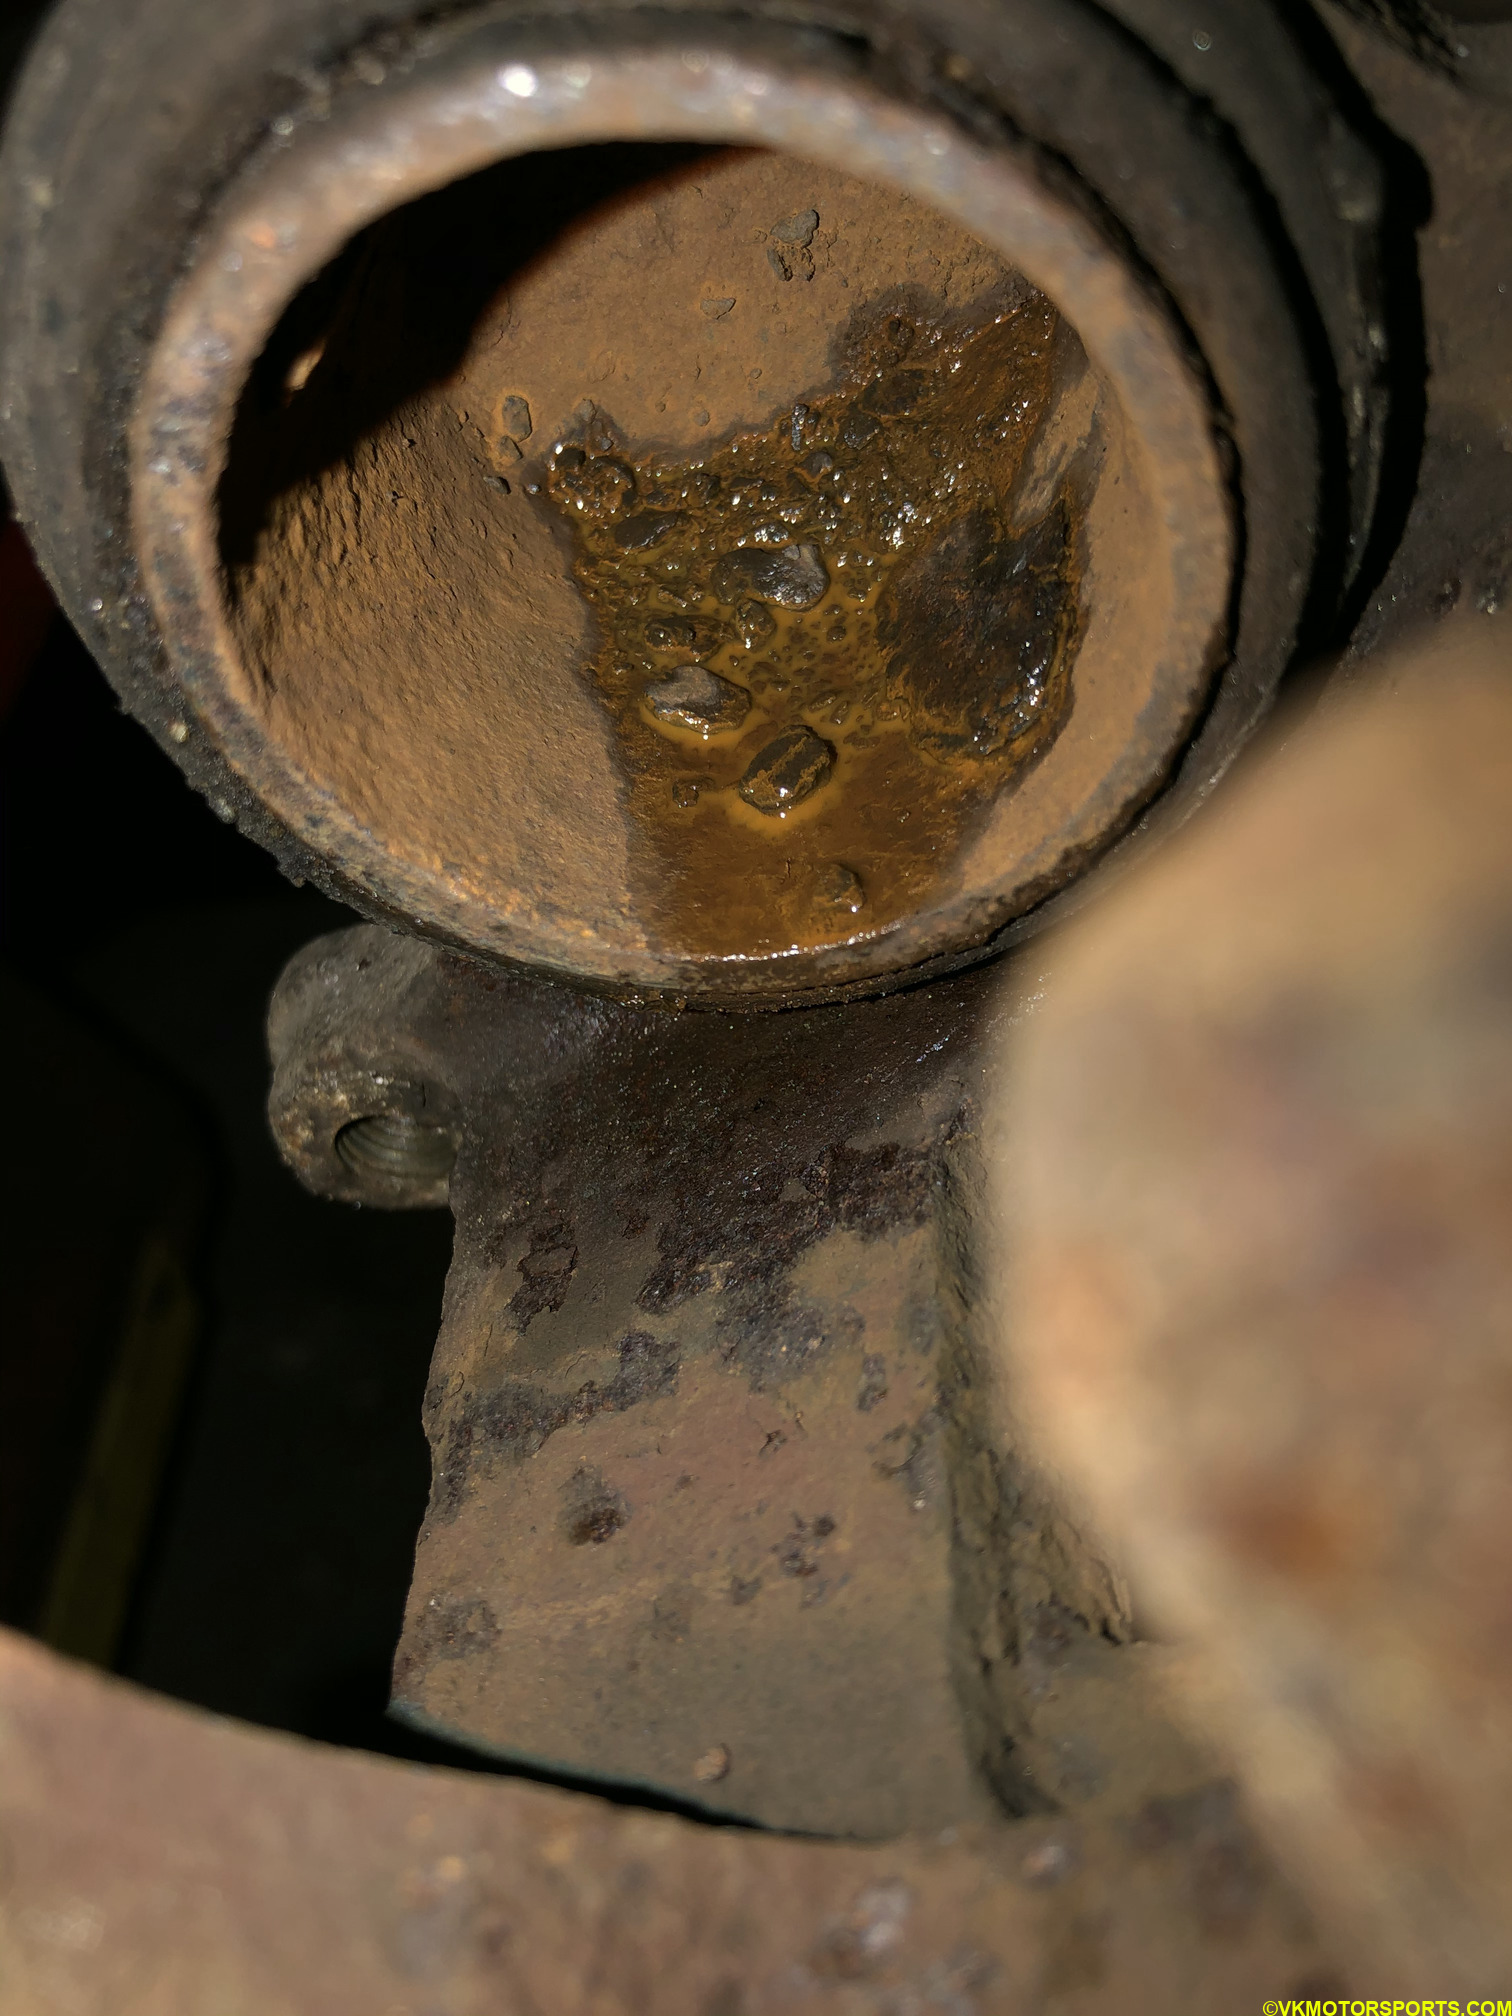 Figure 11. Dirty caliper piston
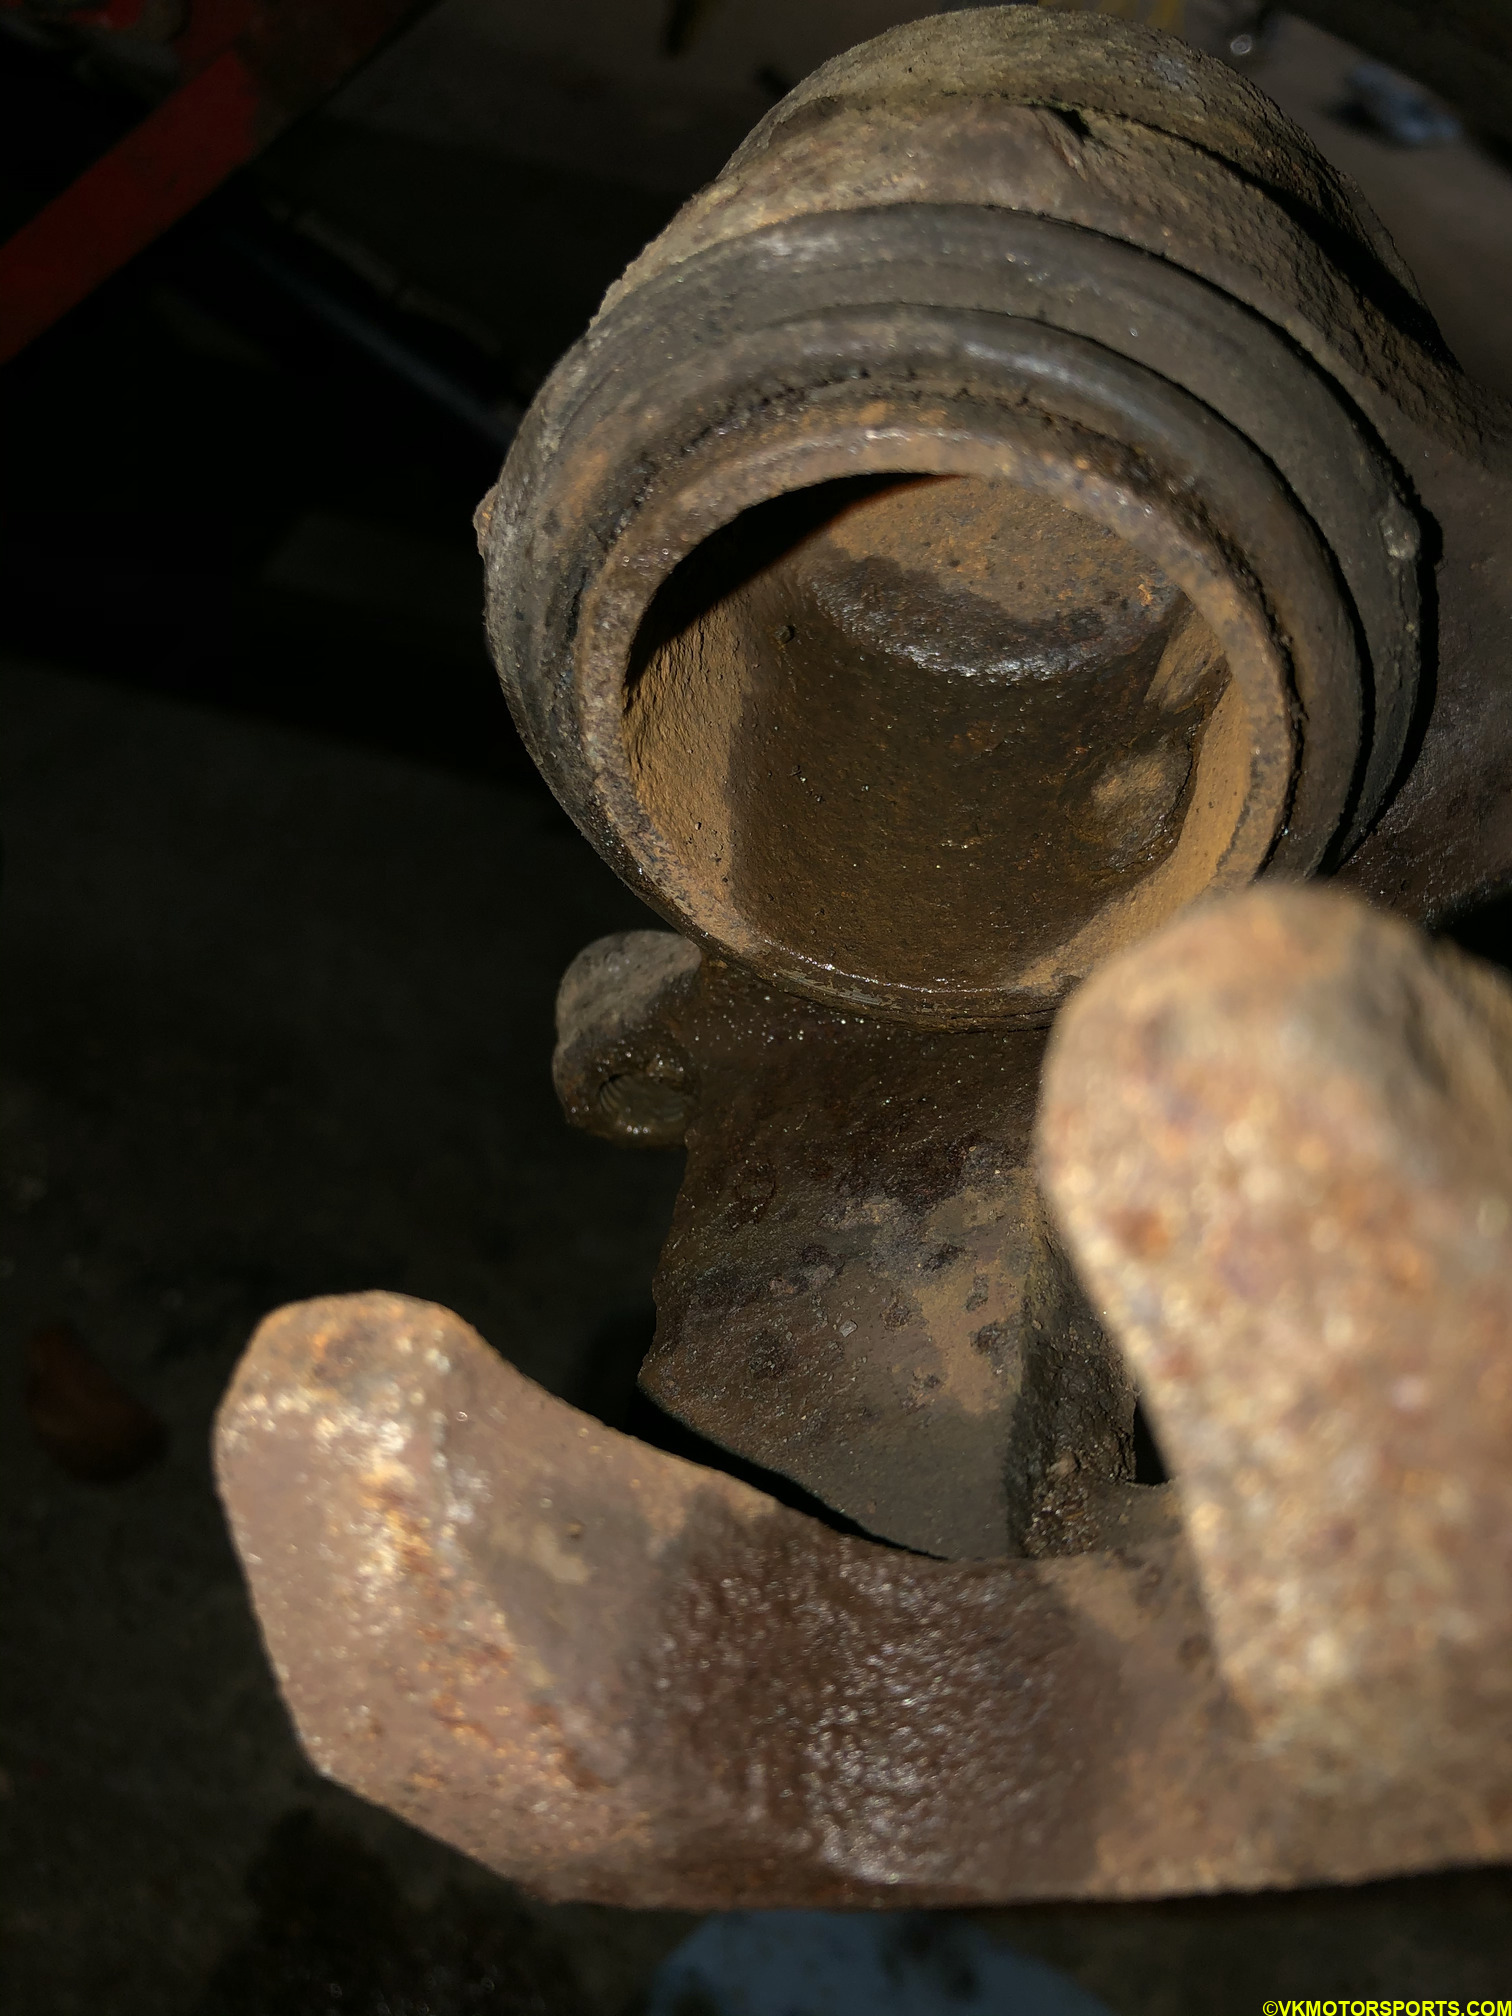 Figure 12. Clean caliper piston
Step 9: Open the hood of the car, and unscrew the brake fluid cylinder cap. We need to do this so that when you push the piston back you allow the brake fluid to rise up in the cylinder. If the brake fluid rises above the MAX level indicator, you need to use a dropper to remove the excess brake fluid. Visibly, our blake fluid is dirty and we need a brake flush soon.
CAUTION: You need to be very careful when handling brake fluid and should not let any drops fall on the body of the car.
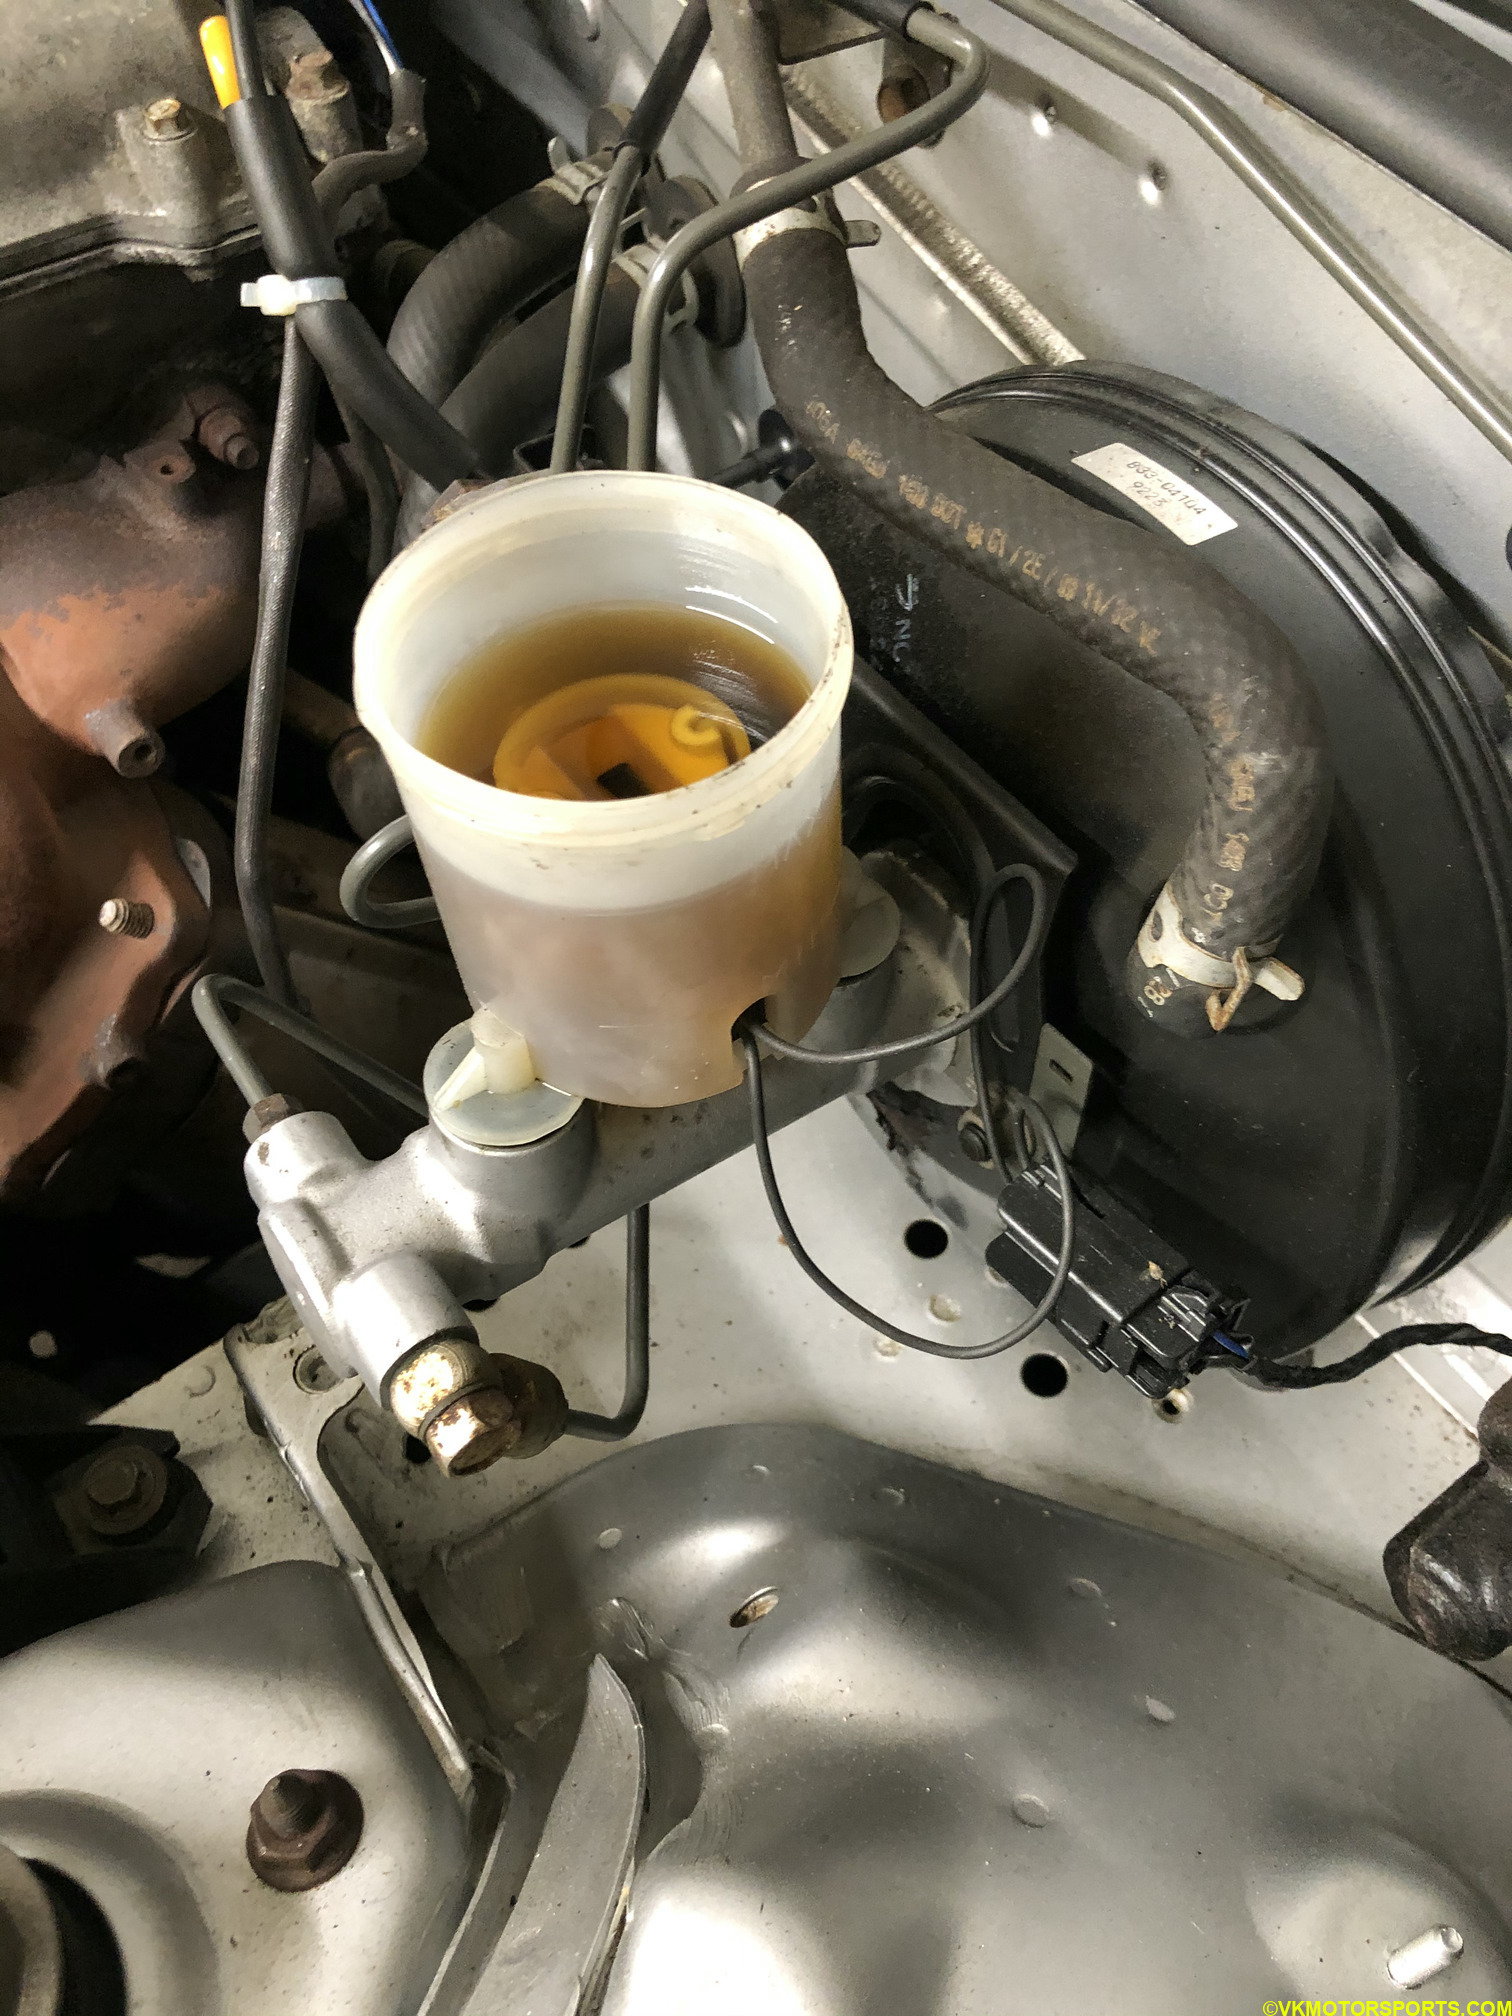 Figure 13. Unscrew brake fluid cylinder cap
Step 10: Using a 4” C-clamp from Harbor Freight and placing the old brake pad against the piston (Figure 14), you can start tightening the clamp (Figure 15a) so that the piston gets pushed inside as shown in Figure 15b.
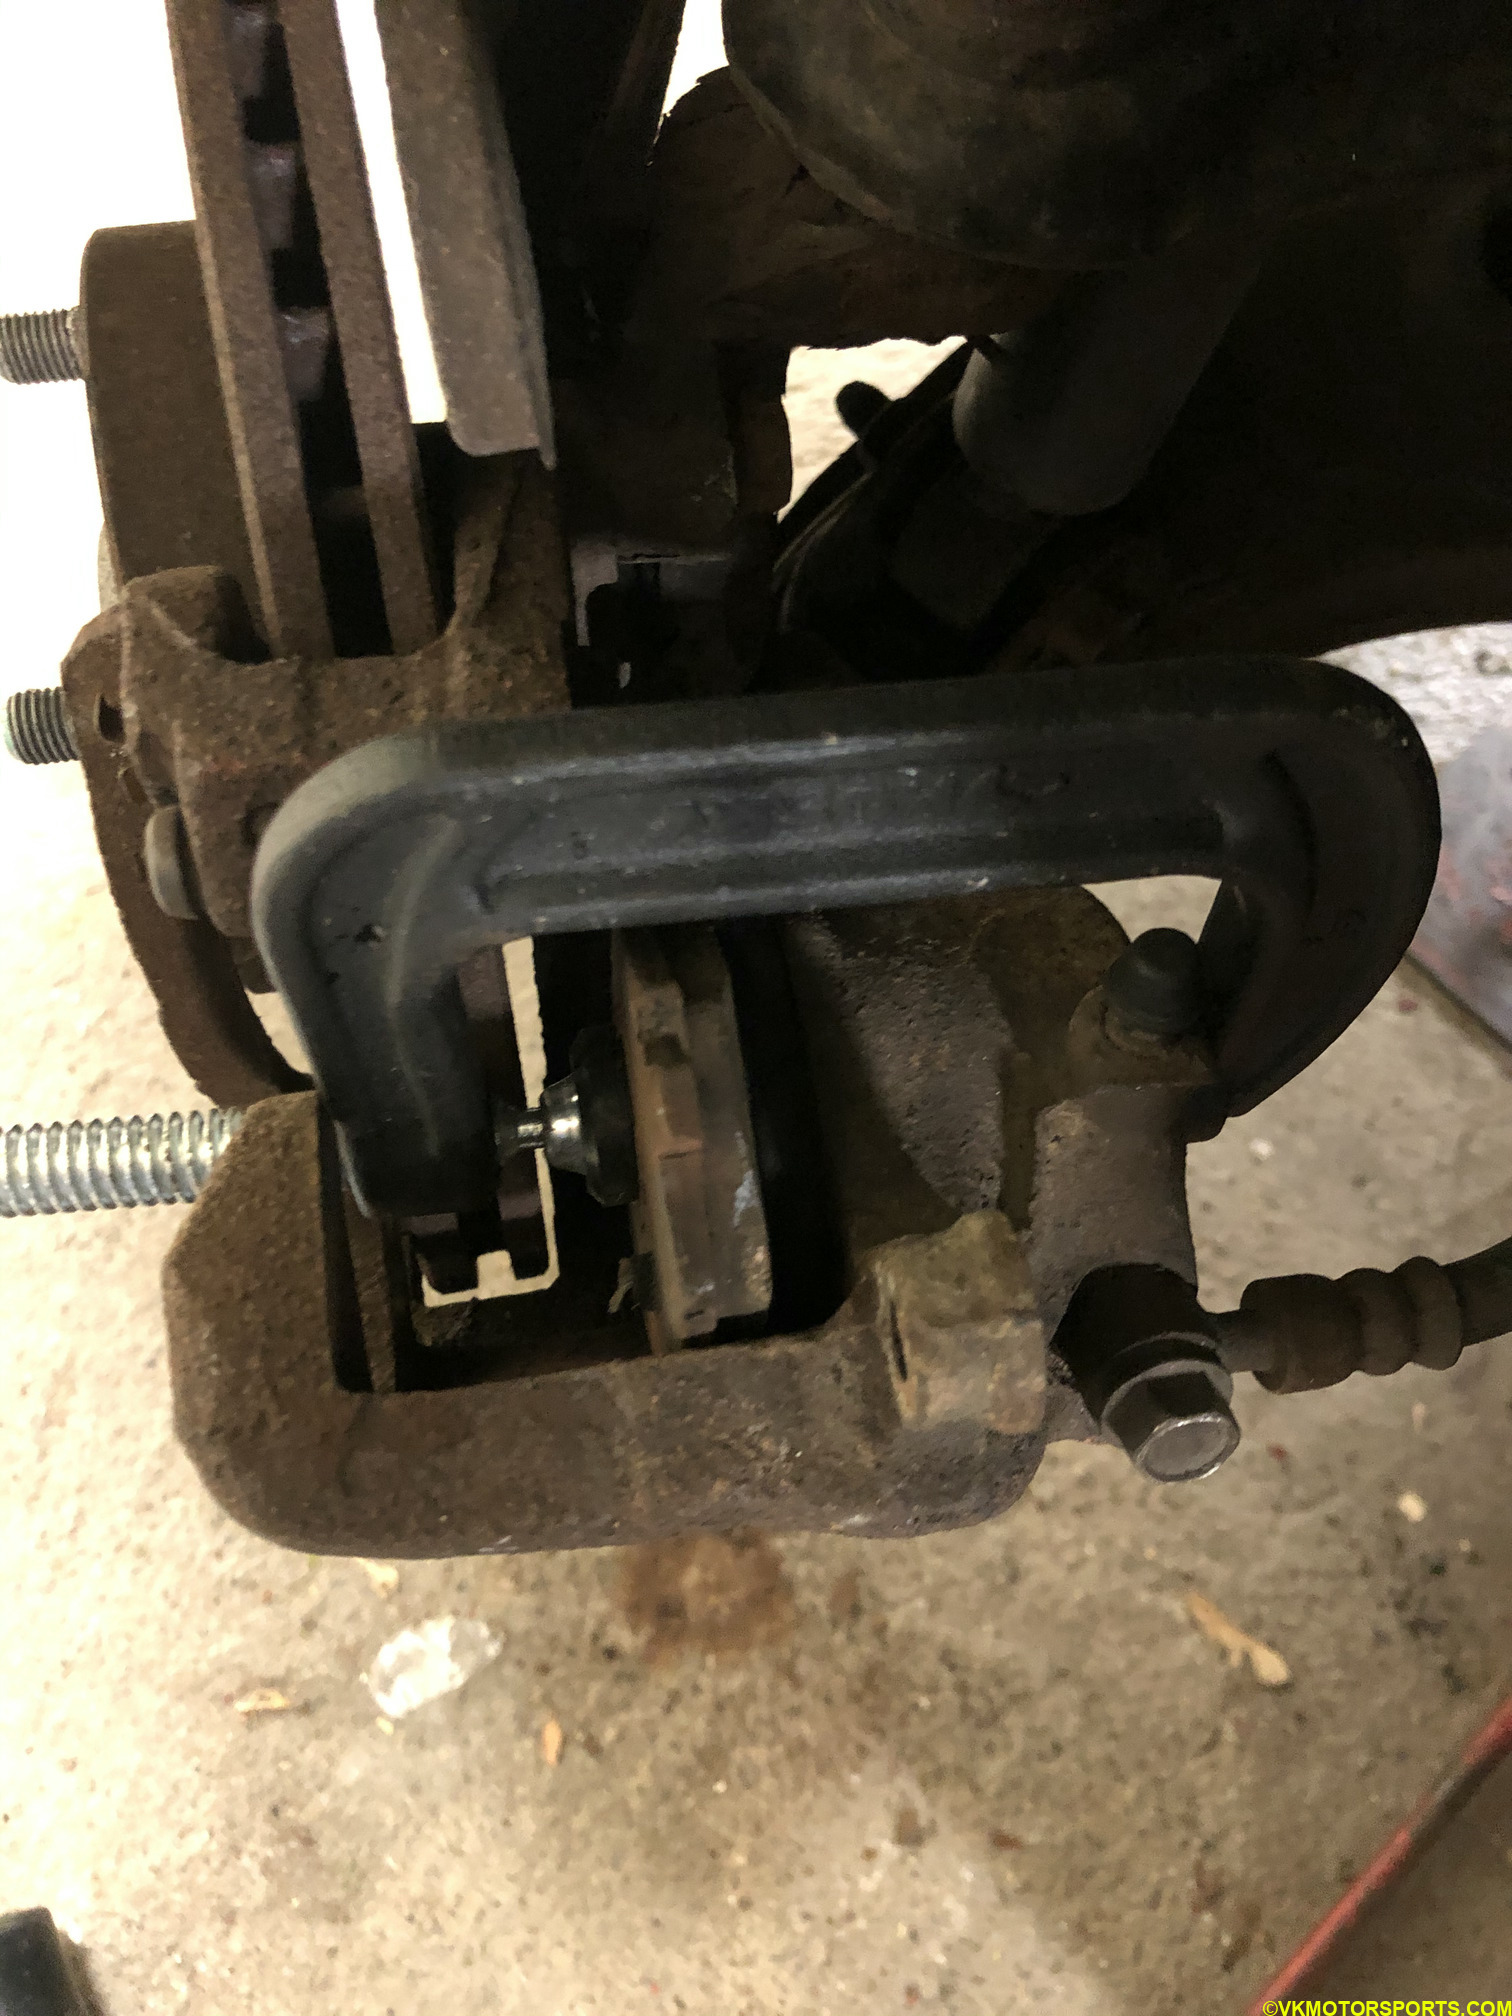 Figure 14. C-clamp and old brake pad against piston
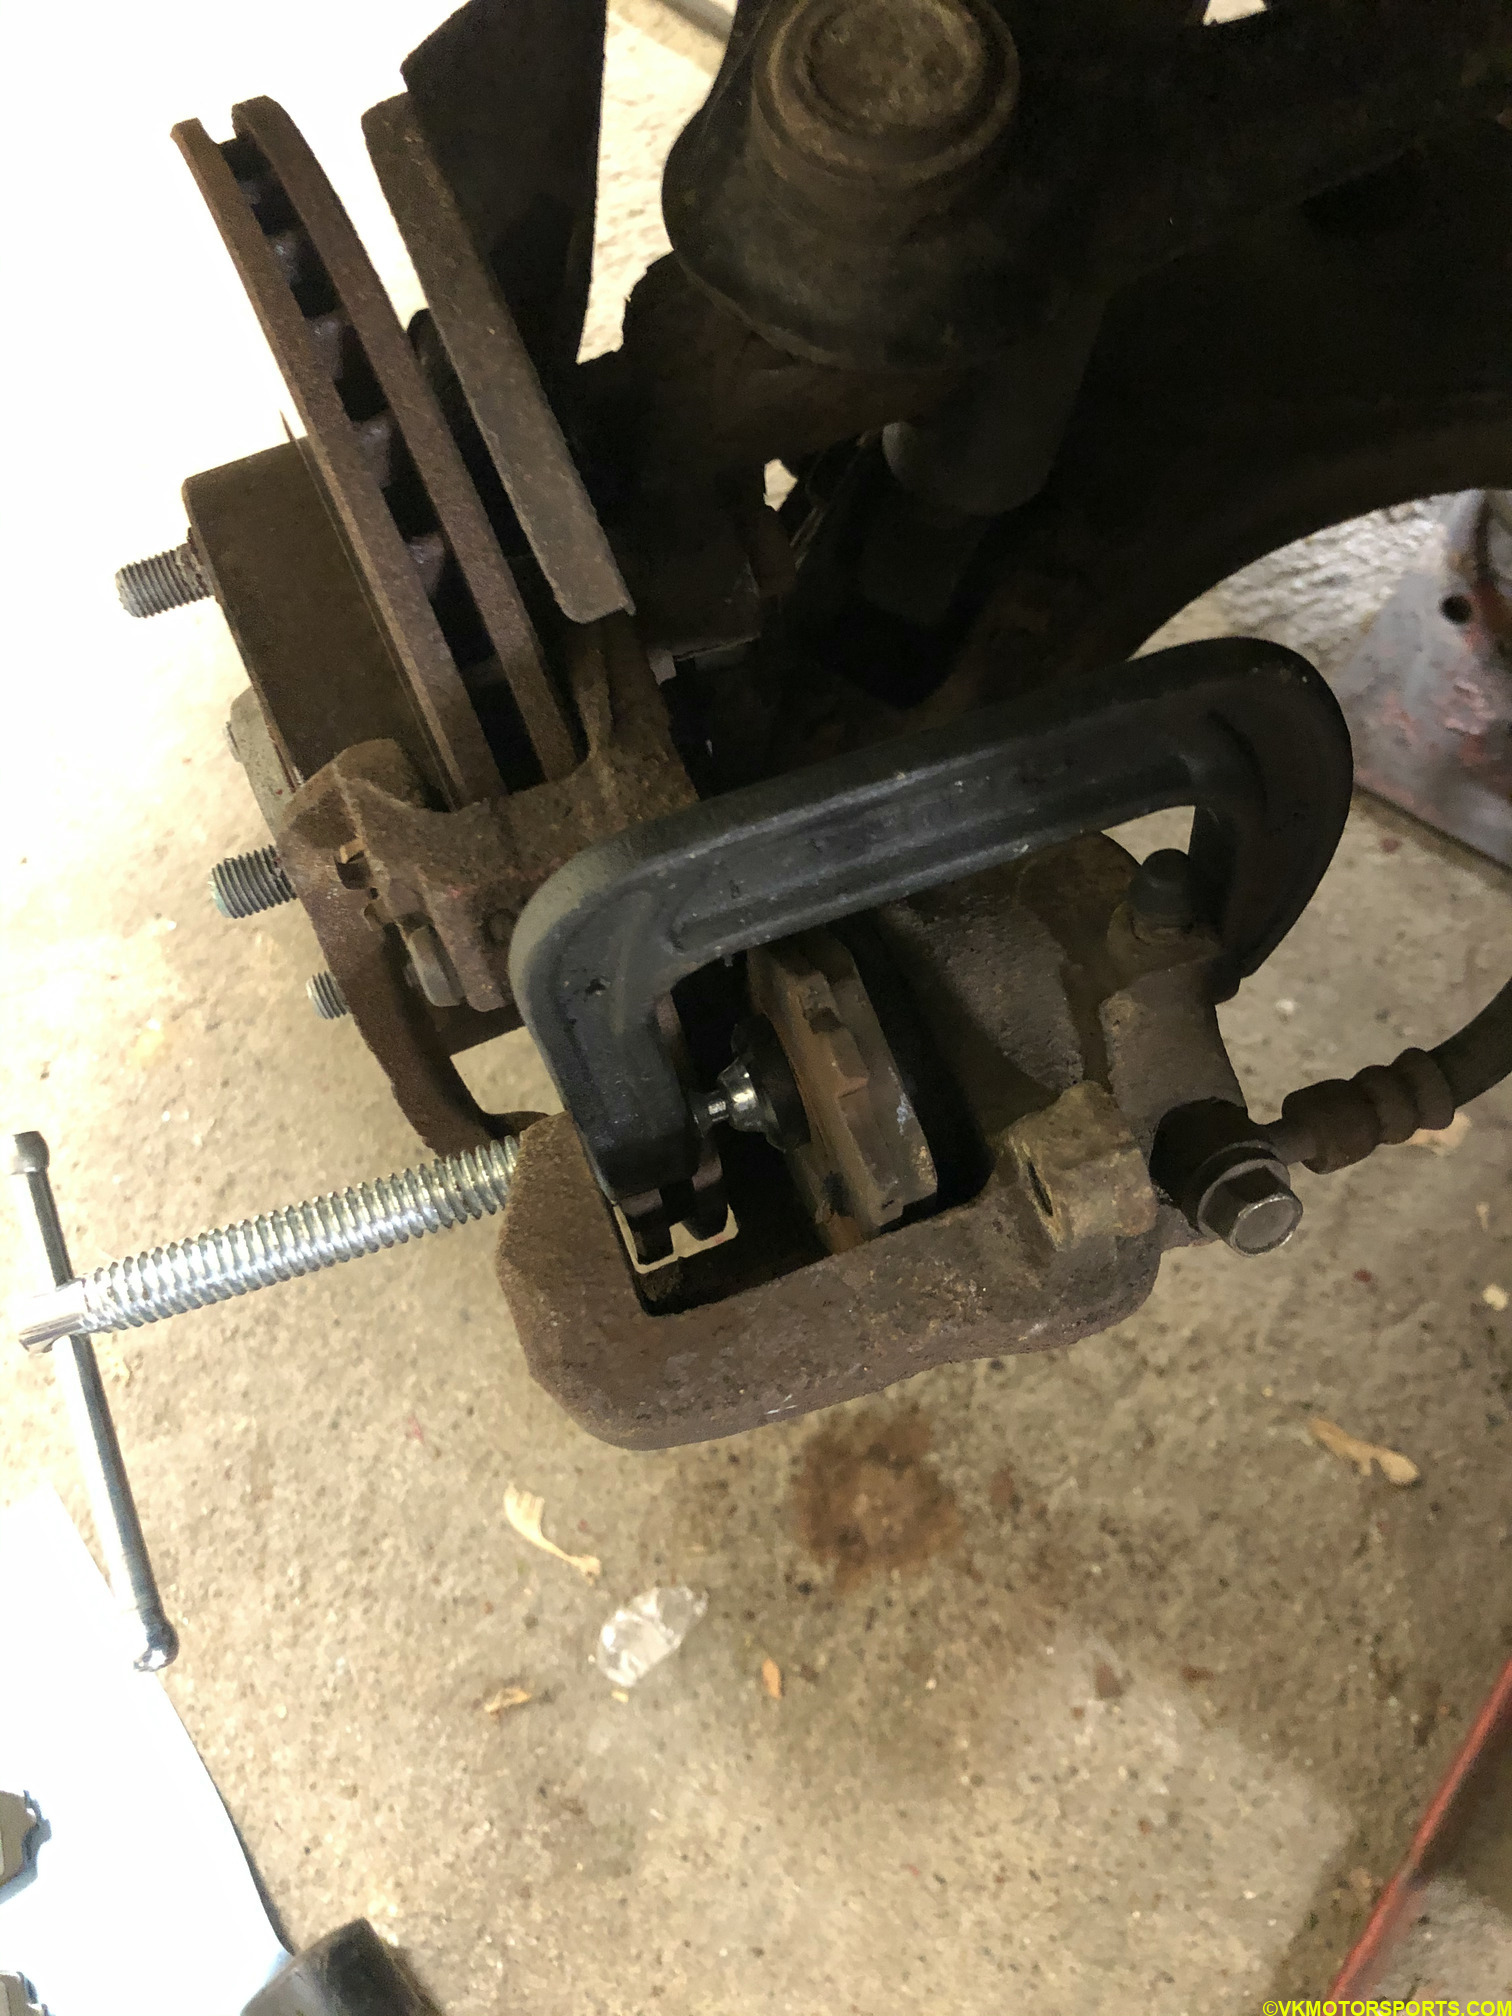 Figure 15a. Tighten C-clamp
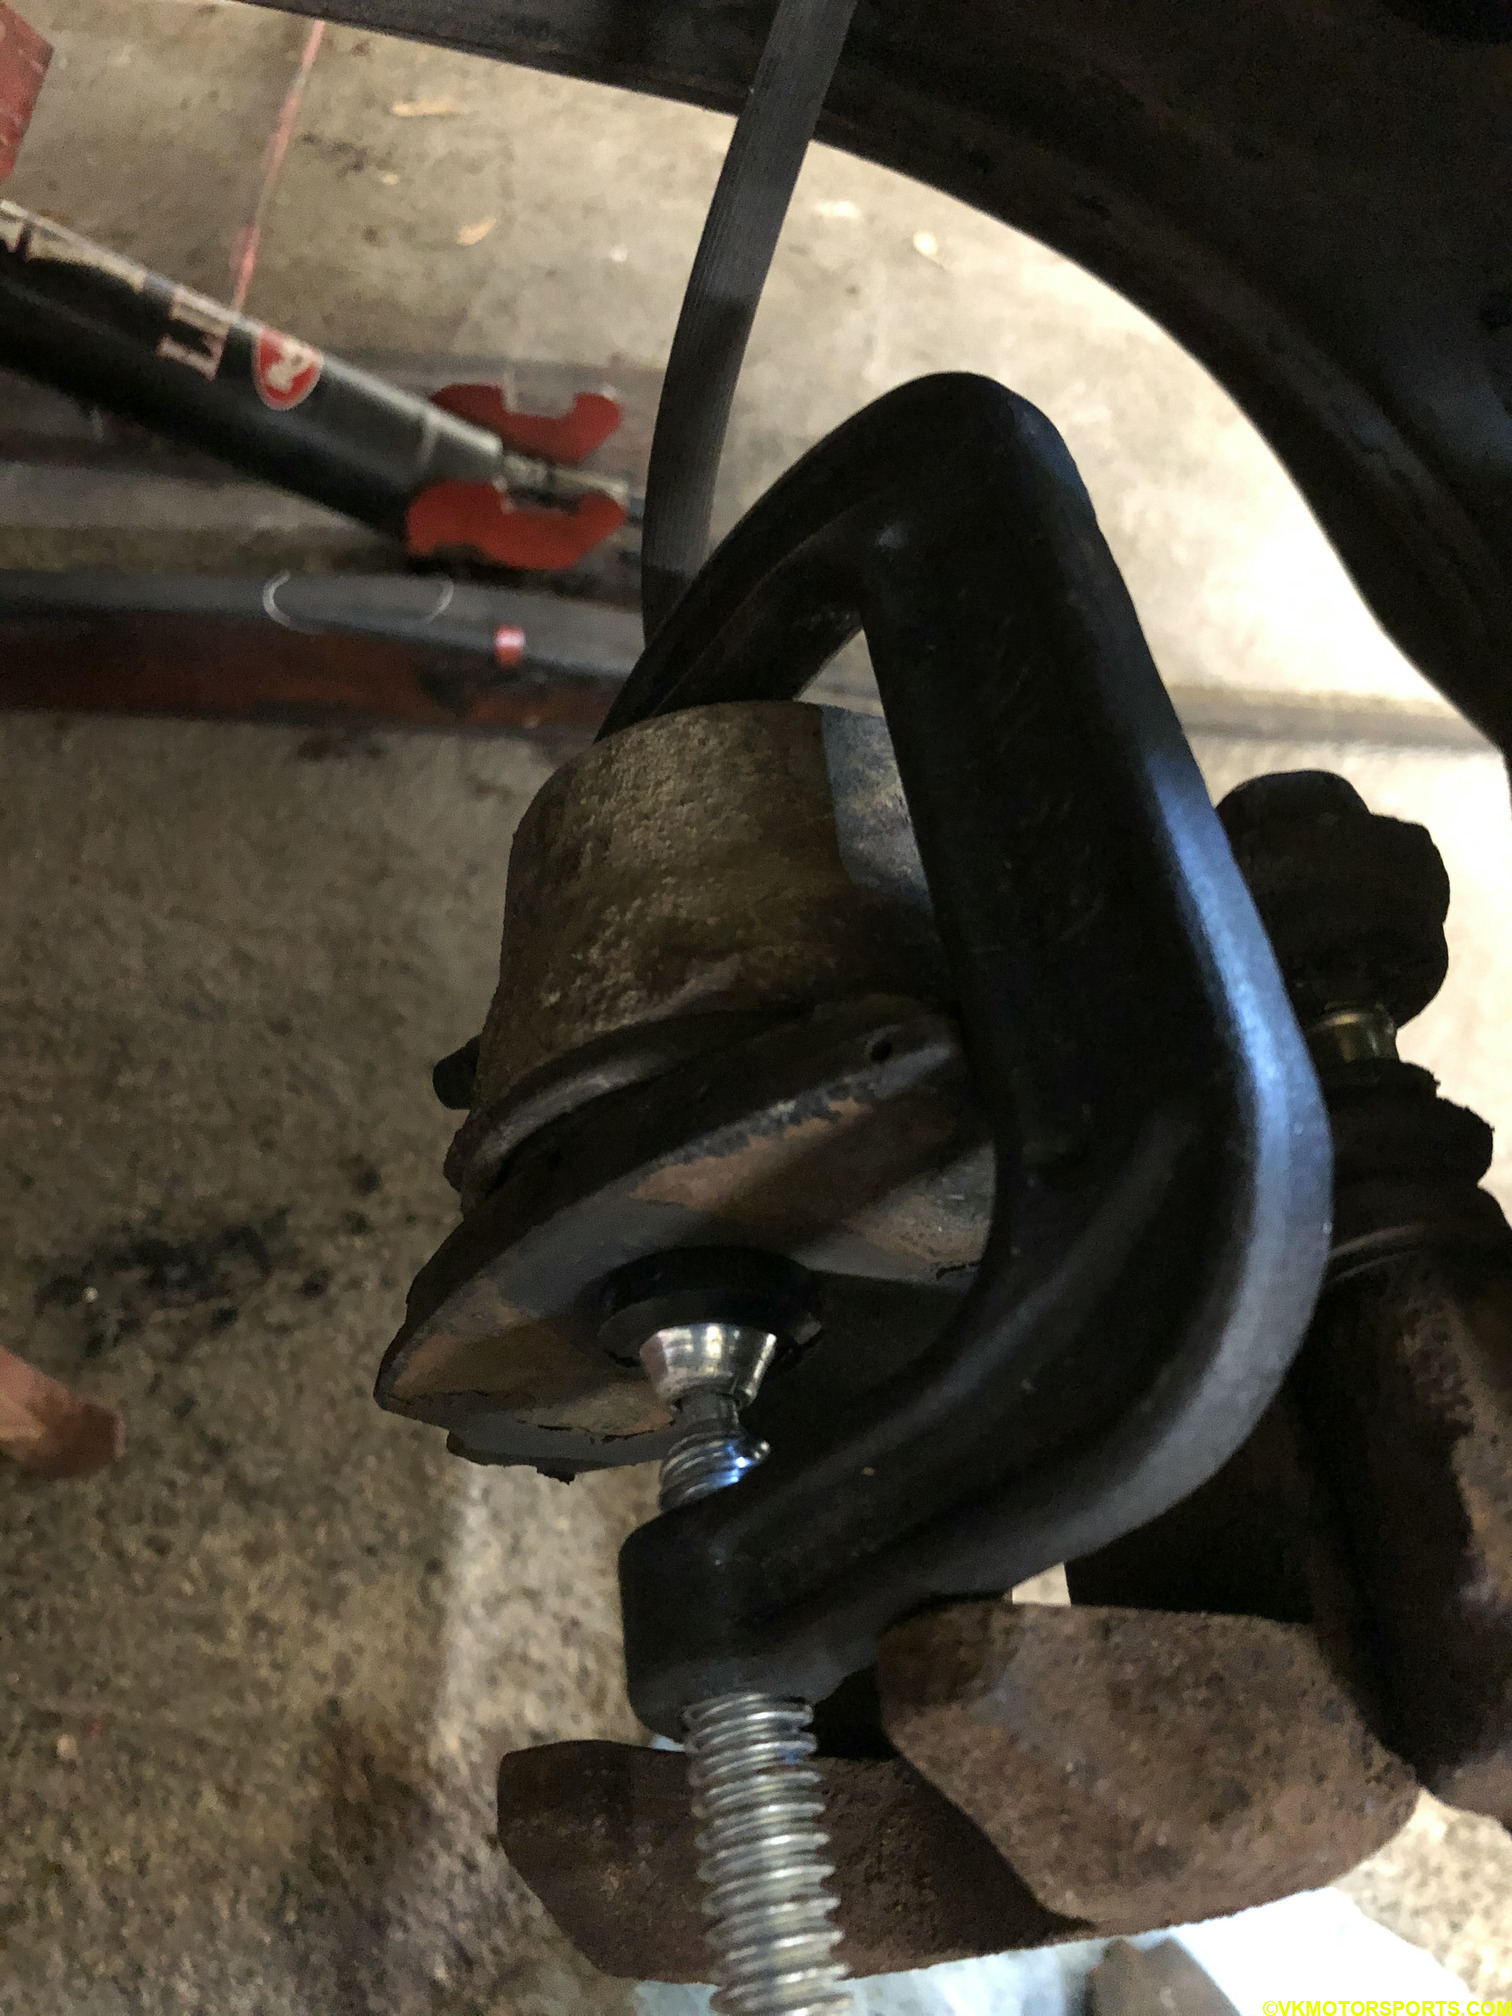 Figure 15b. C-clamp has pushed the piston inside
Step 11: Slide in the new brake pads into position around each side of the rotor correctly, so that the lubricated sides are facing away from the rotor surface as shown in Figure 16. Once both pads have been placed in position, install the holding clip (not shown).
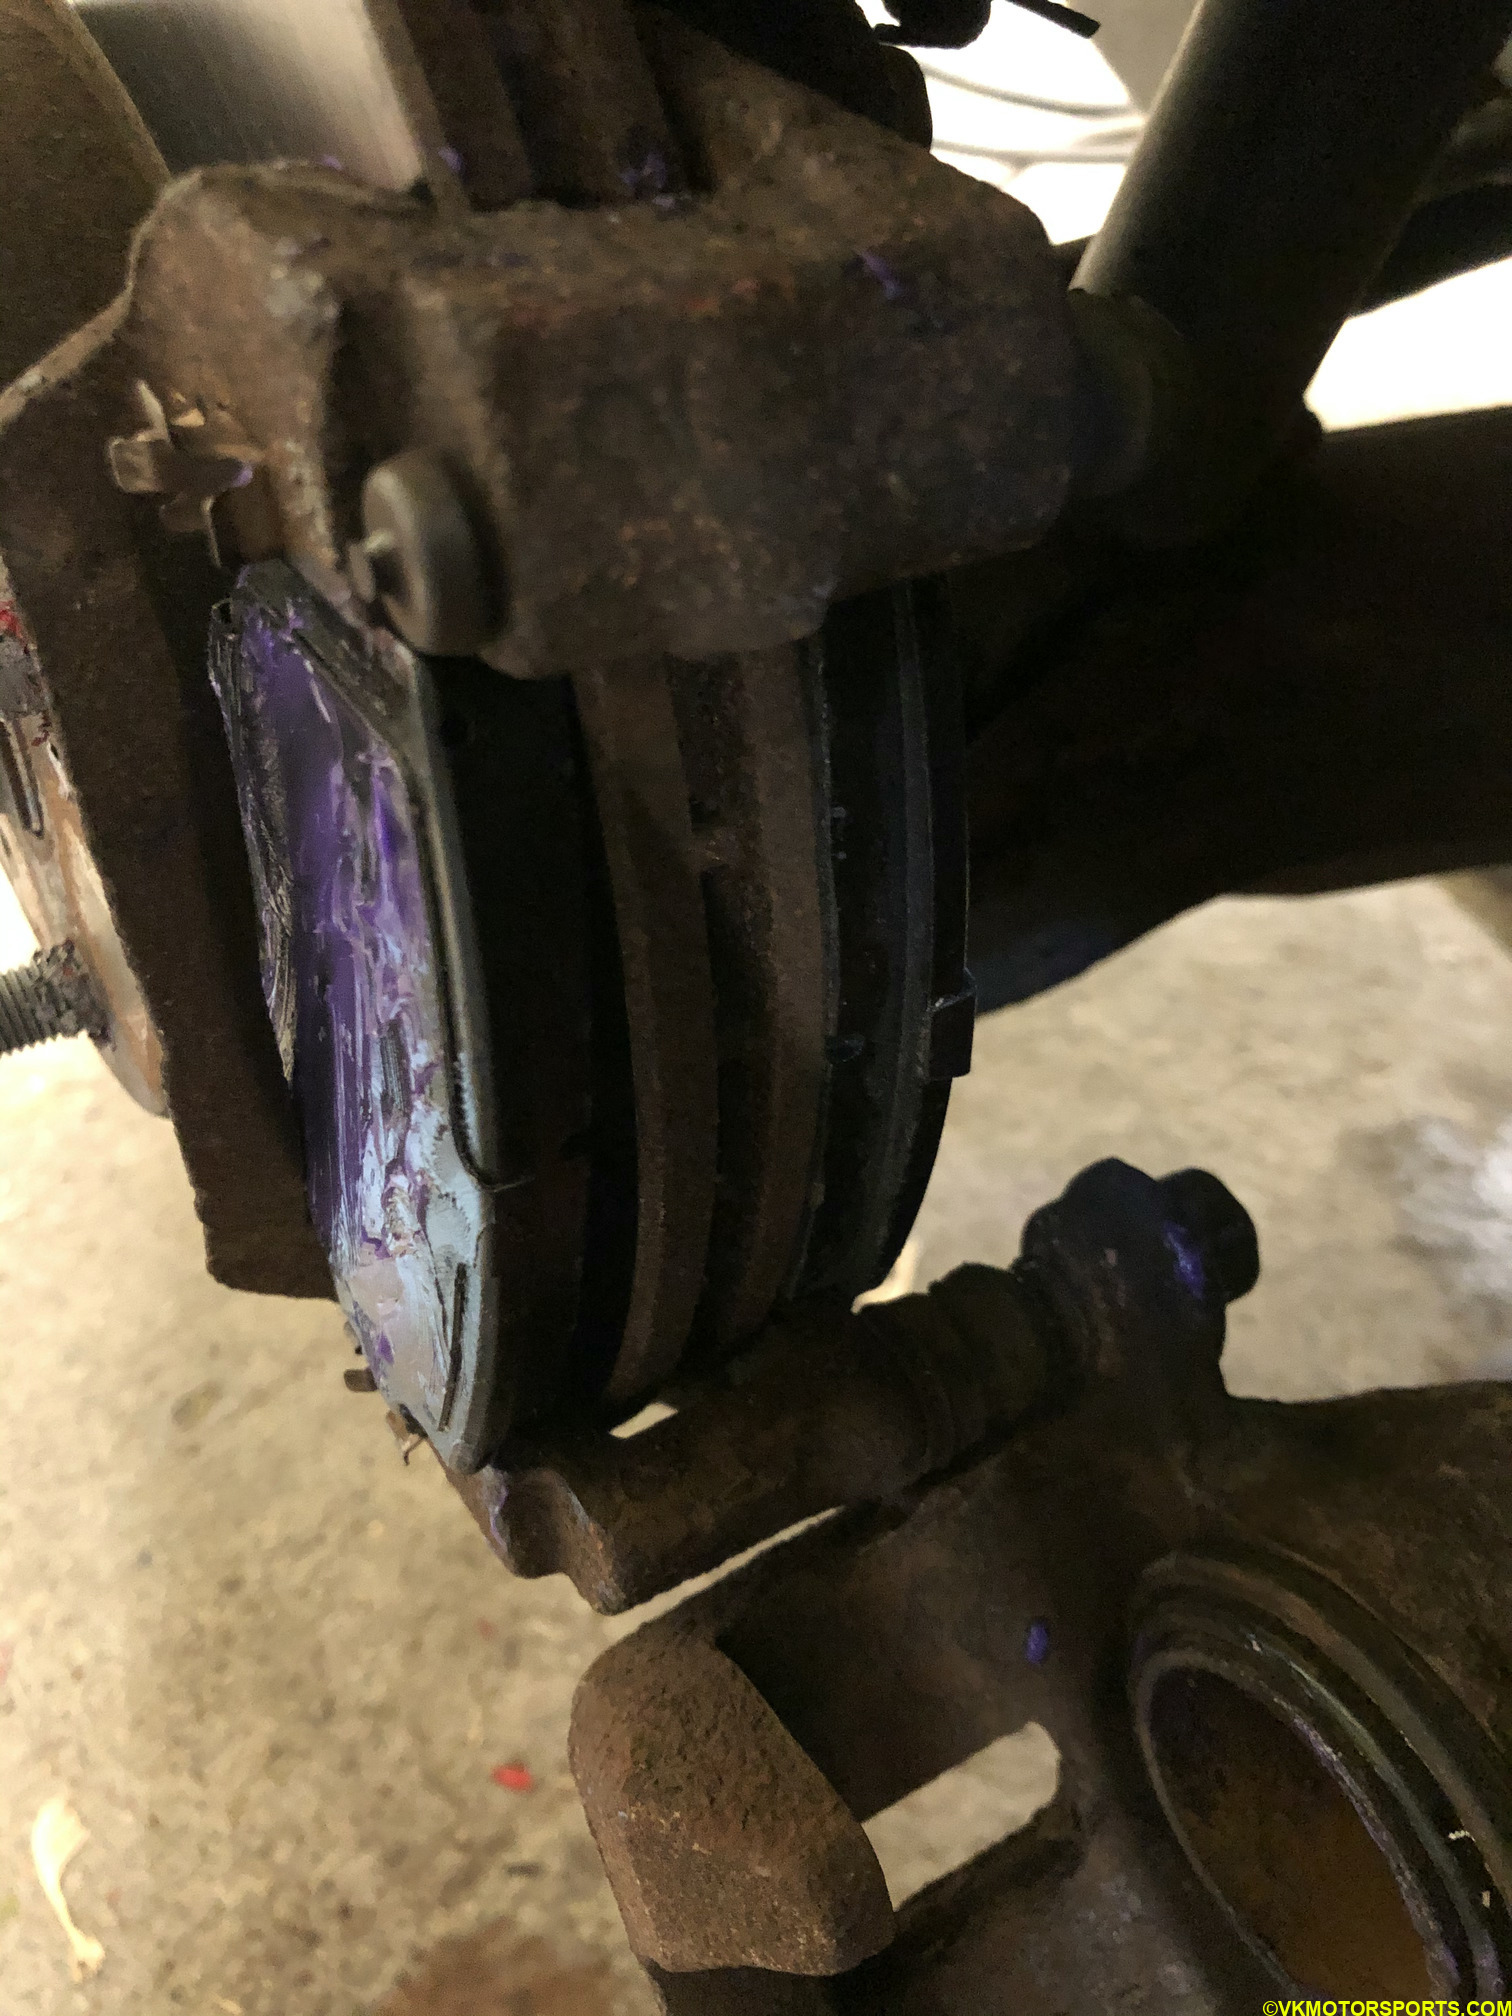 Figure 16. Place the new pads in position
Step 12: Flip the caliper to the close position and insert the caliper bolt that you had taken out in Step 4.
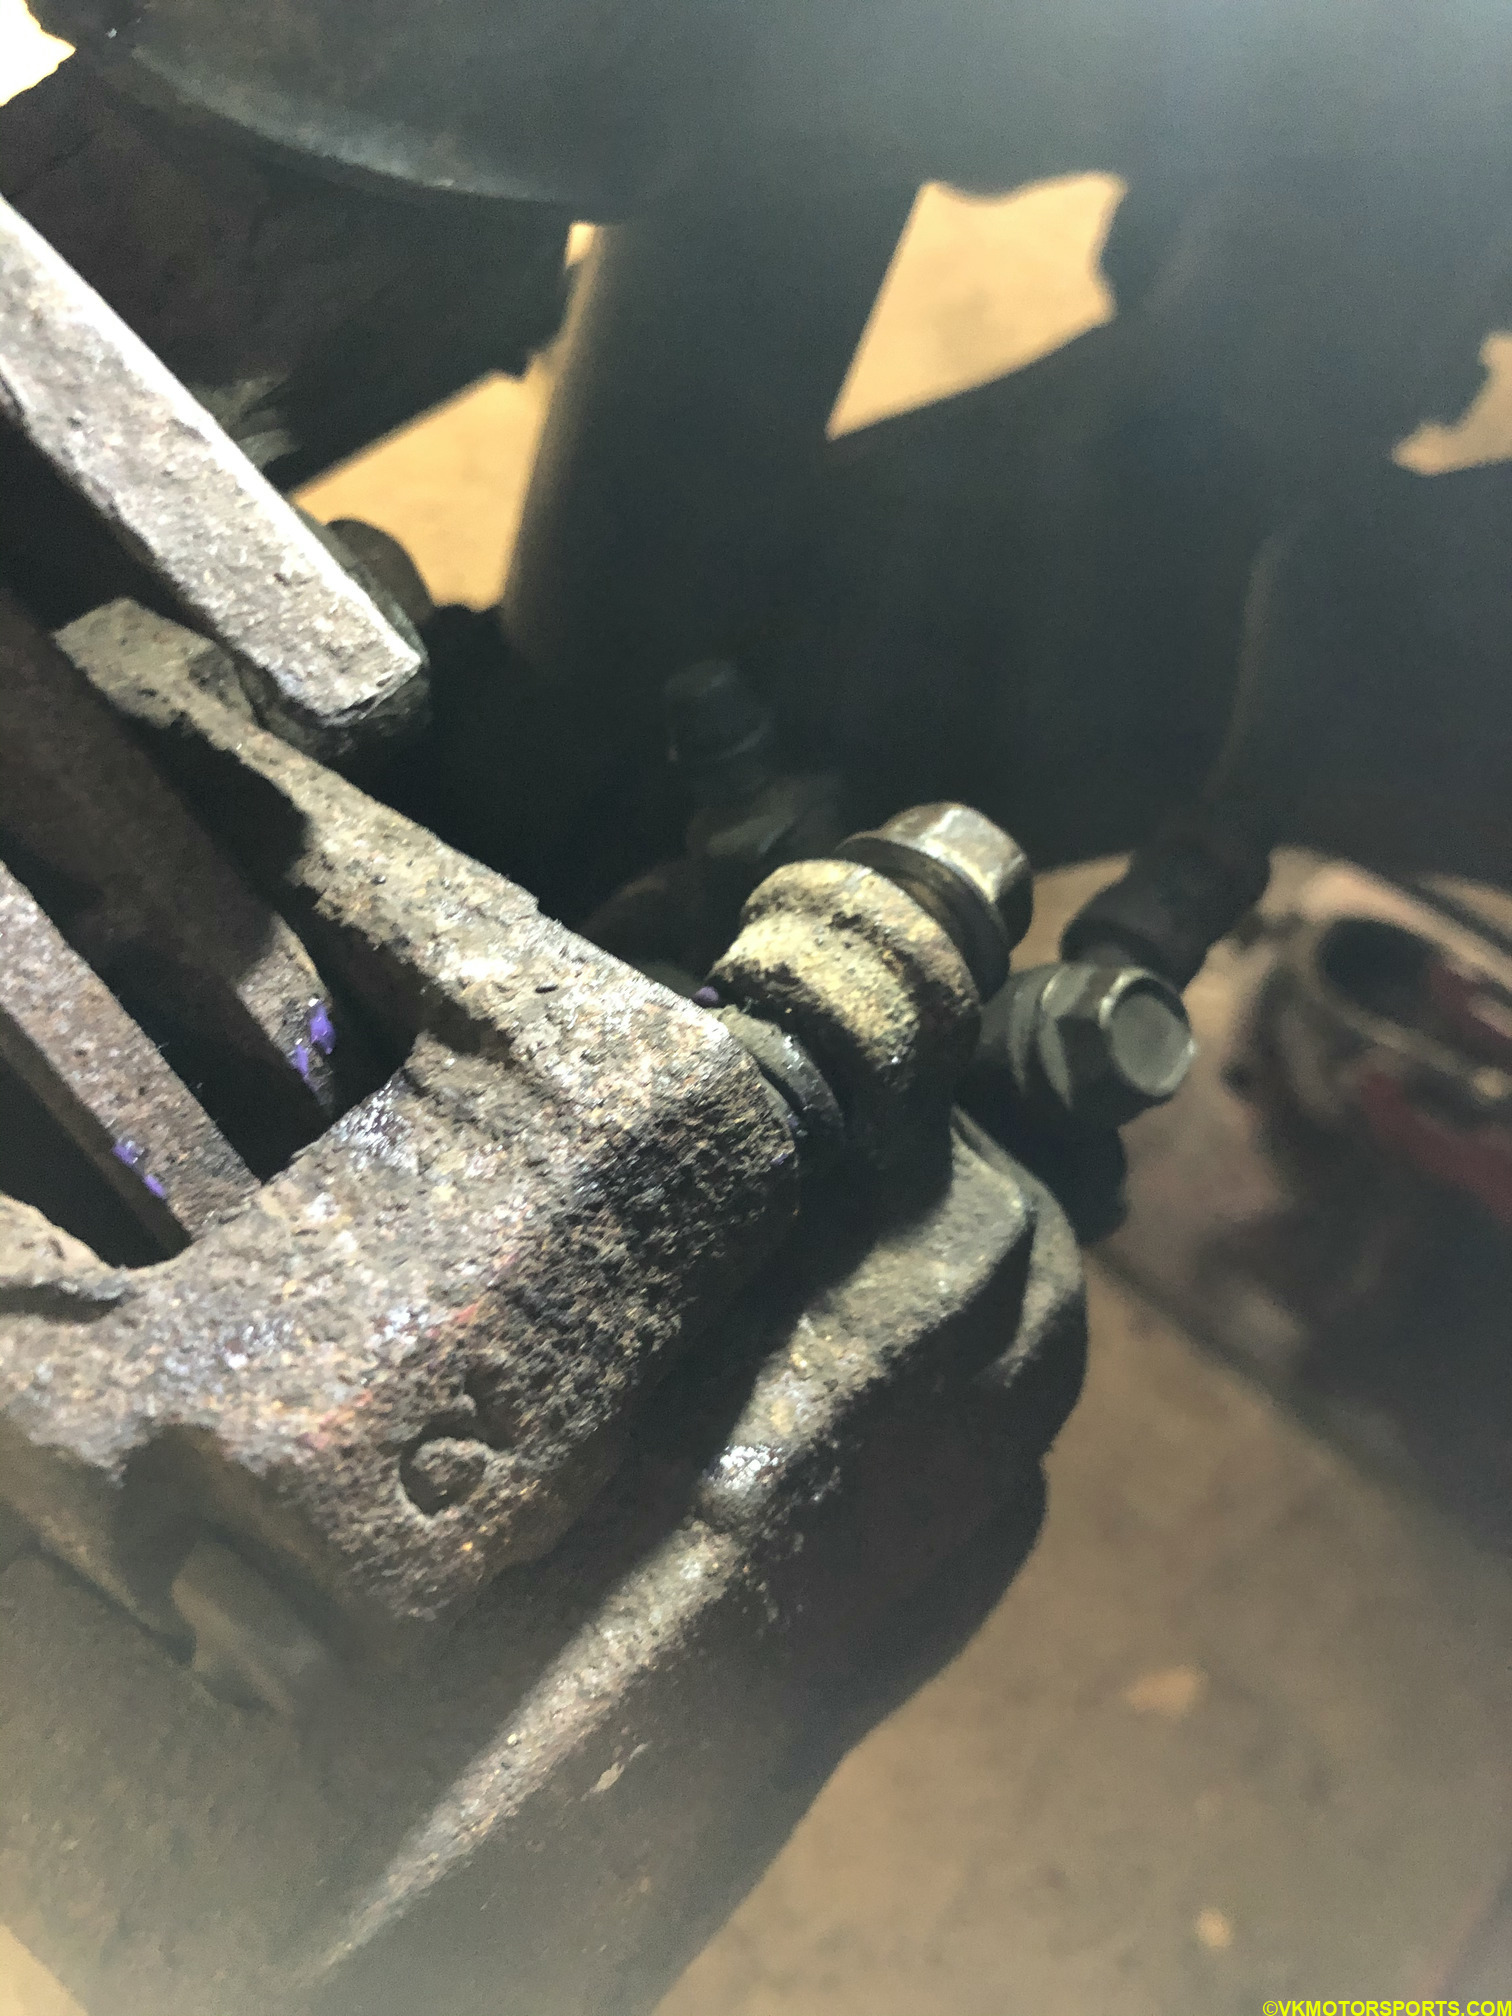 Figure 17. Close the caliper
Step 13: Before tightening the caliper bolt, apply some brake lubricant to the caliper threads to avoid stuck bolts in the future, and tighten it to the recommended torque specifications, which is 58-65 ft-lb.
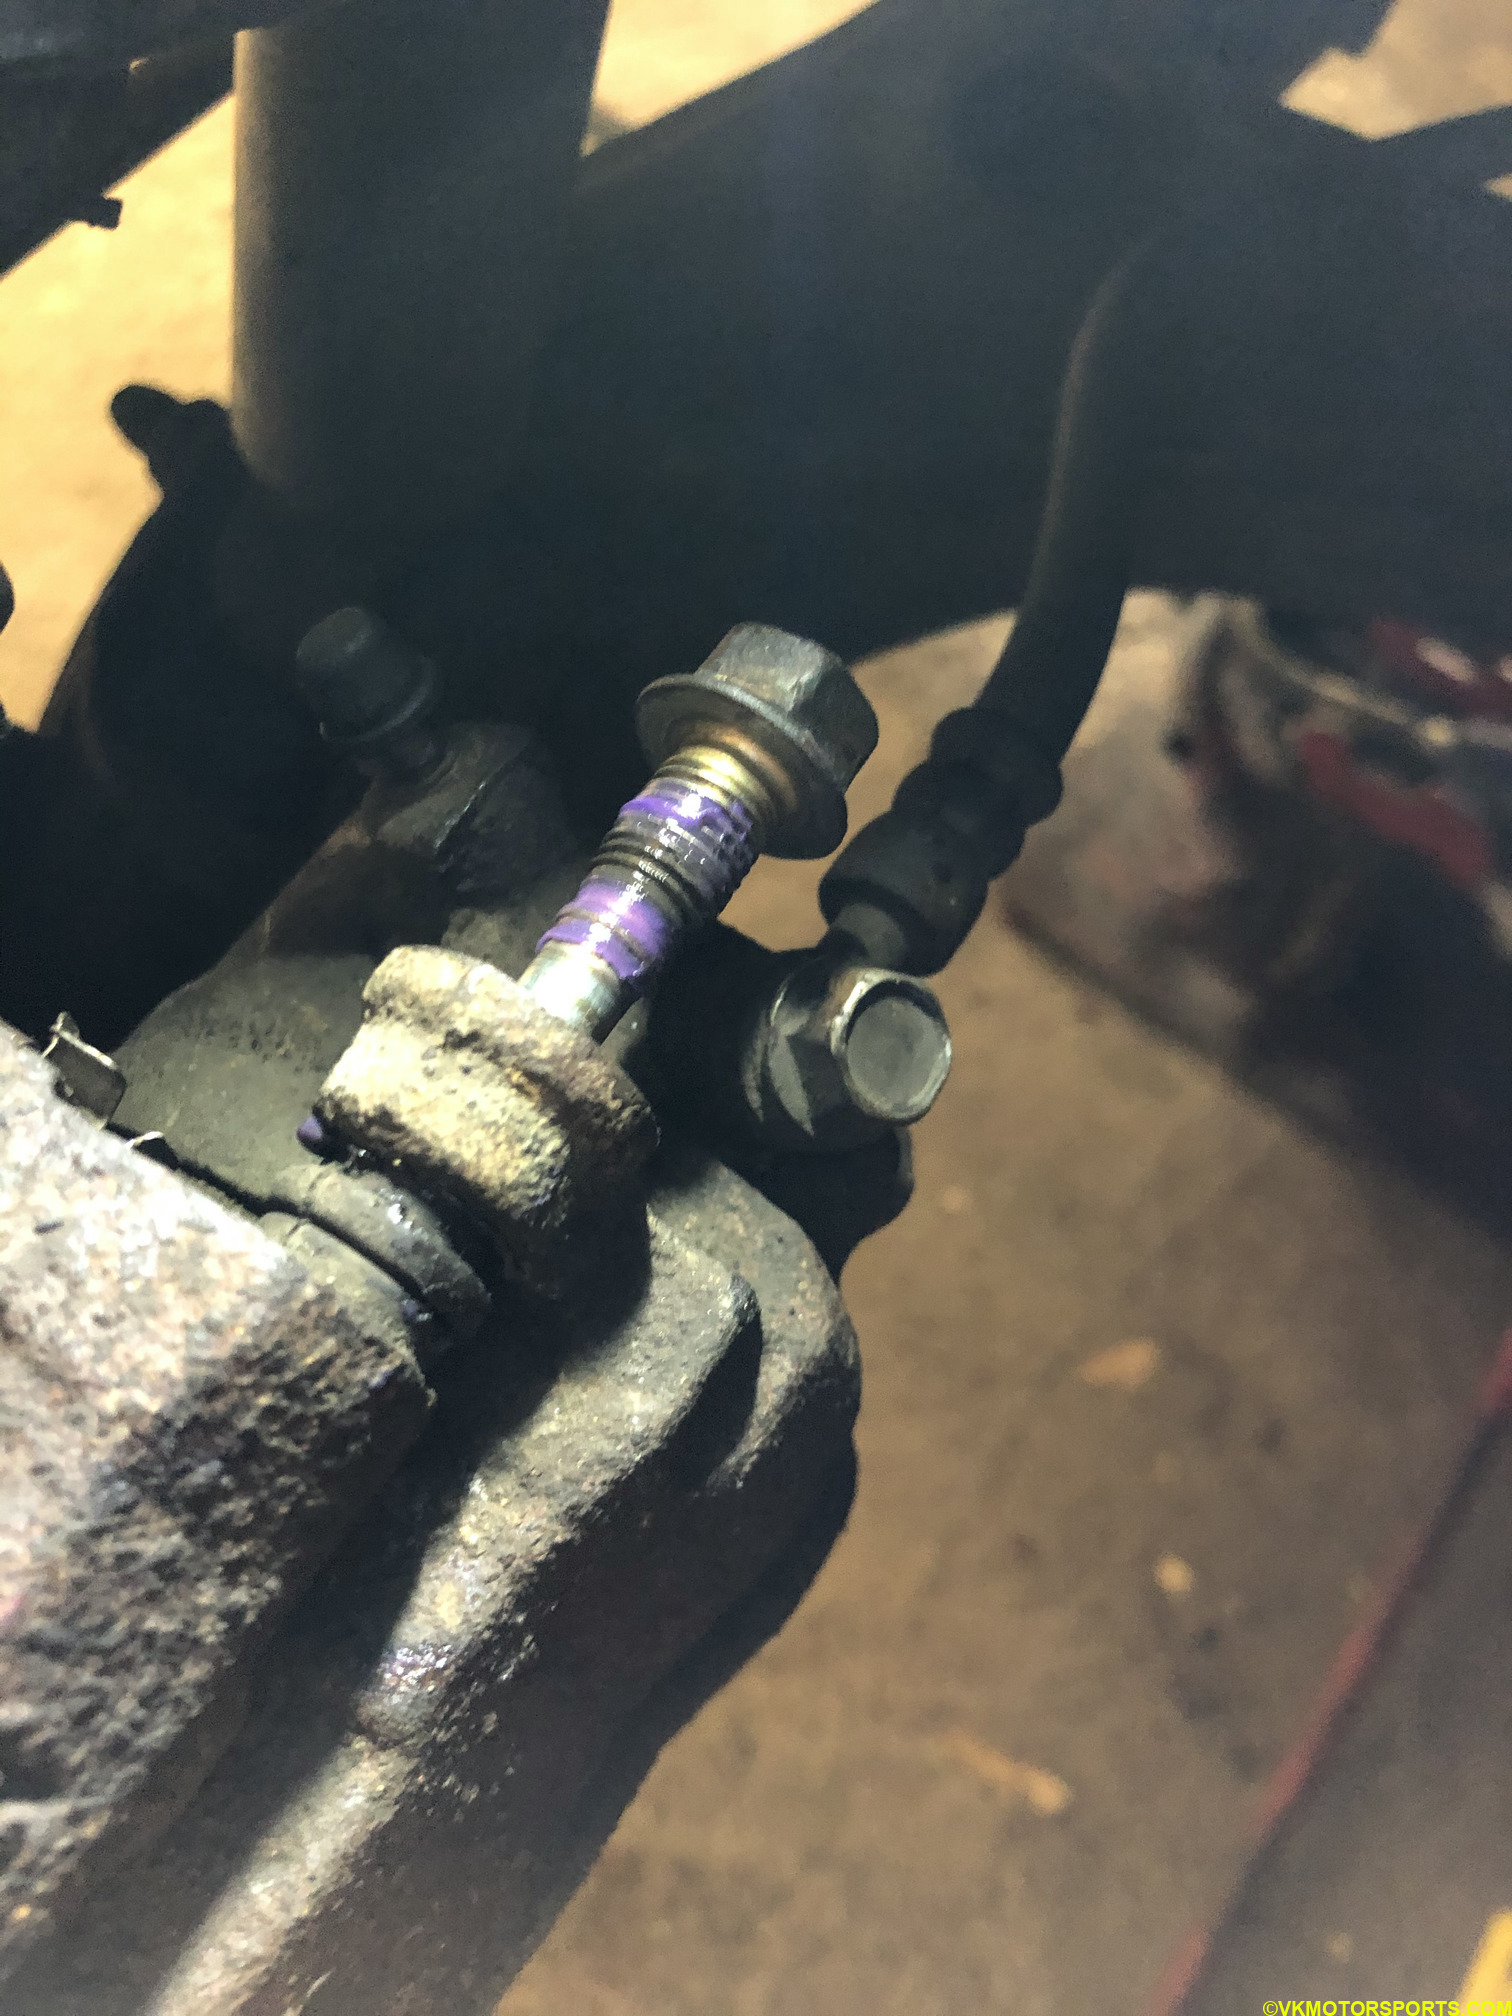 Figure 18. Lubricate the caliper bolt threads
Step 14: Repeat the steps for both the driver and passenger sides of the front wheels. Make sure the calipers are closed and the bolts tightened.
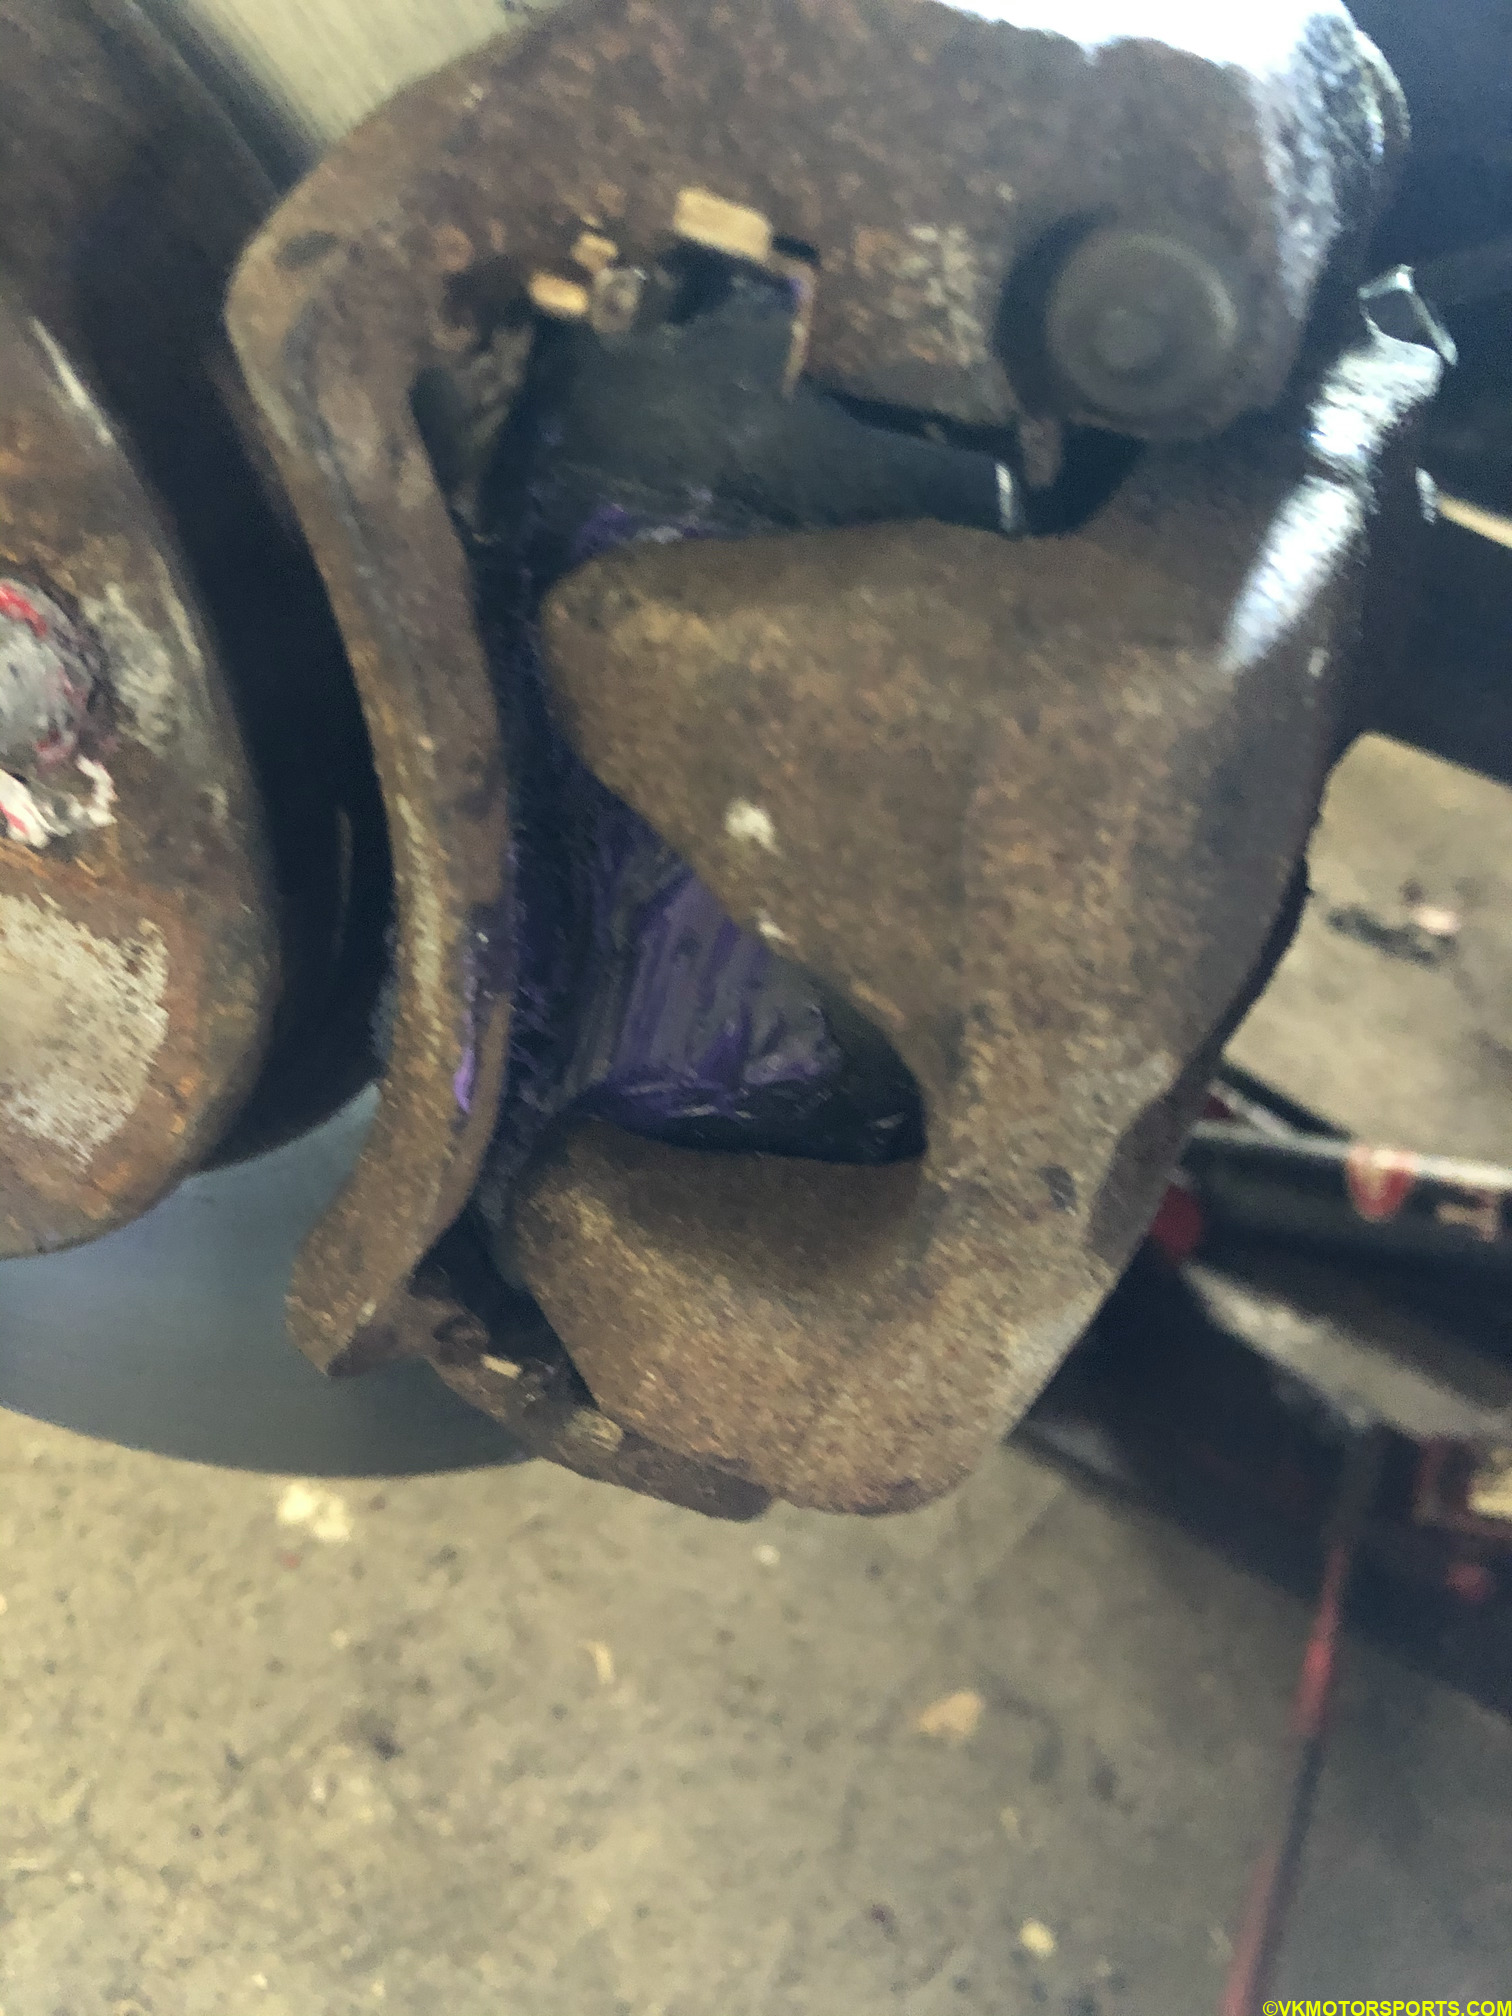 Figure 19. Driver side caliper with new pads
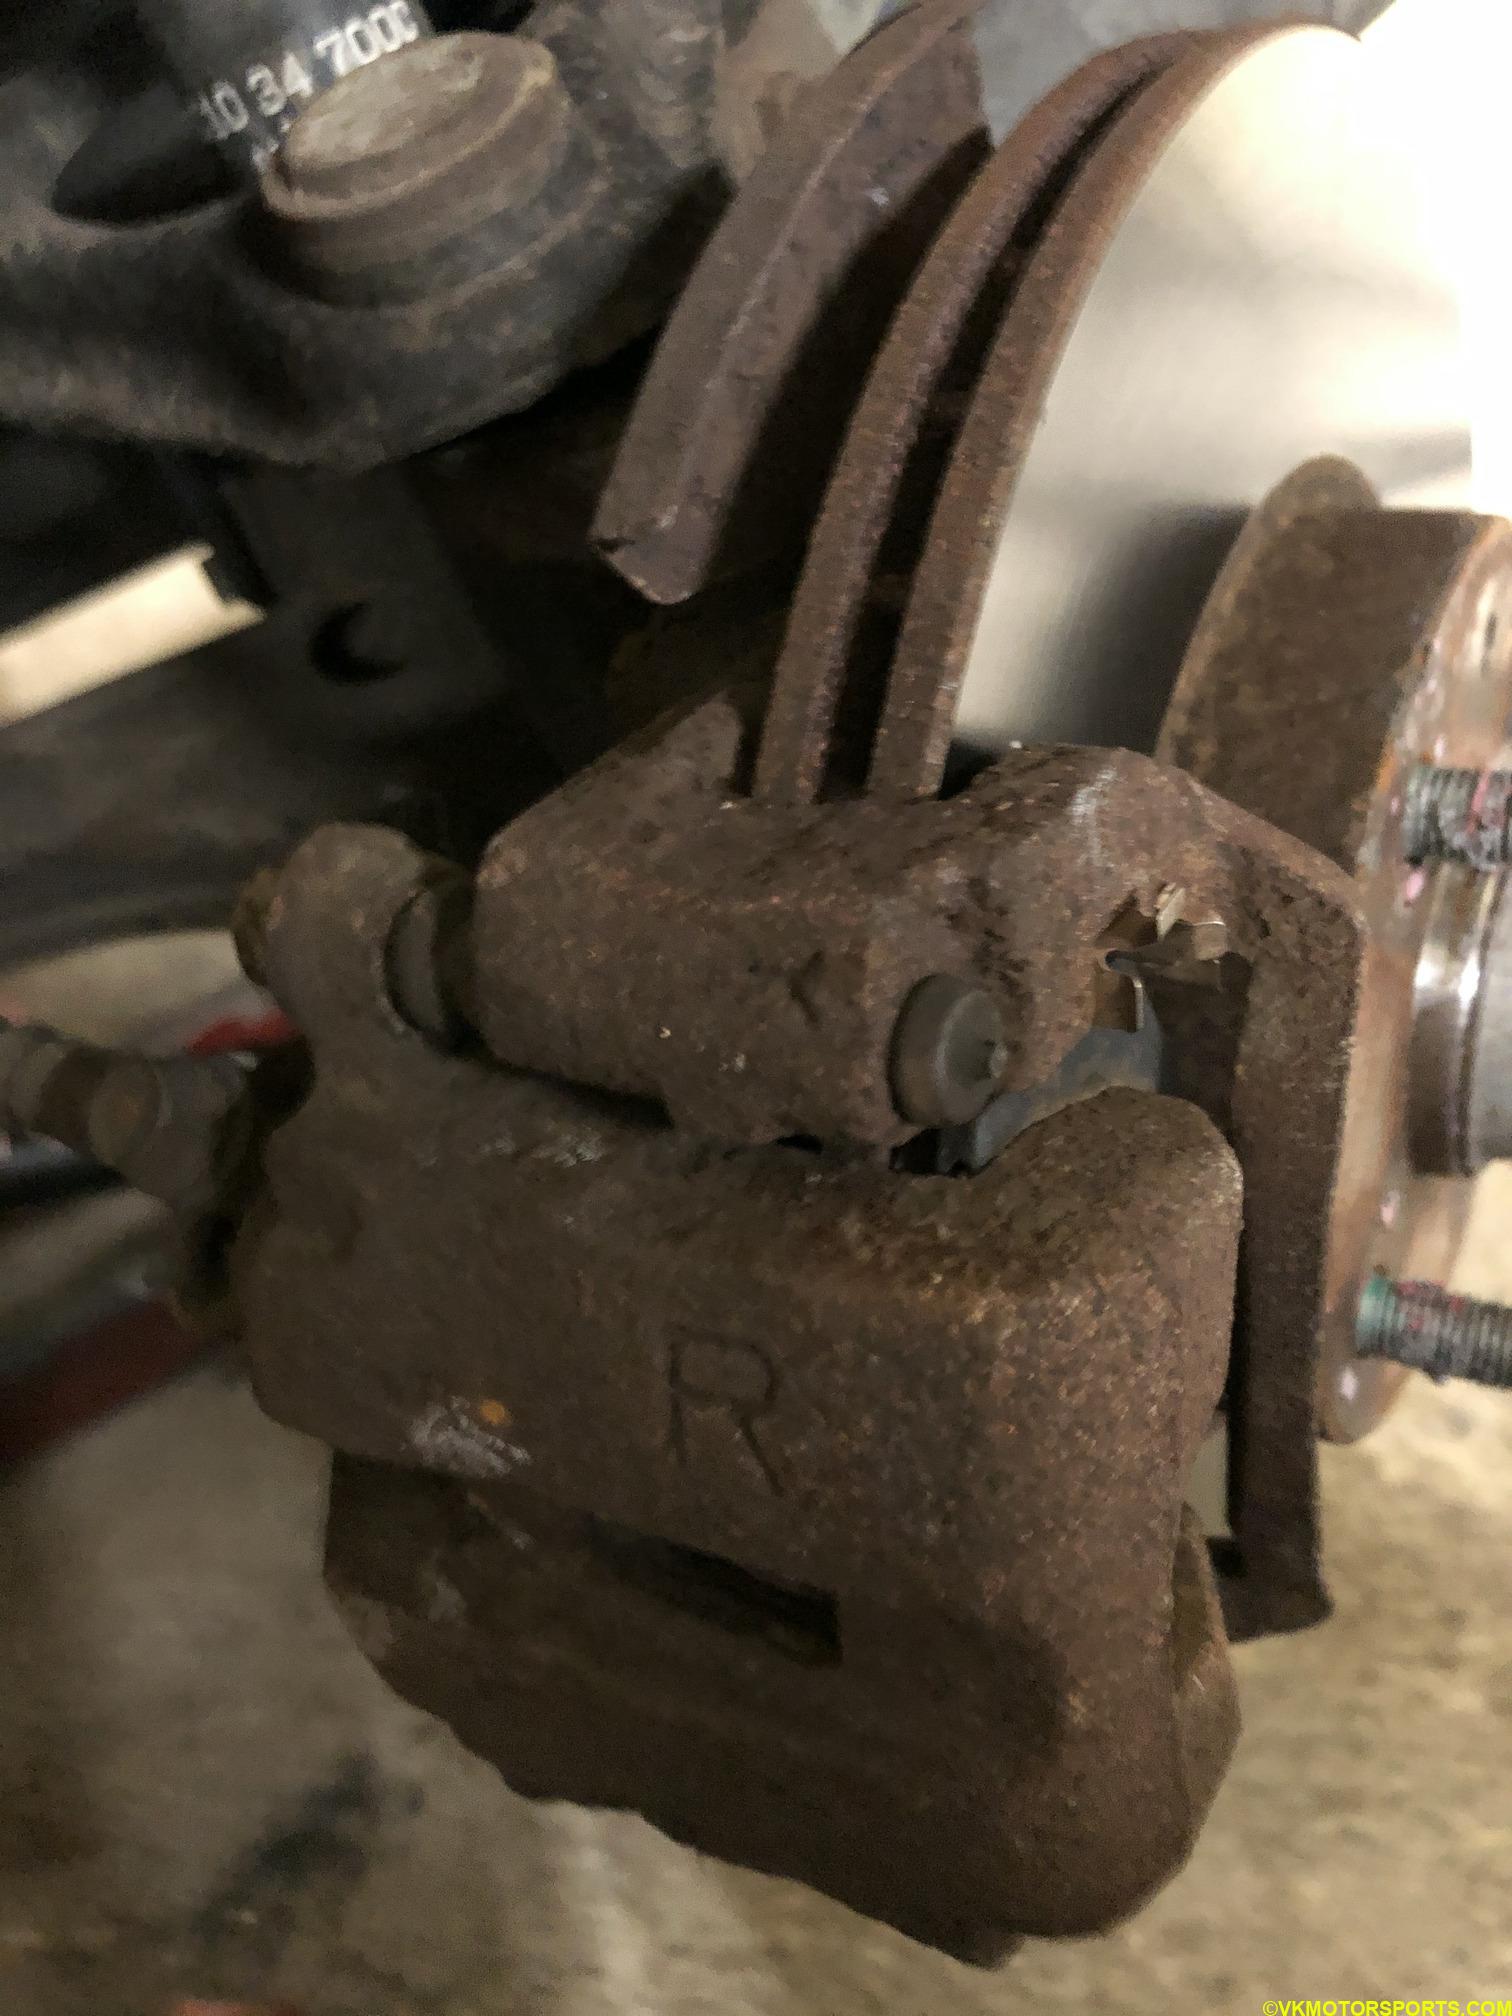 Figure 20. Passenger side caliper closed
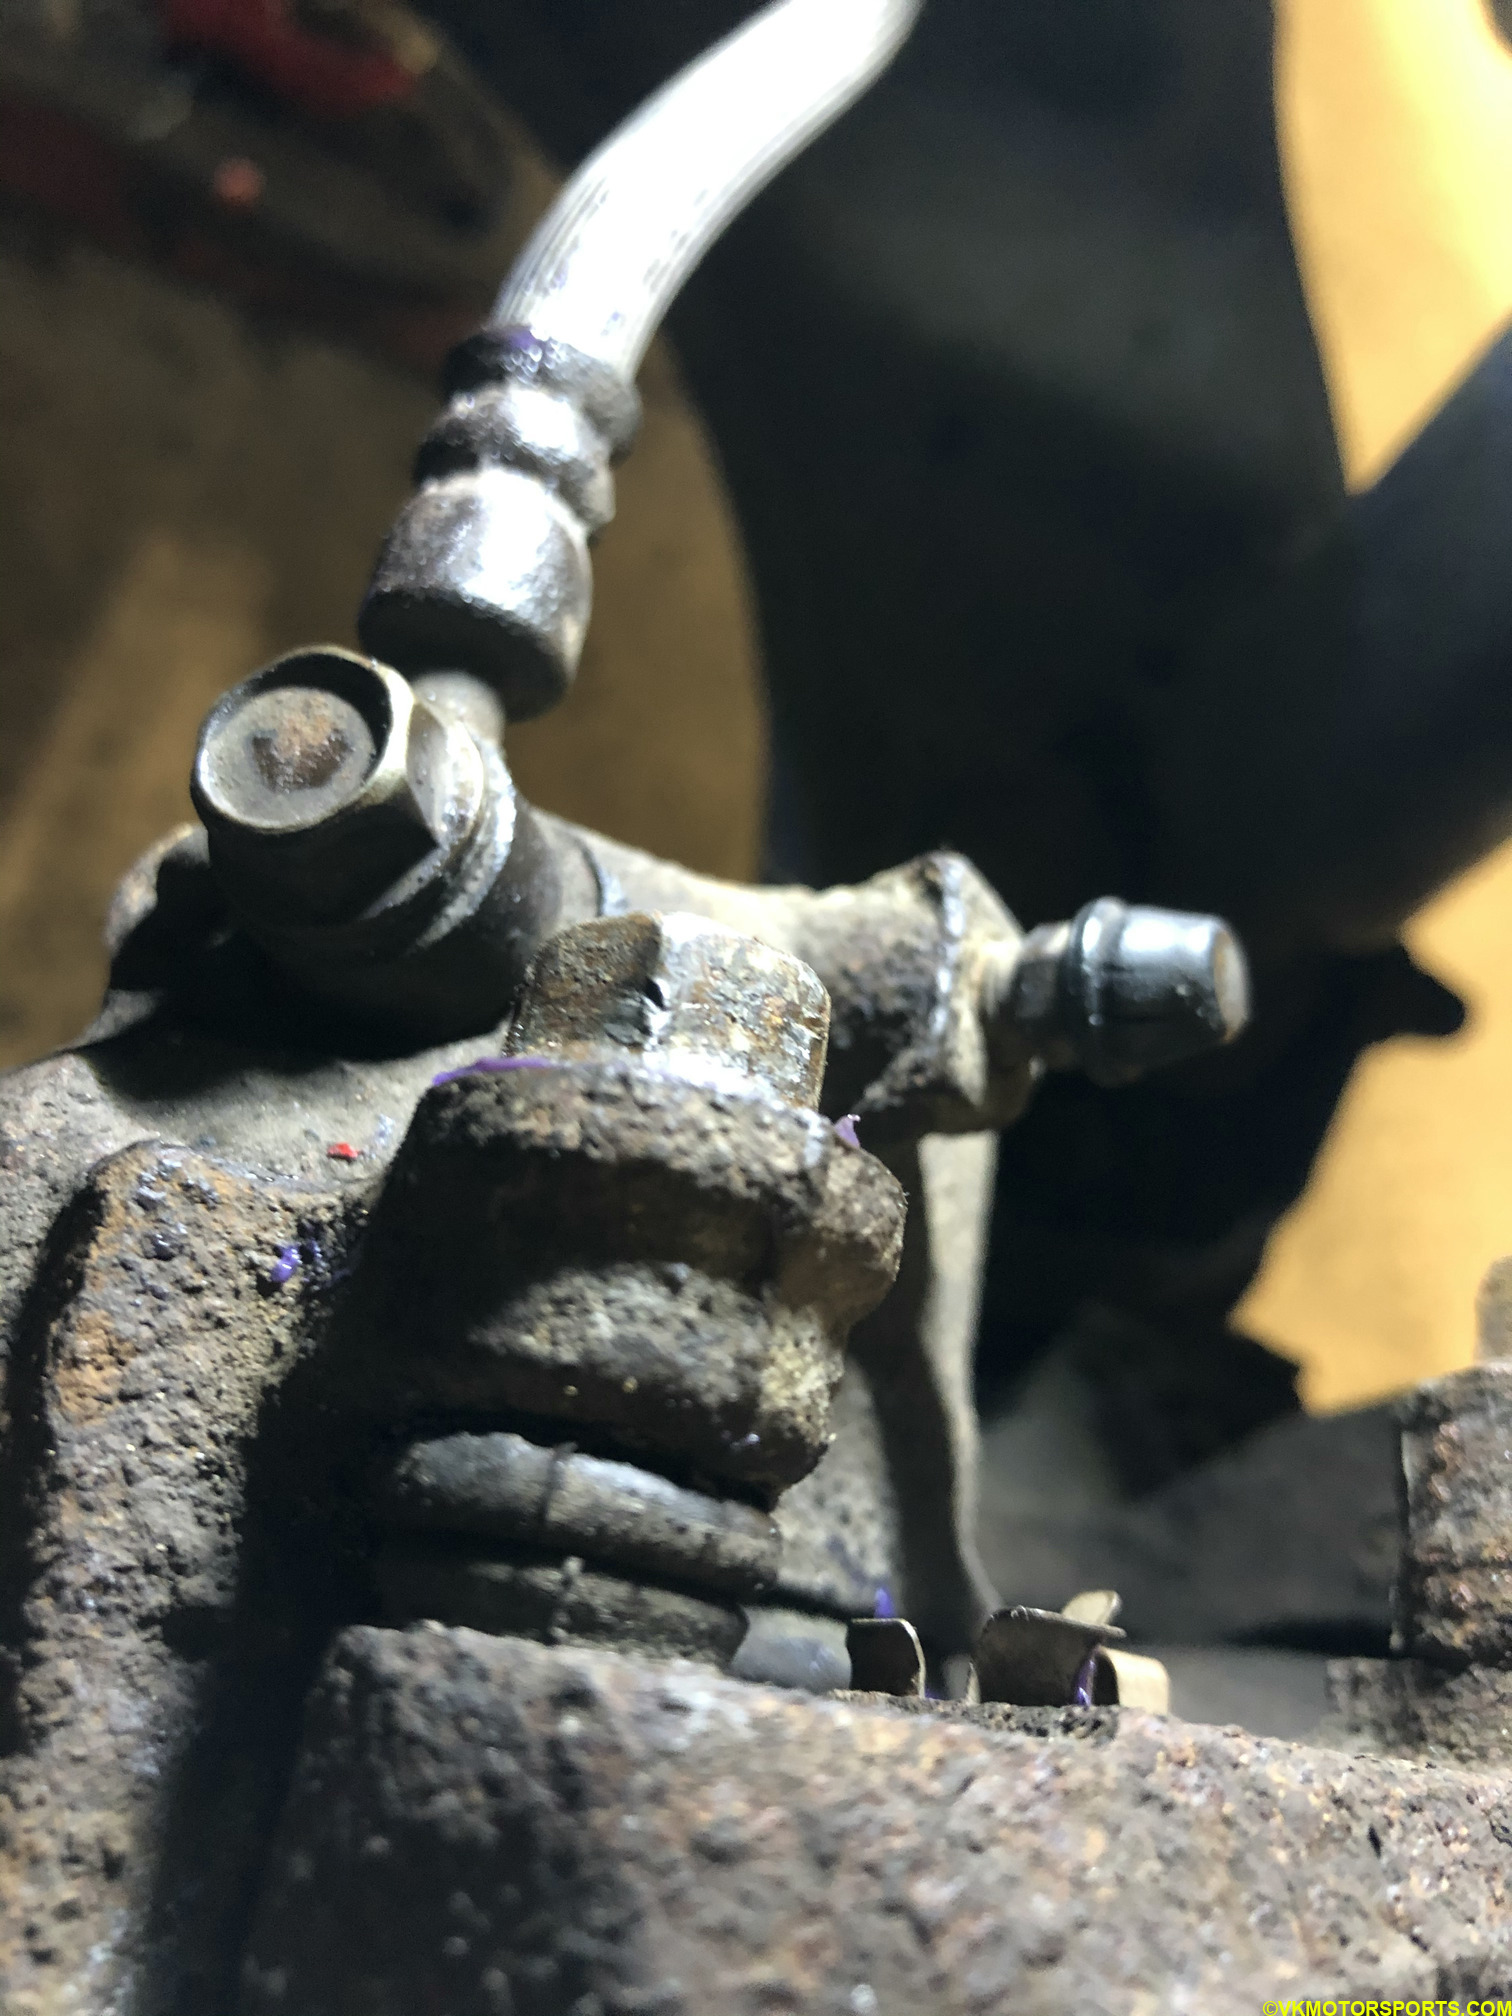 Figure 21. Tightened caliper bolt
Step 15: Finally put the wheels back on, and torque them to the correct specification. Then pump the brakes and make sure they don’t feel loose. Read up the procedure on breaking in the new pads and go for a drive !