The Miata’s headlights were not as clear as I liked, so I decided to try to clean them with Meguiar’s headlight restoration kit (Figure 1), which I purchased at my local auto parts store.
Chris Fix has a video (and another) on how to clean up the headlights but I did not follow his method, and instead bought a restoration kit to see if it did the job. I think it did a decent job.
Note that this cleaning process should be conducted in the shade.
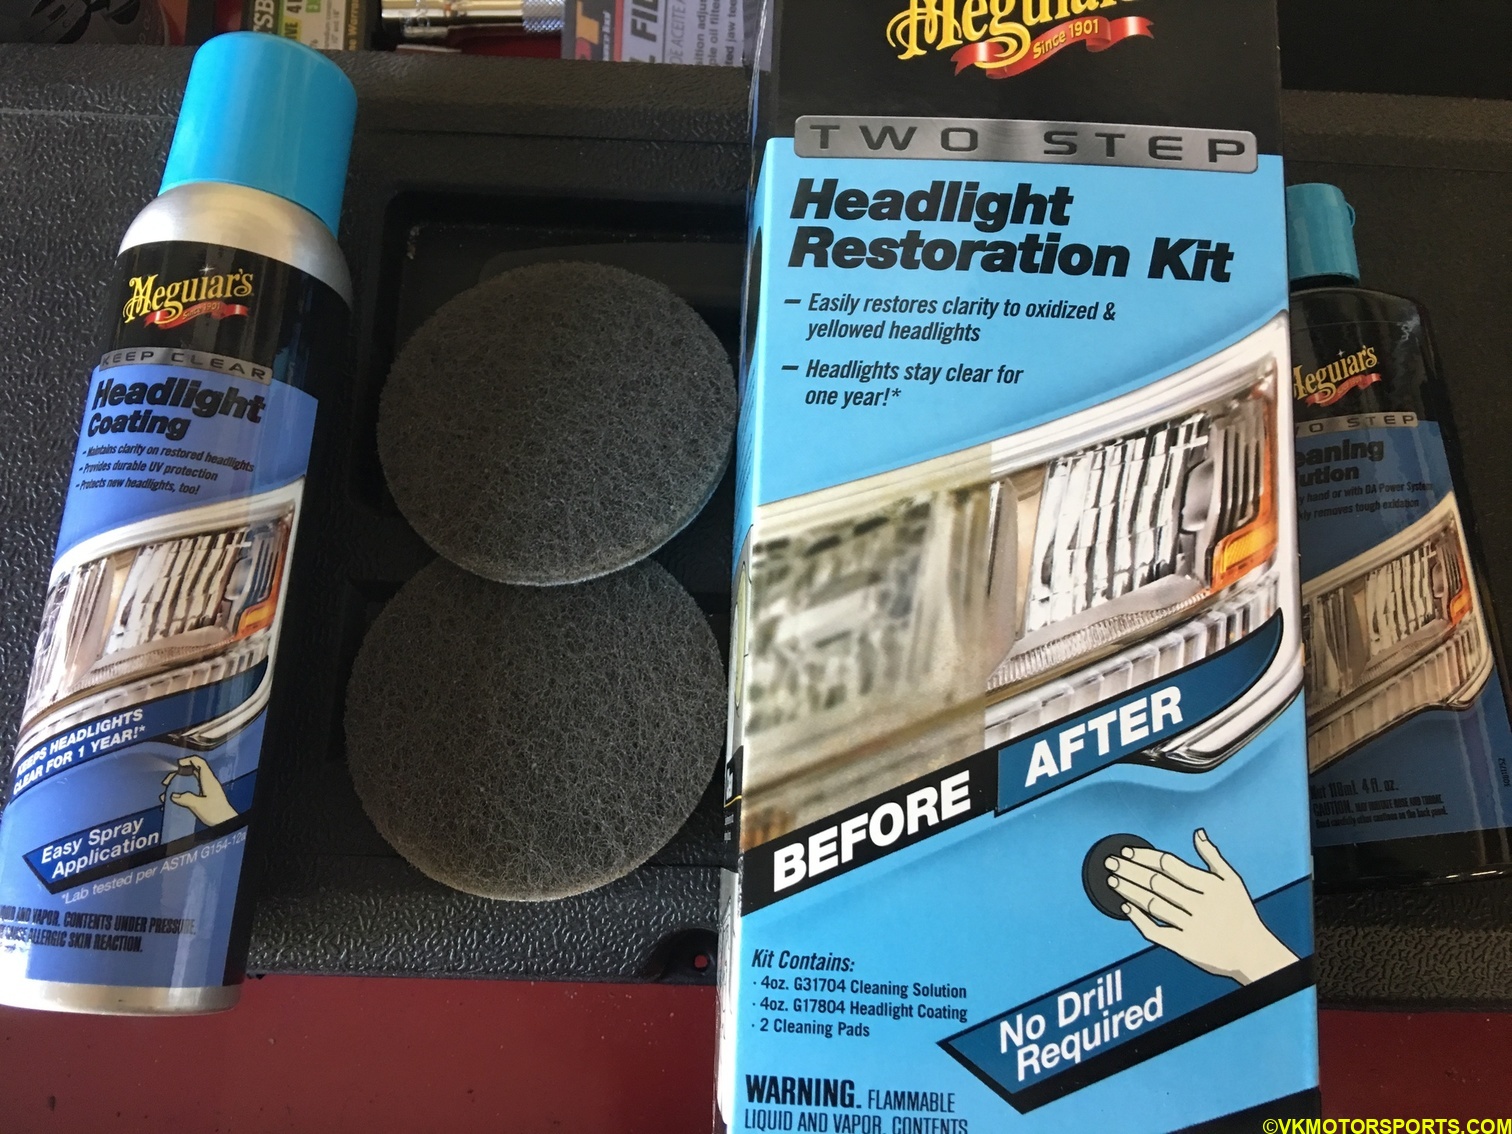 Figure 1. Meguiar’s headlight restoration kit
Step 1: Add masking tape around both the headlights (Figures 2 and 3).
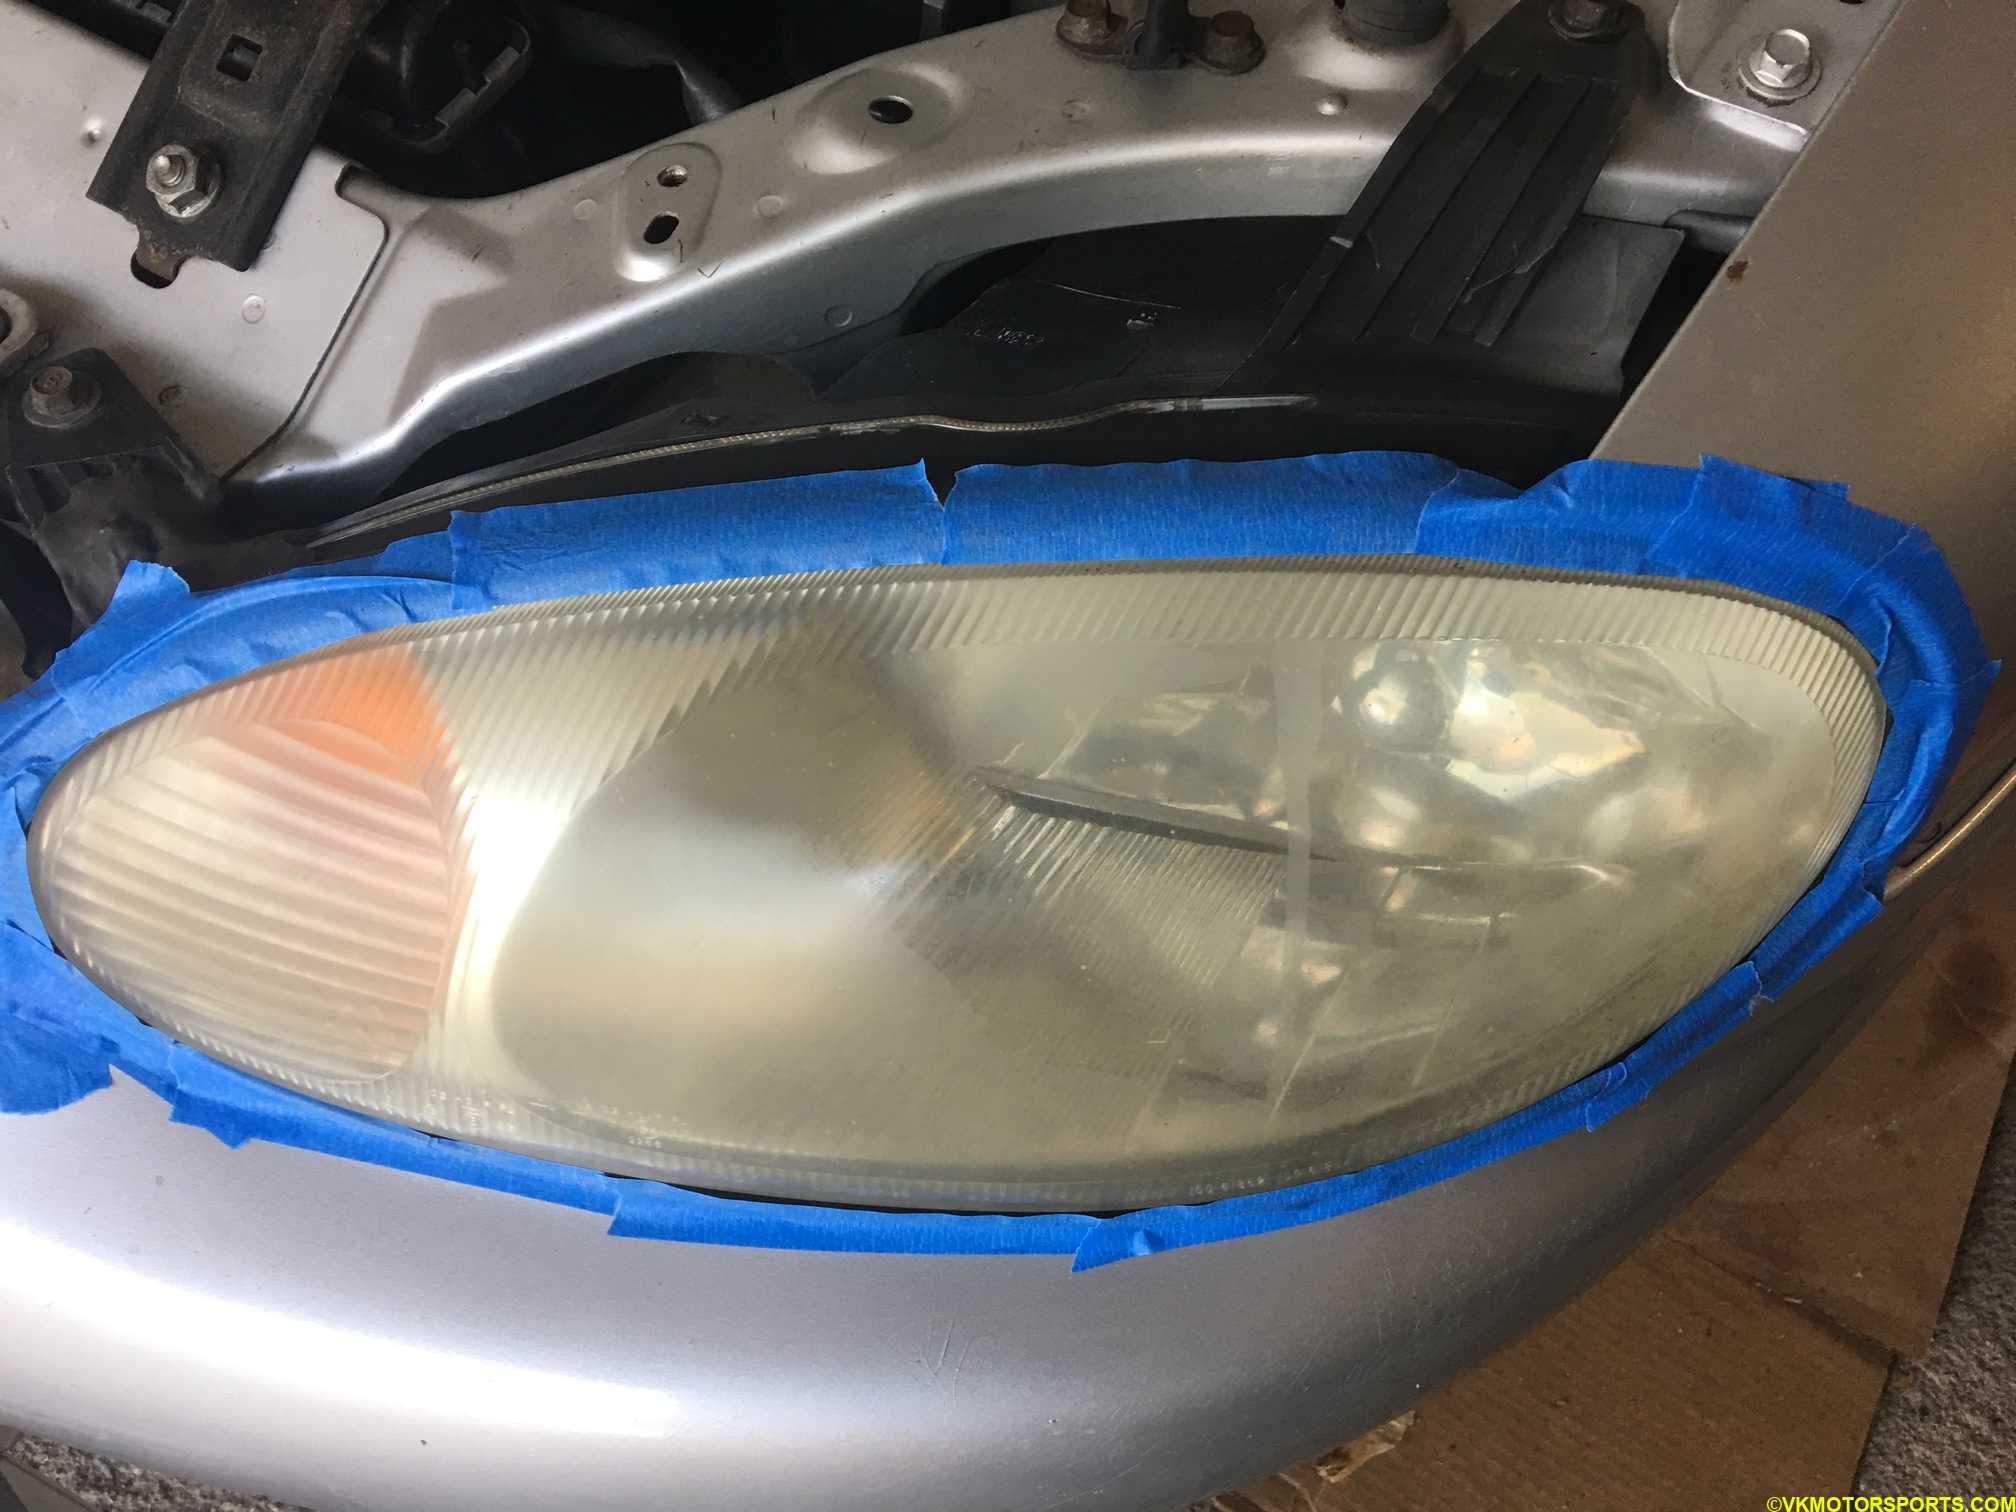 Figure 2. Driver-side headlight with masking tape - the before image
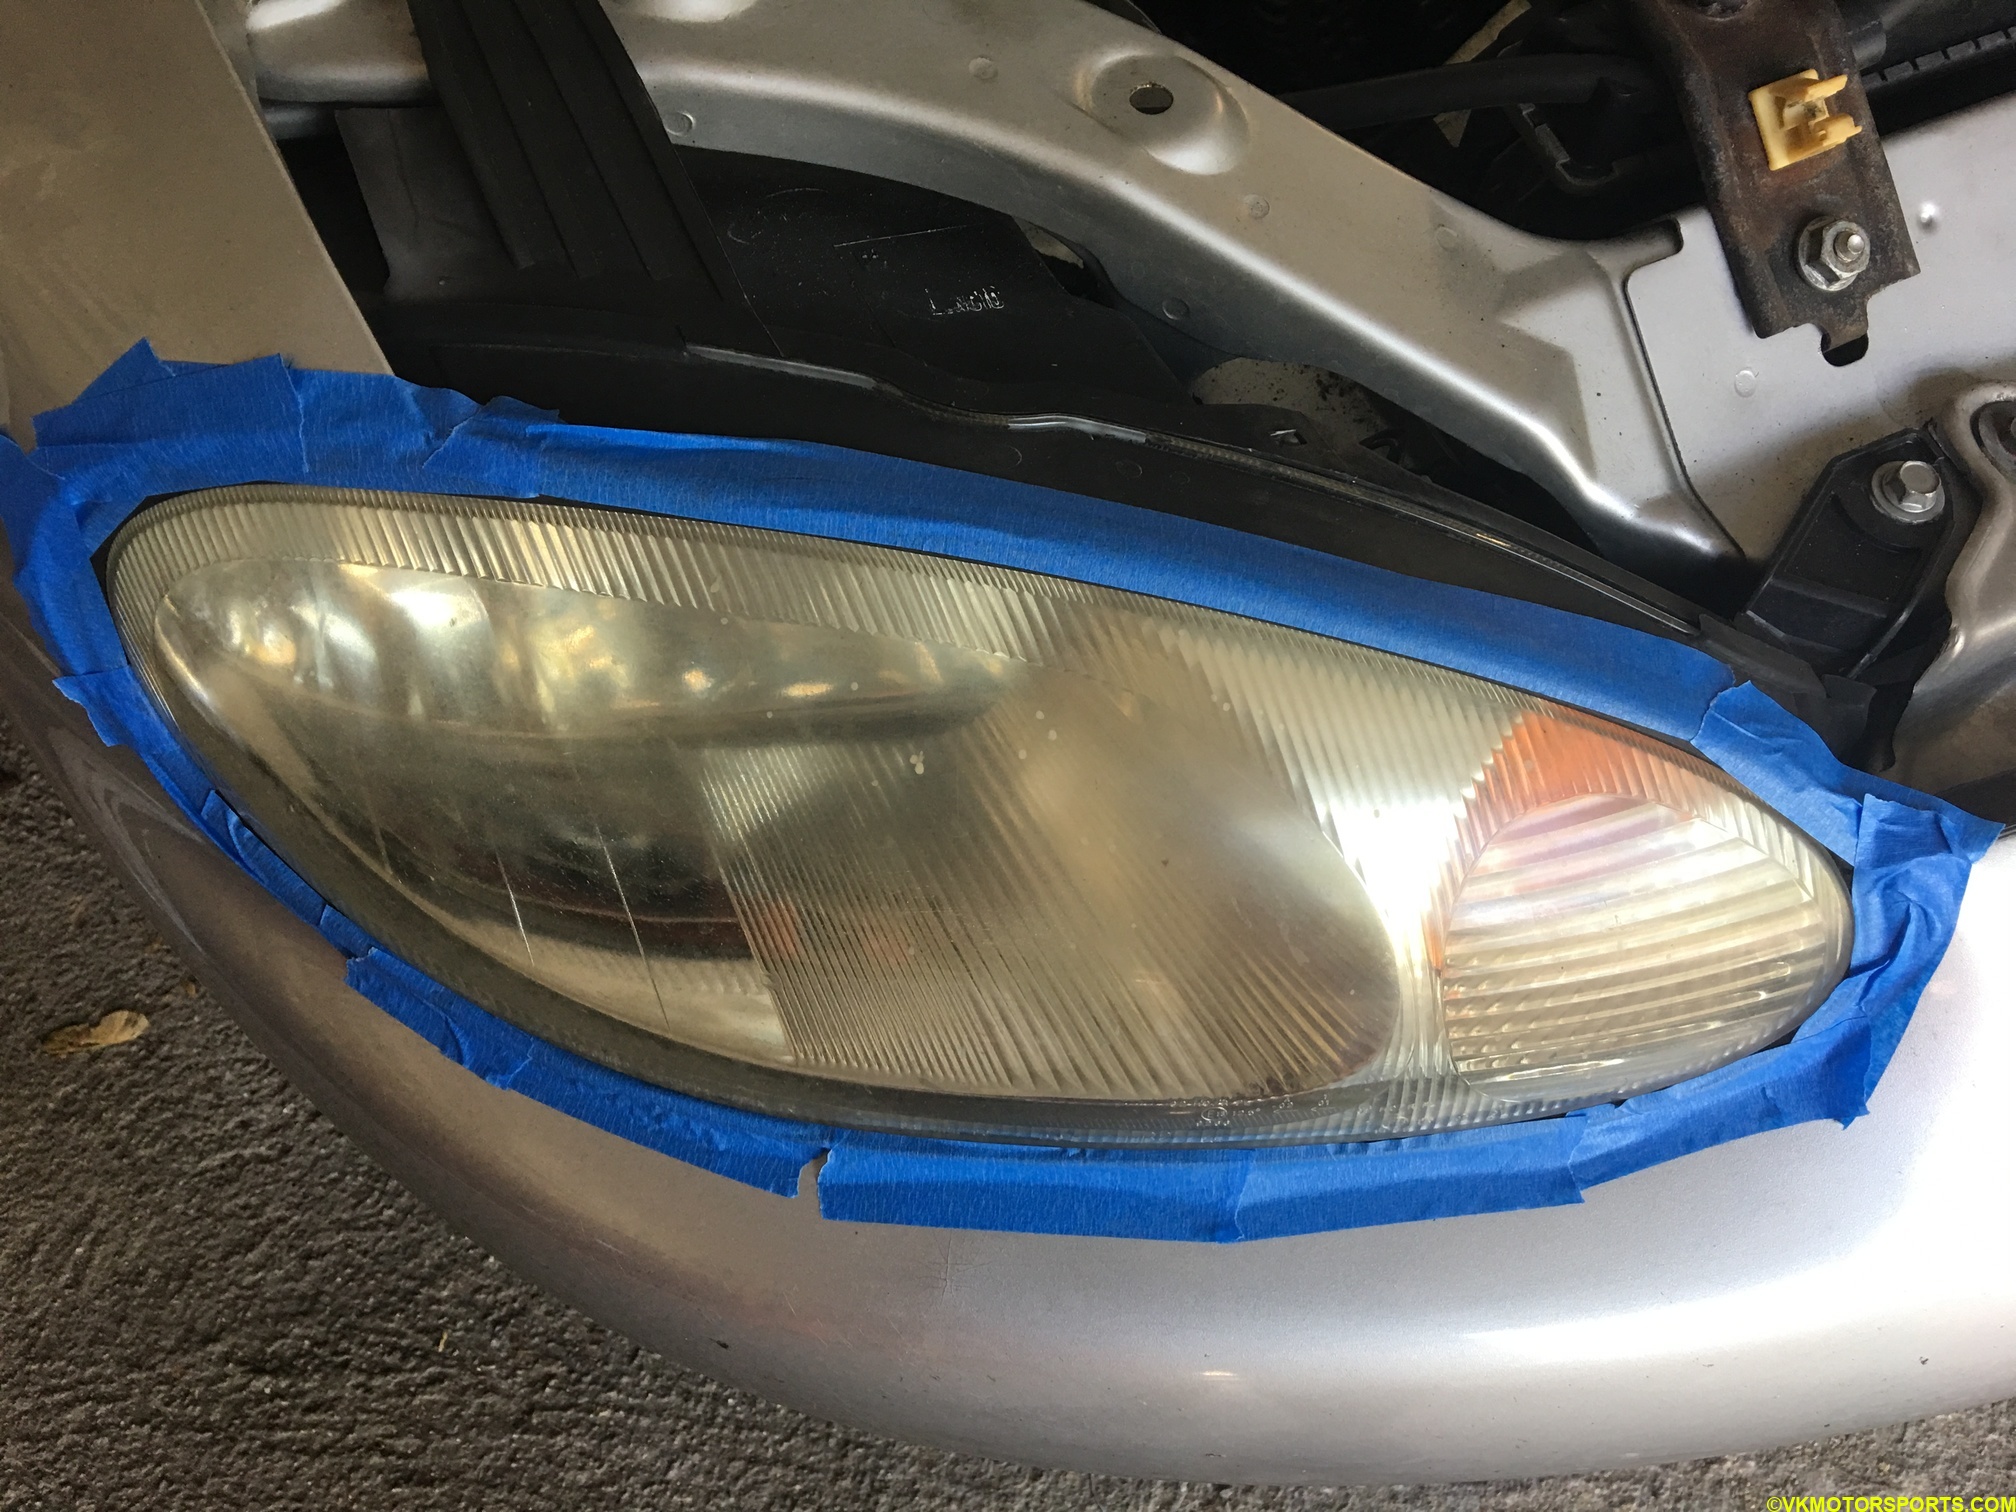 Figure 3. Passenger-side headlight with masking tape - the before image
Step 2: Take some cleaning solution on the scrub pad (Figure 4) and scrub the headlights in directional moves as shown in Figure 5.
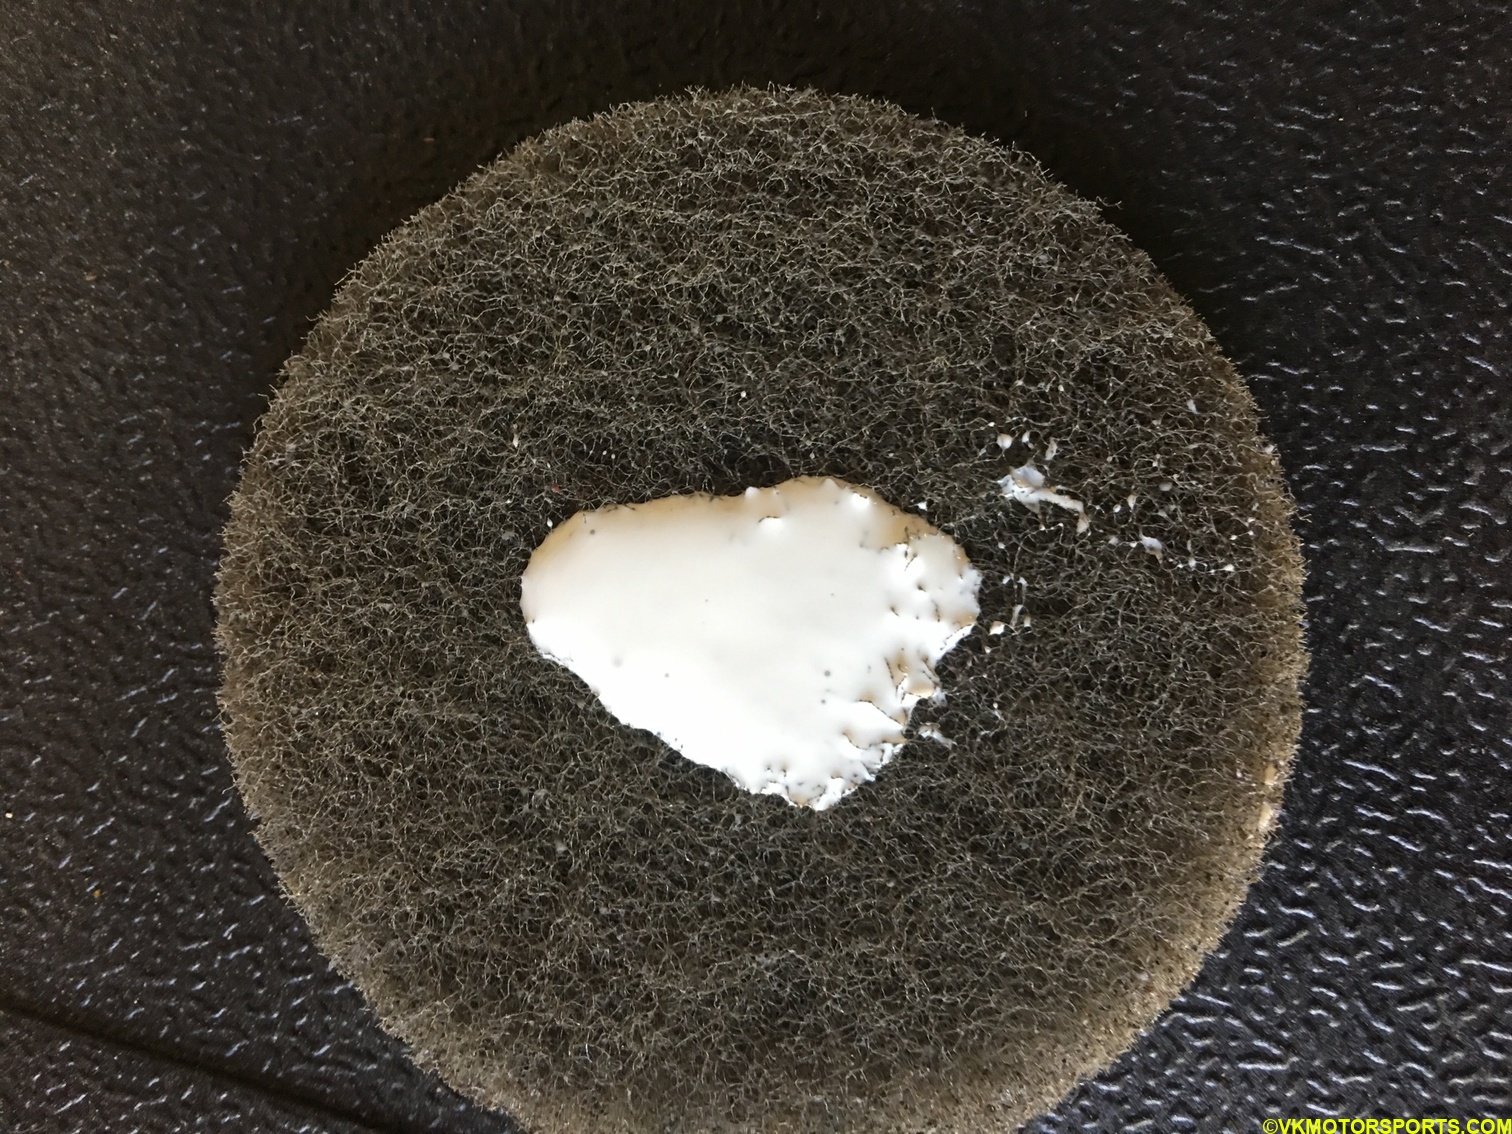 Figure 4. Scrub pad with cleaning solution
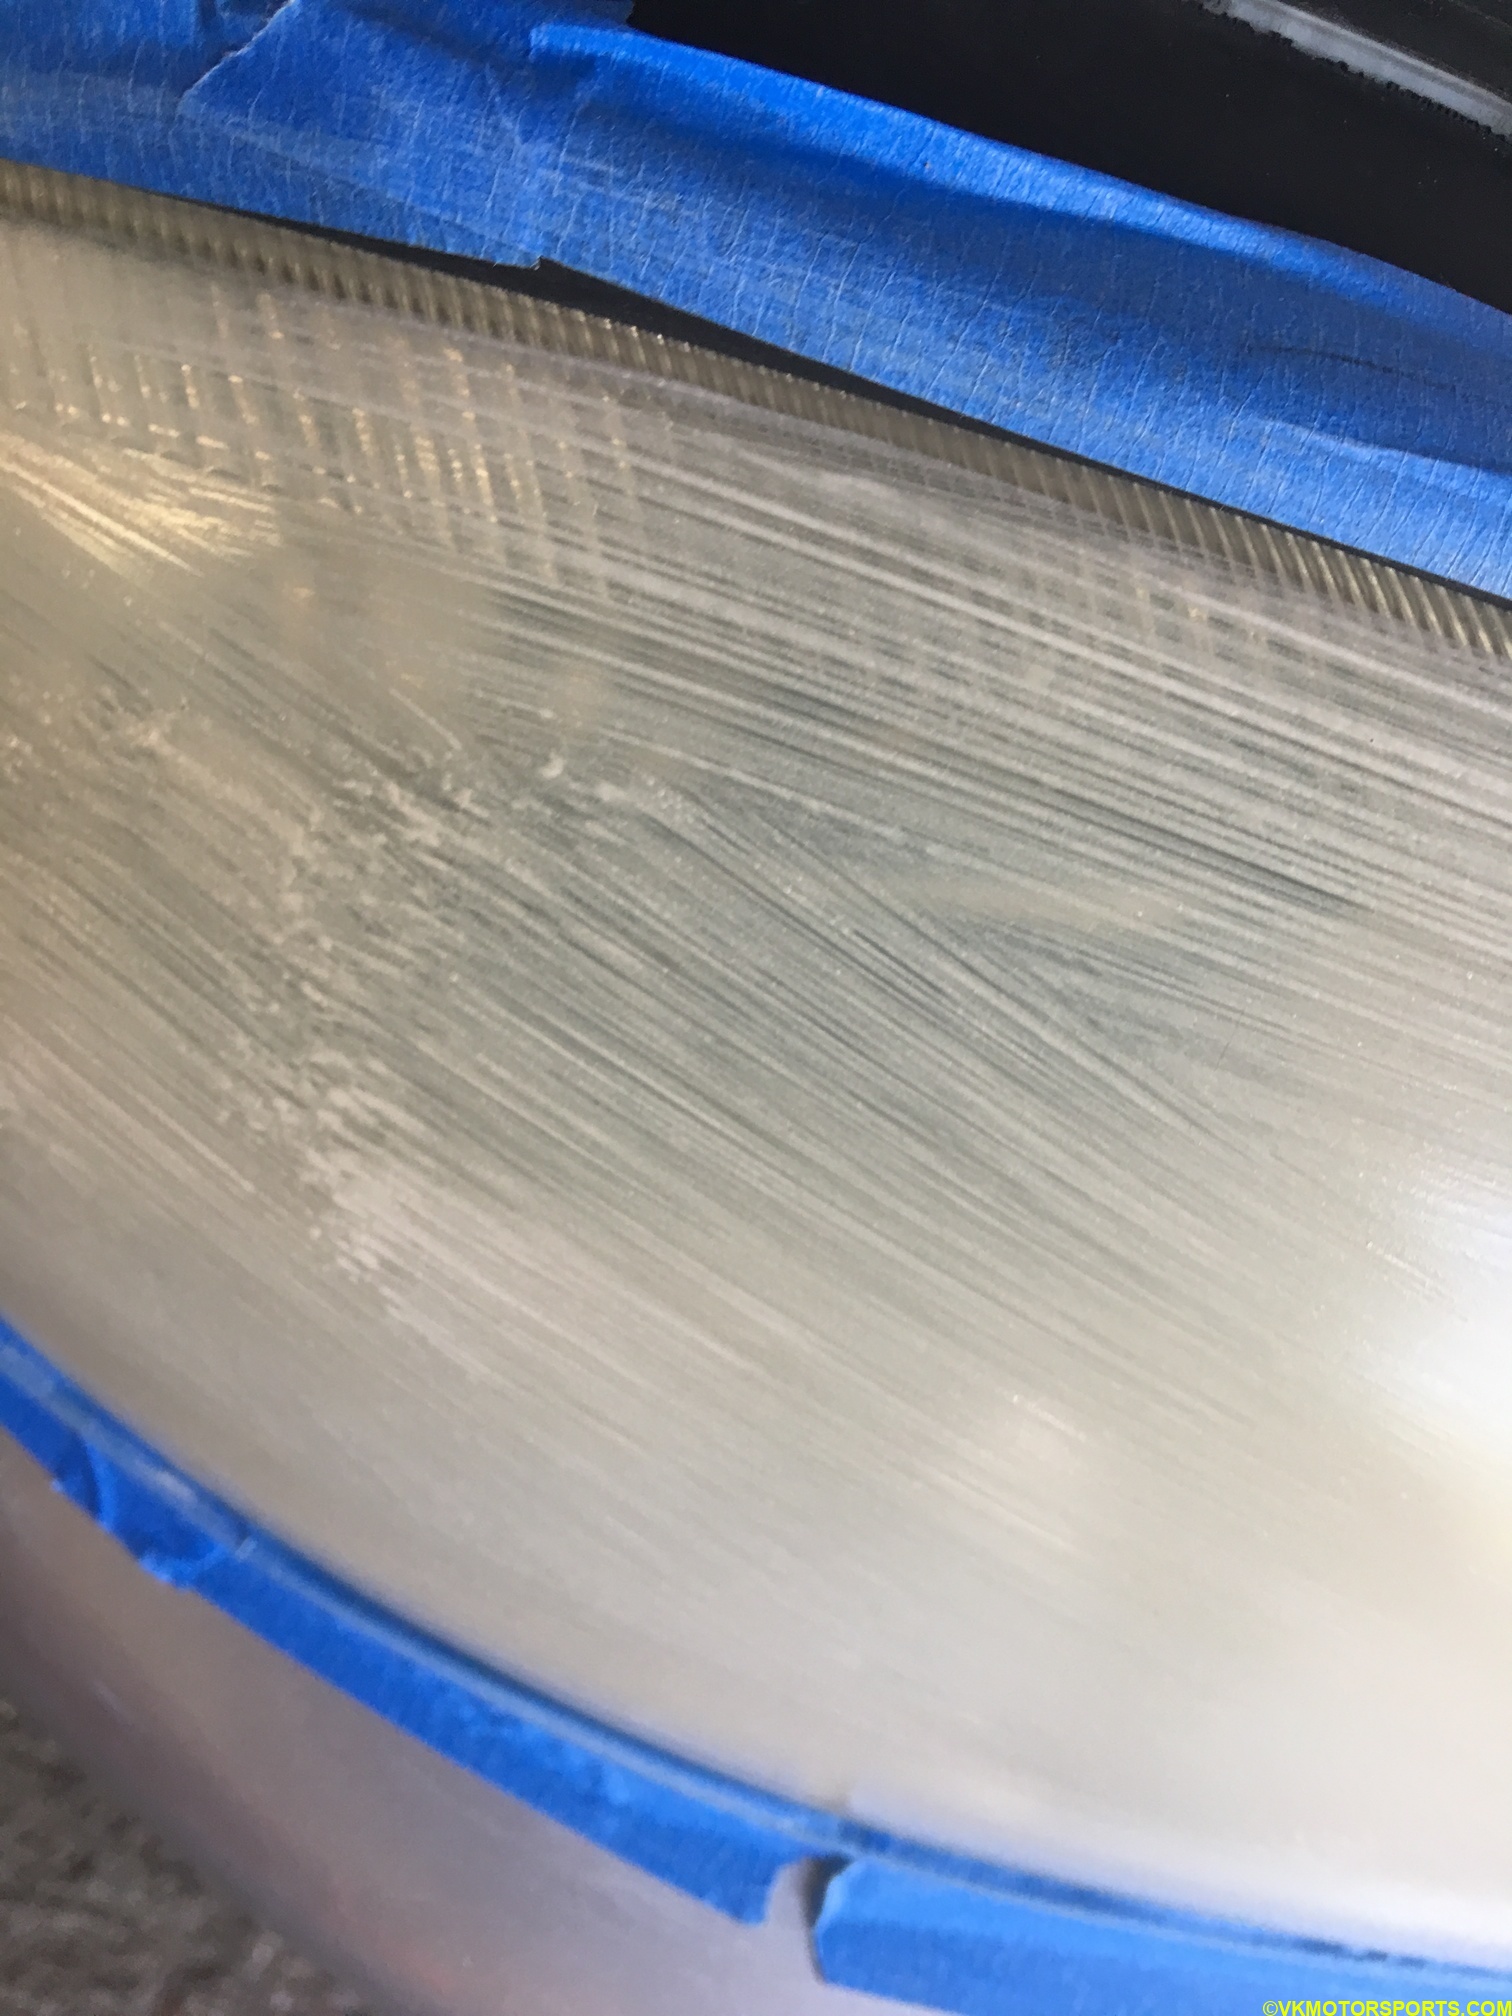 Figure 5. Scrub the headlight
Step 3: Wipe the headlights with a clean cloth (Figure 6) and repeat the Step 2 process as many times as you want until you see it getting clearer. I did it about 4 times and it looked like Figure 7.
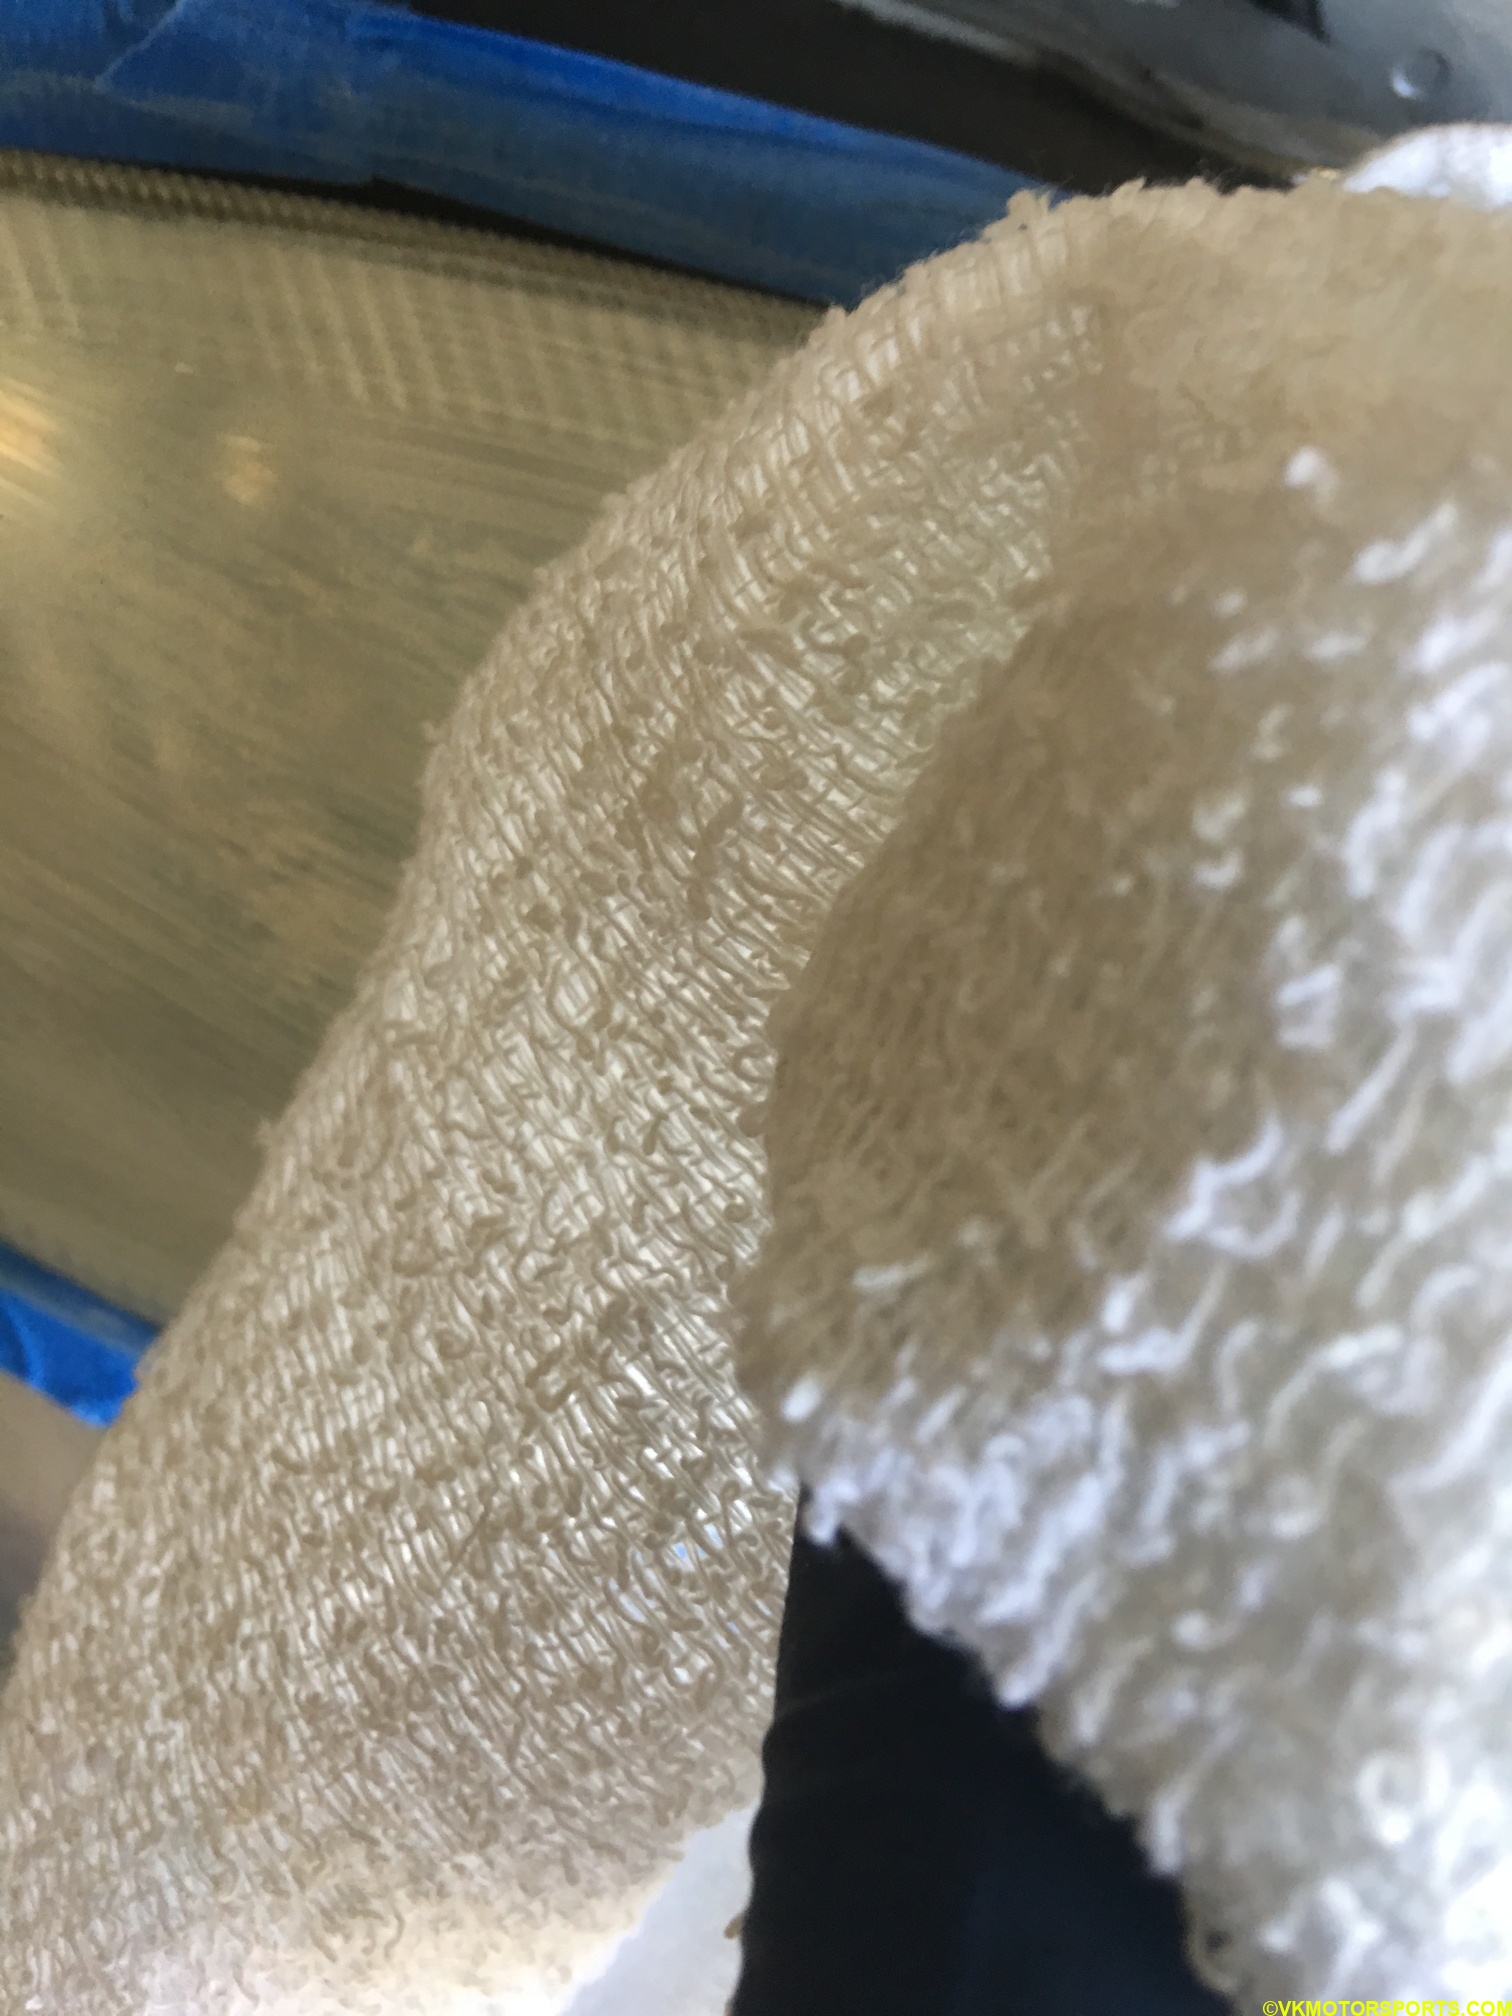 Figure 6. Wipe the headlights with a dry cloth
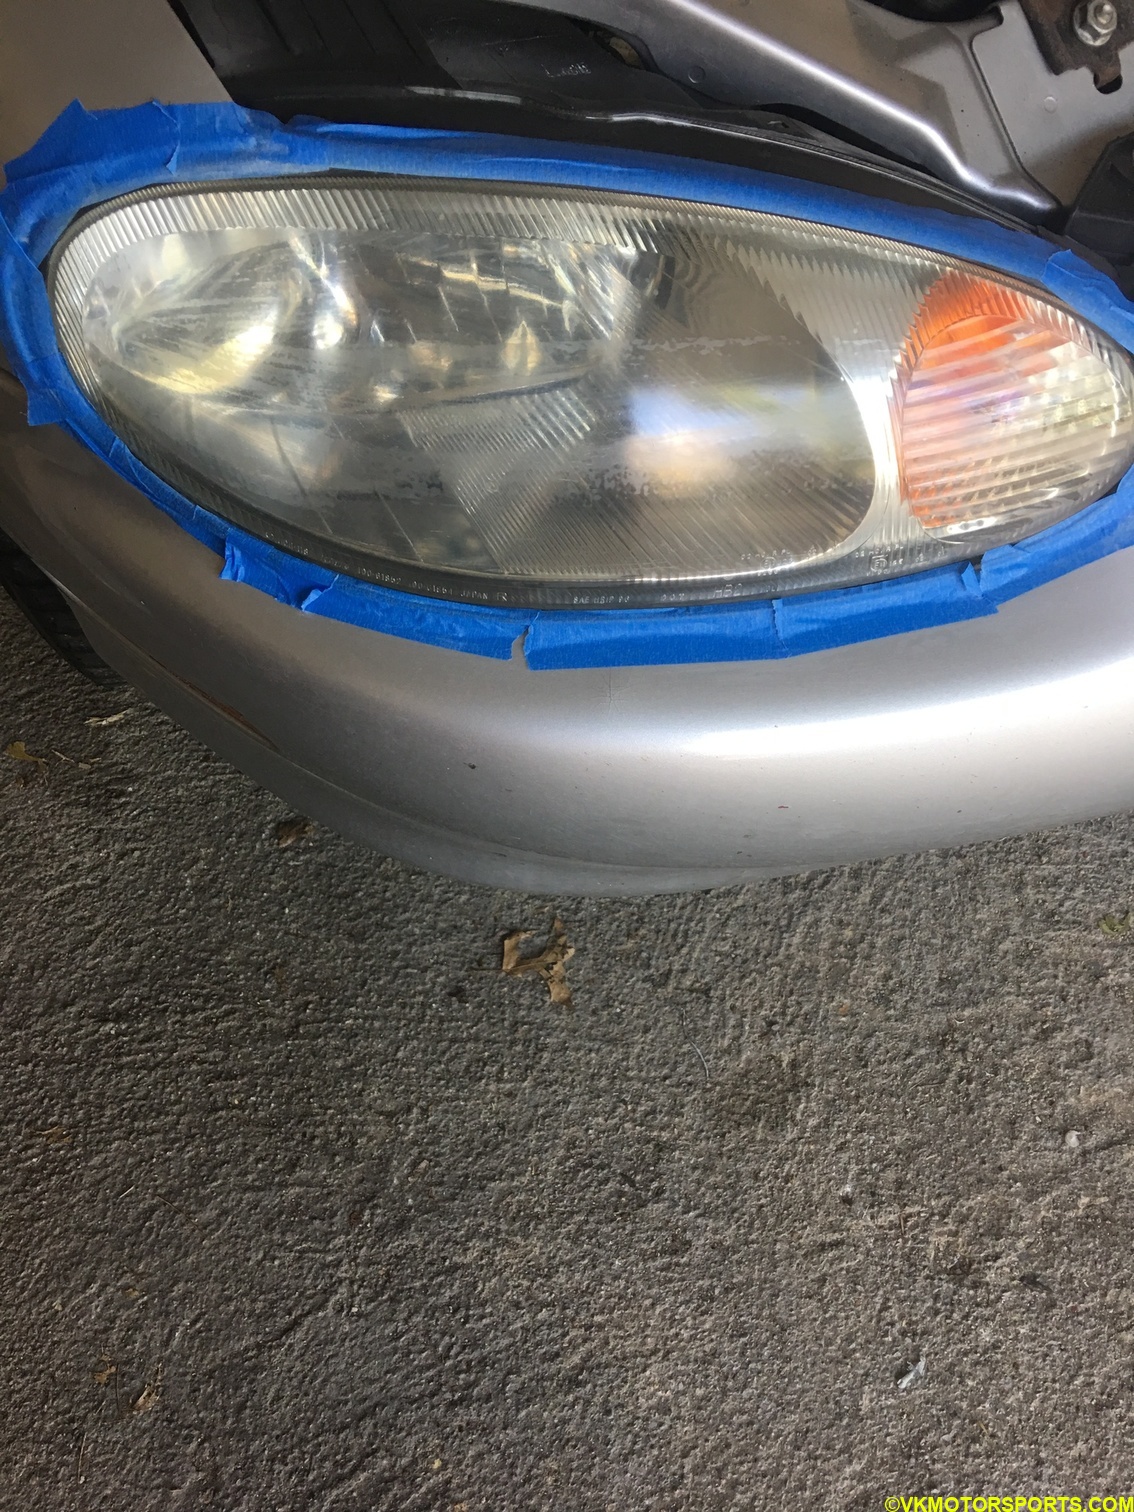 Figure 7. After the dry cloth wipe
Step 4: Now use a clean damp cloth and wipe both the headlights again and let it dry fully. NOTE: It is important to let the headlight dry out before the next step. It will not be perfectly clear but frosty.
 Figure 8. Driver-side after wiping with a damp cloth
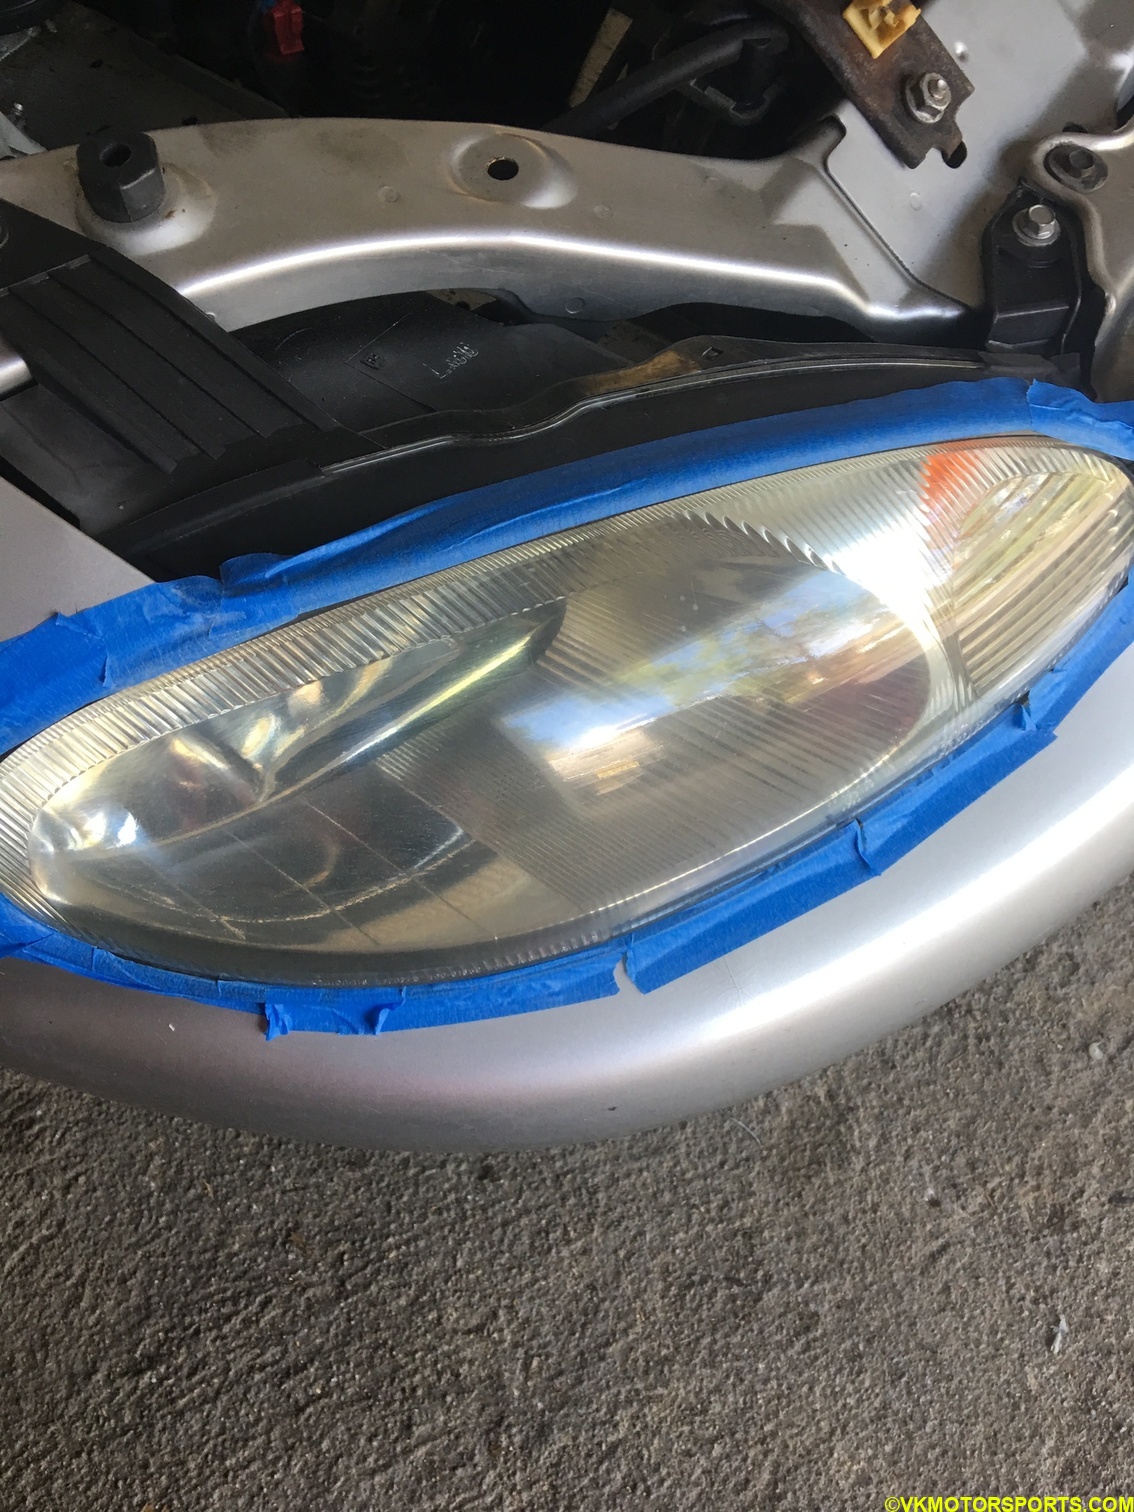 Figure 9. Passenger-side after wiping with a damp cloth
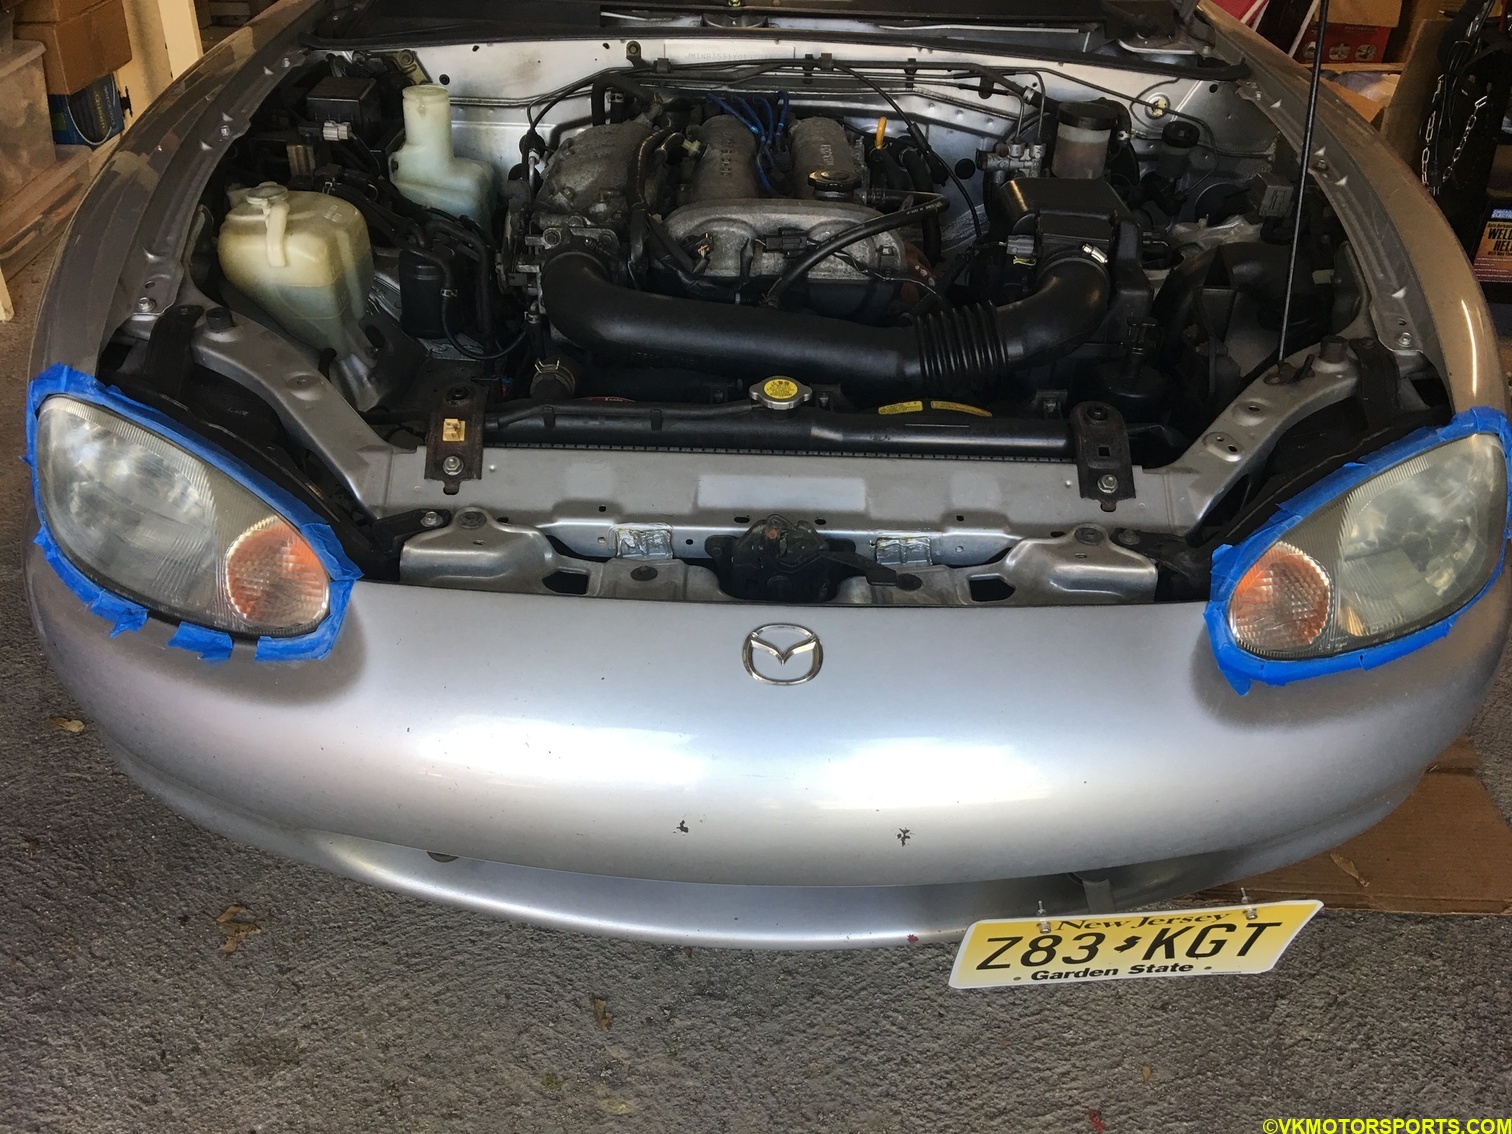 Figure 10. Front-view of the car after wiping with a damp cloth
Step 5: After the lights have dried out (in about 10-15 minutes), you should take the headlight coating can (Figure 11) and shake well. Then from about 7-9 inches away spray on the headlights once. Then wait about 5 minutes and spray again as instructed on the can. Then wait about 24 hours for the clear coat to take effect. The below figures show what the lights look like after the coating spray has been done.
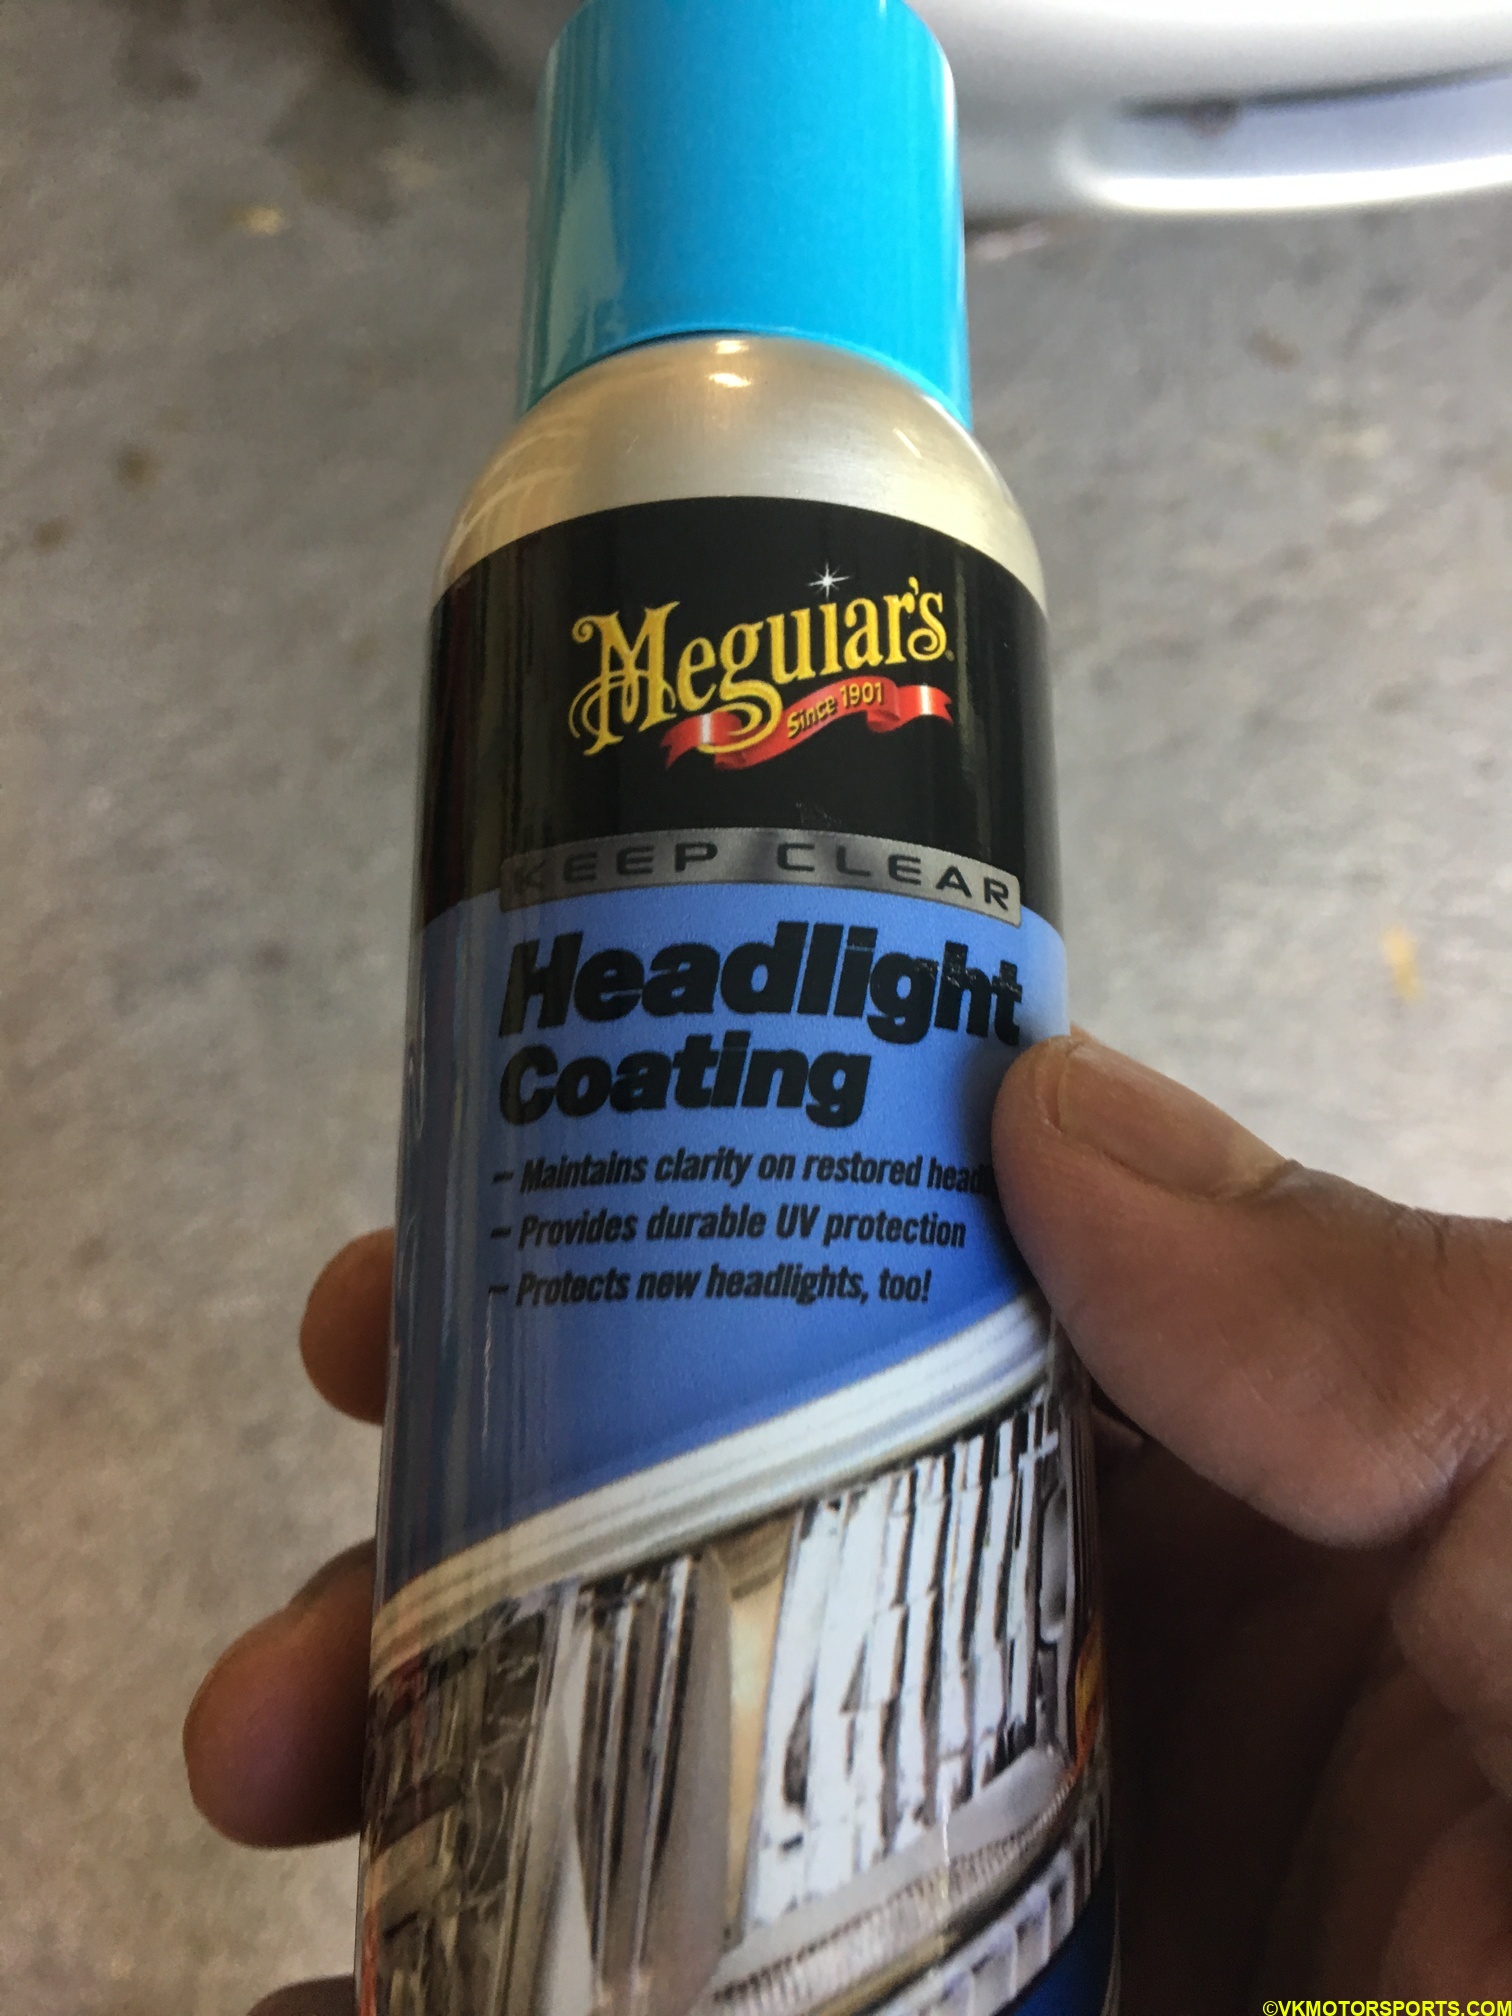 Figure 11. Headlight coating can
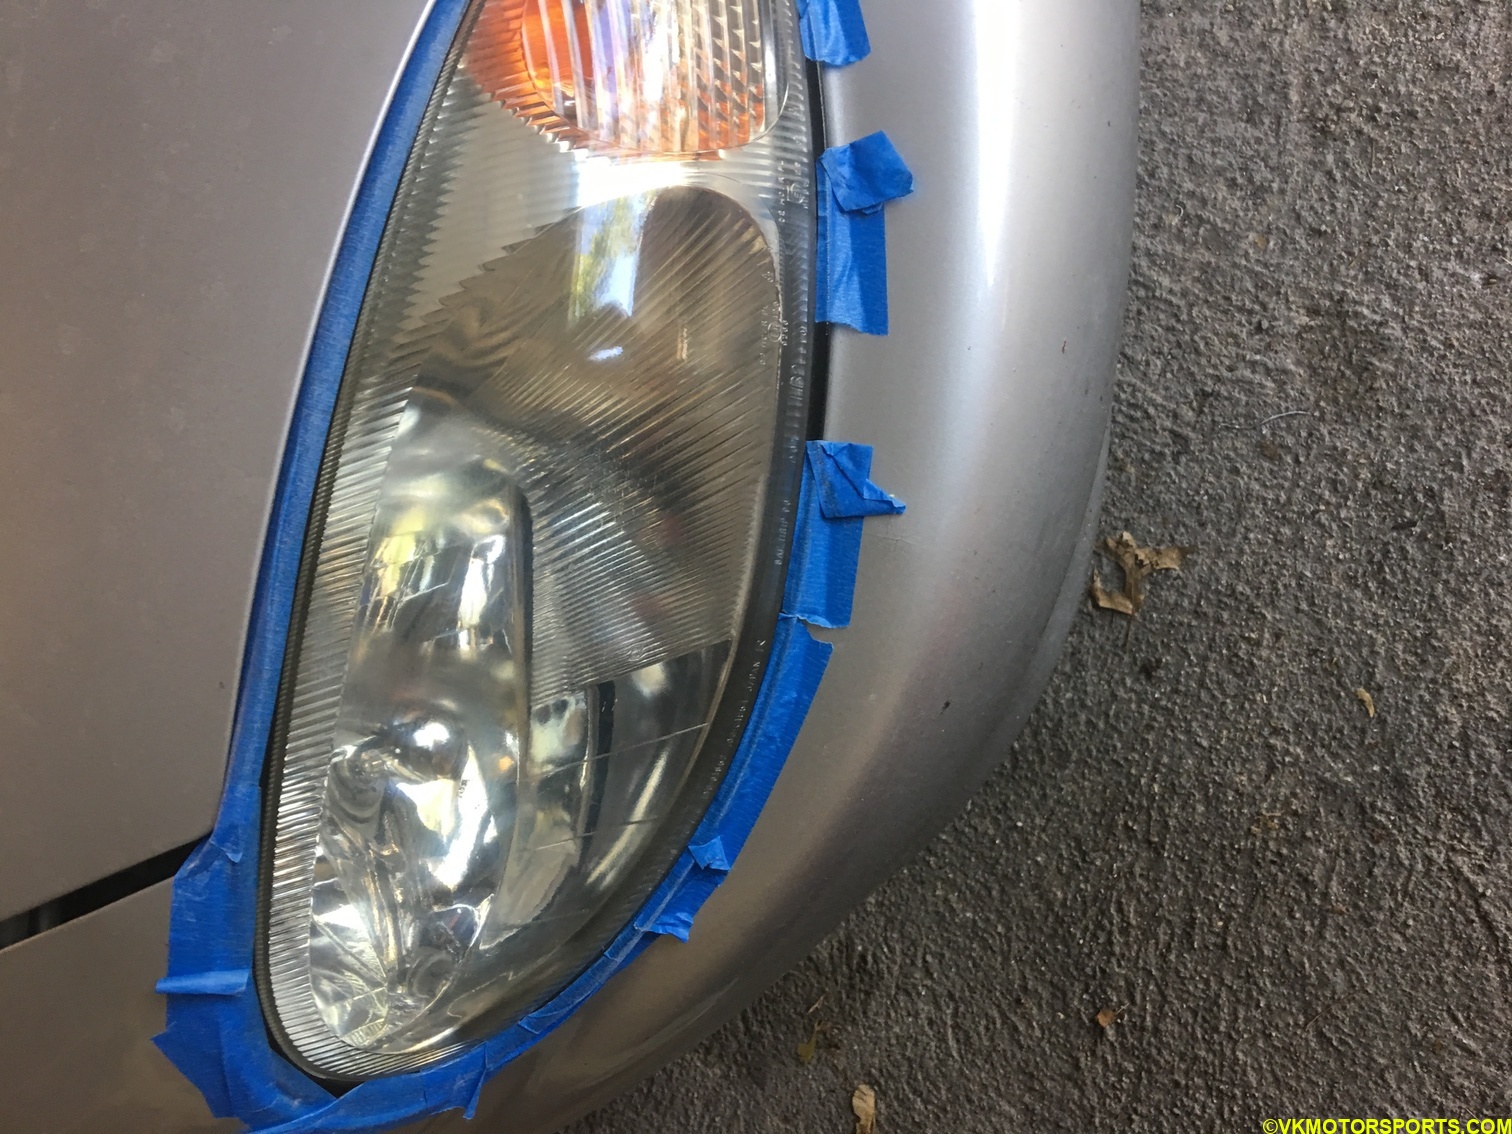 Figure 12. Driver-side after coating
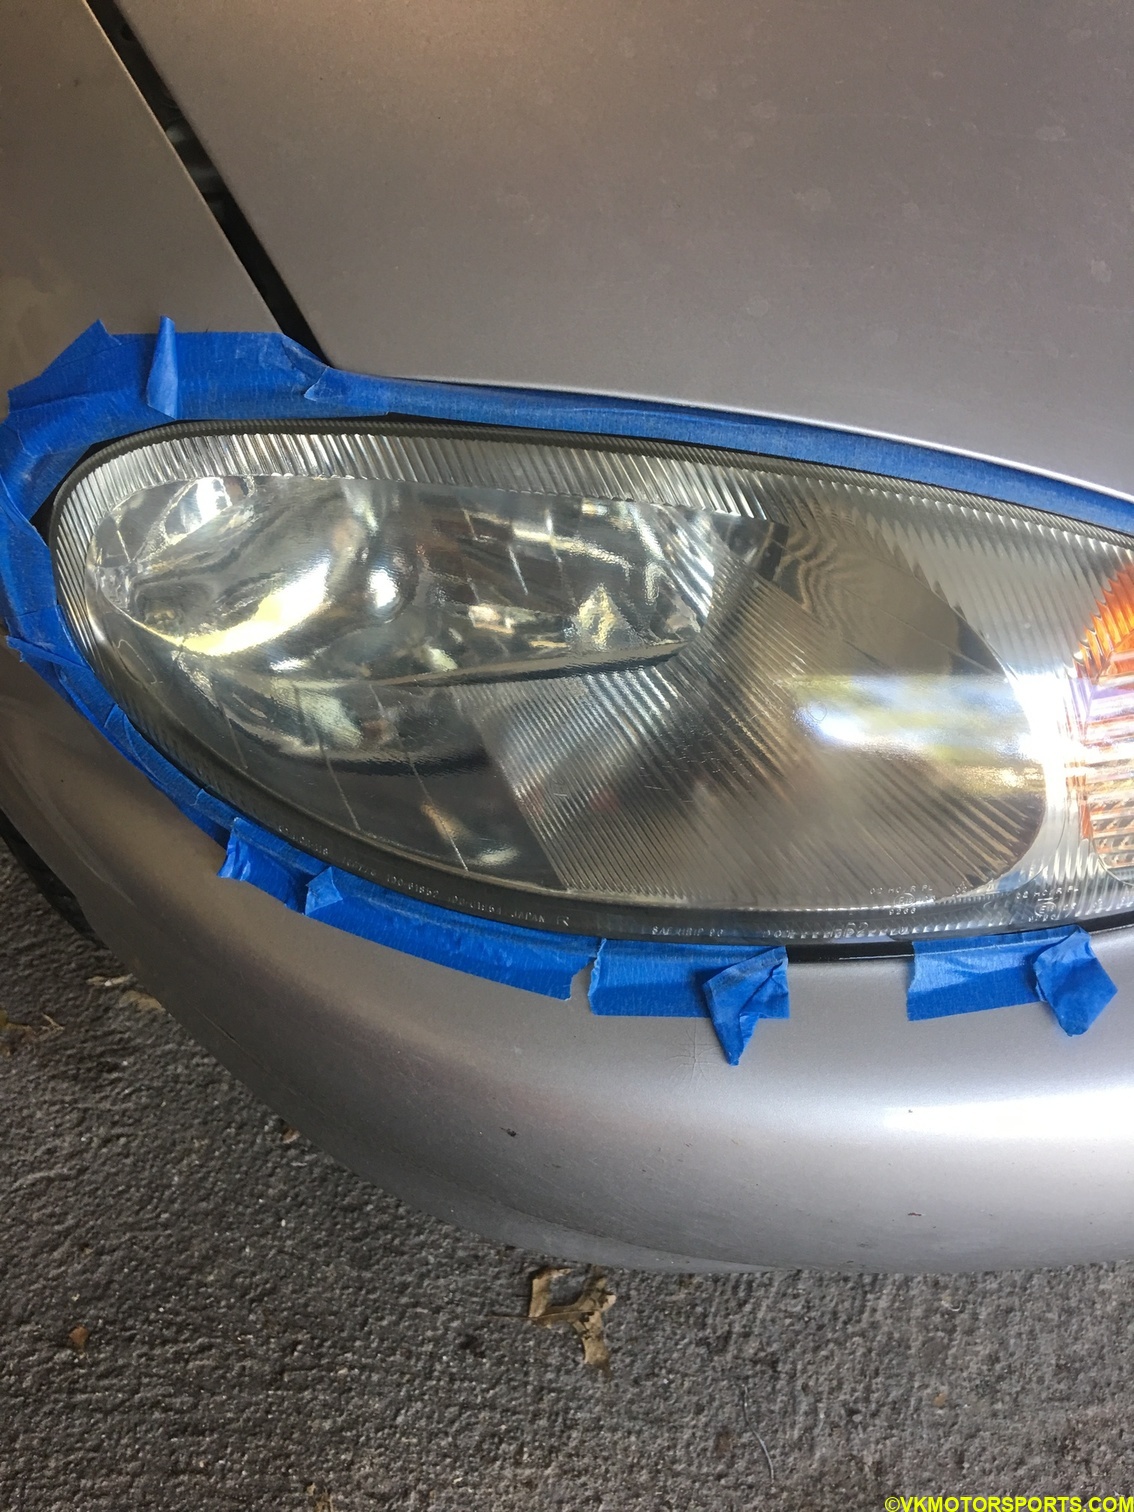 Figure 13. Passenger-side after coating
Now I wait 24 hours to see what the final results will look like, but so far I am pleased with the $12 effort and a lot is leftover that can be used for my other old cars. This is supposed to last a year, so maybe I will try ChrisFix’s method next year if needed.