The Miata’s engine has an easy to change Valve Cover Gasket, which I chose to replce because I saw some potential oil leak at the bottom of the car. I asked on reddit and the users said that it was probably a bad valve cover gasket and should be replaced, which is what I ended up doing. I am not sure if that has fixed the problem yet but will keep checking. It is quite an easy fix.
Step 1: Disconnect the battery as shown in Figure 1 to avoid any electrical interference.
 Figure 1. Disconnect the negative battery terminal
Step 2: Open the hood of the car and take note of all the bolts, hoses and electrical connectors that you may need to remove or disconnect before removing the valve cover (noted by the red arrow in Figure 2).
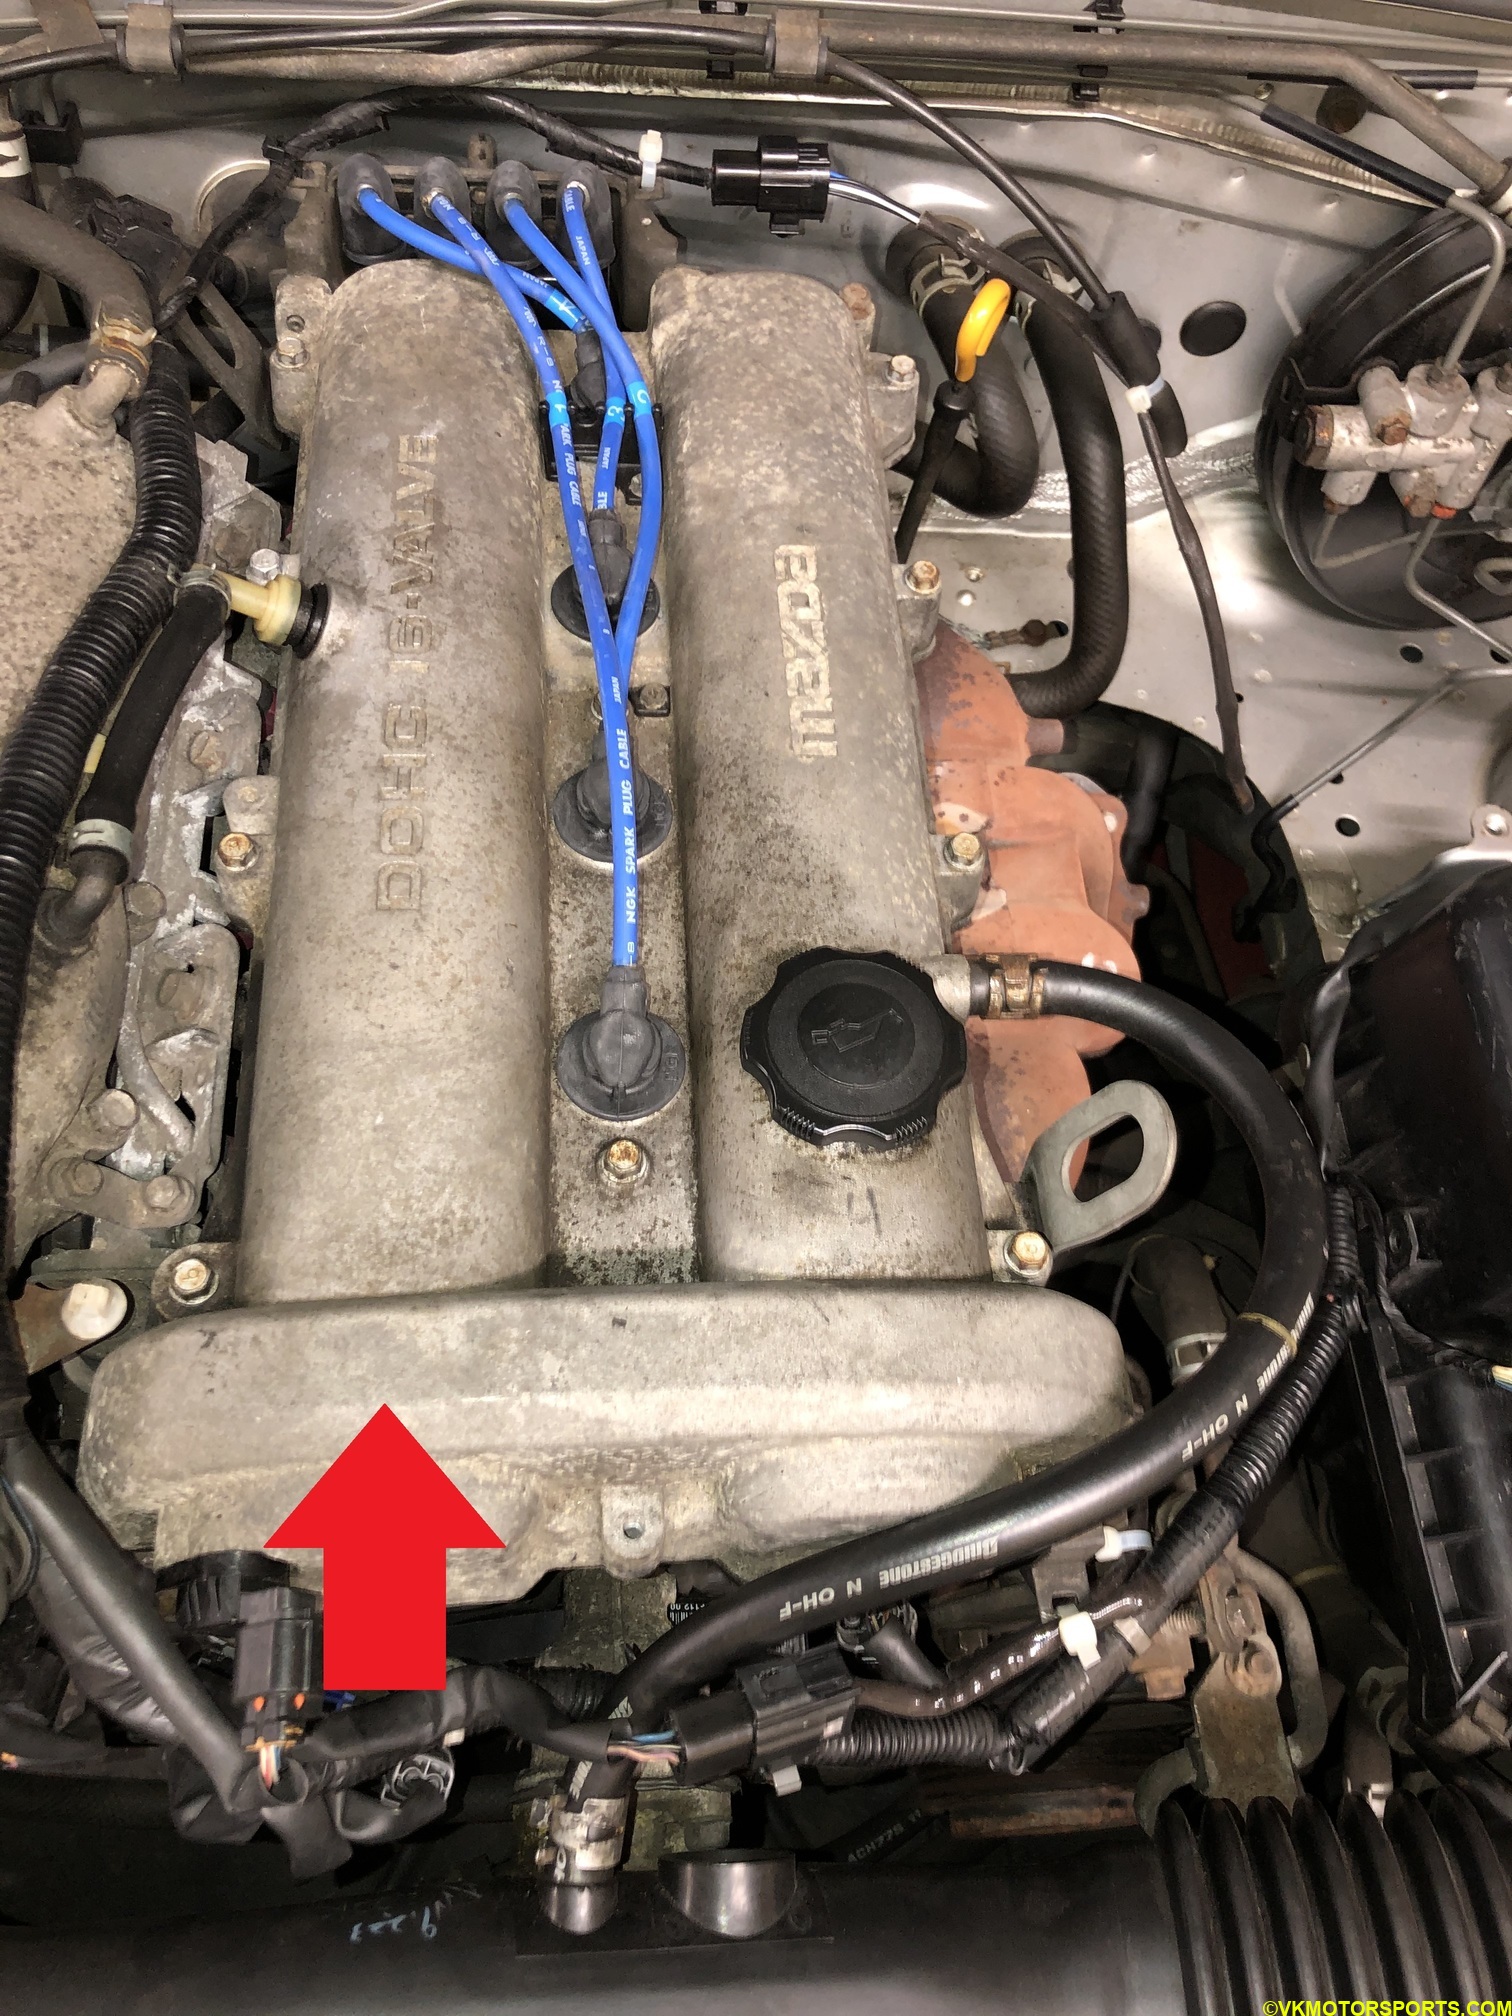 Figure 2. View of the engine with the red arrow pointing to the valve cover
Step 3: Carefully disconnect the spark plug wires from the engine as shown in Figure 3.
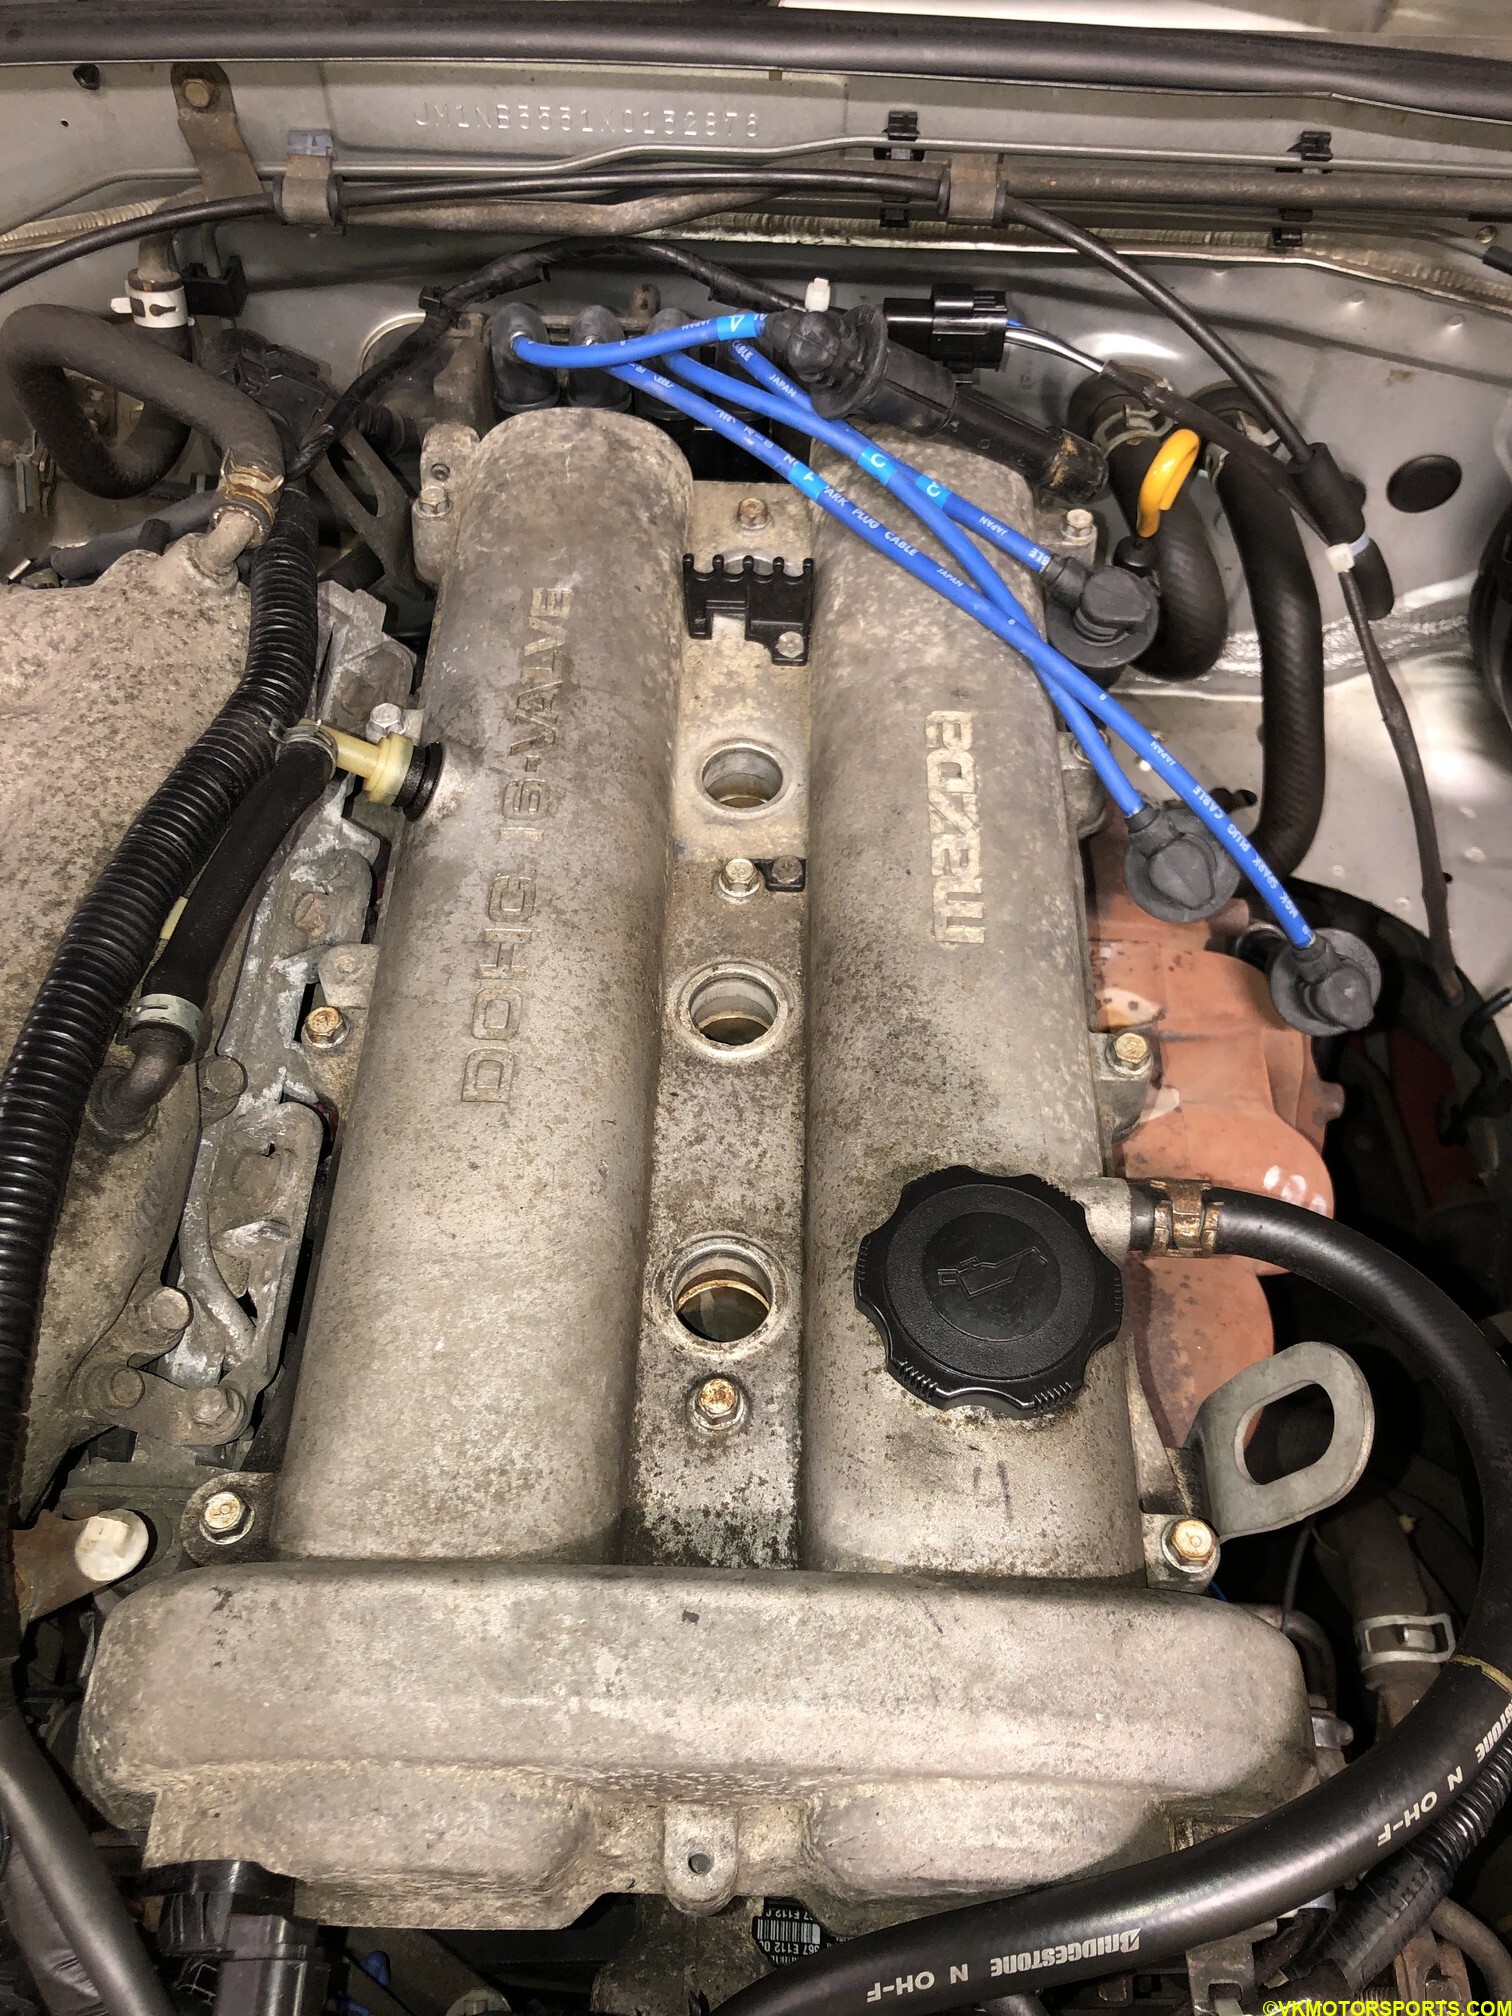 Figure 3. Remove the spark plug wires
Step 4: Additionally, we have to remove the hose on the right side of the cover and the PCV valve on the left side of the cover, if possible. I was unable to remove the PCV valve since it was too tight.
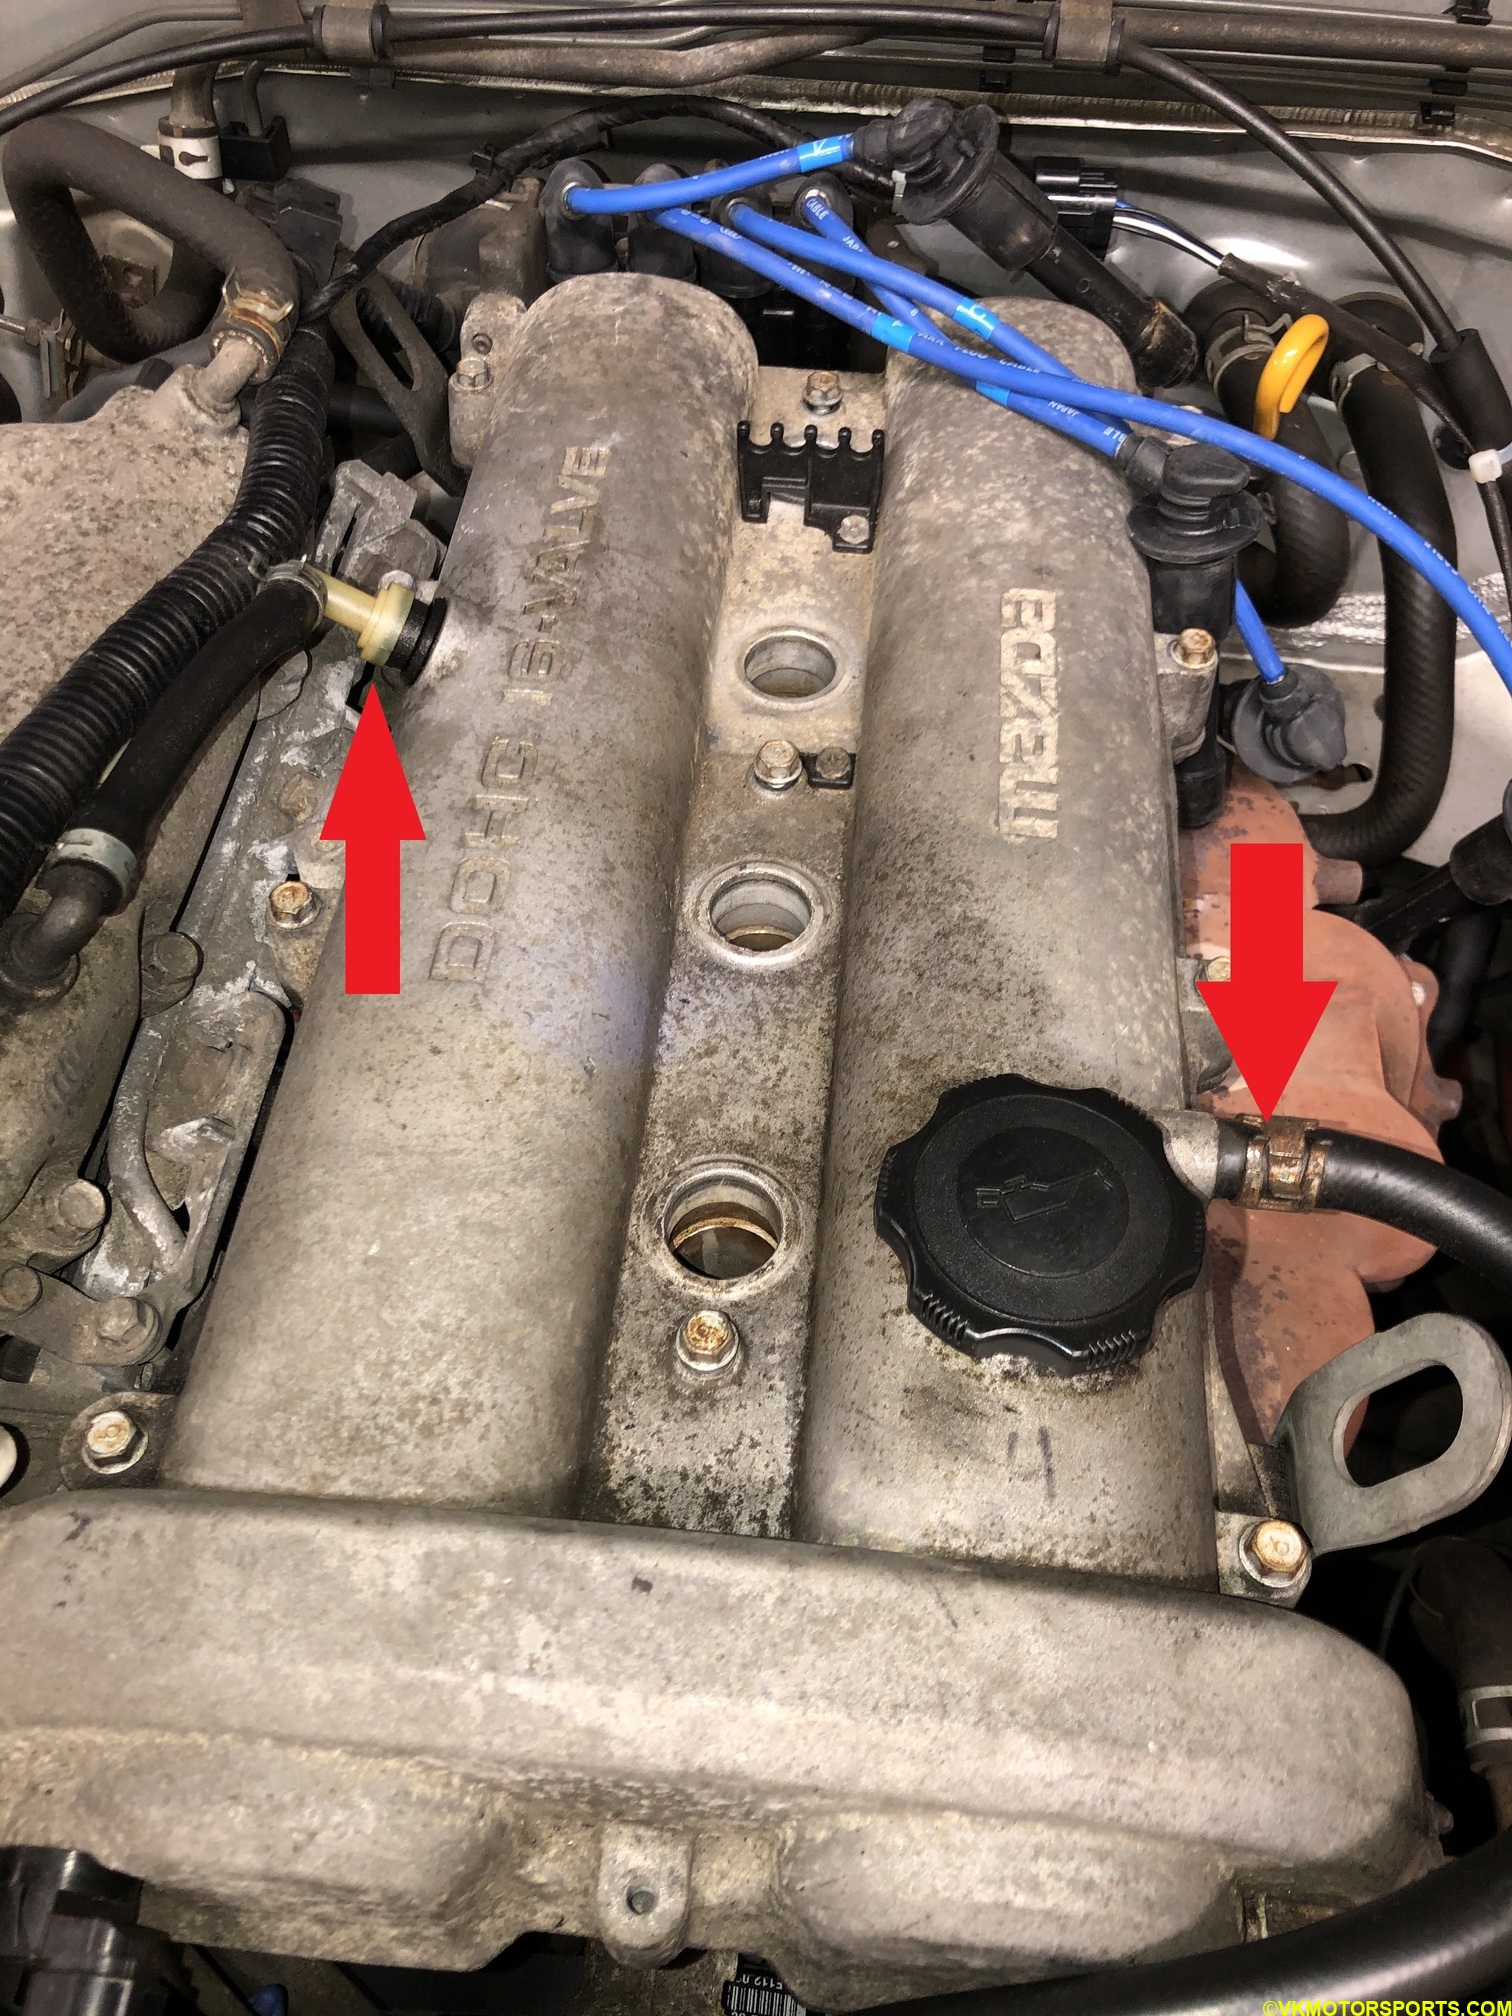 Figure 4. Hoses and connectors to remove
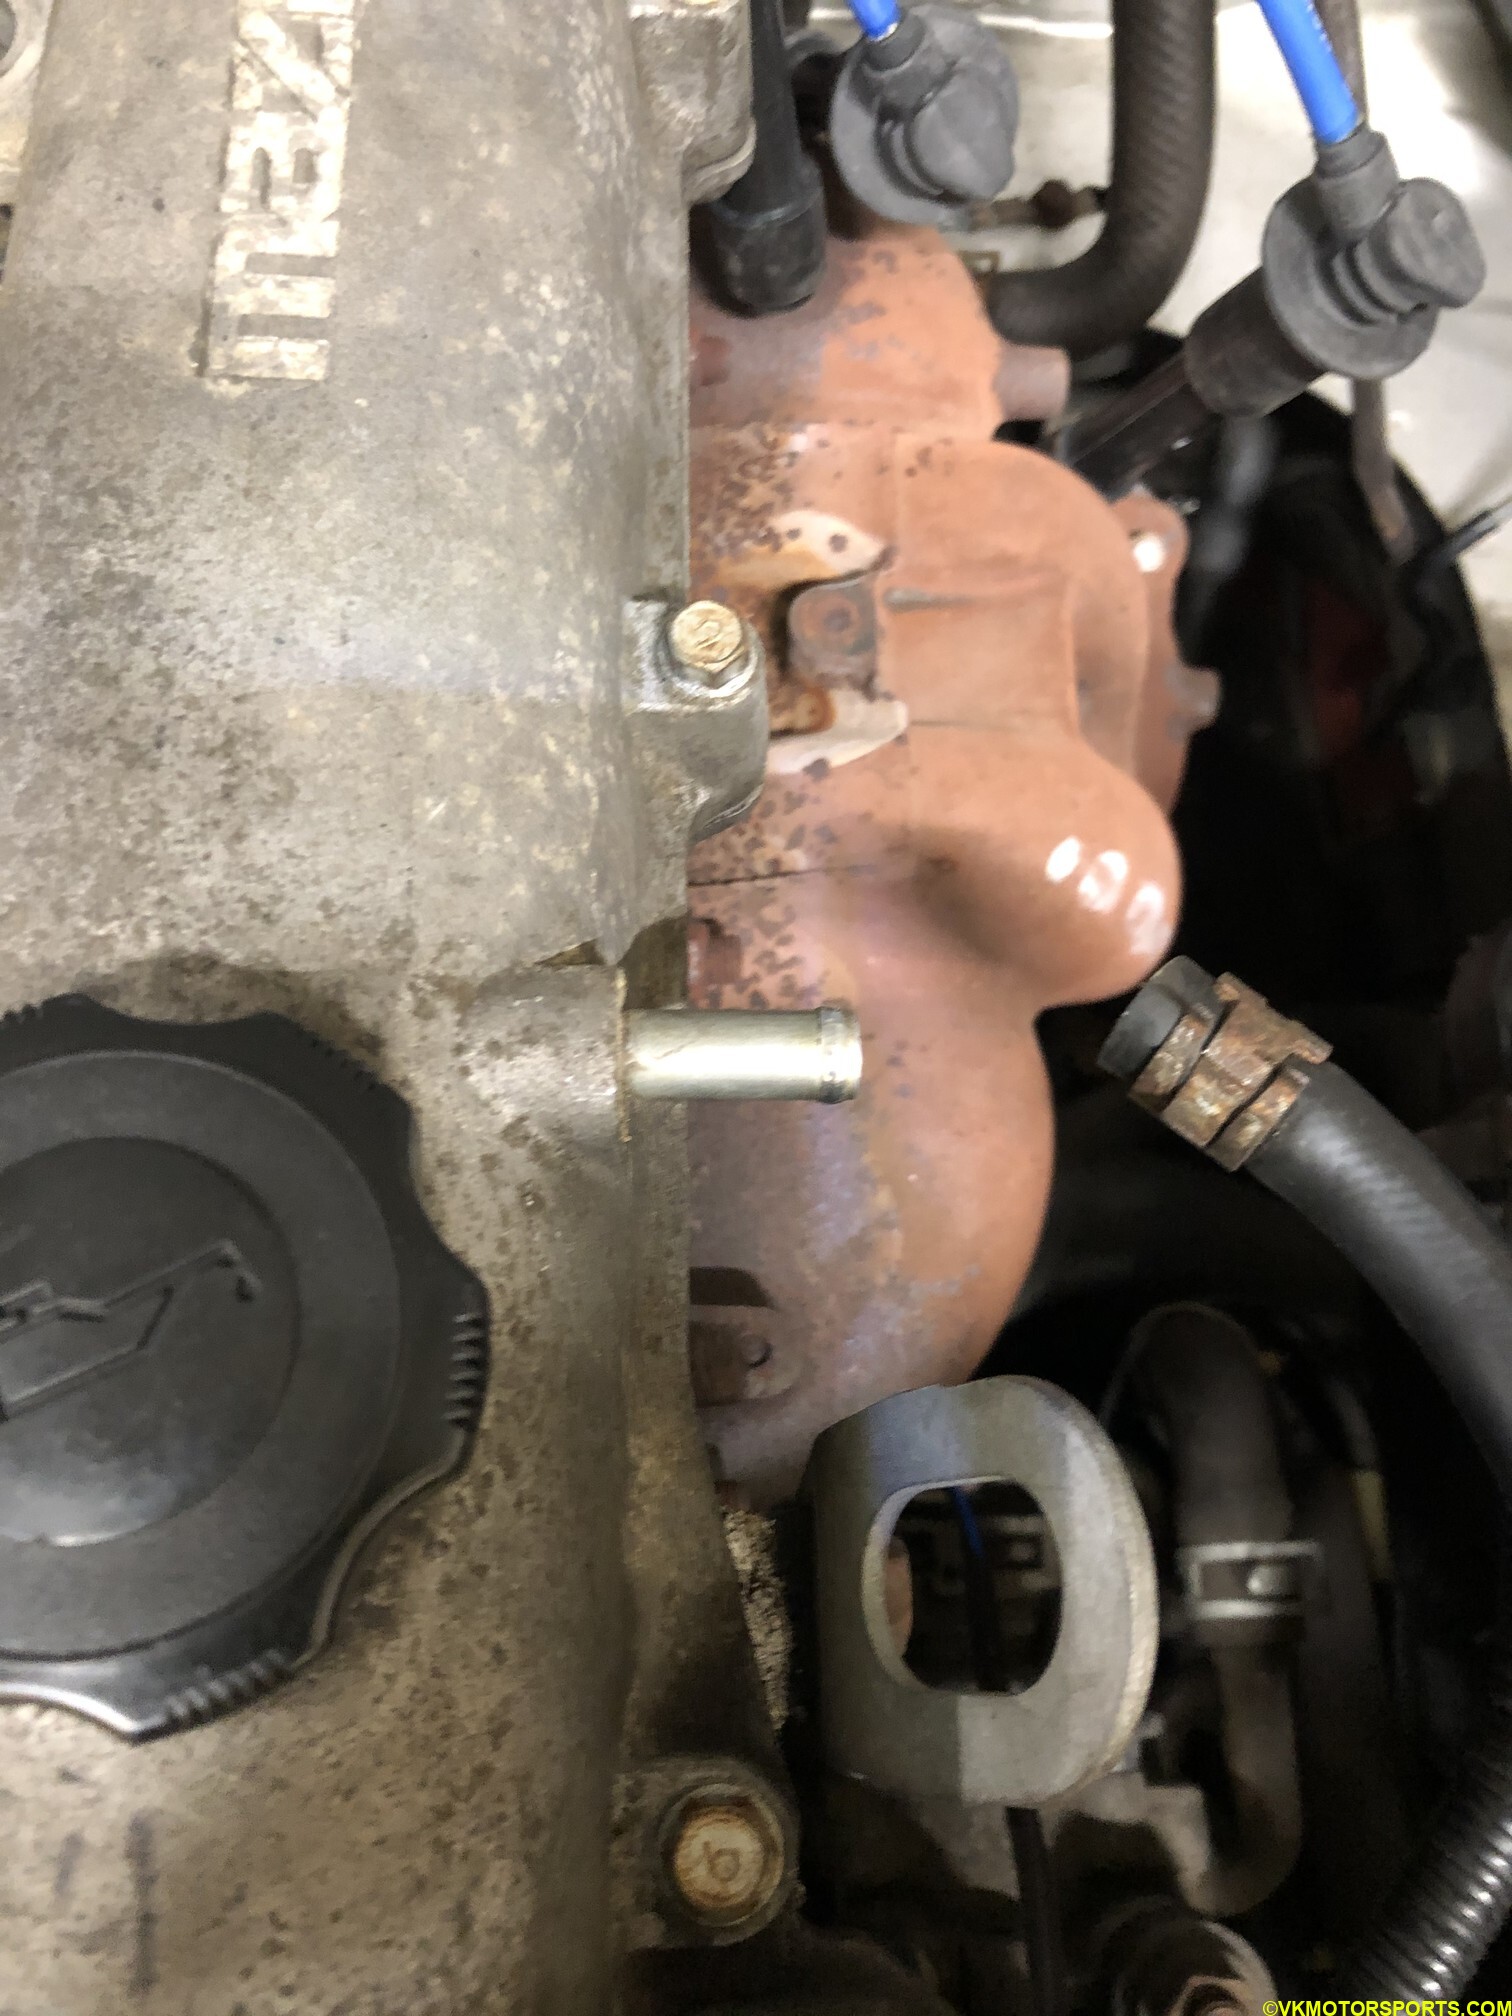 Figure 5. Hose removed
Step 5: We now follow the reverse order given in Figure 6 for unbolting the valve cover from the engine. The order in the image is actually for tightening the bolts on the valve cover when installing it, and the reverse order is for opening it.
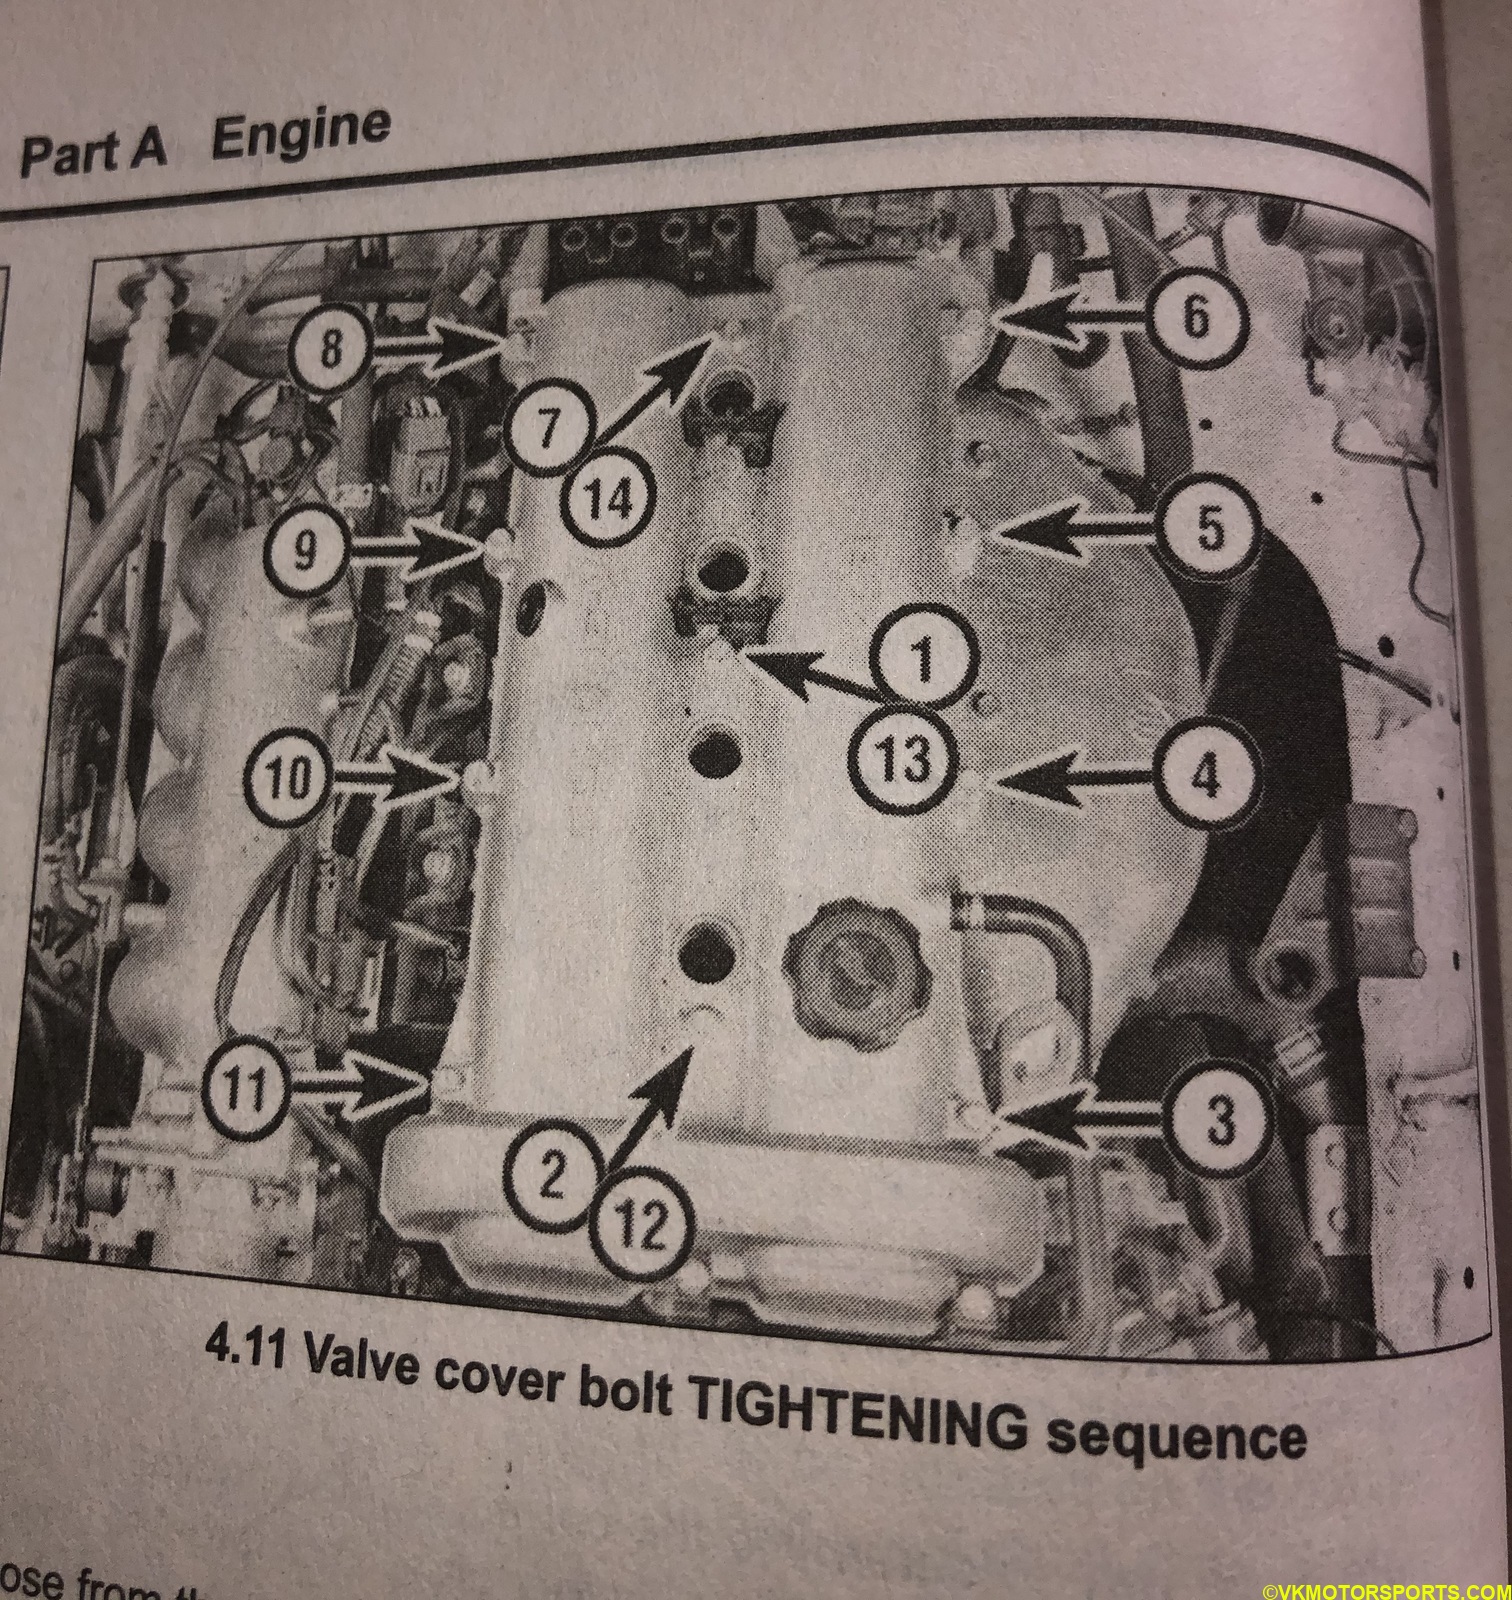 Figure 6. Valve cover bolt order (Courtesy: Haynes manual)
Step 6: We also remove the two bolts on the metal frame holding the spark plug wire connectors to the engine body as shown in Figures 7 and 8.
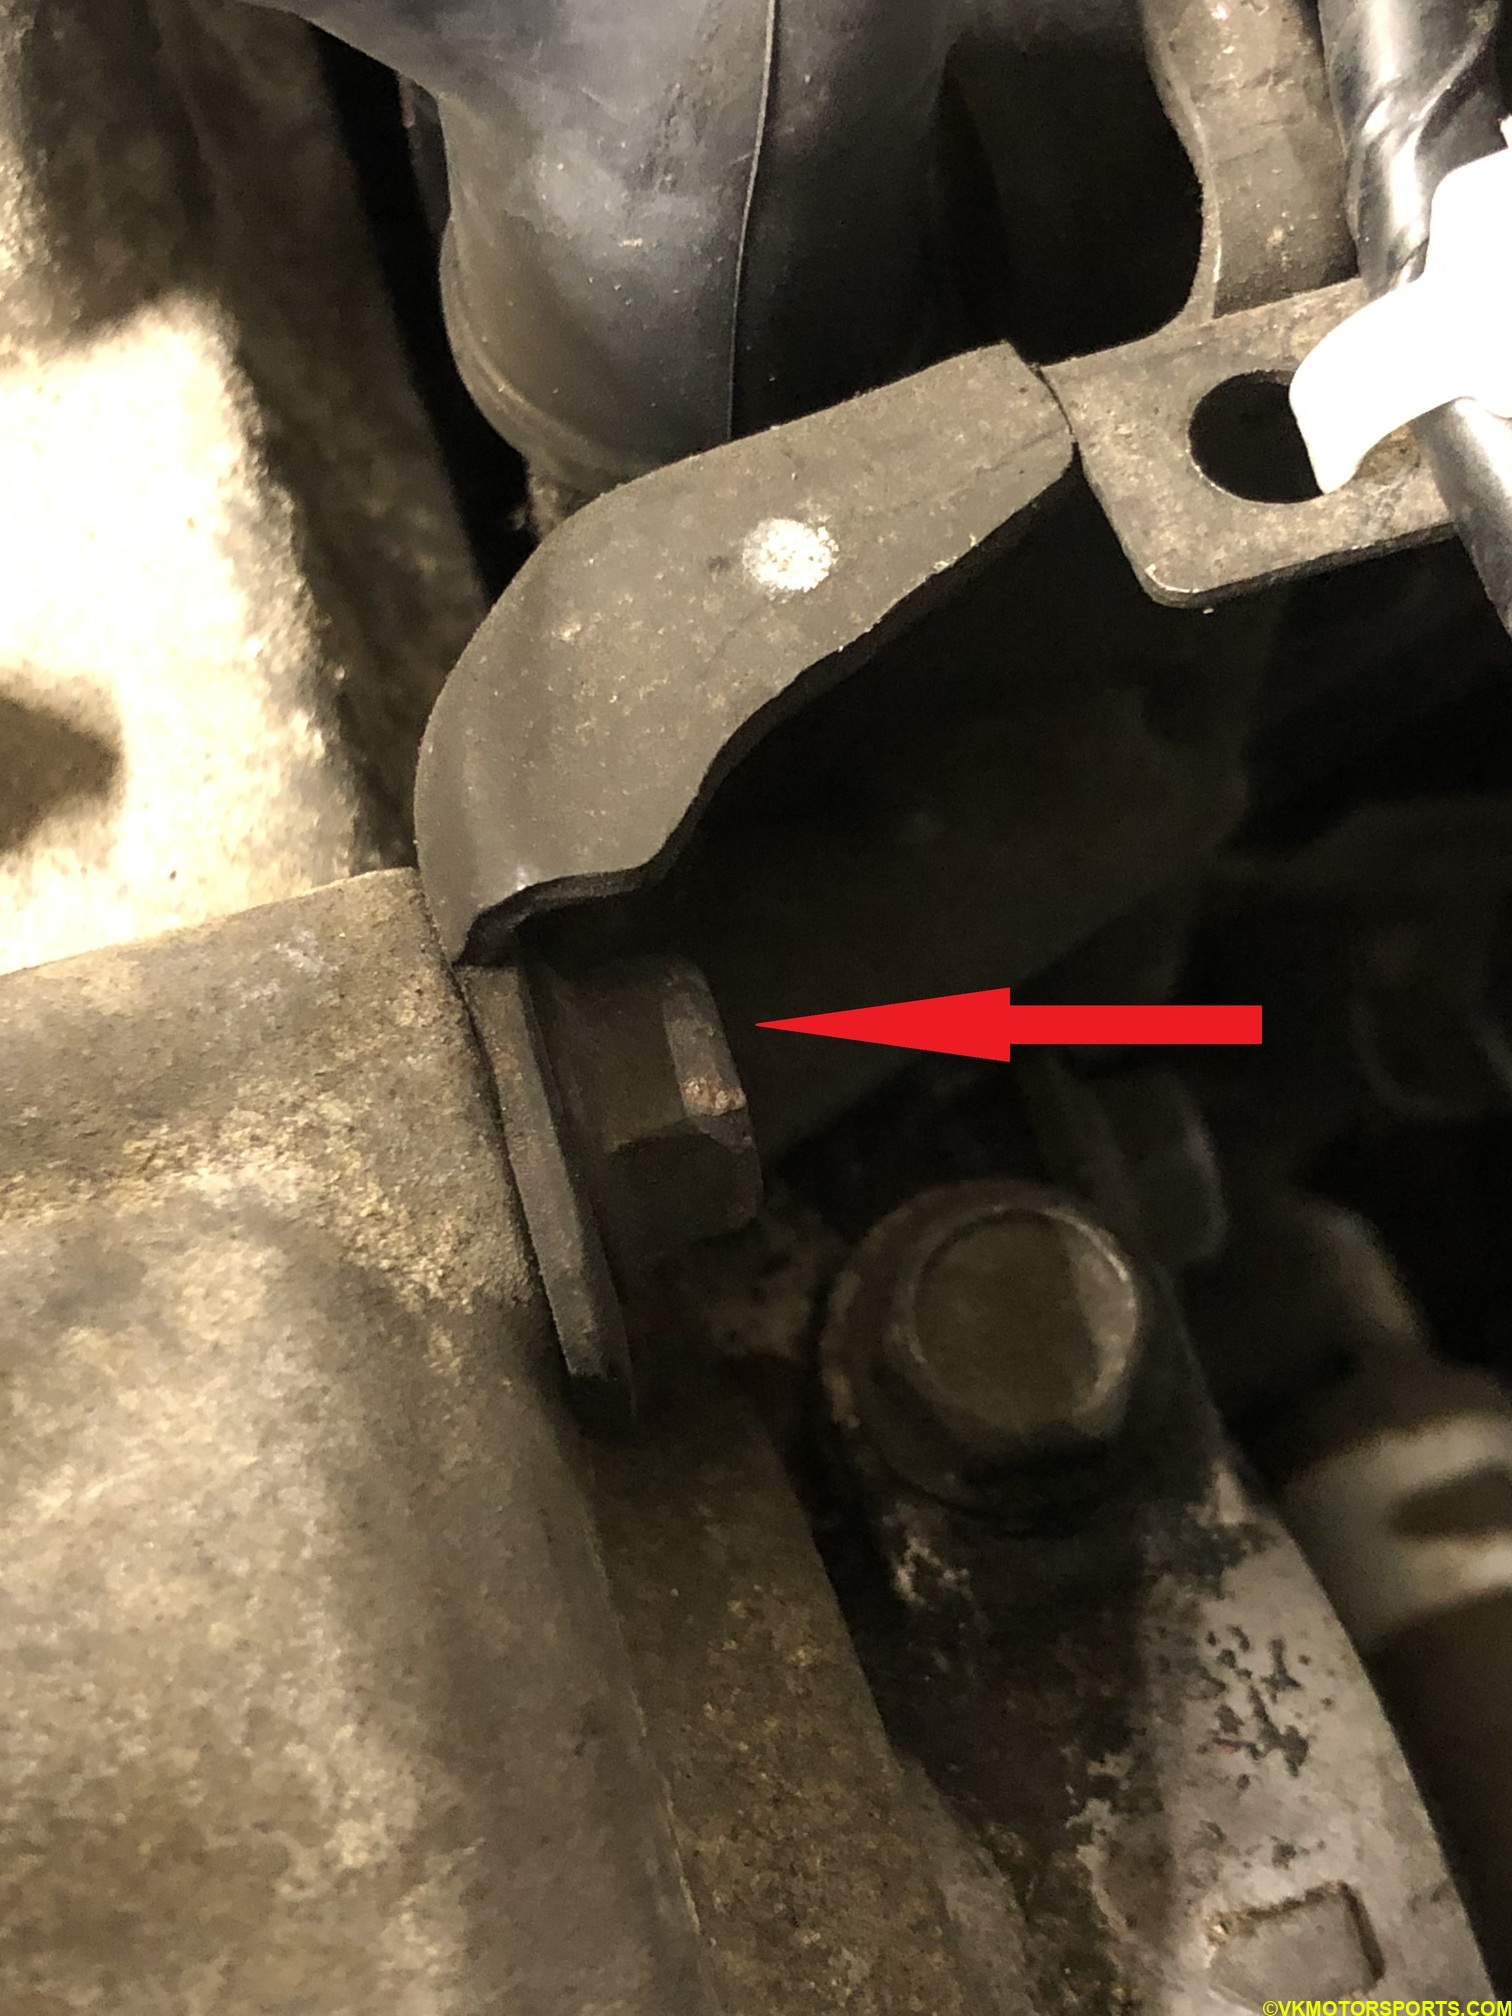 Figure 7. Rear bolt driver side plug wire
 Figure 8. Rear bolt passenger side plug wire
Step 7: Carefully remove the bolts without dropping them into the engine compartment, and move the plug wire holder away from the engine body as shown in Figure 10.
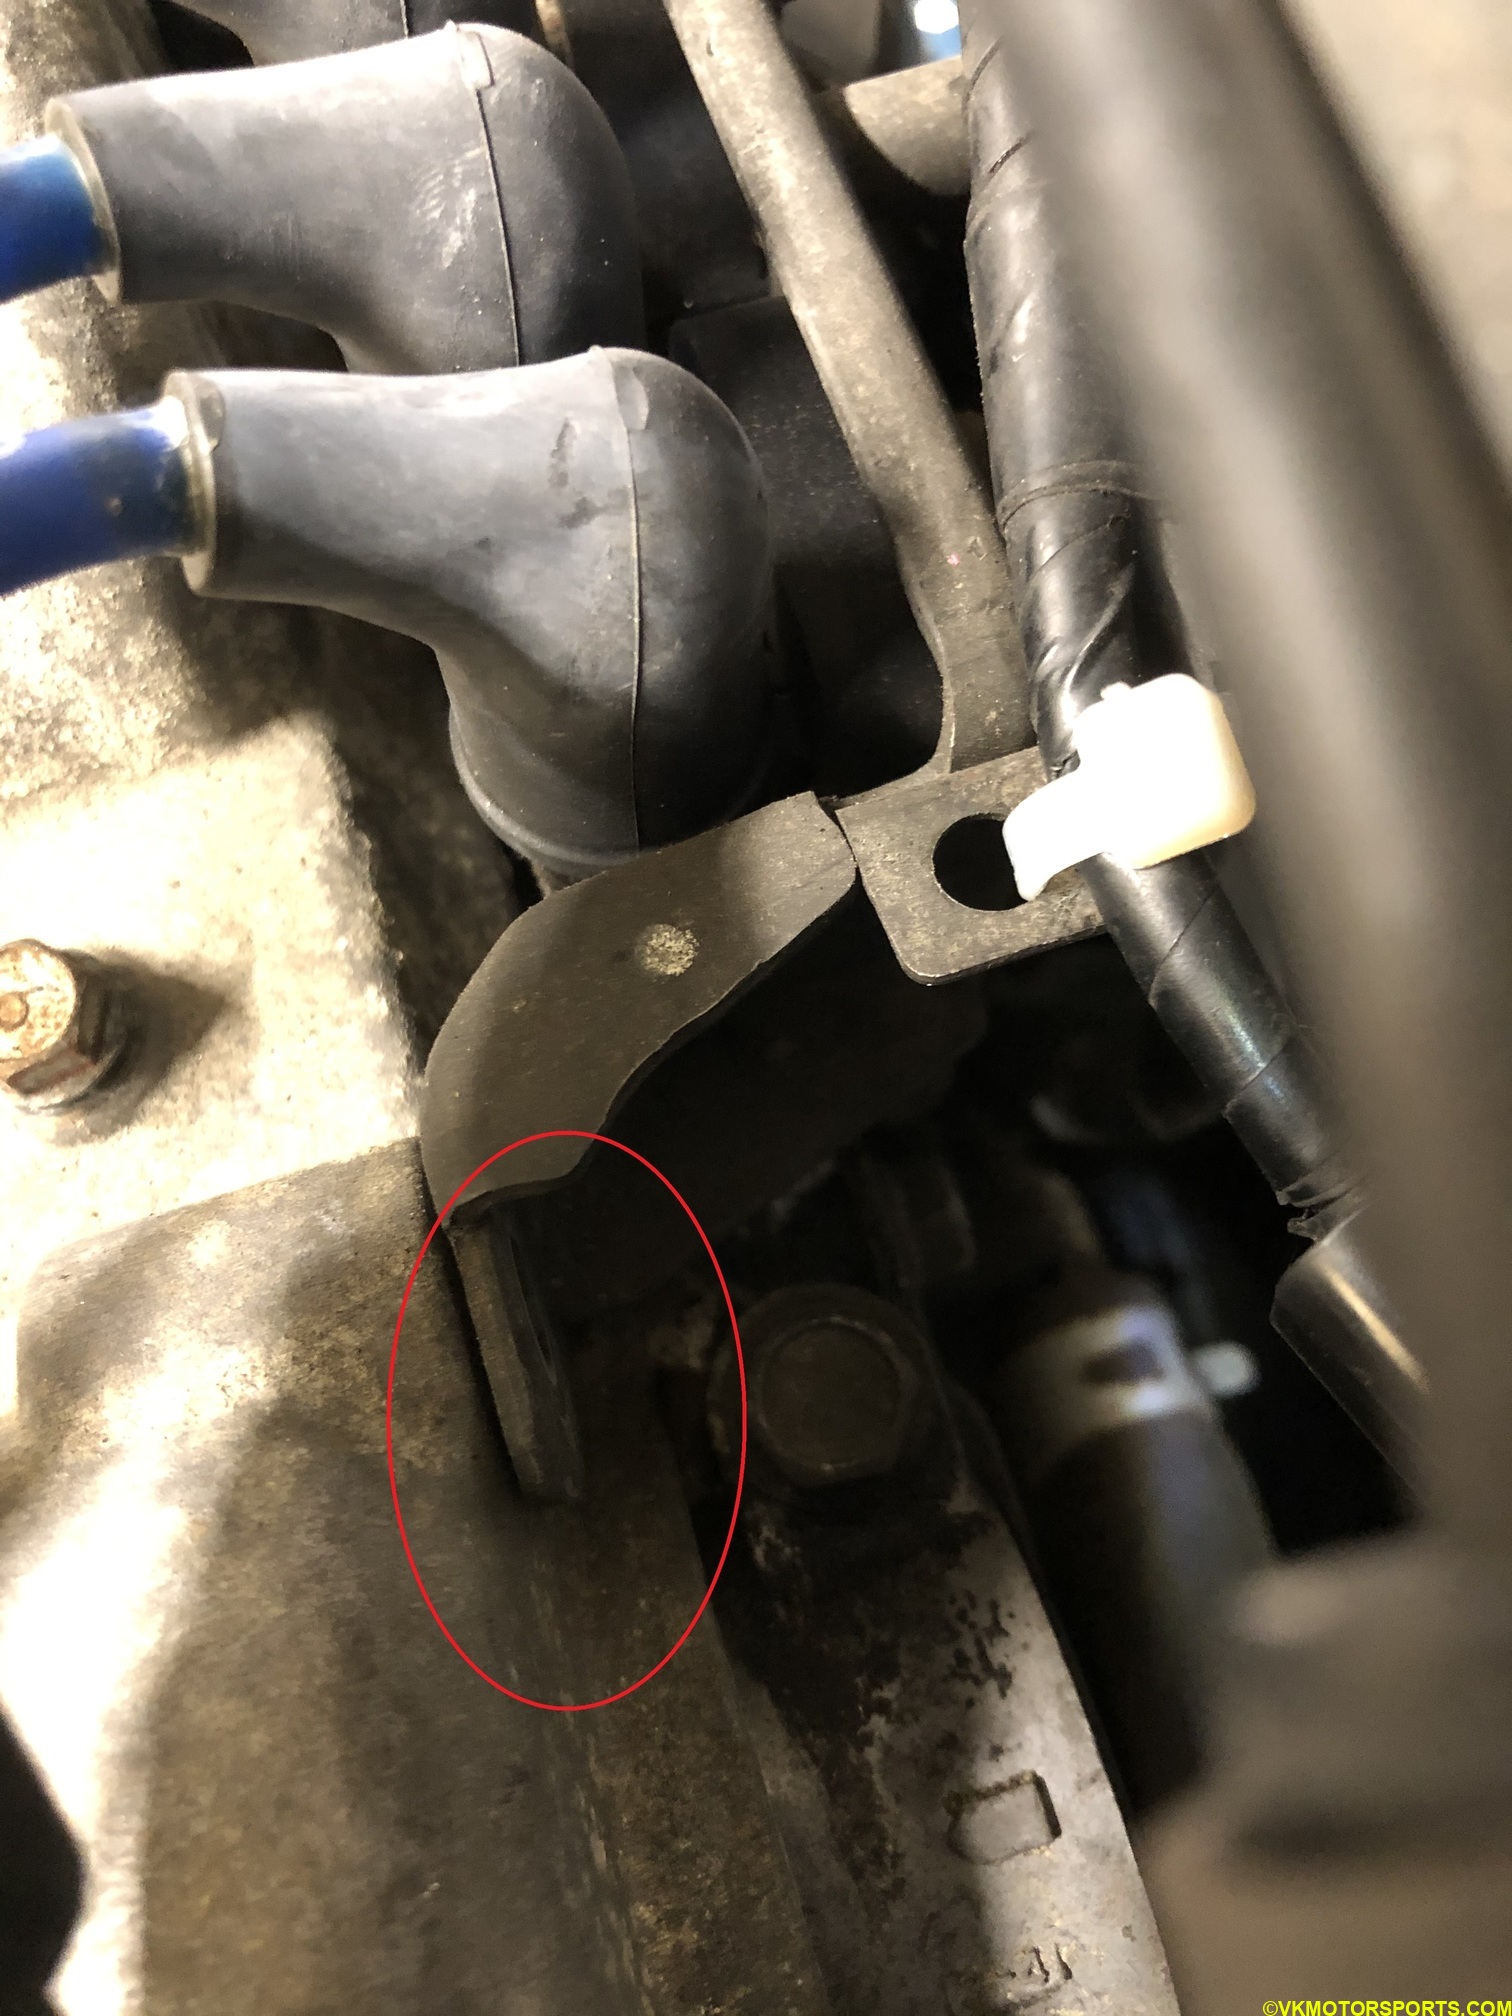 Figure 9. Rear bolt has been removed
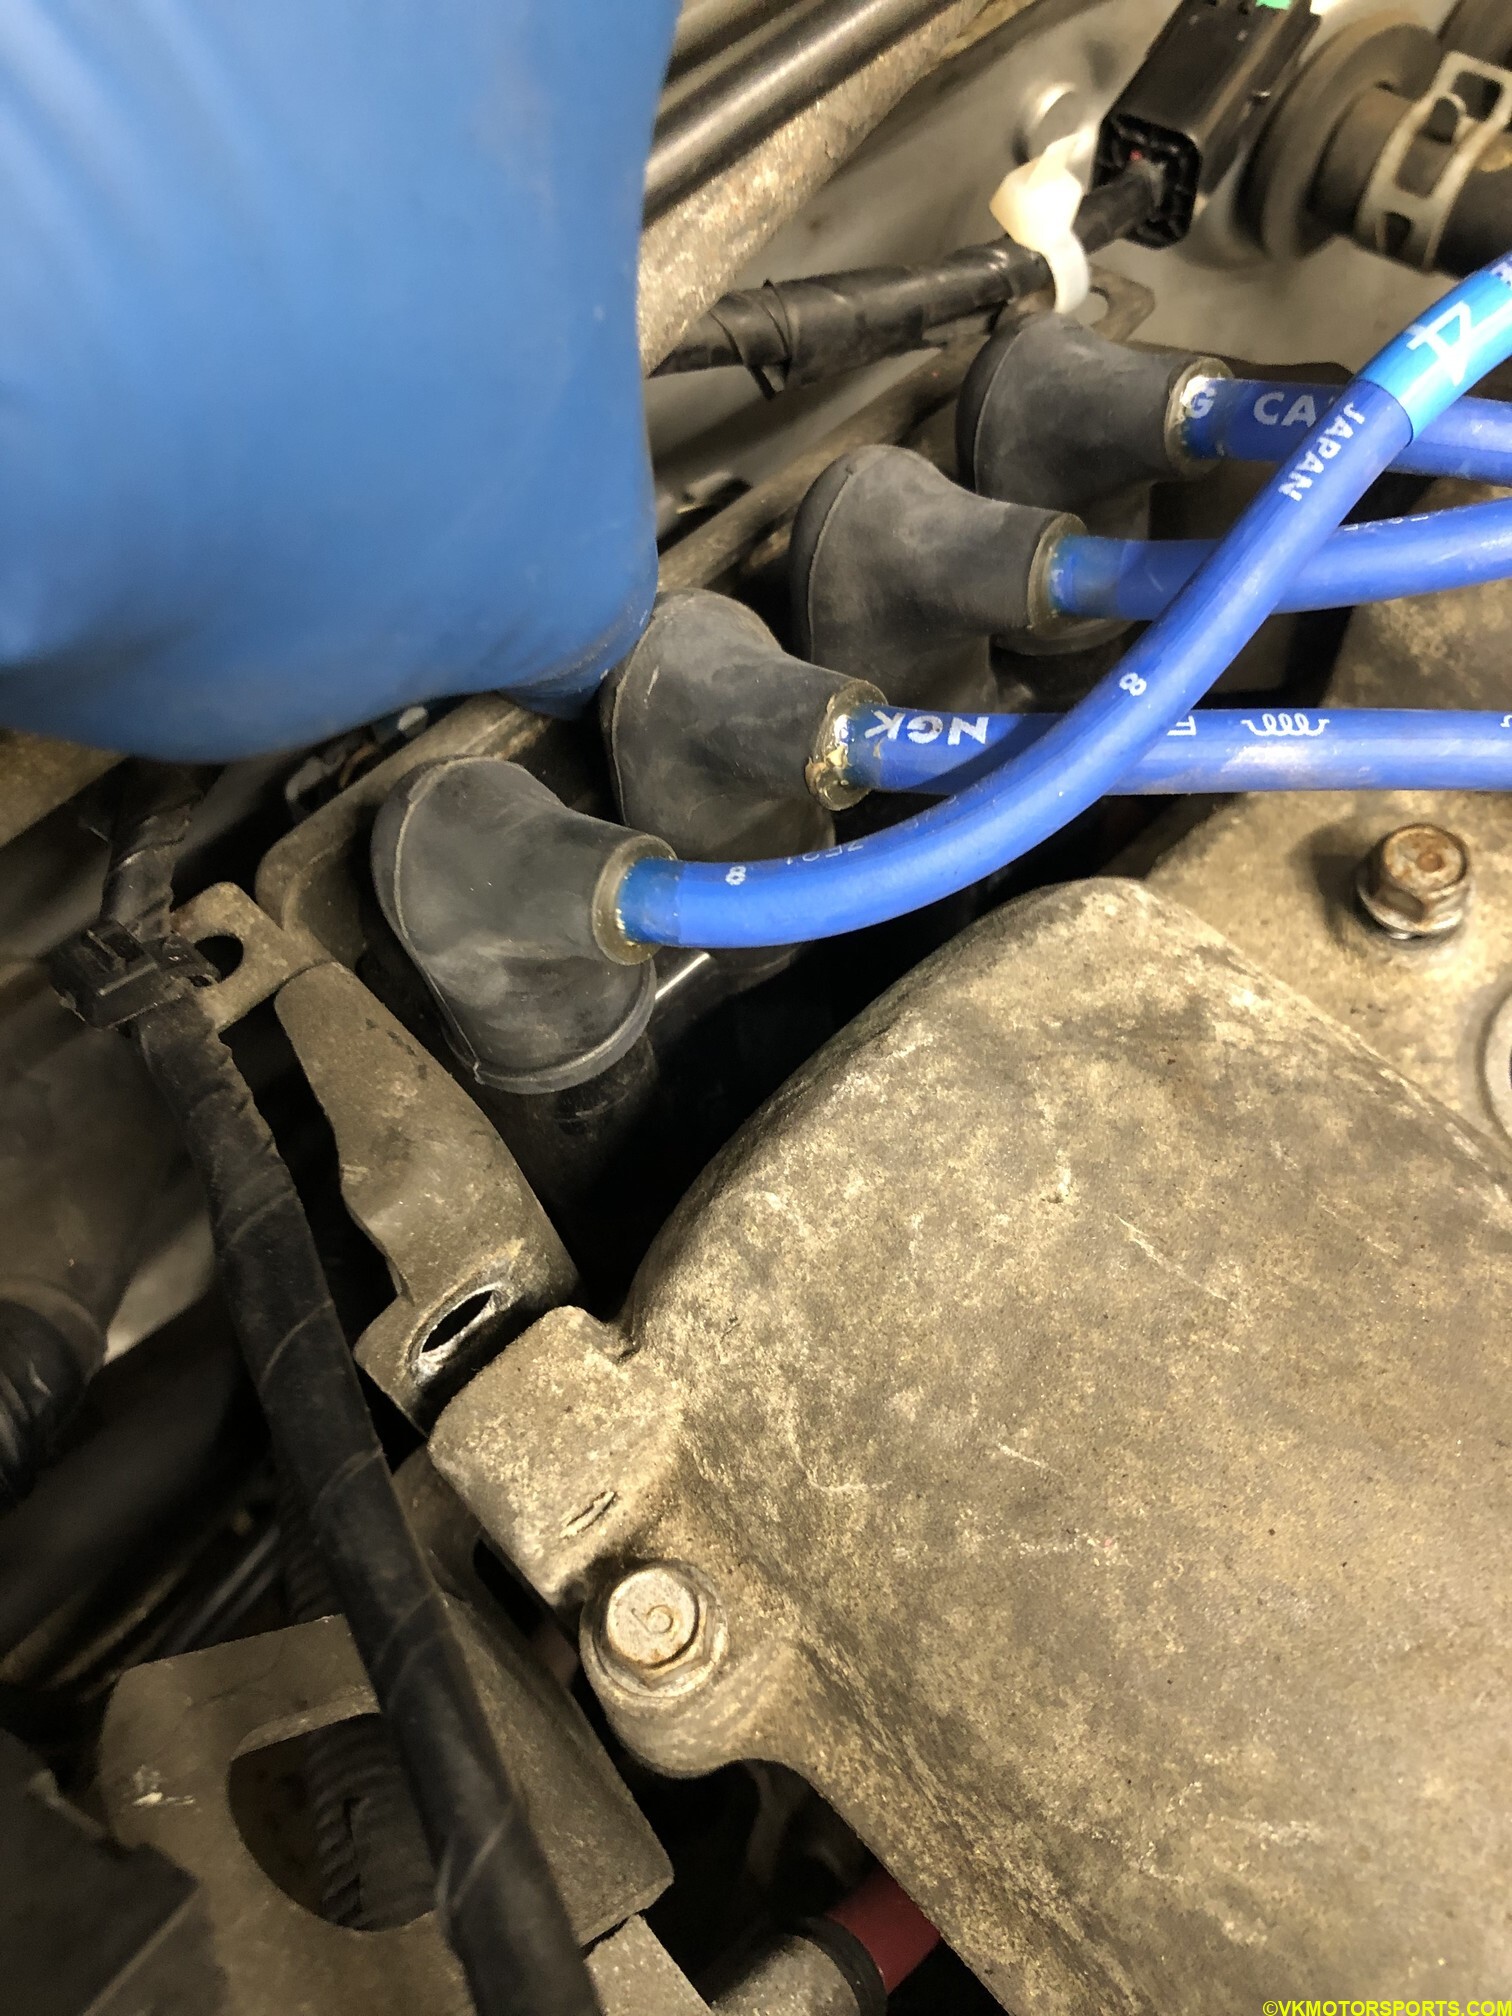 Figure 10. Move the plug wire holder back
Step 8: After all the bolts and connectors have been removed (Figure 11), lift the valve cover off the engine body. If it is tight you may use a trim tool to pry it open or a rubber mallet as needed. Do not scratch anything in side the cover.
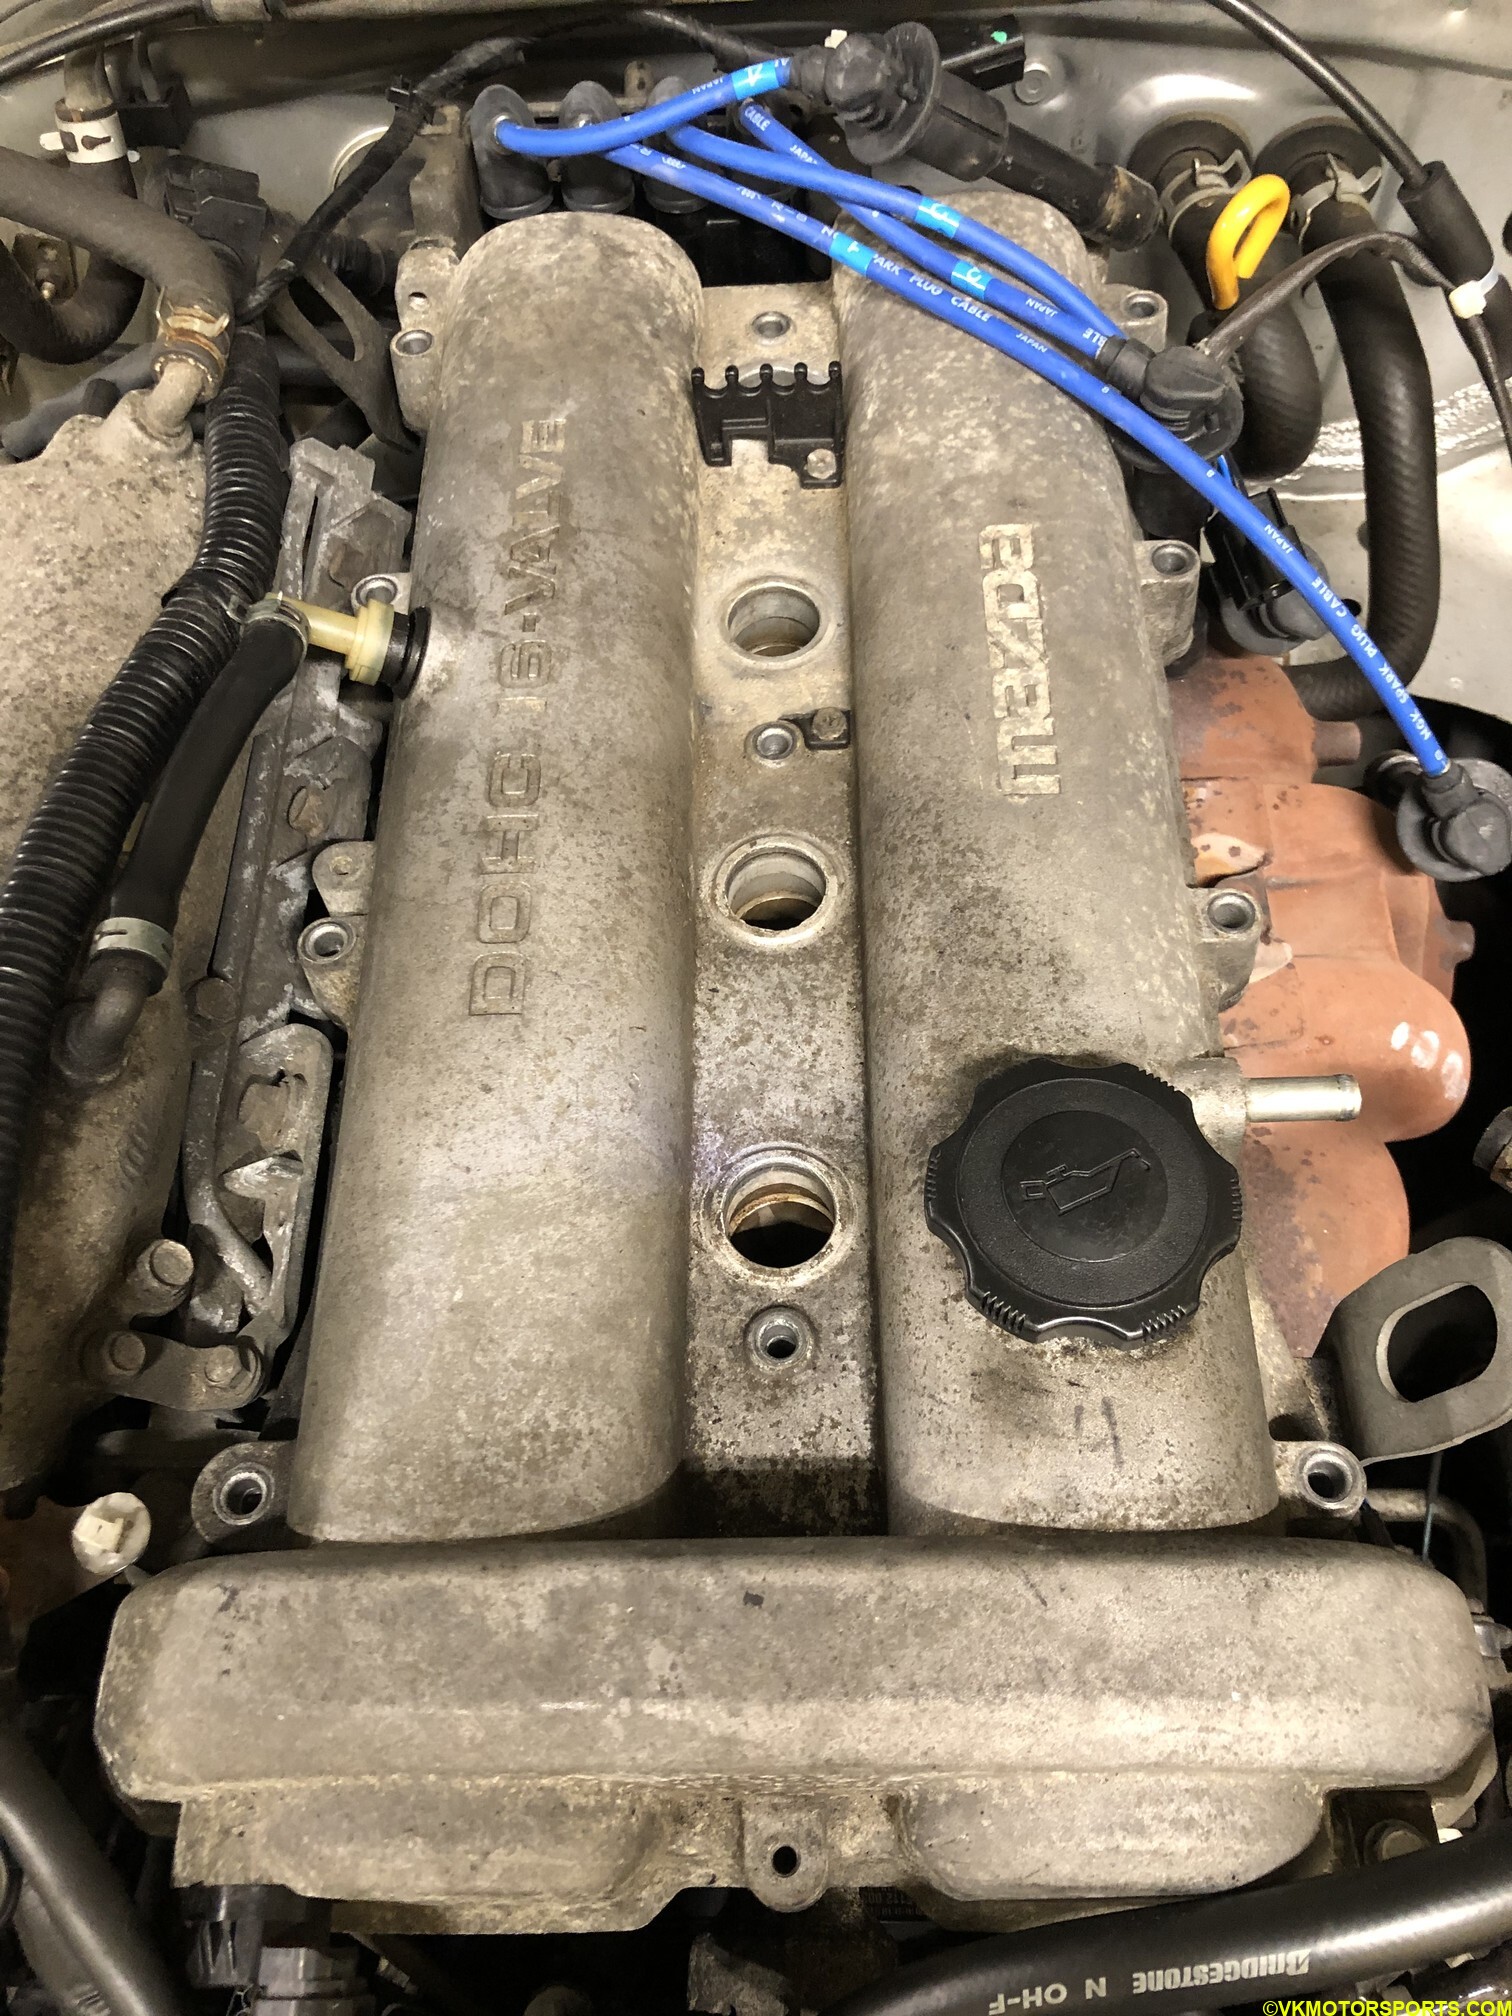 Figure 11. Valve cover with bolts and connectors removed
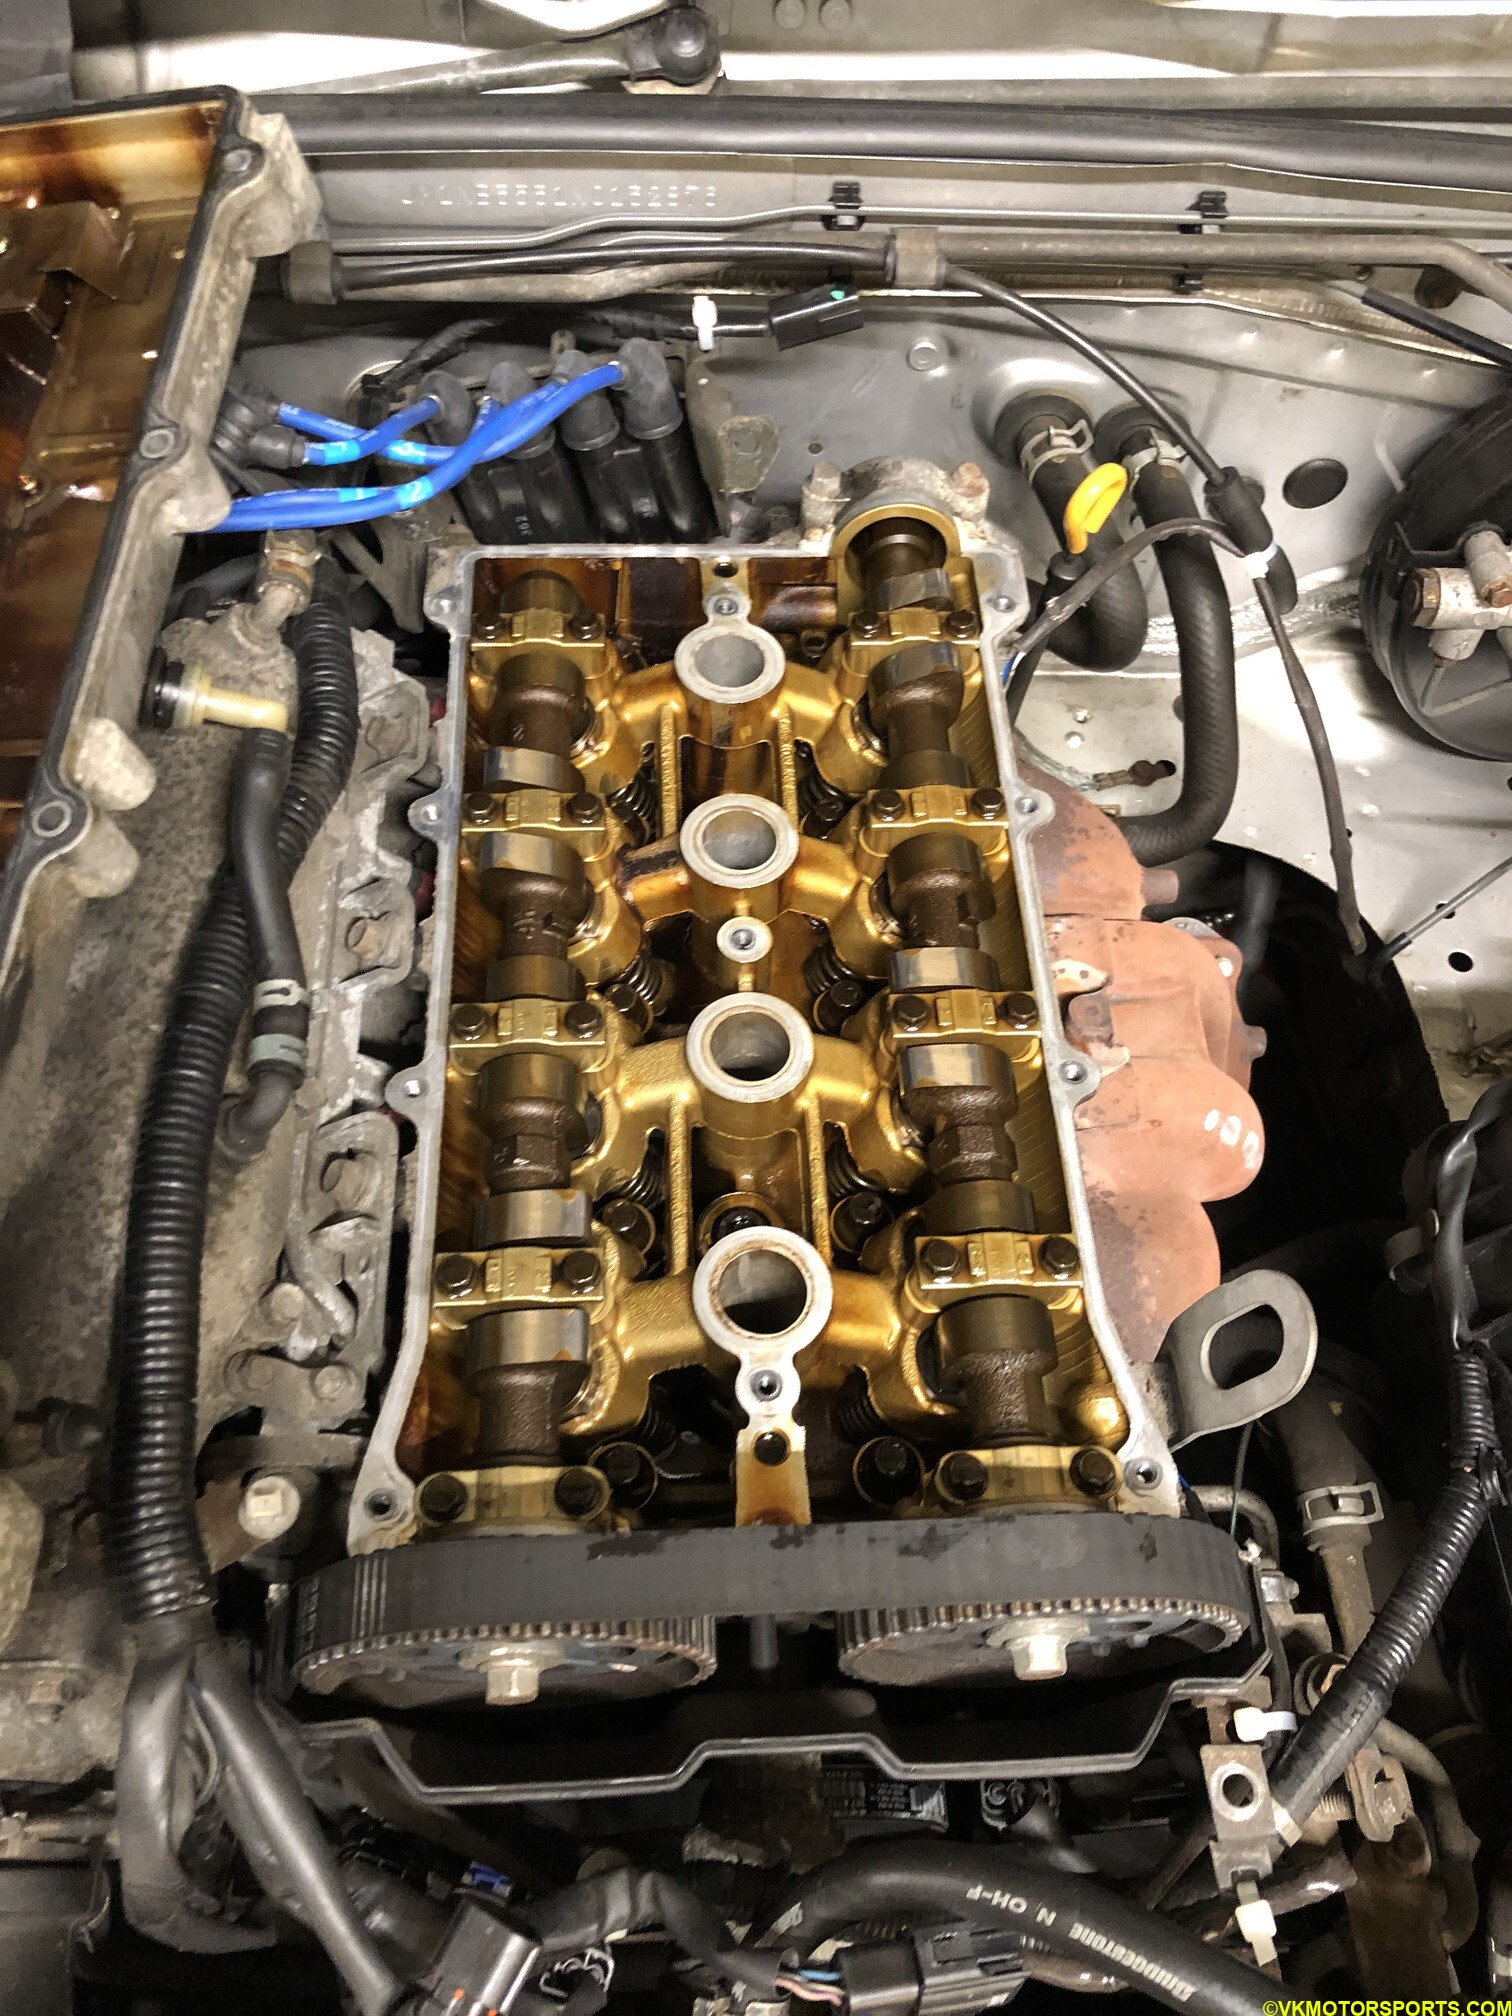 Figure 12. Lift the valve cover out
This is the normal look of an engine. Figure 13 shows the old gasket inside the valve cover.
 Figure 13. Old gasket inside the valve cover
Step 9: Now take out the old gasket using a trim tool or a flat screwdriver, but avoid scratching the cover as shown in Figure 14.
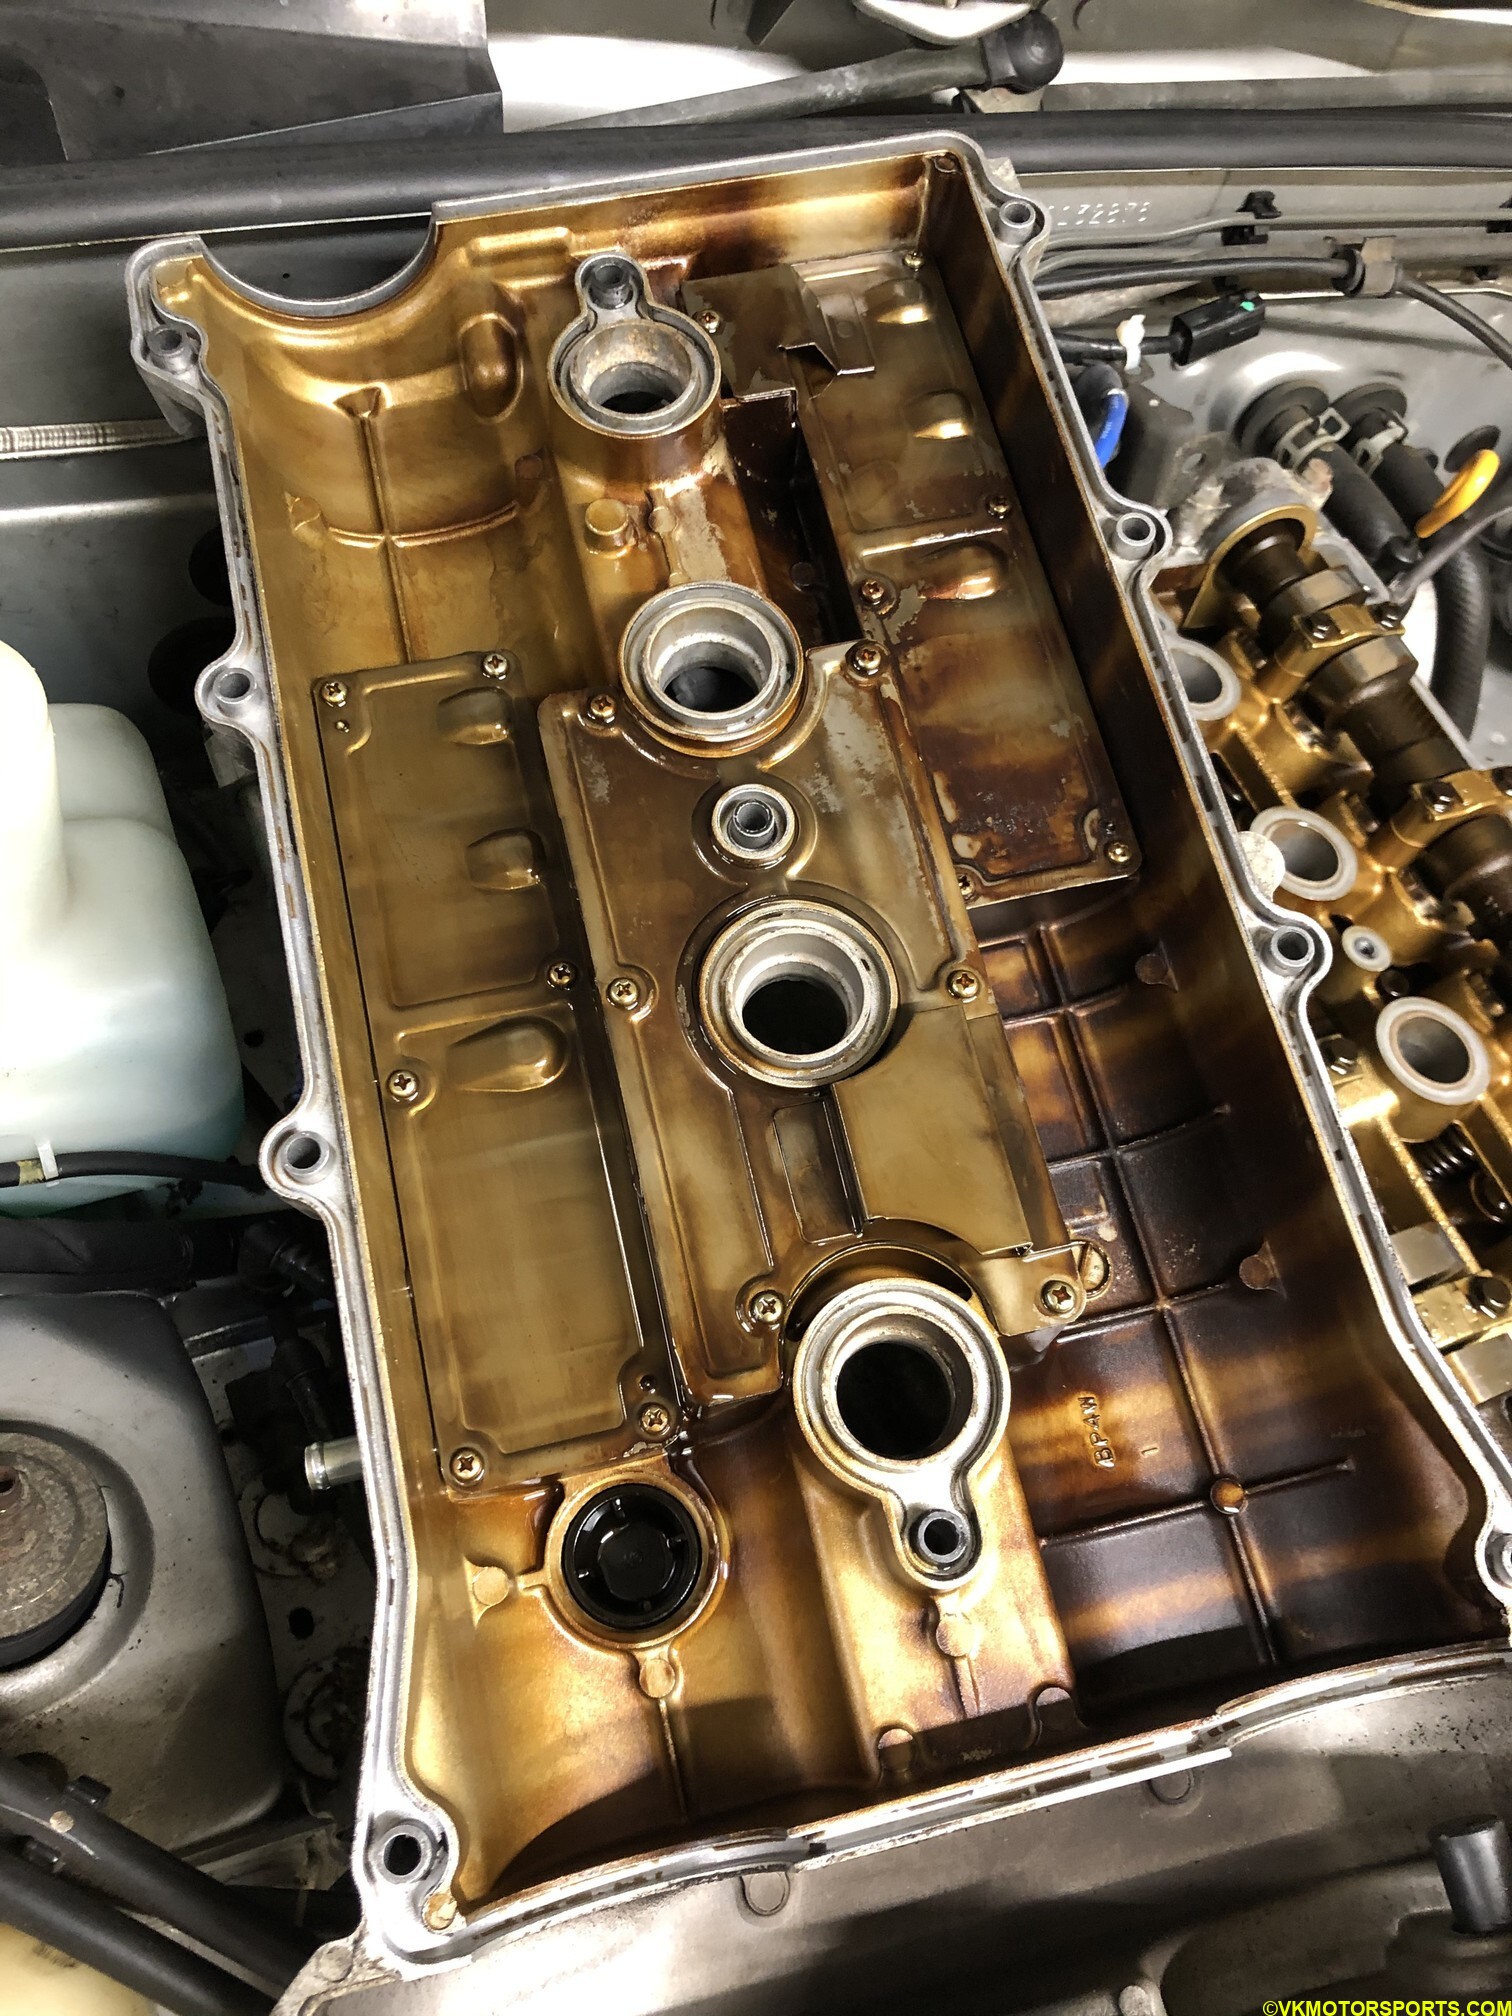 Figure 14. Remove the old gasket
Step 10: Install the new gasket (Figure 15) into the same exact spot where the old gasket was, as shown in Figure 16.
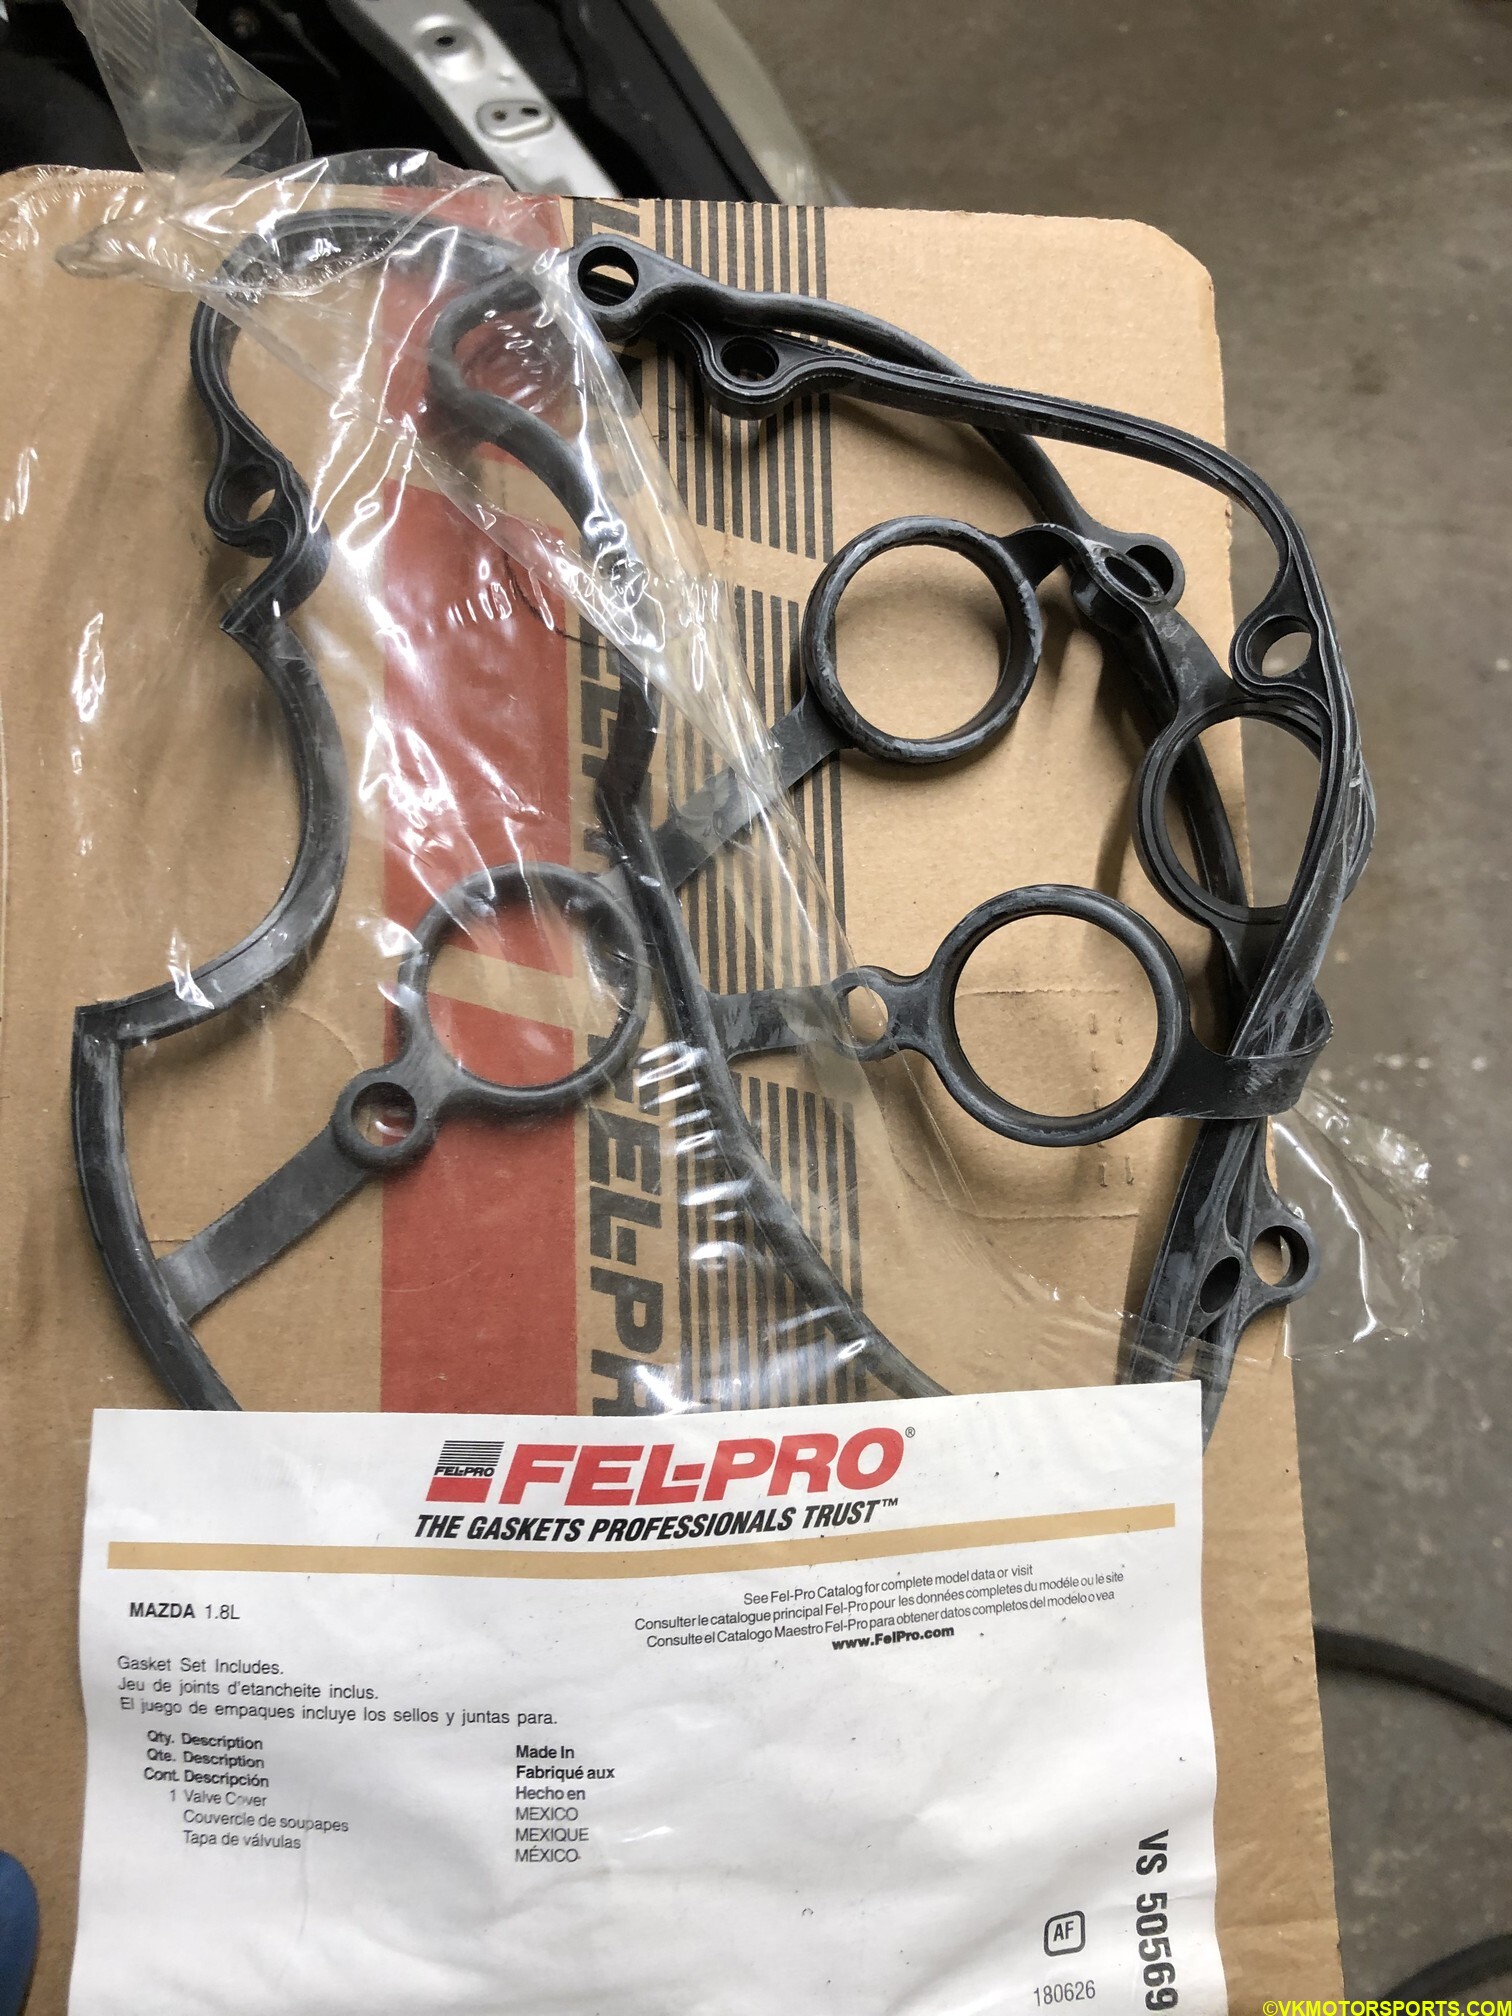 Figure 15. The new gasket
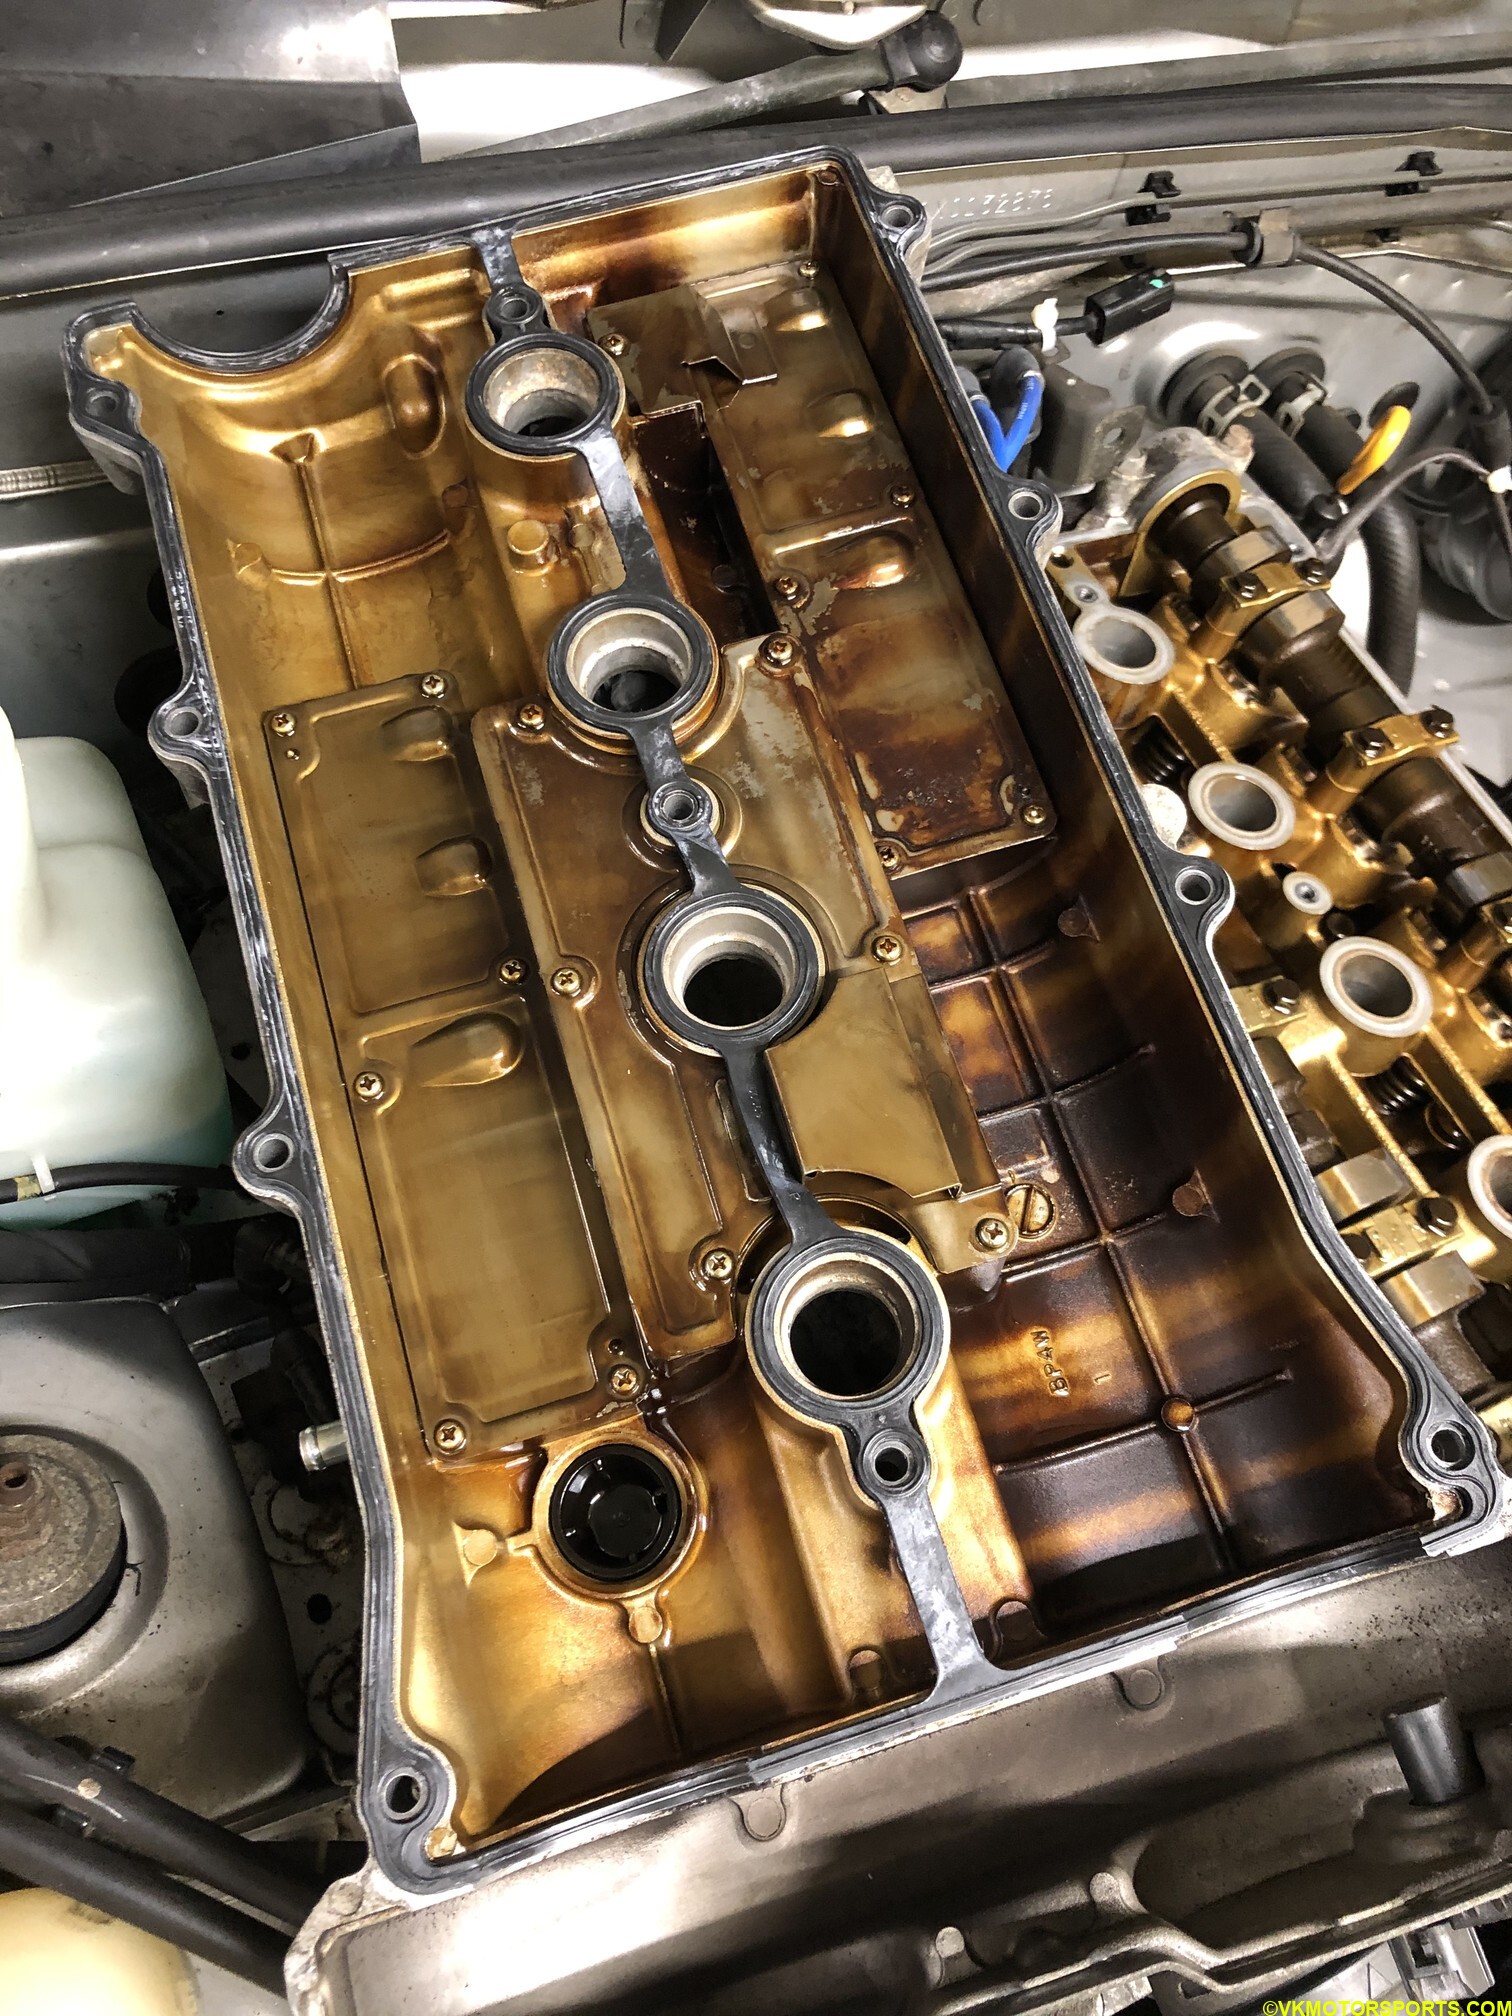 Figure 16. Install the new gasket
NOTE: I did not notice any damage to the old gasket, but nevertheless changed it anyway.
Step 11: Using RTV Silicone Sealant (Figure 17) apply sealant to the exact spots shown by arrows in Figure 18, carefully. Make sure the sealant does not touch any of the cams.
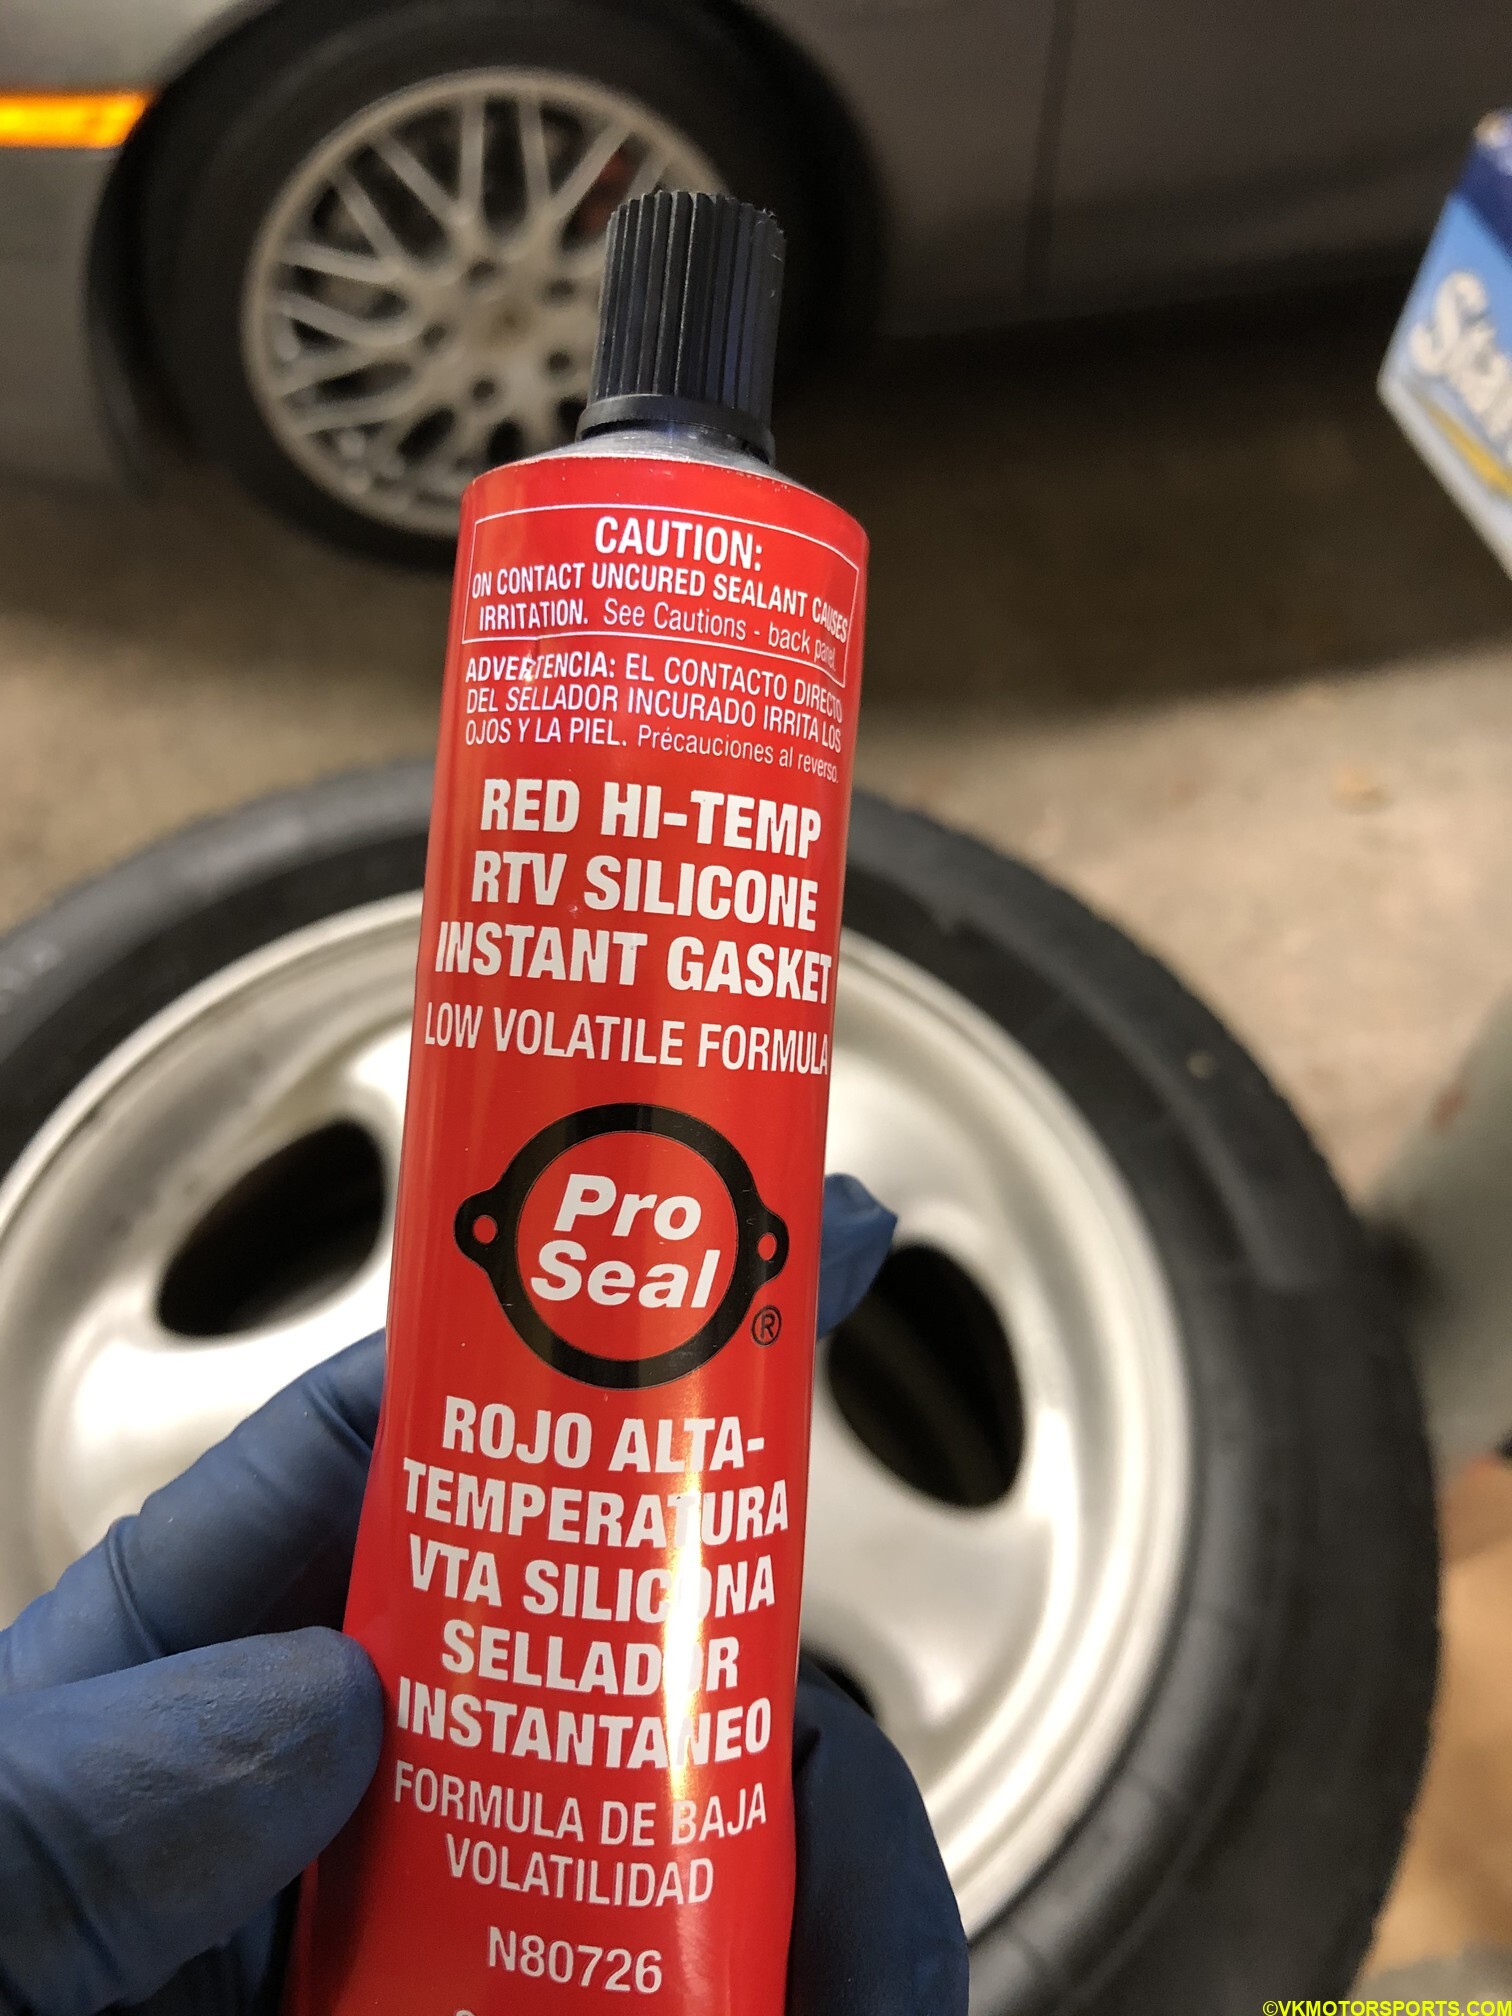 Figure 17. RTV Silicone Sealant
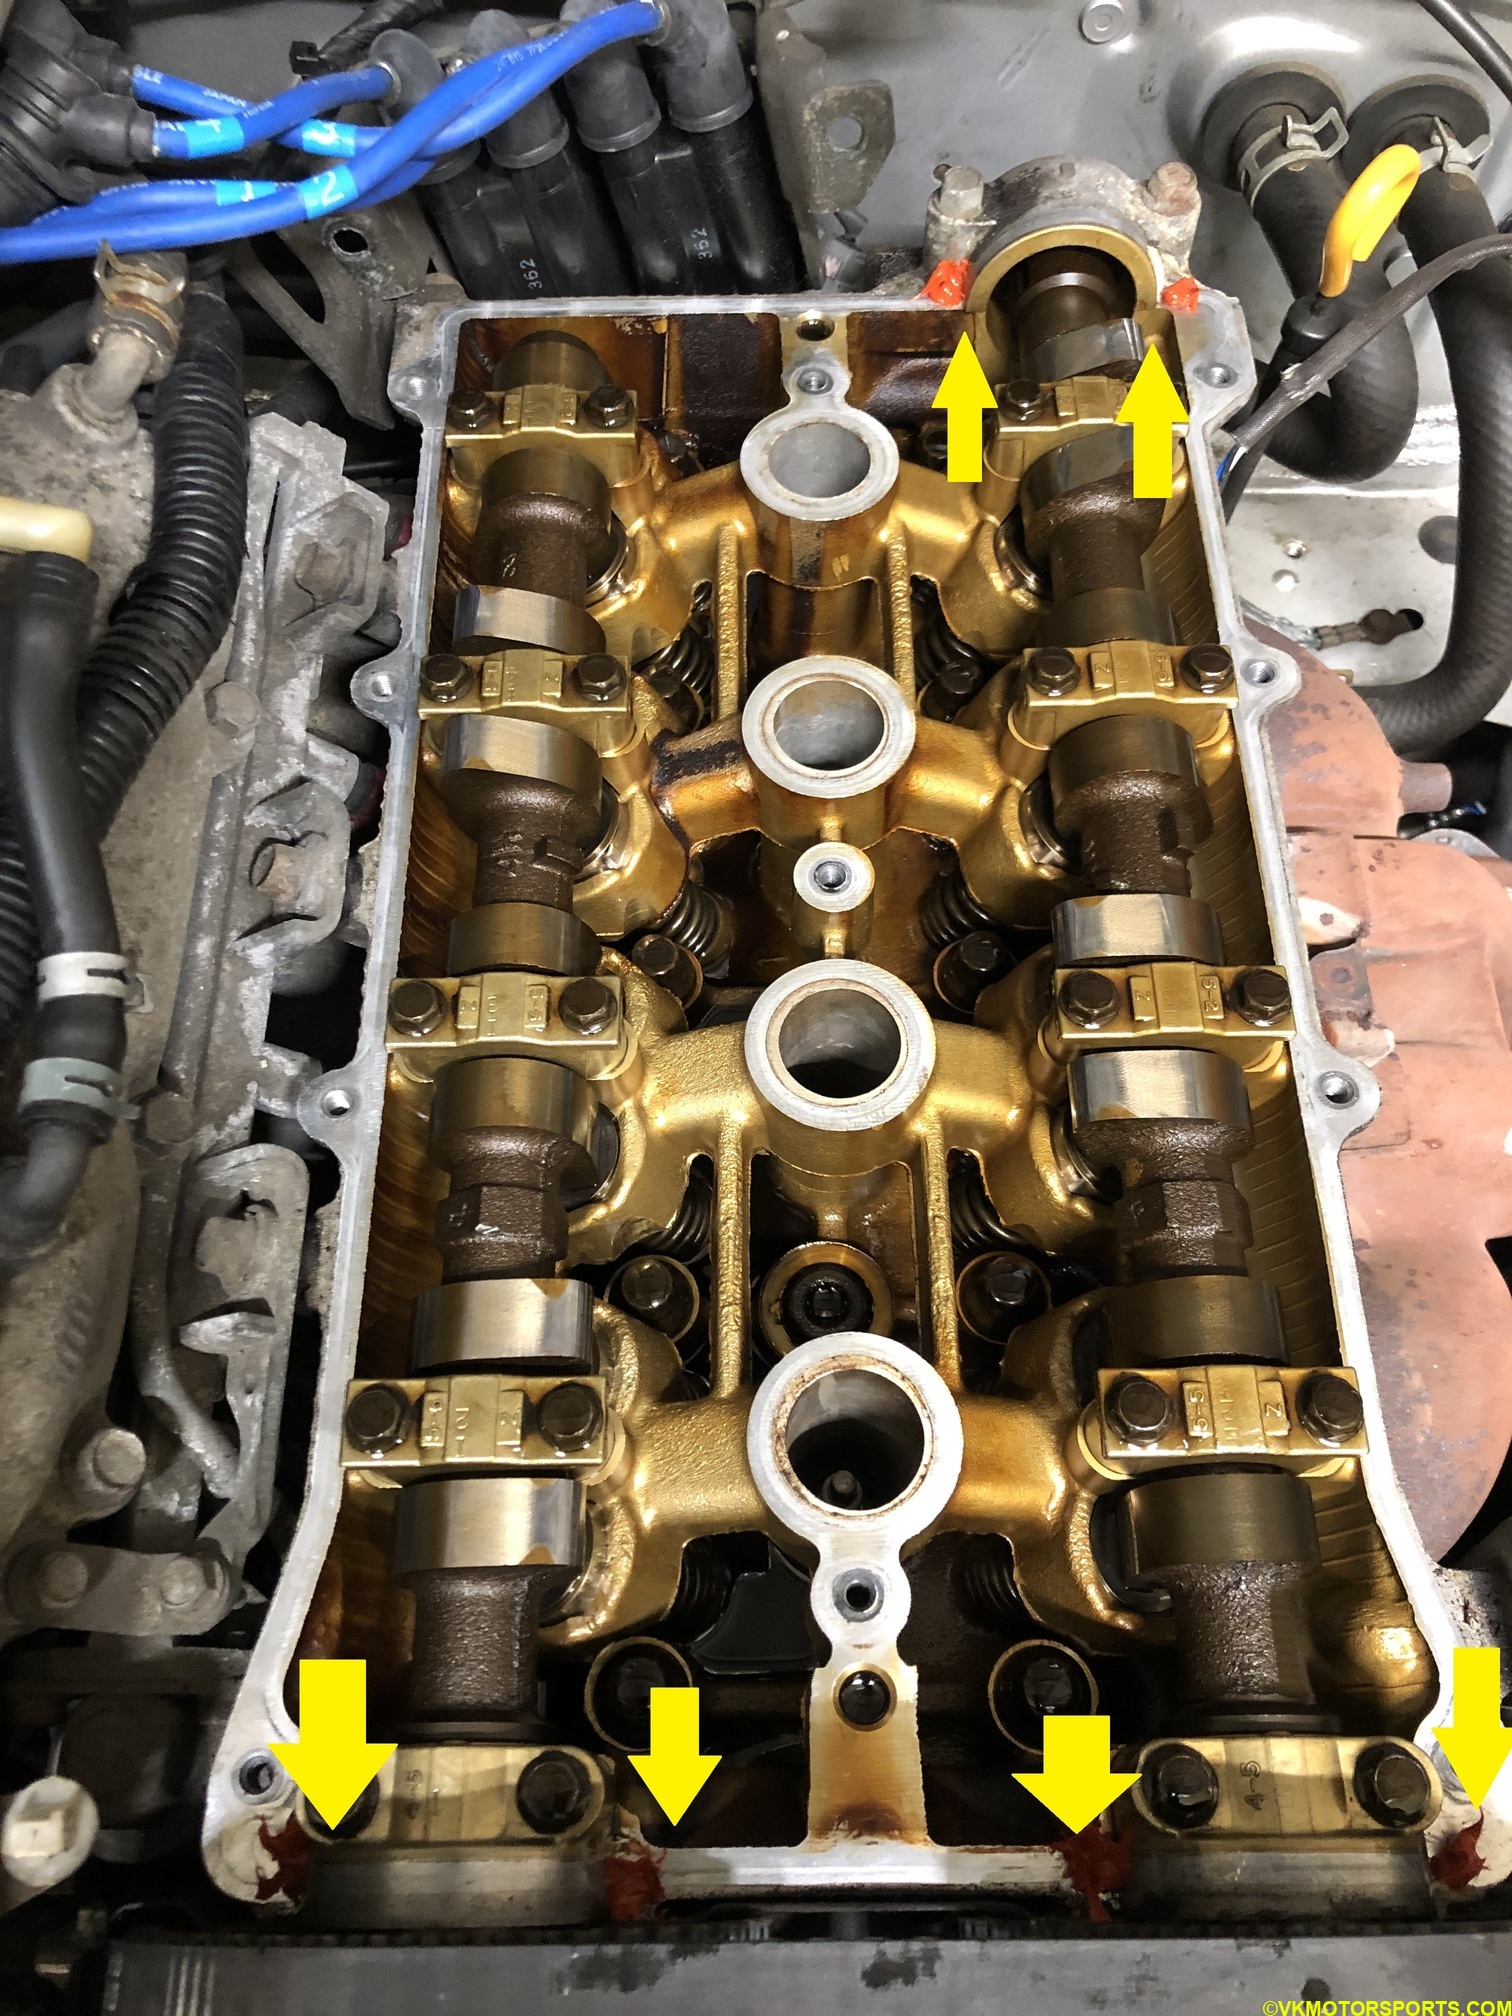 Figure 18. Add RTV silicone sealant at locations shown by the arrows
 Figure 19. Side view of engine with sealant added
Step 12: Now place the valve cover back aligned onto the engine body and press hard.
Step 13: Tighten all the bolts in the order provided in Figure 6 and do not over-tighten. The expected torque values are quite low so hand tightening is enough. Remember to reconnect the plug wire bolts that you removed in Step 7 above.
Step 14: Connect all the plug wires, hoses and electrical connectors back as they were in Step 1.
Step 15: Reconnect the battery and start the engine, and test.