The Porsche Boxster S came with brakes that squealed when you drove it to a stop, so it was in desperate need of change of pads. Finally, I spent the ~$400 and purchased original Porsche brake pads from Pelican Parts. Turns out compared to changing the brake pads on the Miata it is much easier to change it on the Porsche Boxster S.
CAUTION: Brake parts can have toxic chemicals around them, so it is advised to use gloves to do the work.
Step 1: First disconnect the battery to be safe. The Porsche Boxster S brake pads have a sensor in each brake pad so you do not want to take any chances of electric shocks while removing the sensors.
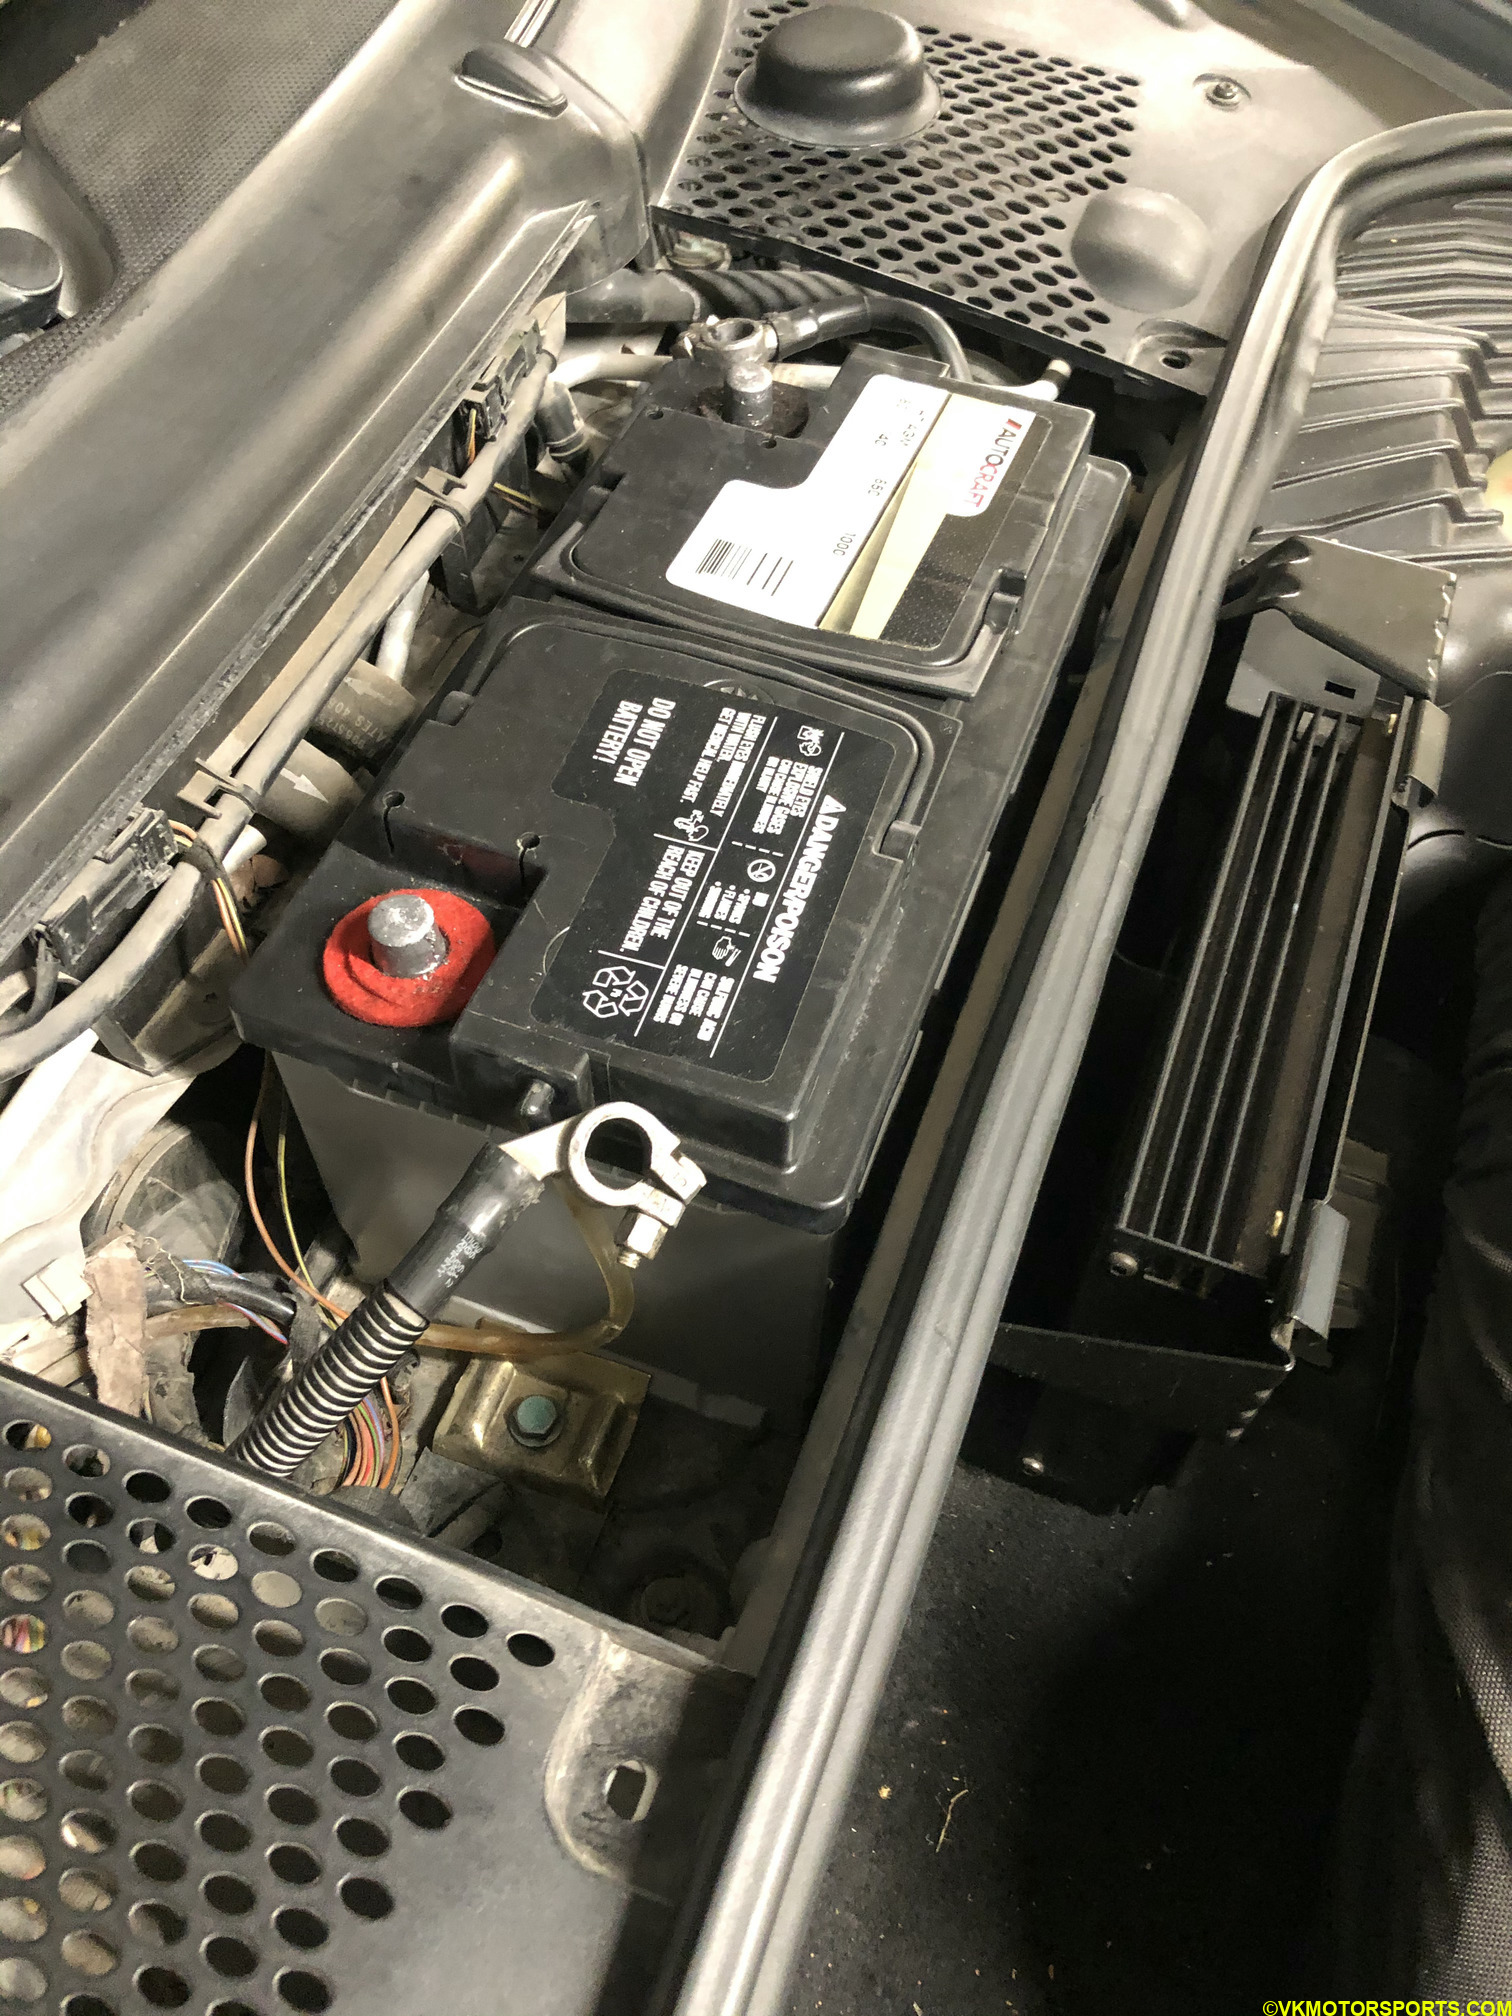 Figure 1. Disconnect the battery to be safe
Step 2: Raise the car on jack stands safely. You will need a low profile 3 ton jack to raise the car up, and also 3 ton jackstands. In the previous post we unboxed the 6 ton jack stands we purchased. Turns out they are too big to fit under the Porsche Boxster and you really need 3 ton jack stands which I had to purchase. But good news is that I used the same brand and type and it was $30 for a pair. I did the whole work using just a pair of jack stands.
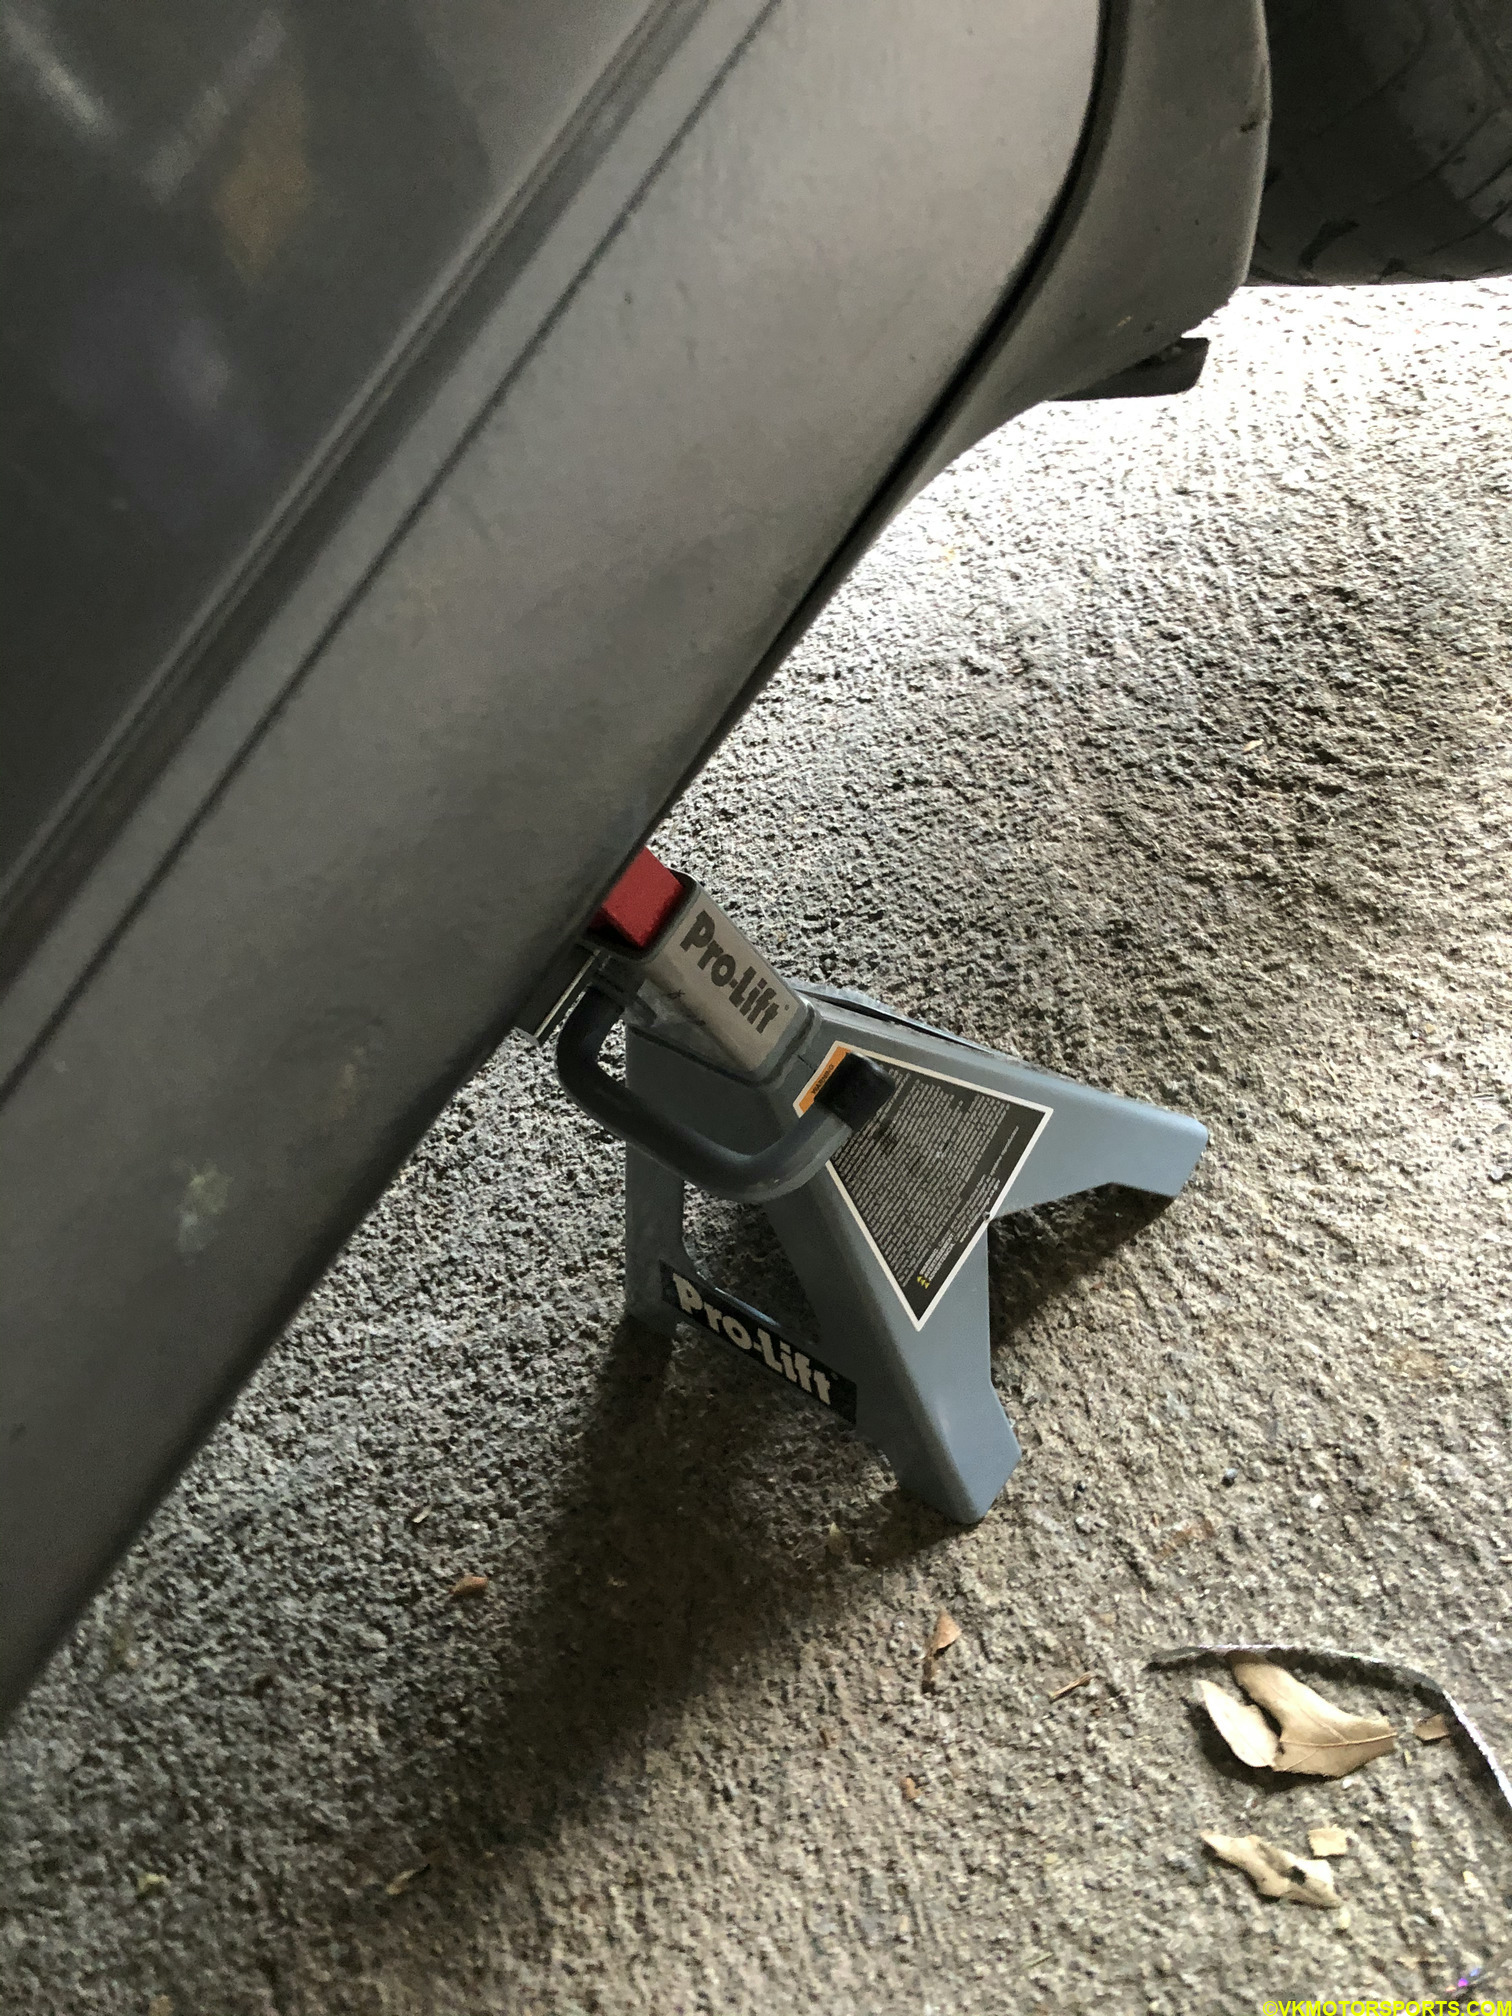 Figure 2. Raise the car on jack stands
Step 3: Take off the wheels. Figures 3 and 4 show the front and rear rotors after taking off the wheels. Unlike in the Miata, changing the brake pads on the front and rear wheels are the same procedure in the Porsche Boxster. Spray the brake caliper and rotor assembly with some brake parts cleaner liquid and wipe it down to make it clean.
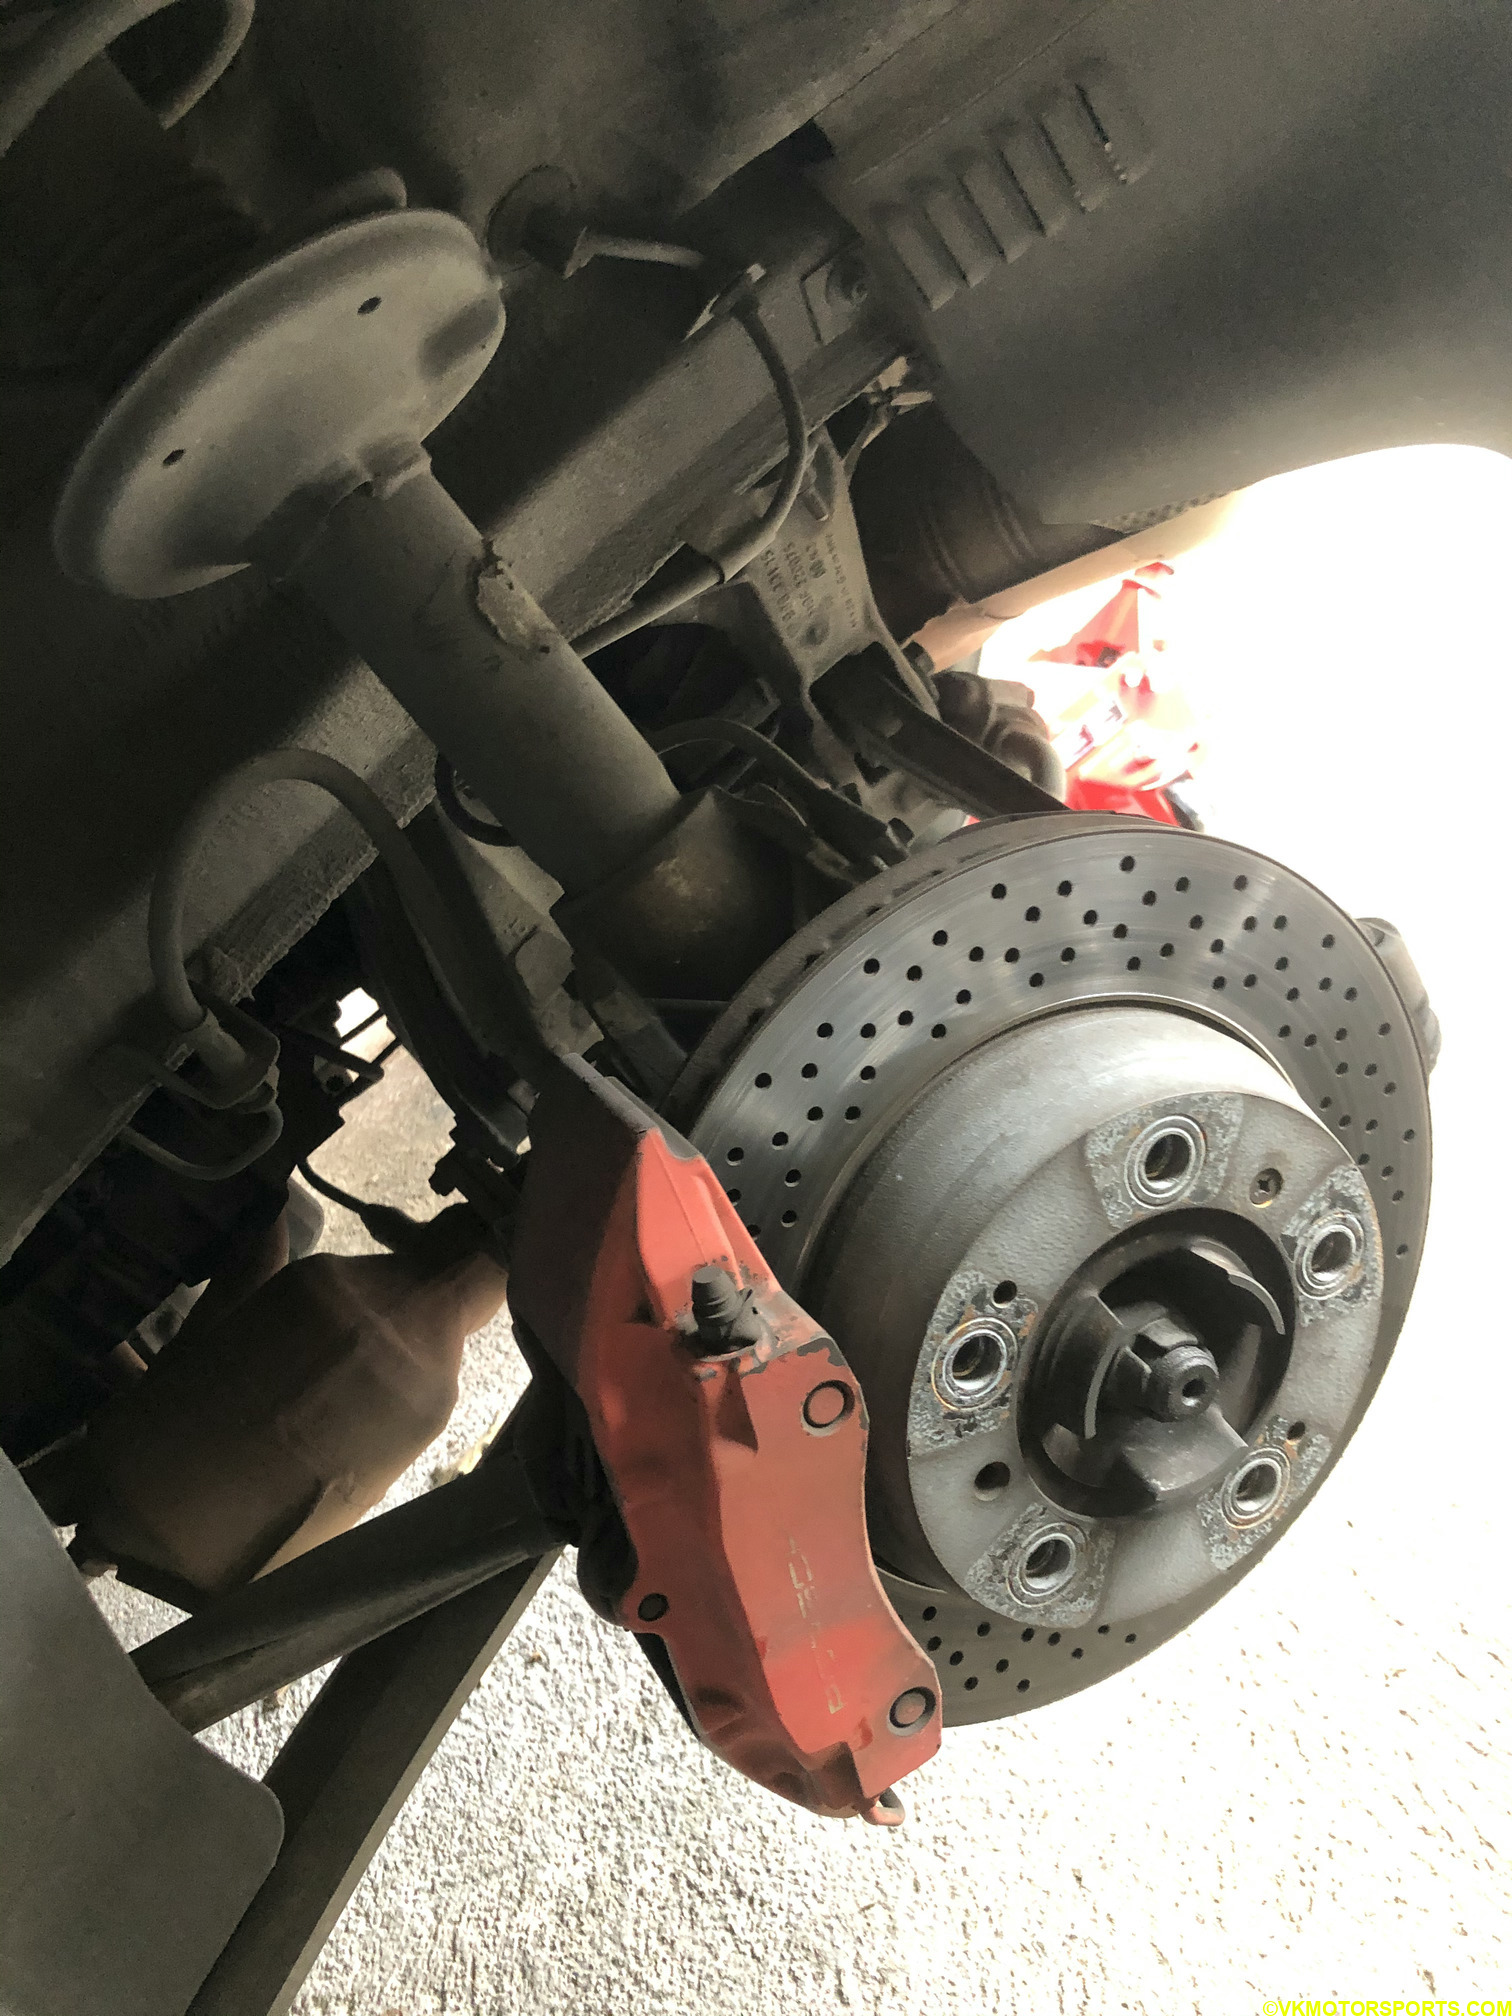 Figure 3. Front rotor view
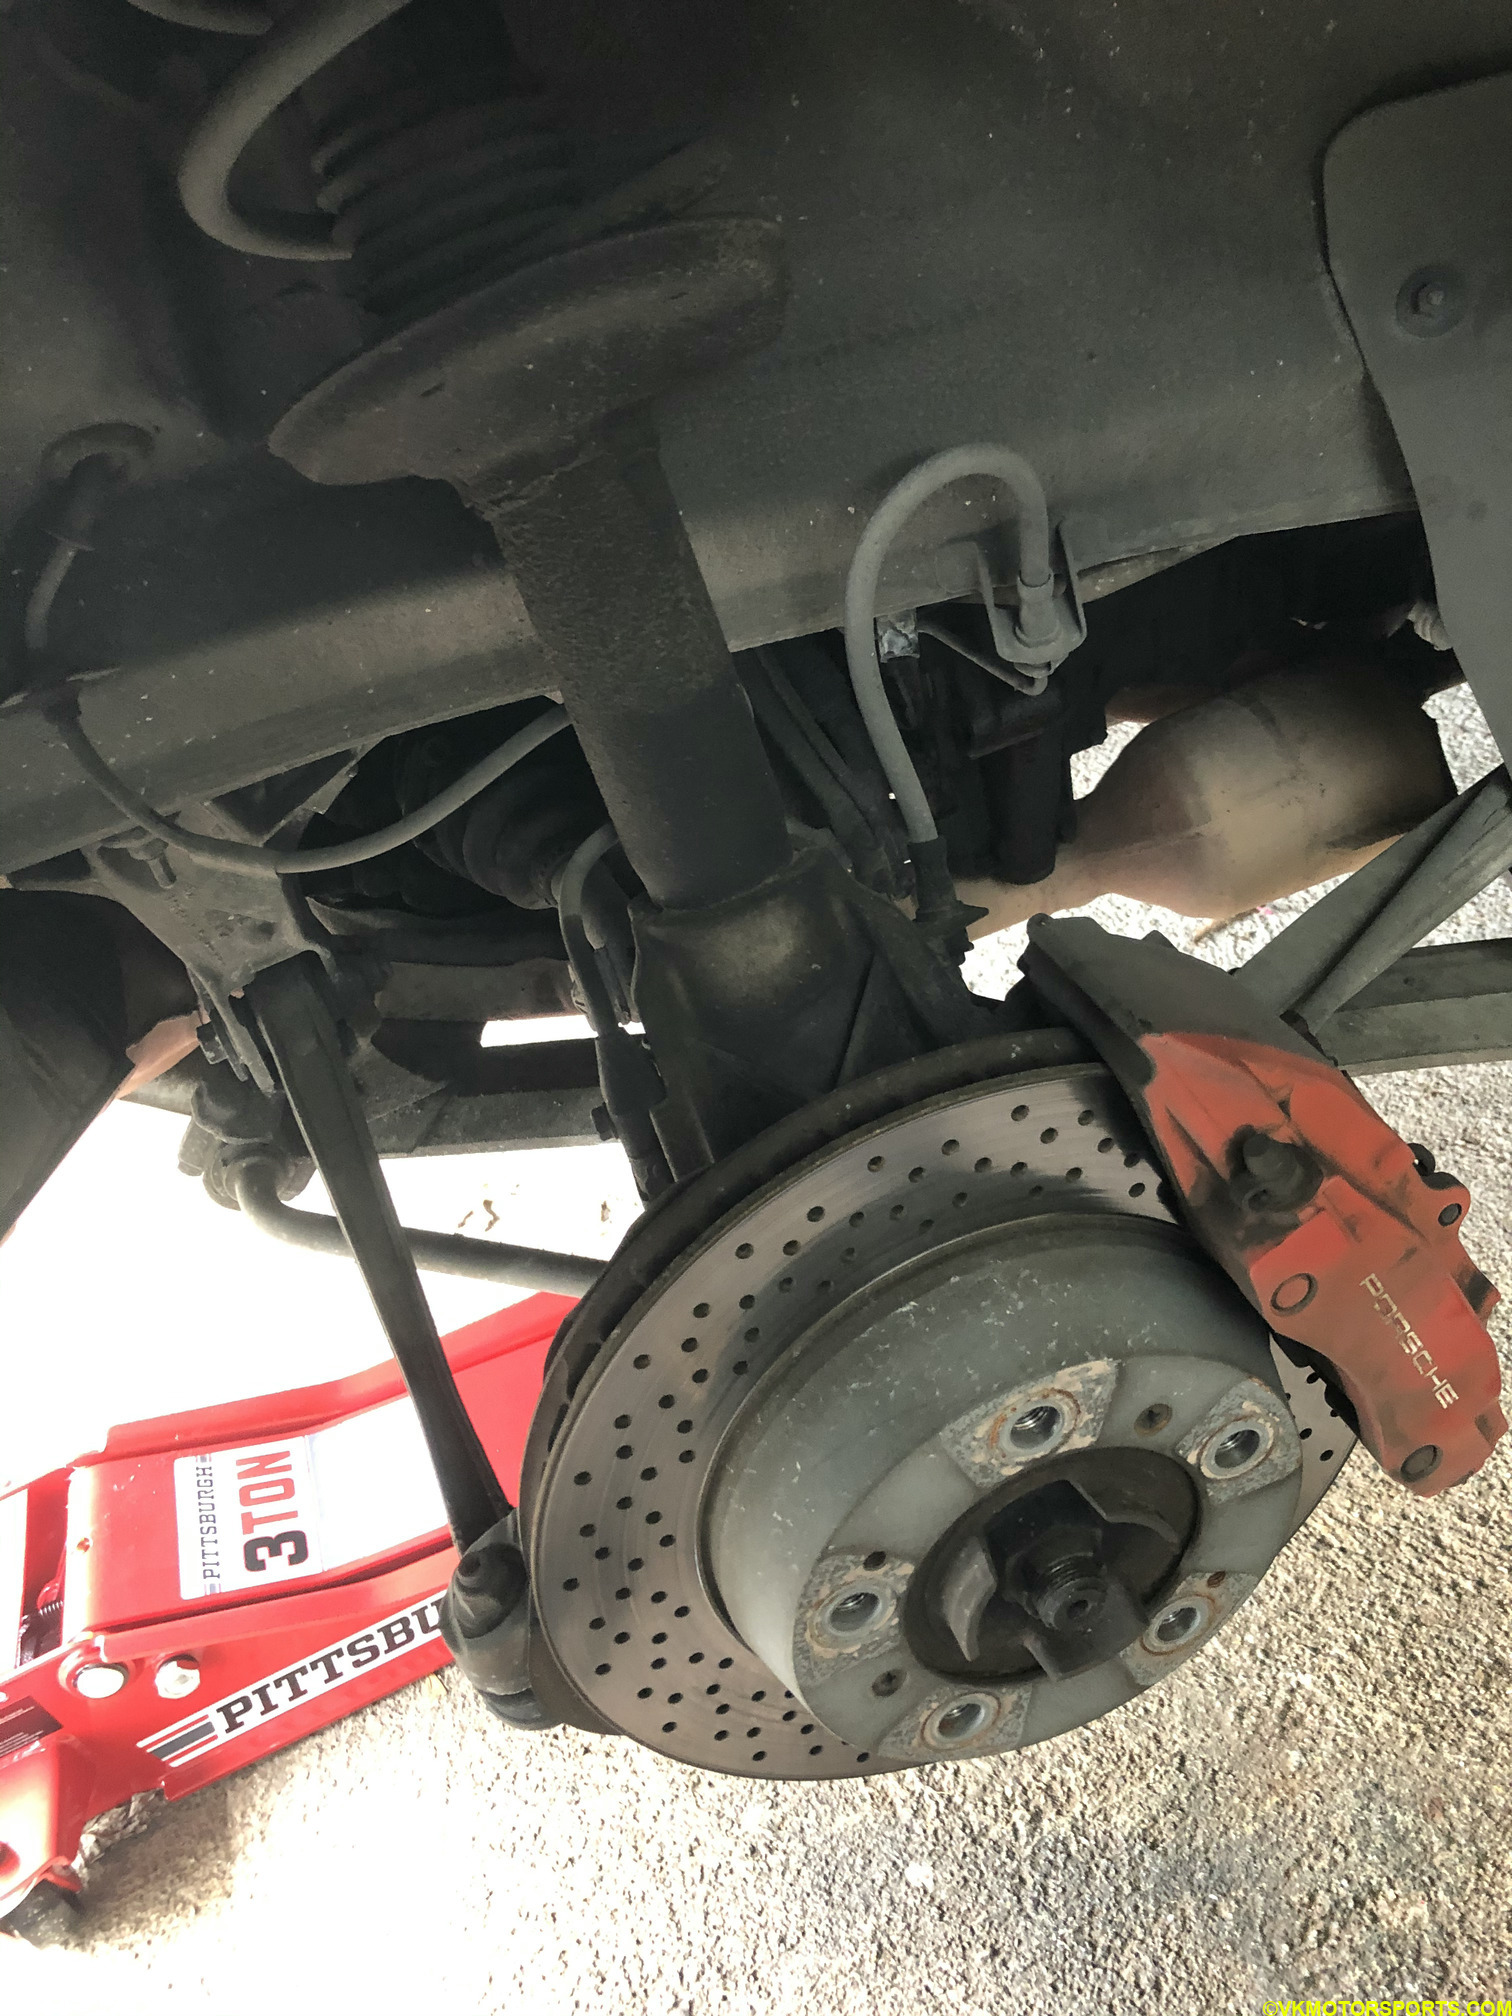 Figure 4. Rear rotor view
It may make sense to rotate the steering wheel to make it easy to access the front brake pads as seen in Figure 5.
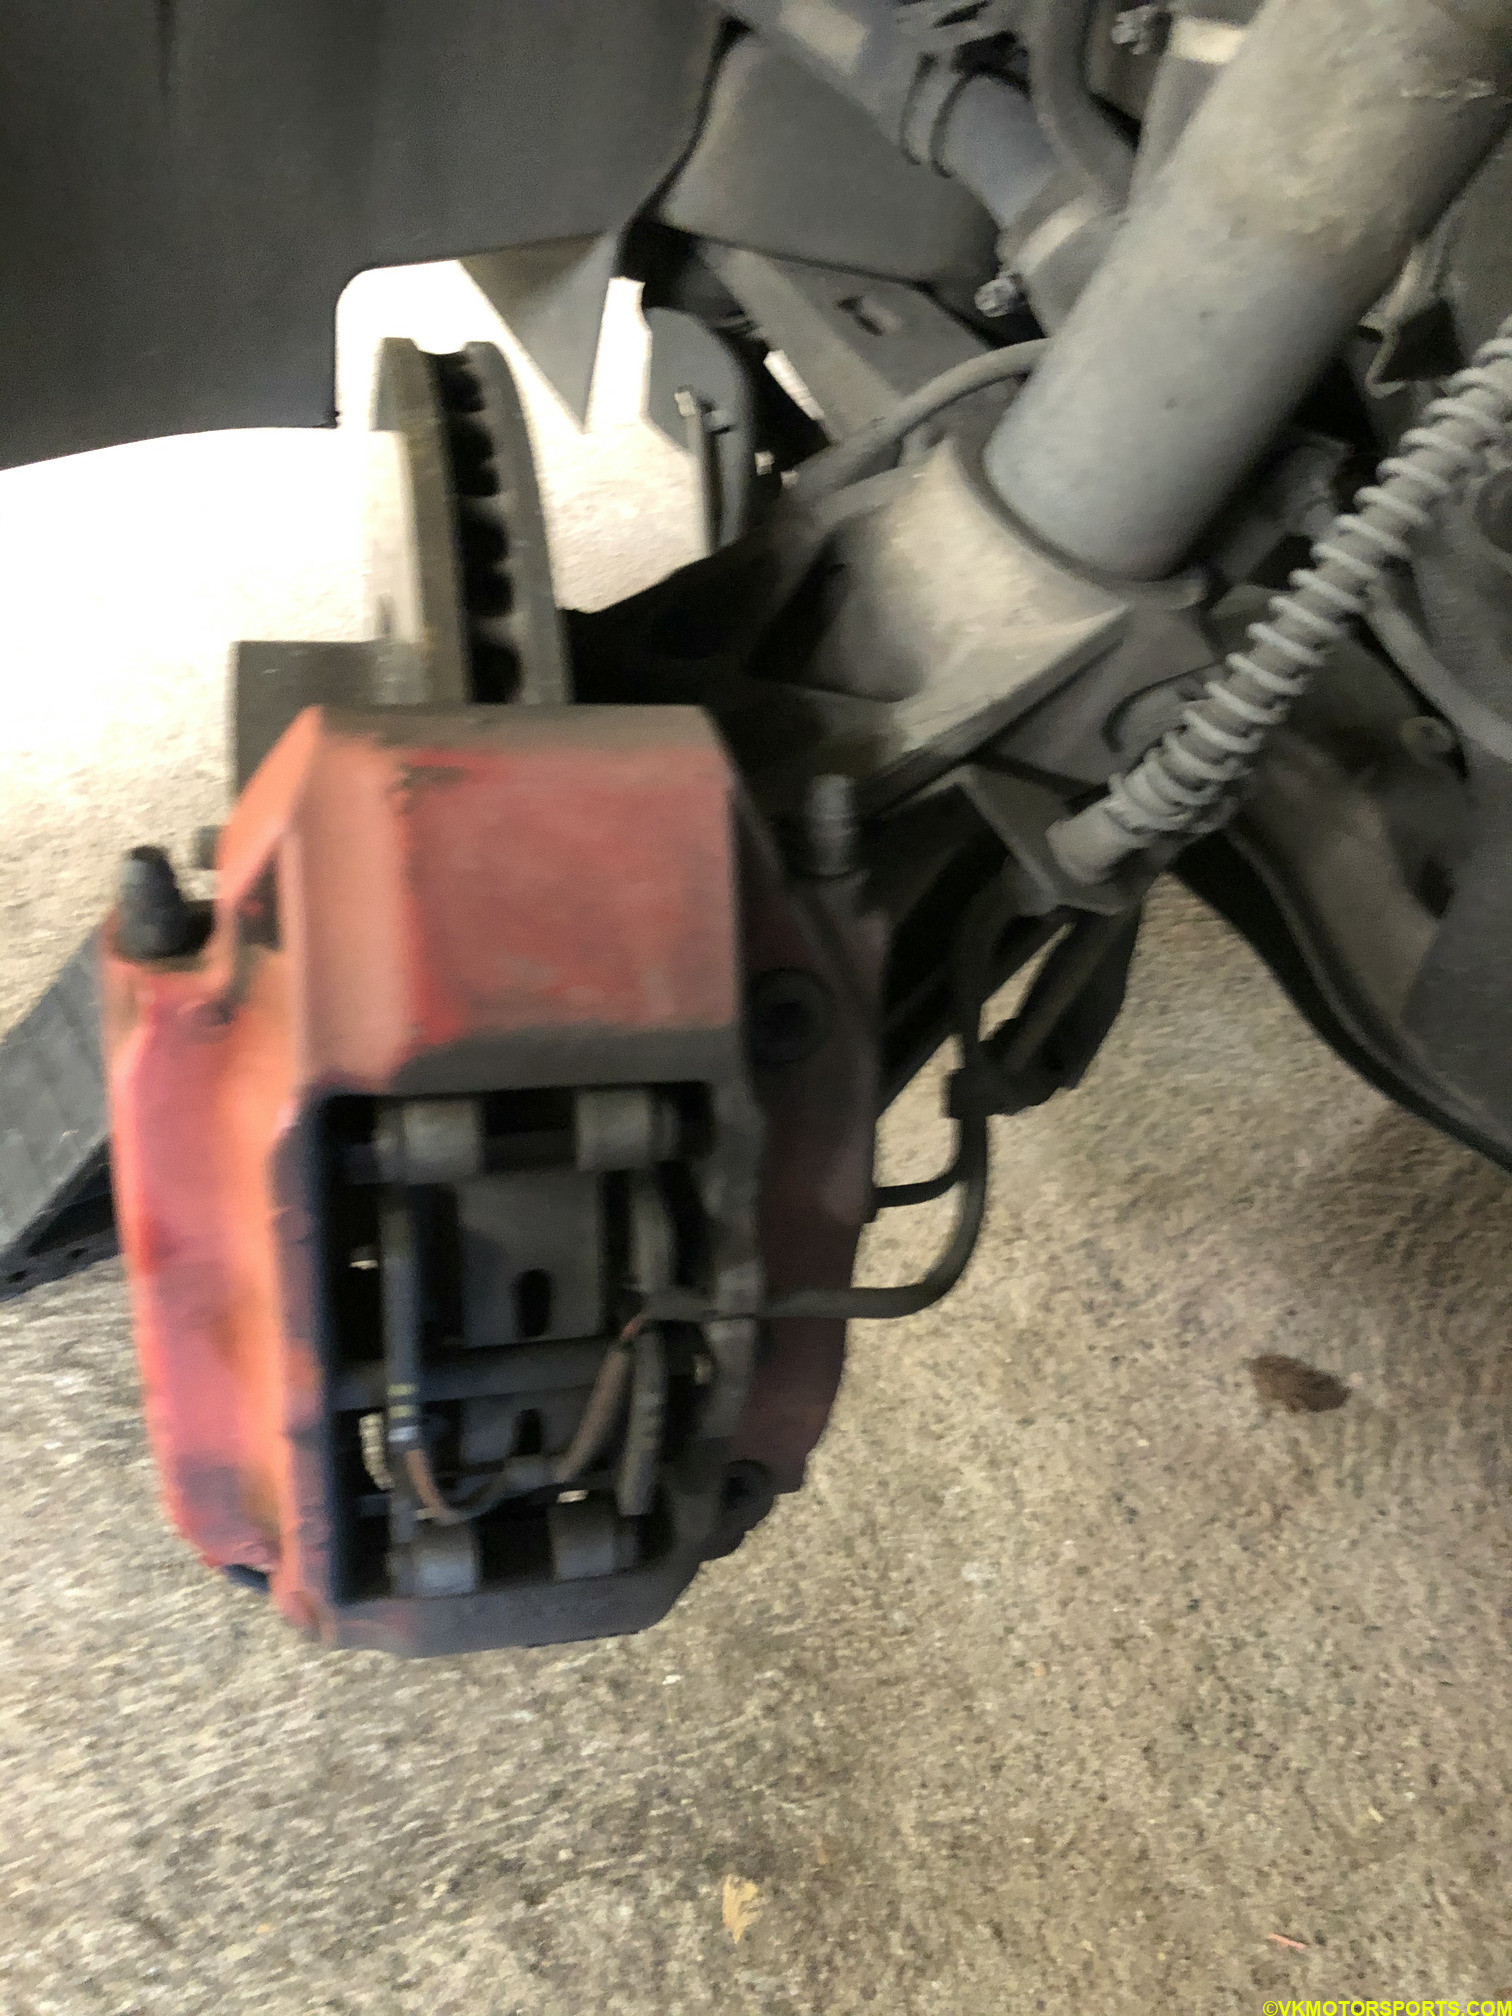 Figure 5. Rotate steering to access front brake calipers
Step 4: We start with using needle nose pliers to remove the sensors in the brake pads. However, I did not succeed in doing this initially so I did it at a later step when I was able to pull the pads out first in Figure 9. So if you are like me and are unable to take out the sensors first, go to Step 5.
Step 5: Remove the small hairpin-like retaining clip that sits in with heavier retaining pin that holds the brake pads in position as seen in Figures 6 and 7.
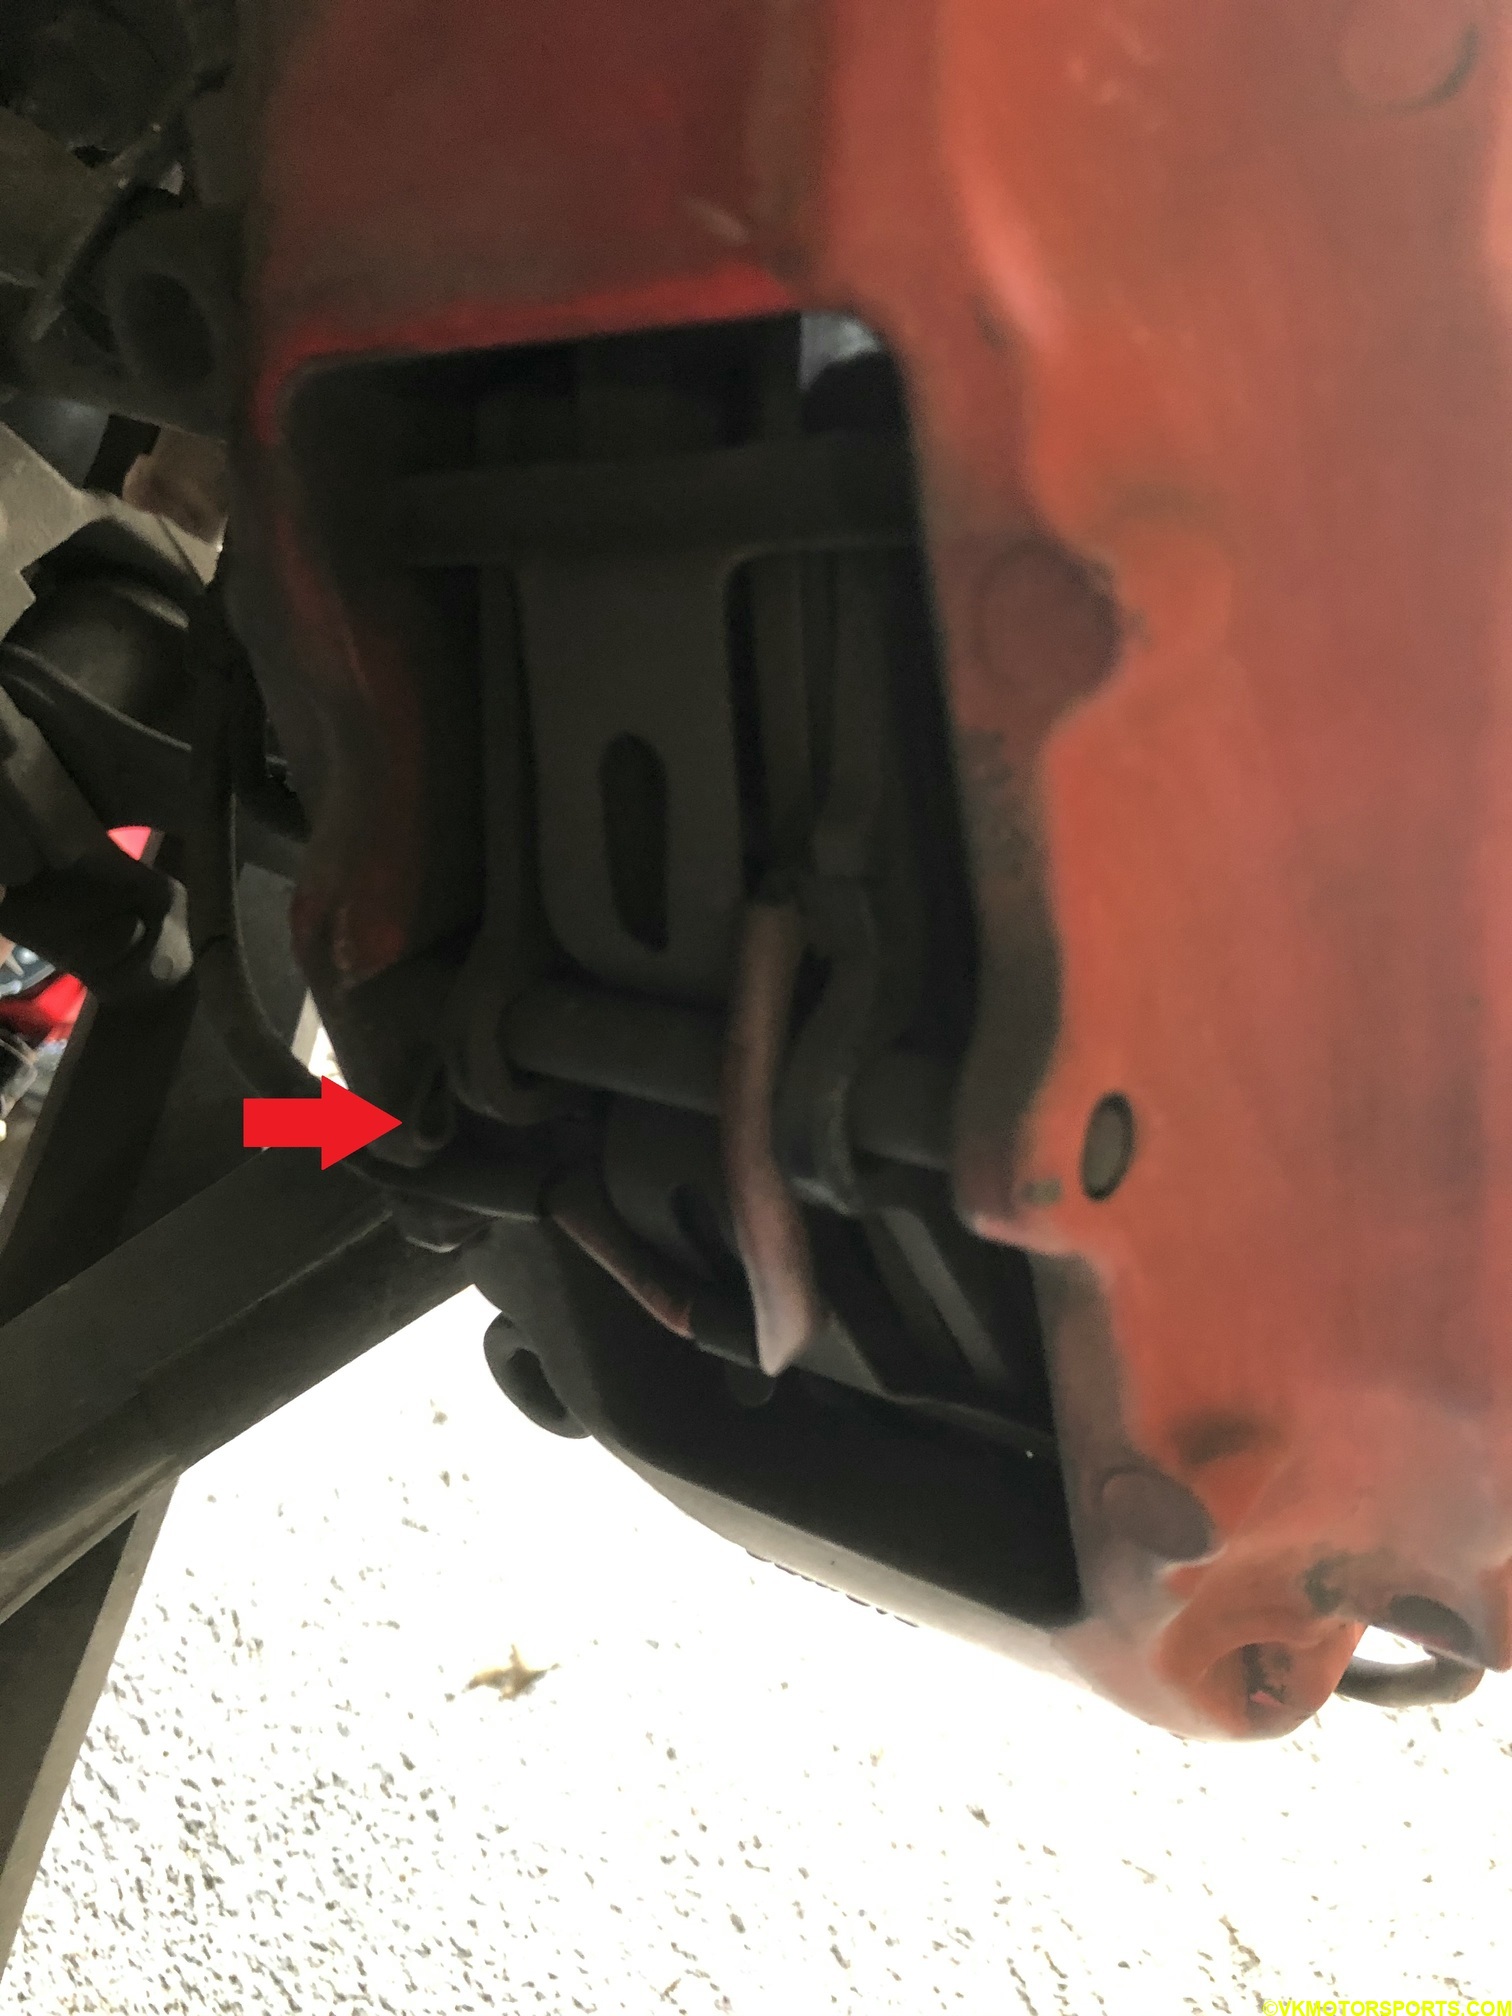 Figure 6: Remove the small hairpin-like retaining clip
 Figure 7: The small hairpin-like retaining clip
Step 6: Using a mallet and a screw driver lightly tap the retaining pin out until it fully comes out.
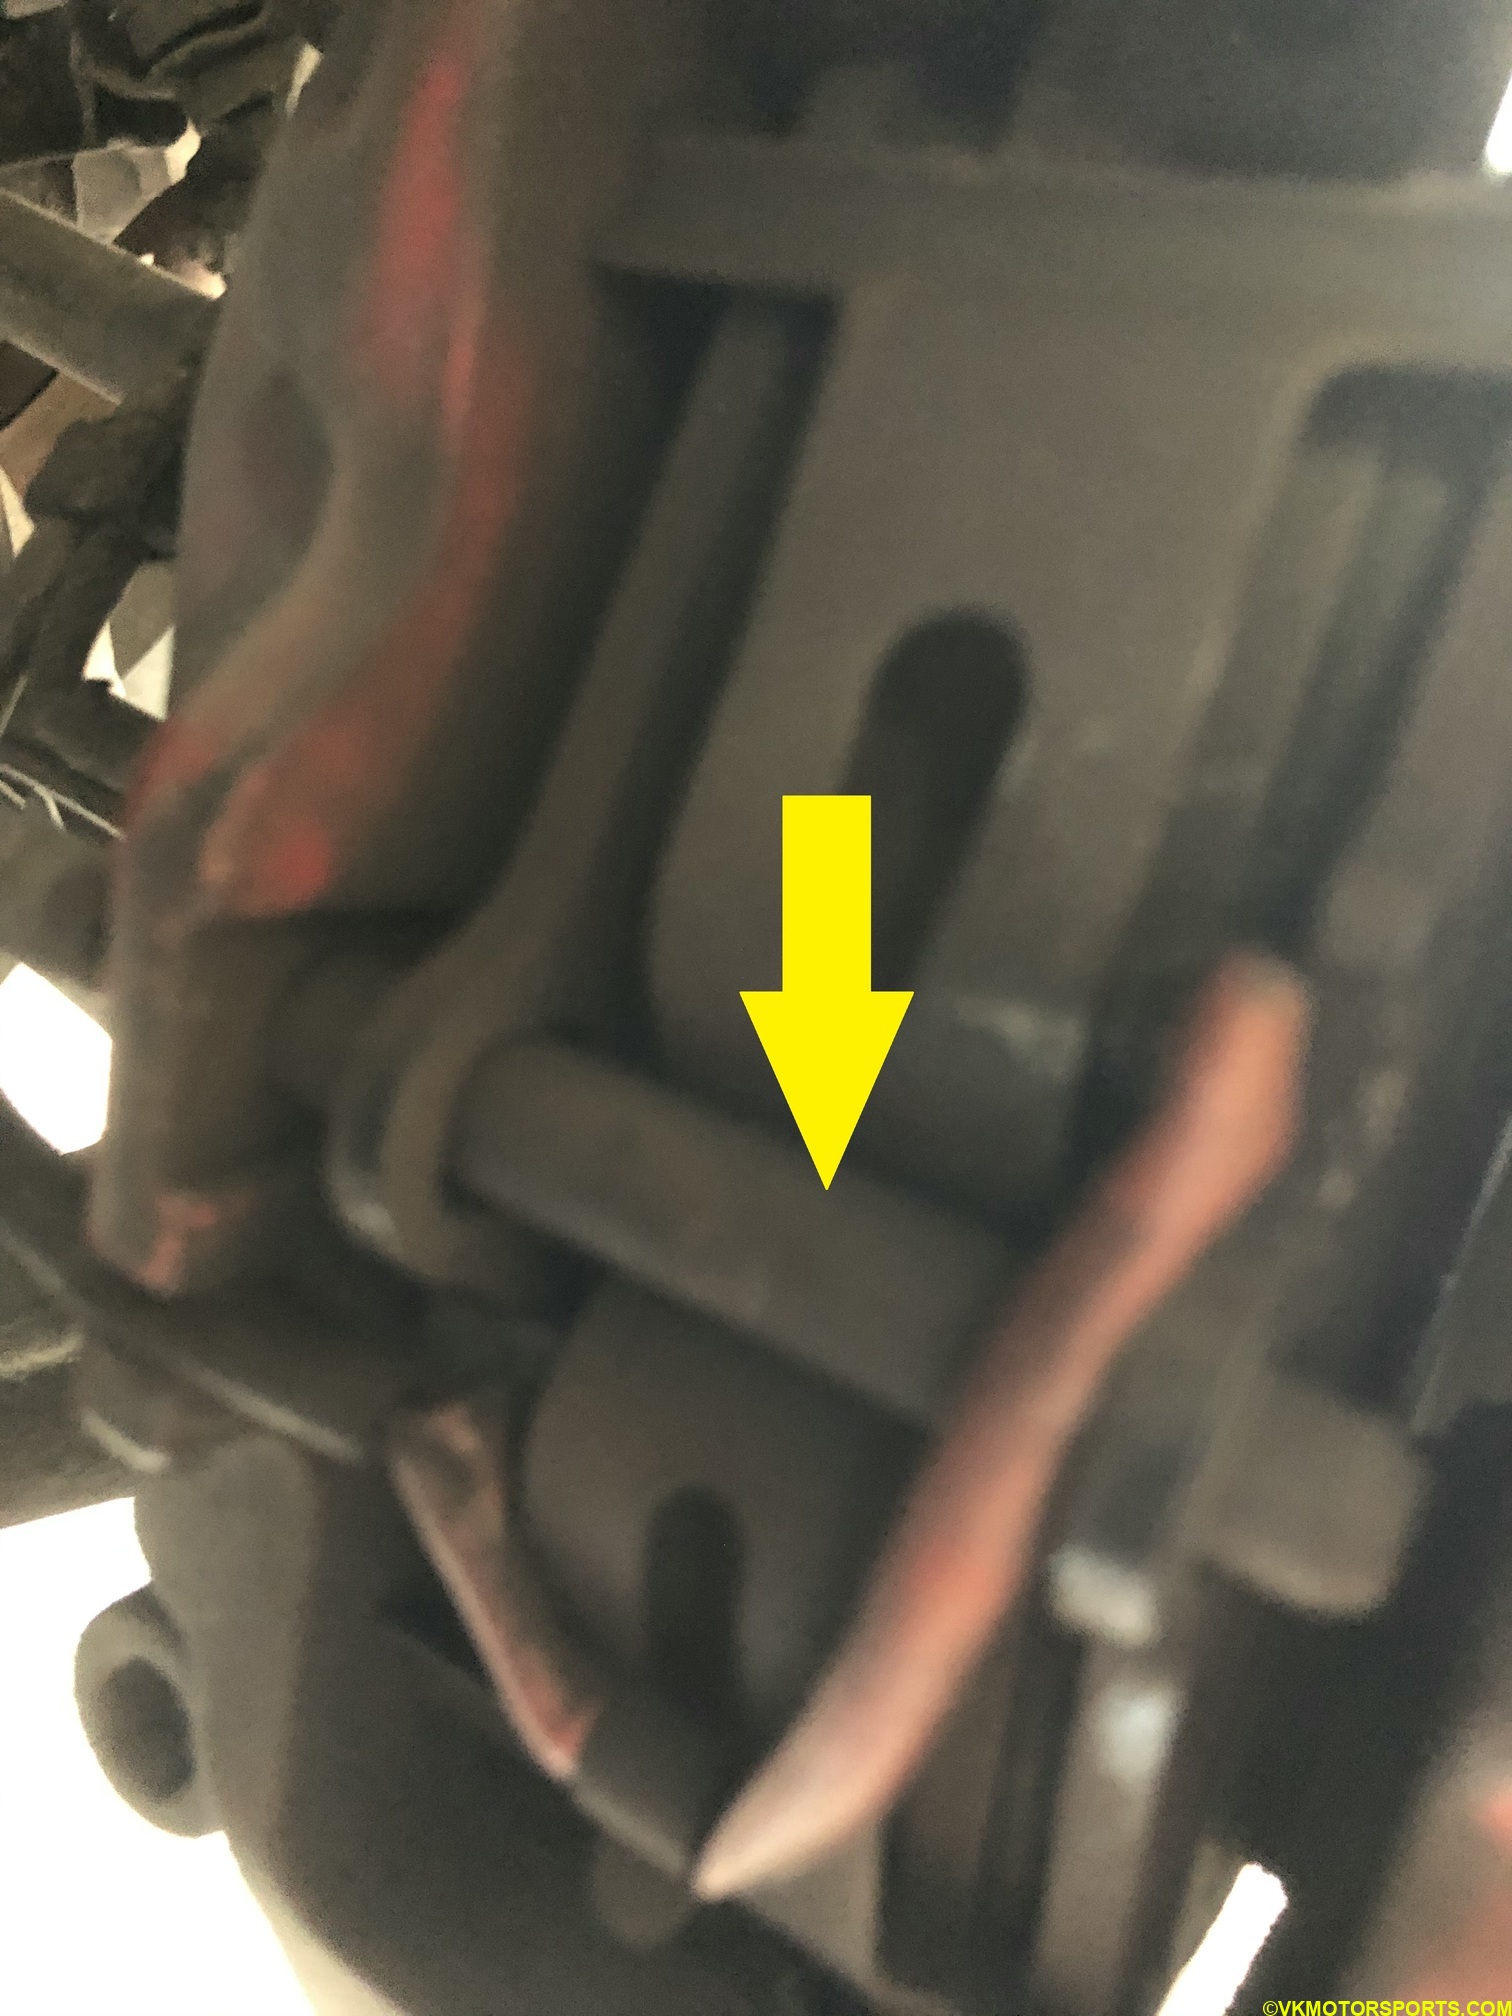 Figure 8: Remove the retaining pin
Step 7: Once the retaining pin comes out the pads either fall out or are stuck to the pistons. In my case they were stuck to the pistons, so I had to pull them out using needle nose pliers as seen in Figure 9.
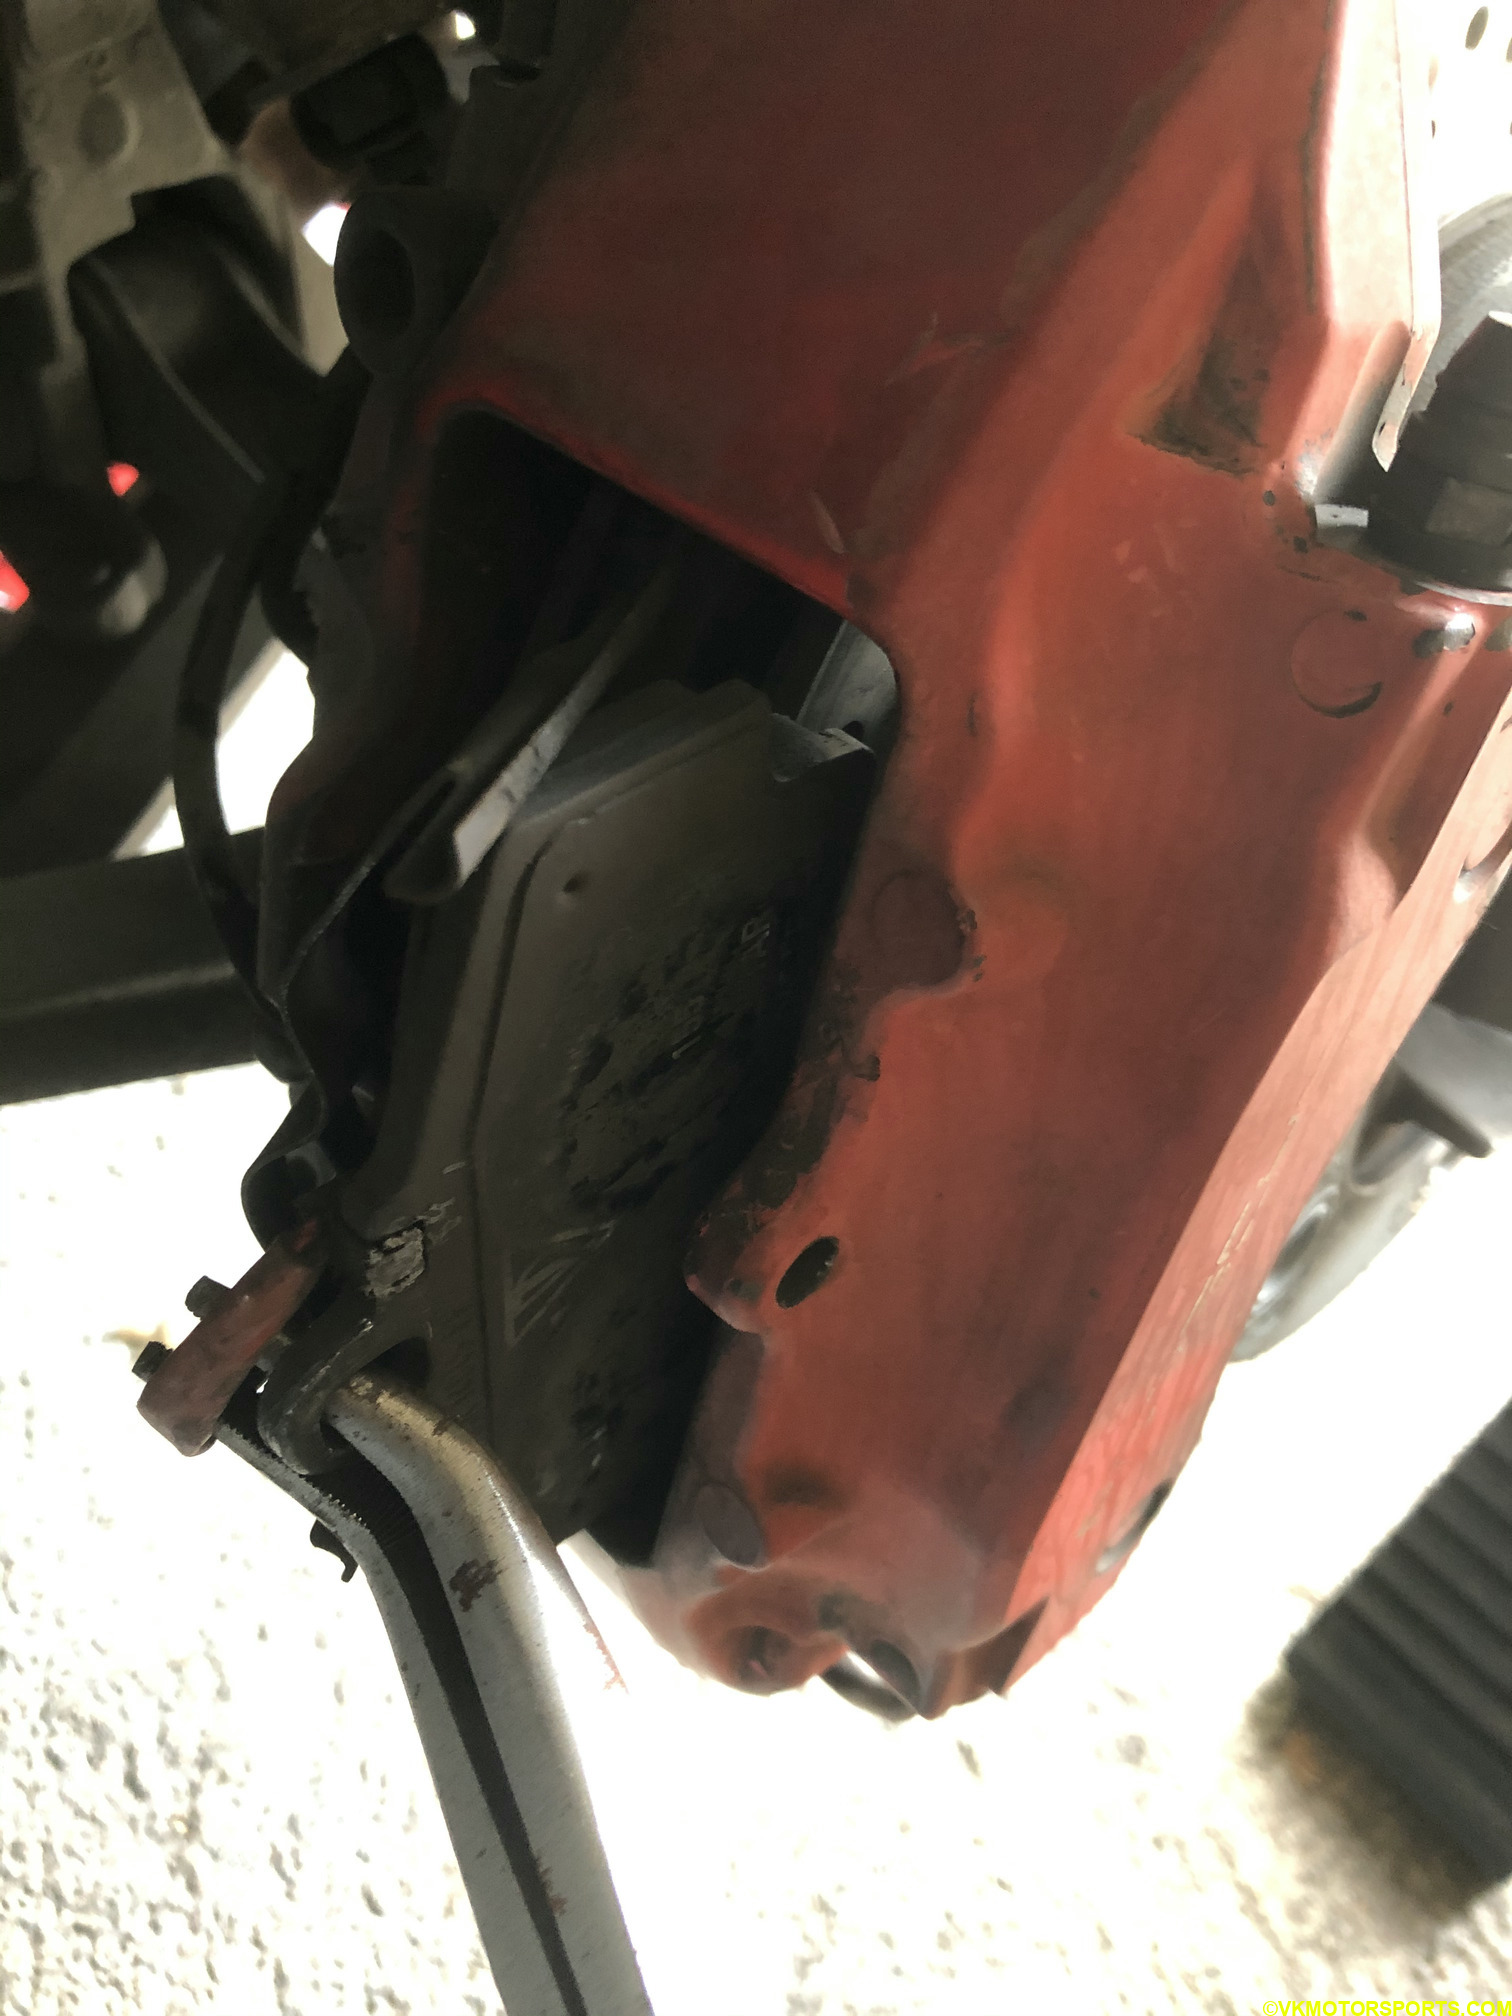 Figure 9: Pull the brake pads out carefully
Step 8: In my case, I was able to take out the sensors once the pads were out with the needle nose pliers, but there is no image showing that. Just be careful and do not break any wiring.
Step 9: Now close the pistons using a $4 G-clamp from Harbor Freight and the old brake pads. I inserted the old brake pads back in and tightened the G-clamp so that the pistons would sink in all the way. Now you will see that the brake pads do not stay in position and keep falling out unless they are really thick and new. You can see in Figures 10a and 10b how I use the G-clamp from two different perspectives.
NOTE: You may need to open the brake fluid cylinder in the front trunk before doing this step. Remember to close it after the pistons have been pushed back.
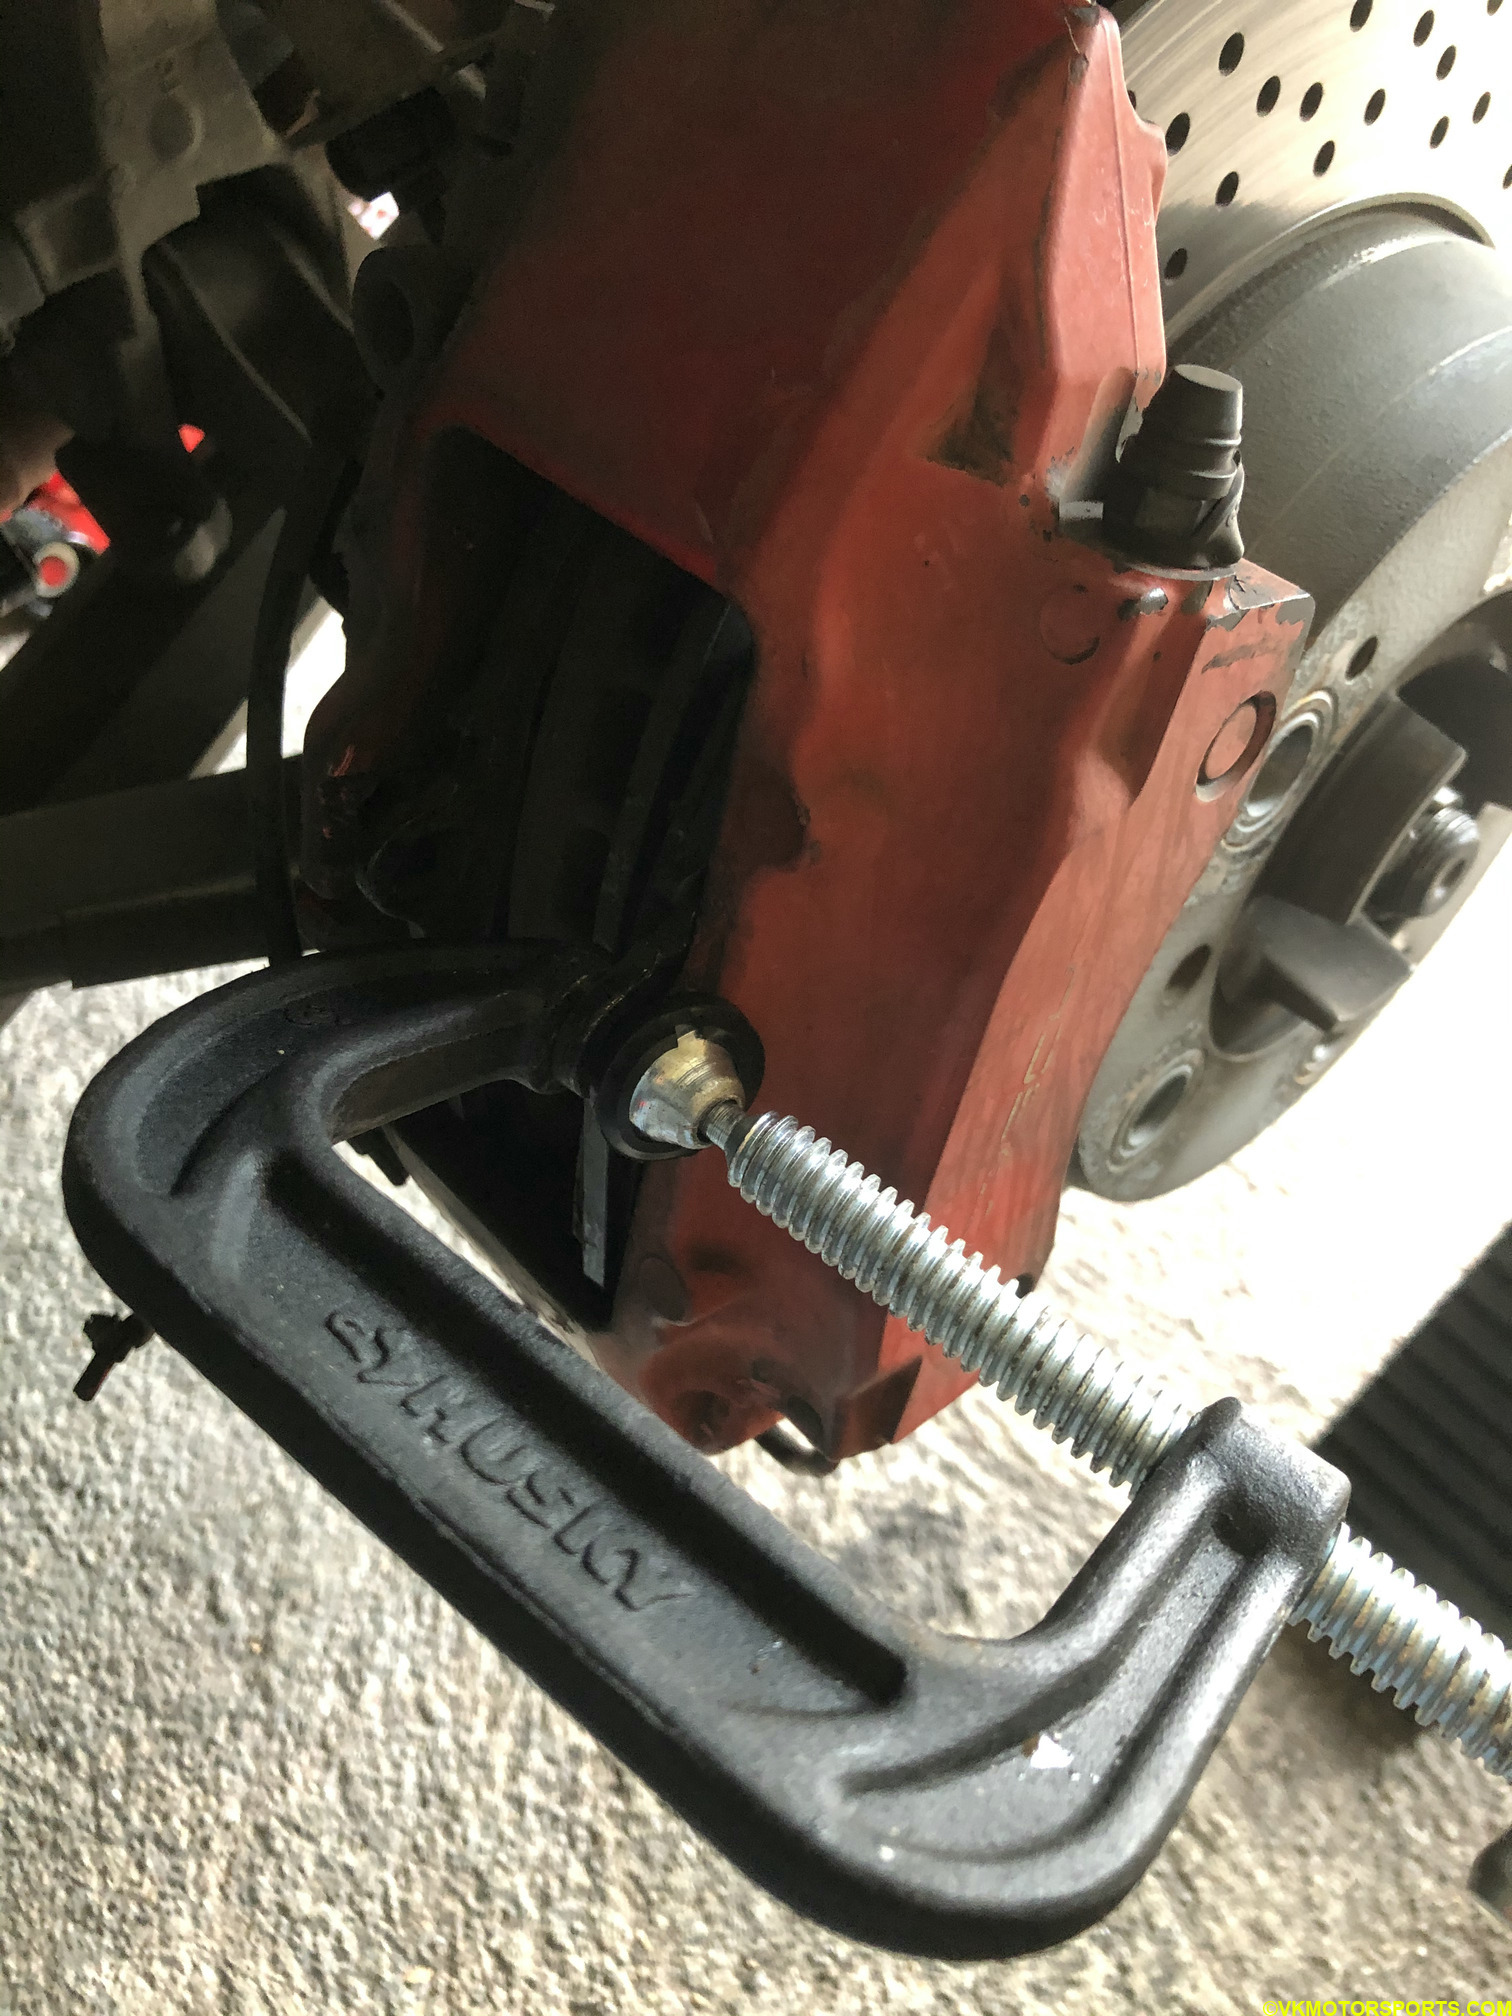 Figure 10a. Close the pistons using a G-Clamp (driver side view)
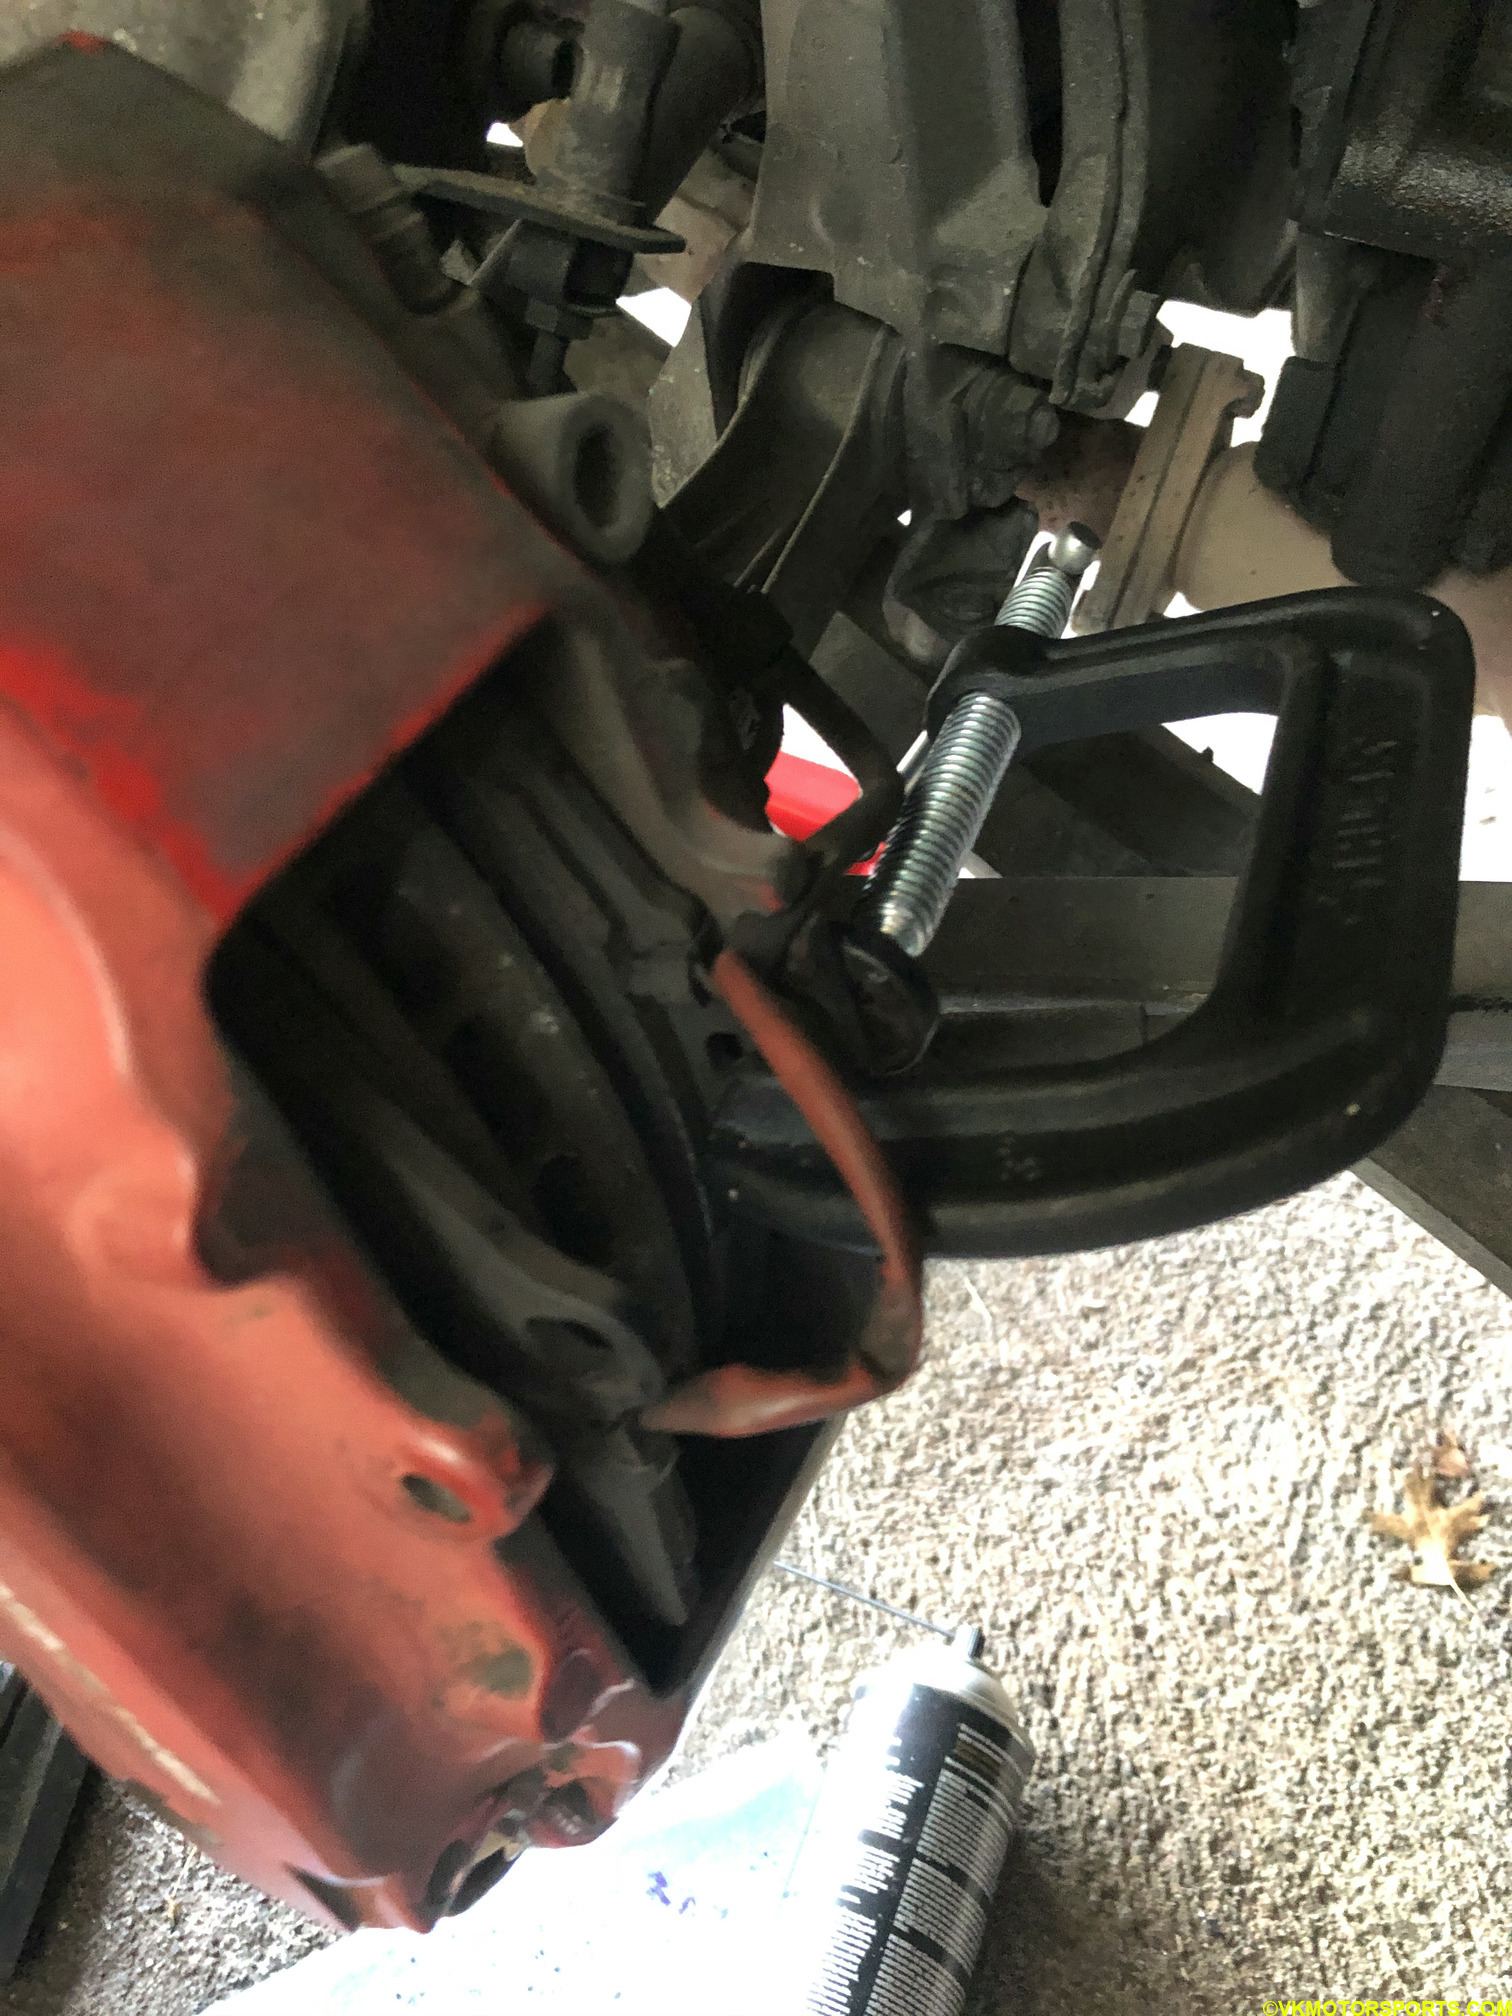 Figure 10b. Close the pistons using a G-Clamp (passenger side view)
Step 10: Now take out the new brake pads from the packaging as seen in Figure 11. Look how thick they are compared to even the Miata’s new brake pads or a worn out Boxster brake pads! Using copper-based brake lubricant lubricate the non-friction side of the brake pads liberally and also lubricate the retaining pin that holds the pads together that you had removed in Step 6.
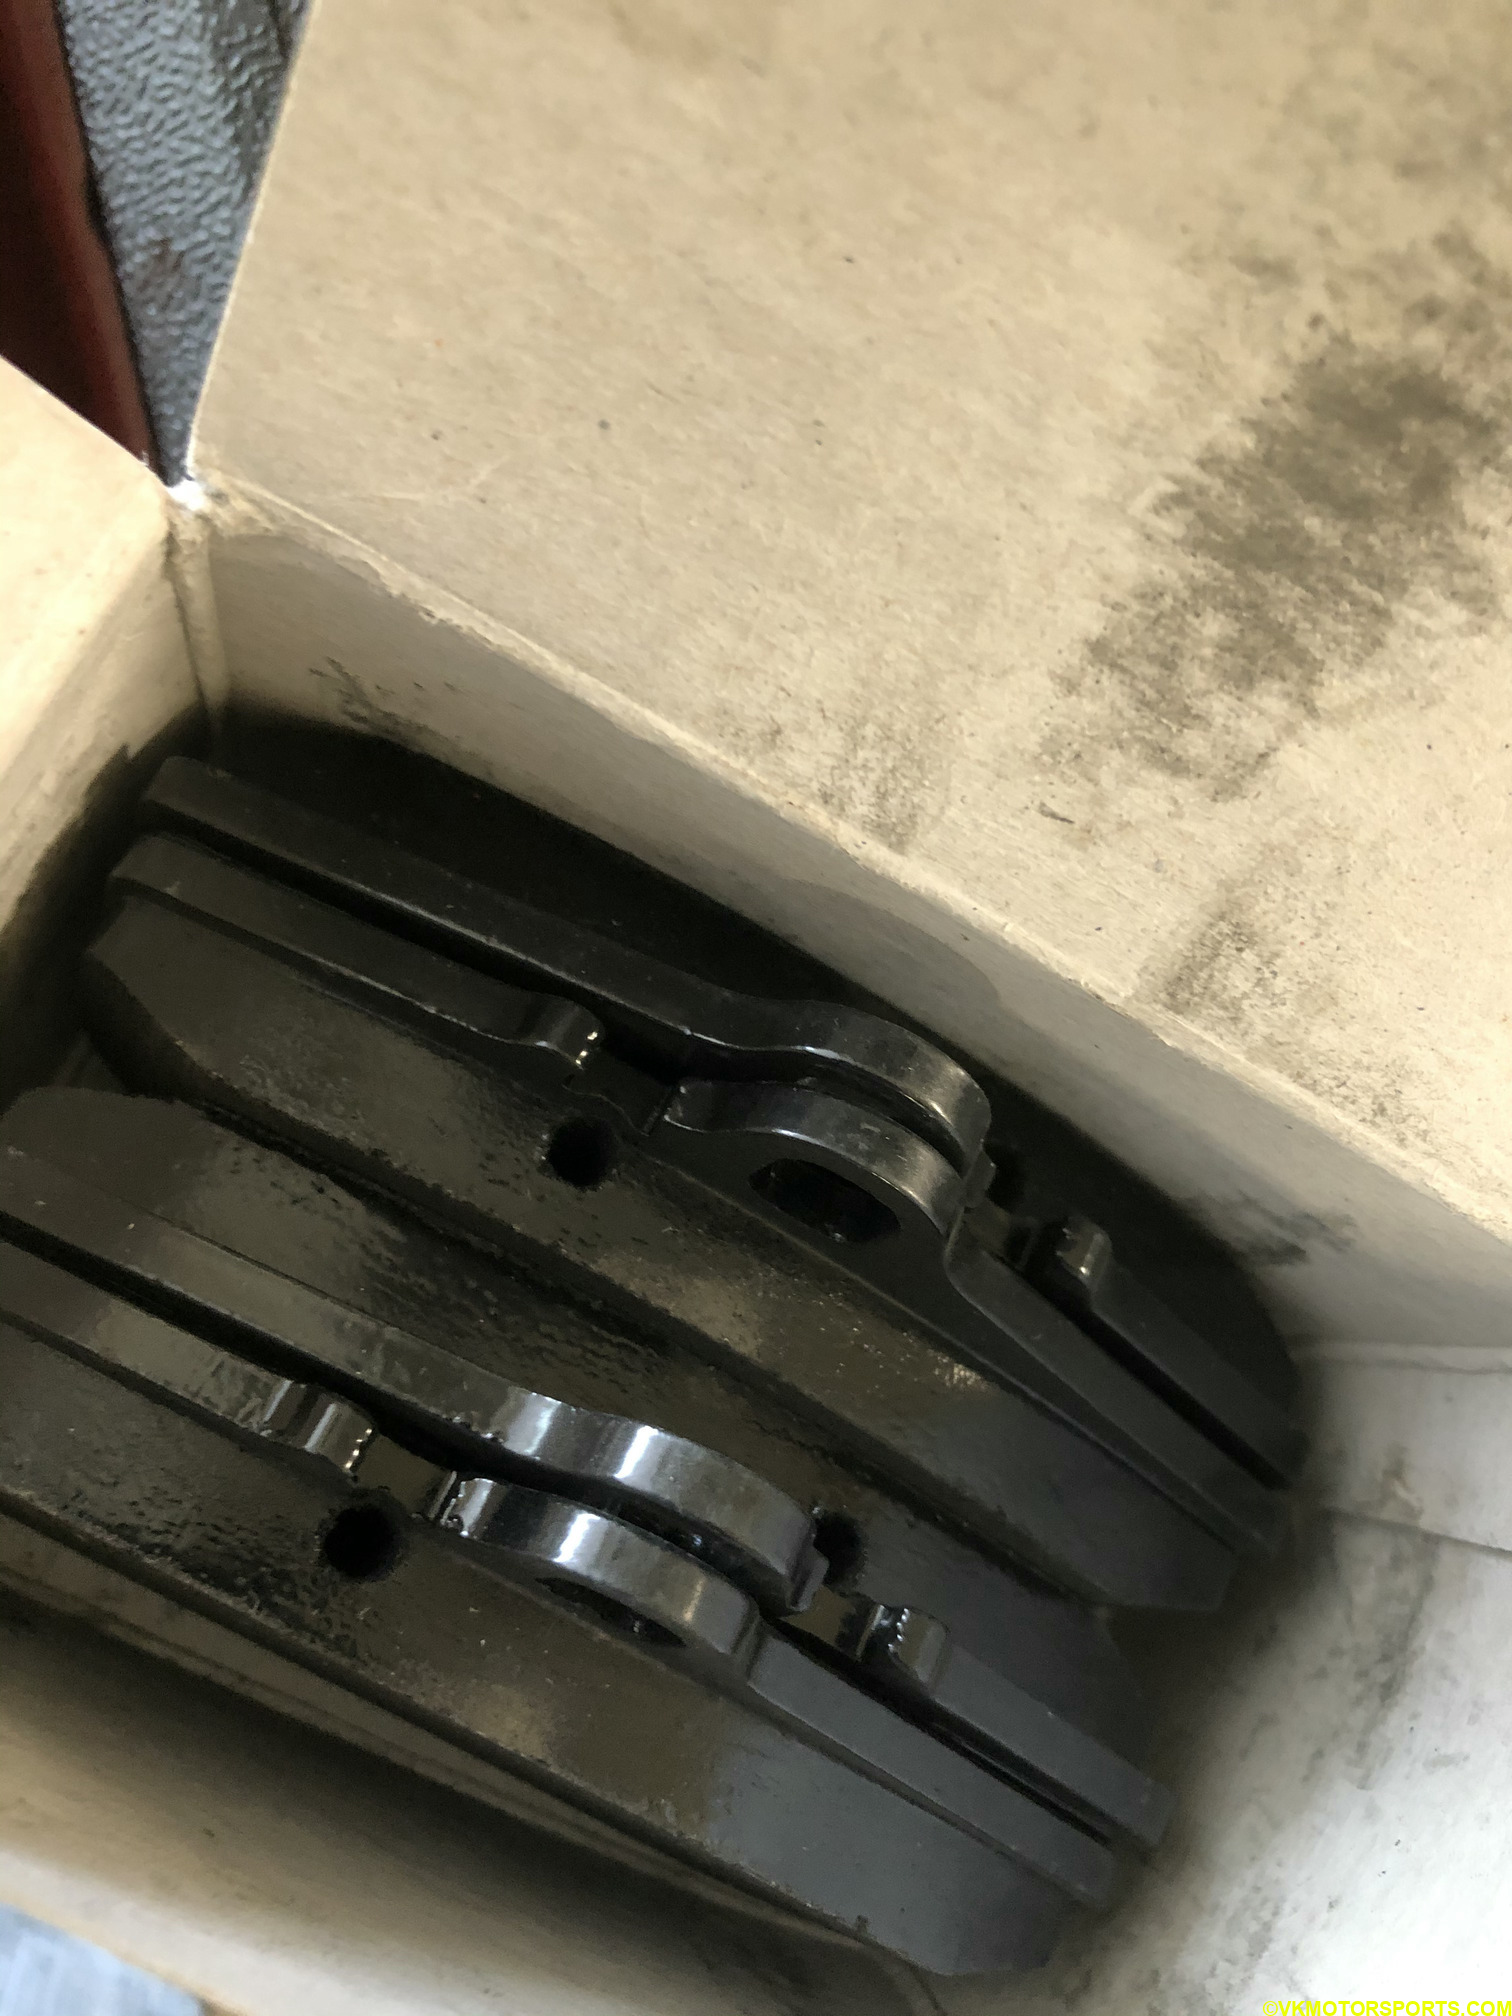 Figure 11. New Porsche brake pads
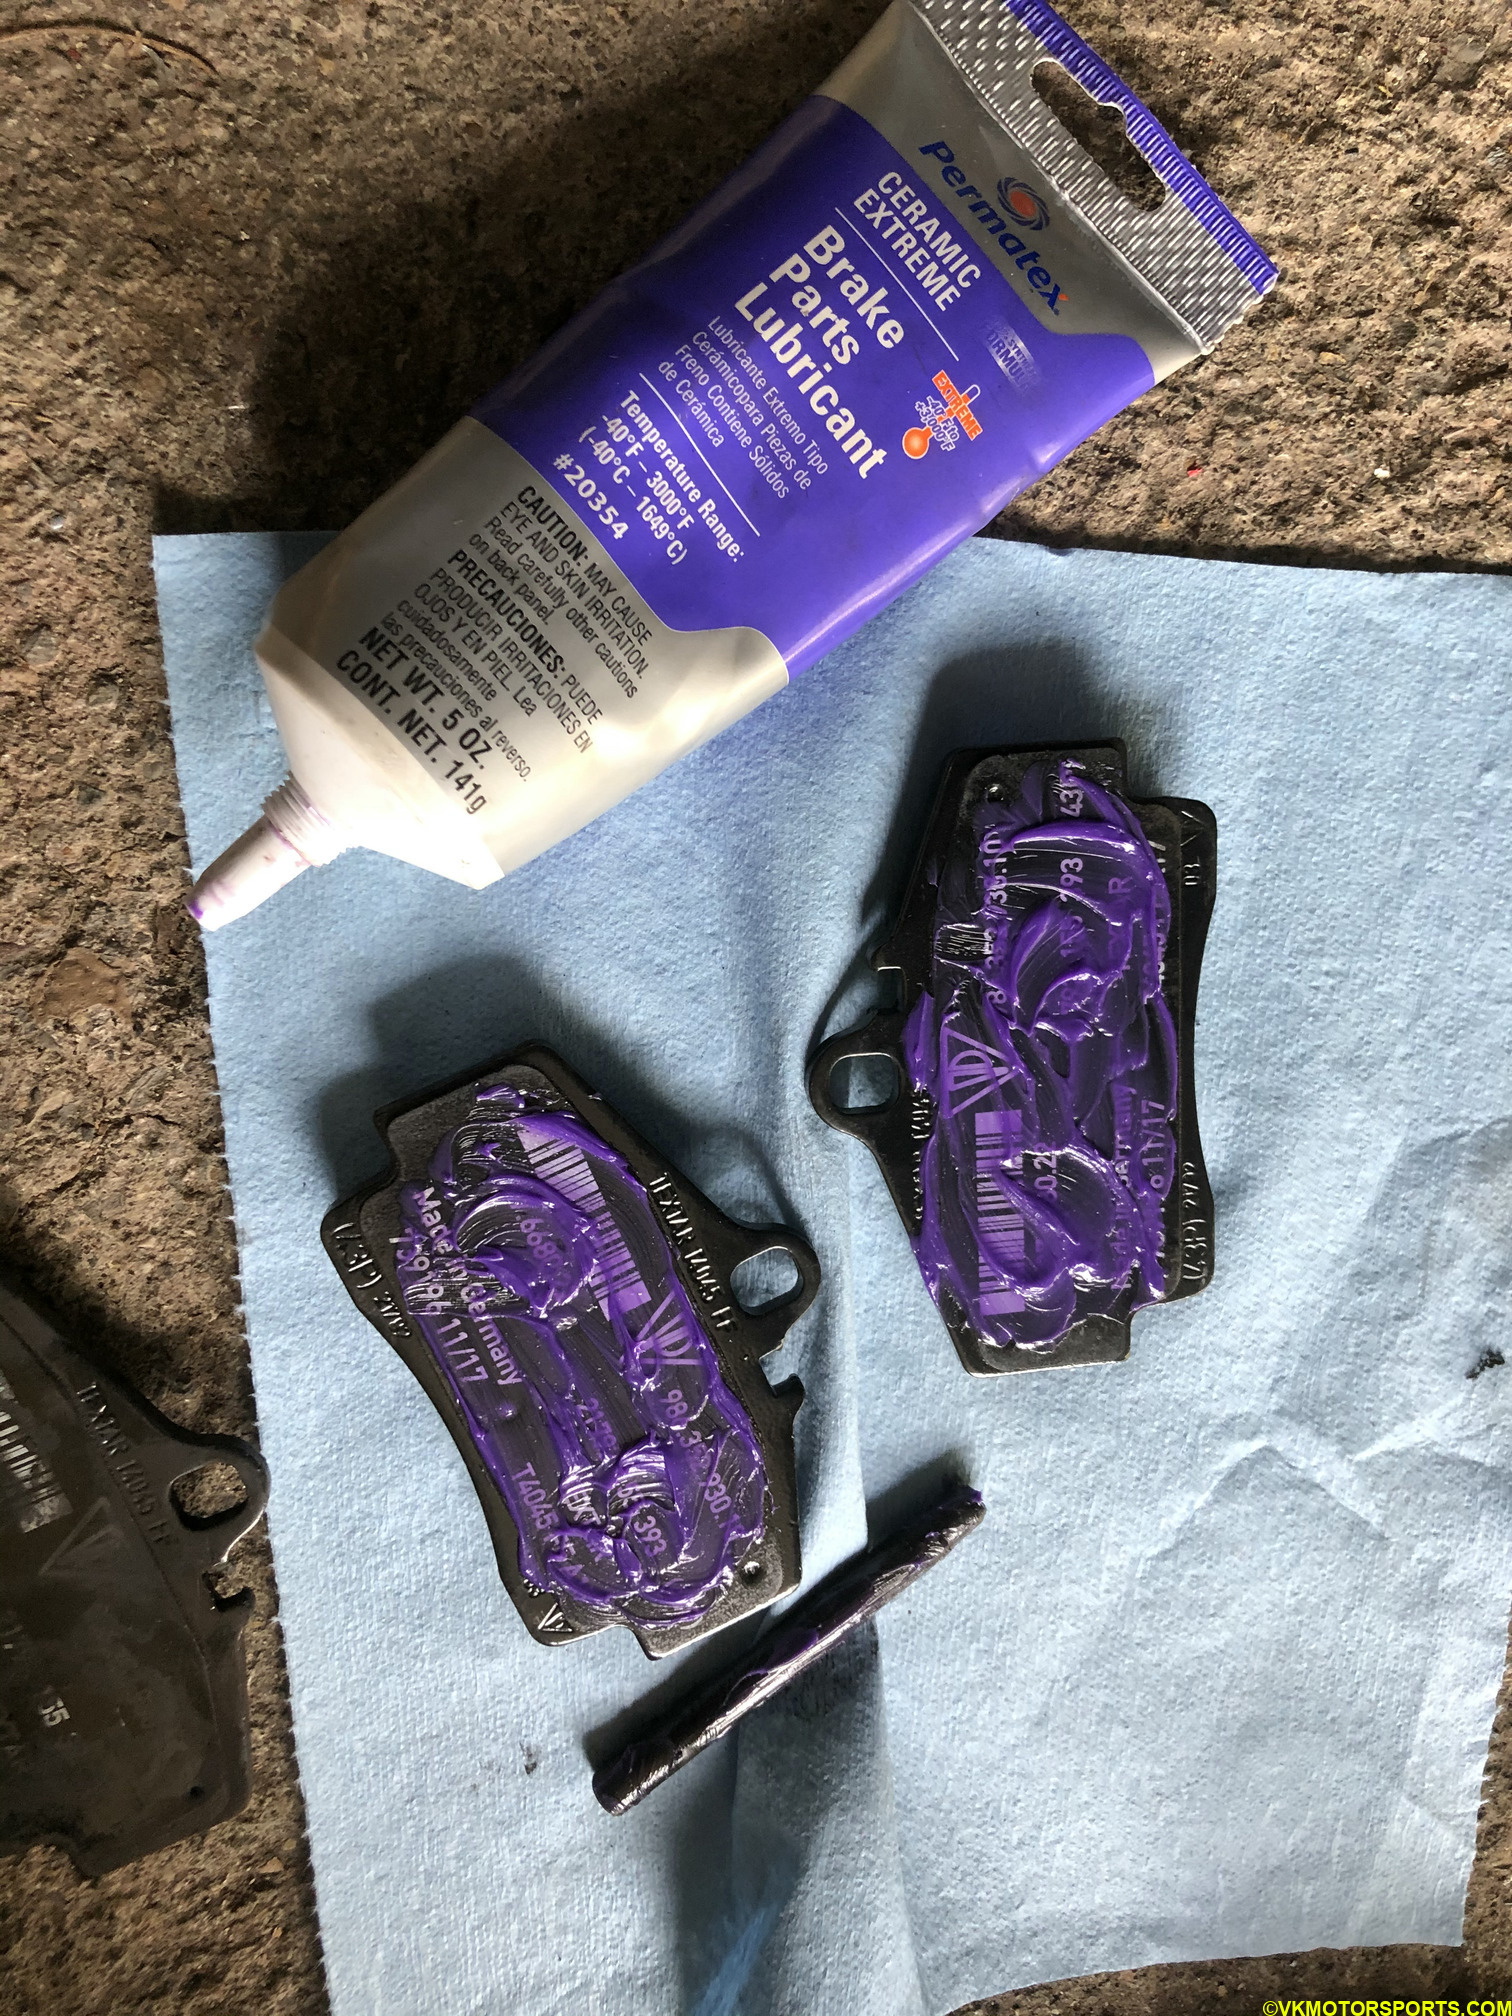 Figure 12. Lubricated brake pads and retaining pin
Step 11: Install the pads back into position with the friction side of the pads facing the rotor. Recall in Step 9 you had to push the pistons in. That was done so that thicker pads would fit into the space in the brake calipers.
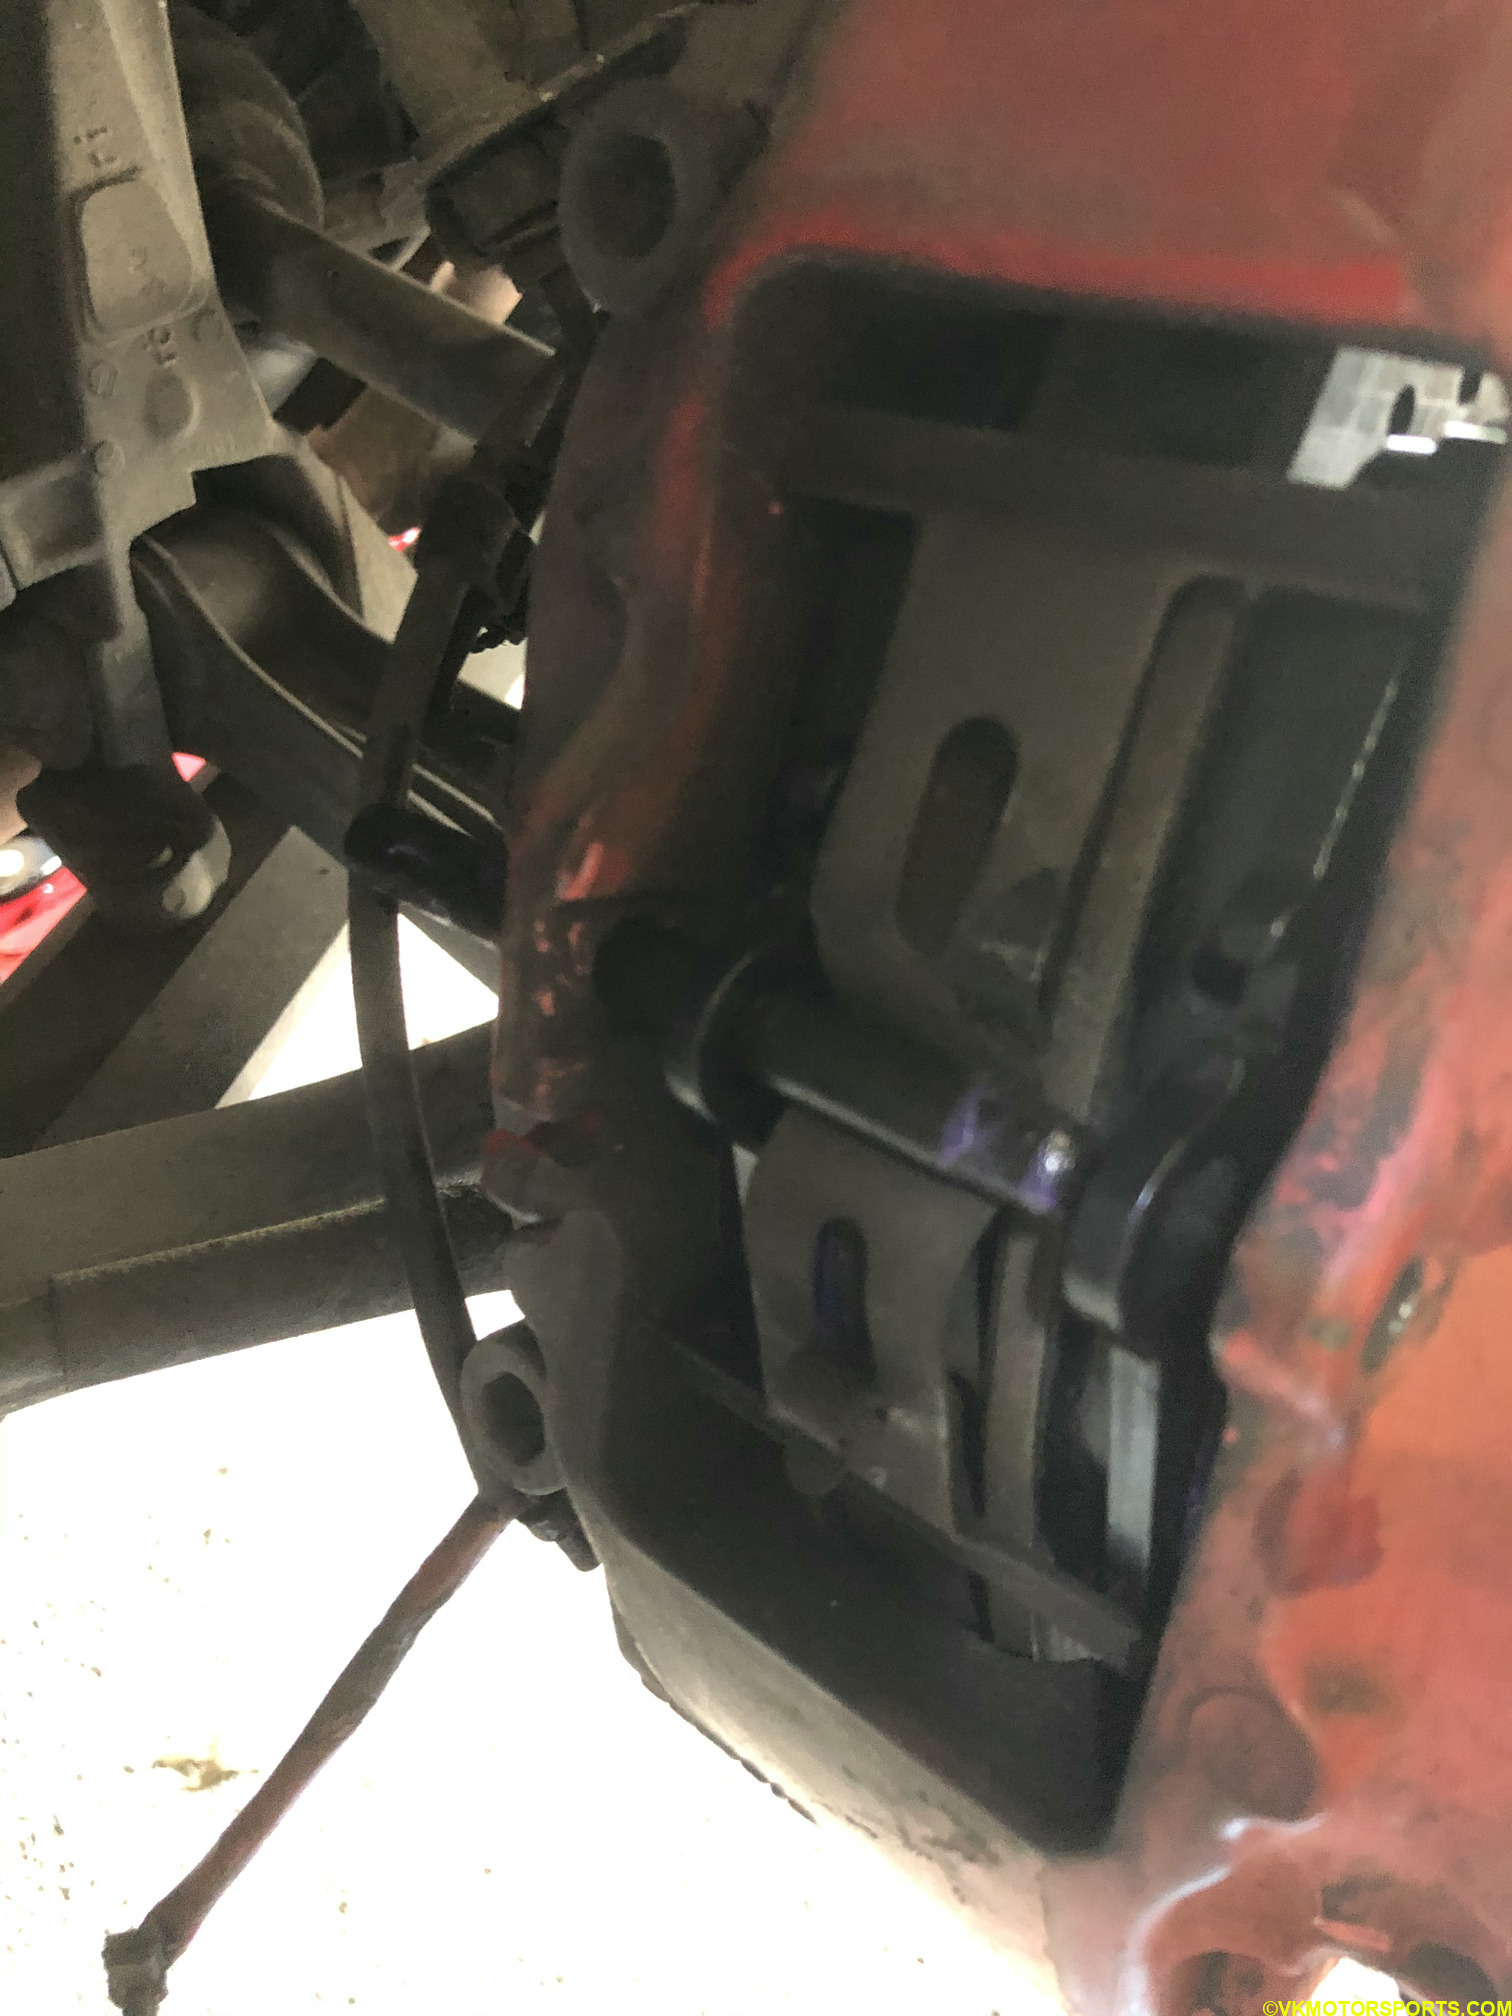 Figure 13. Lubricated brake pads and retaining pin
Step 12: Install the lubricated retaining pin and also the retaining clip so the pin does not come loose.
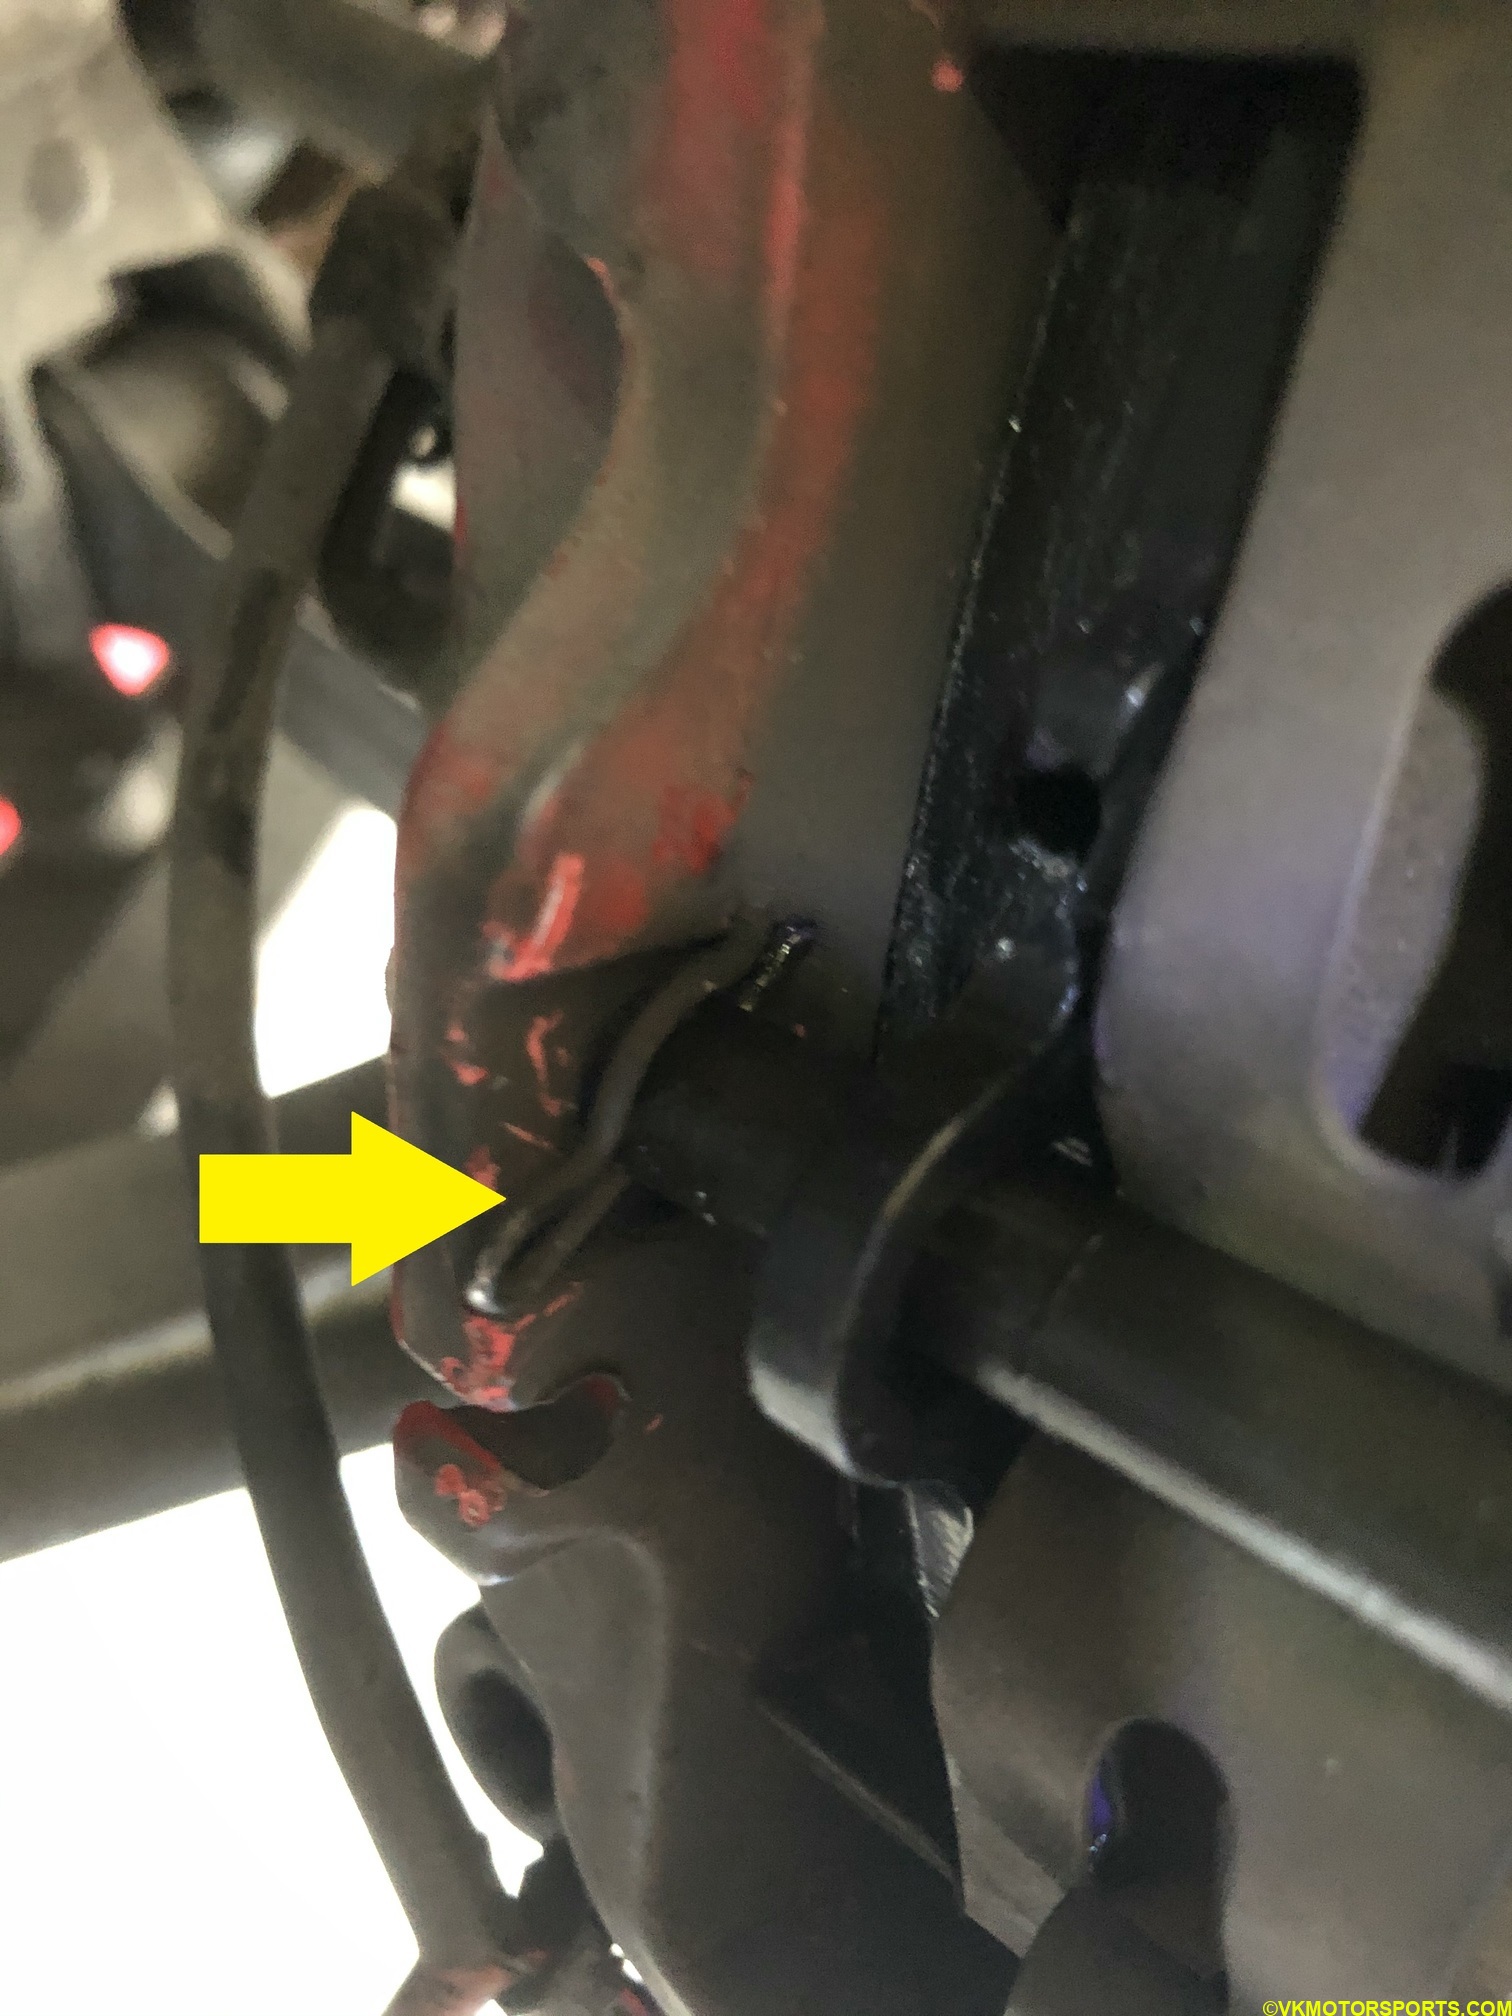 Figure 14. Install the retaining pin and clip
Step 13: Now insert the brake sensors carefully but tightly into the pads at the right location as shown in Figure 15.
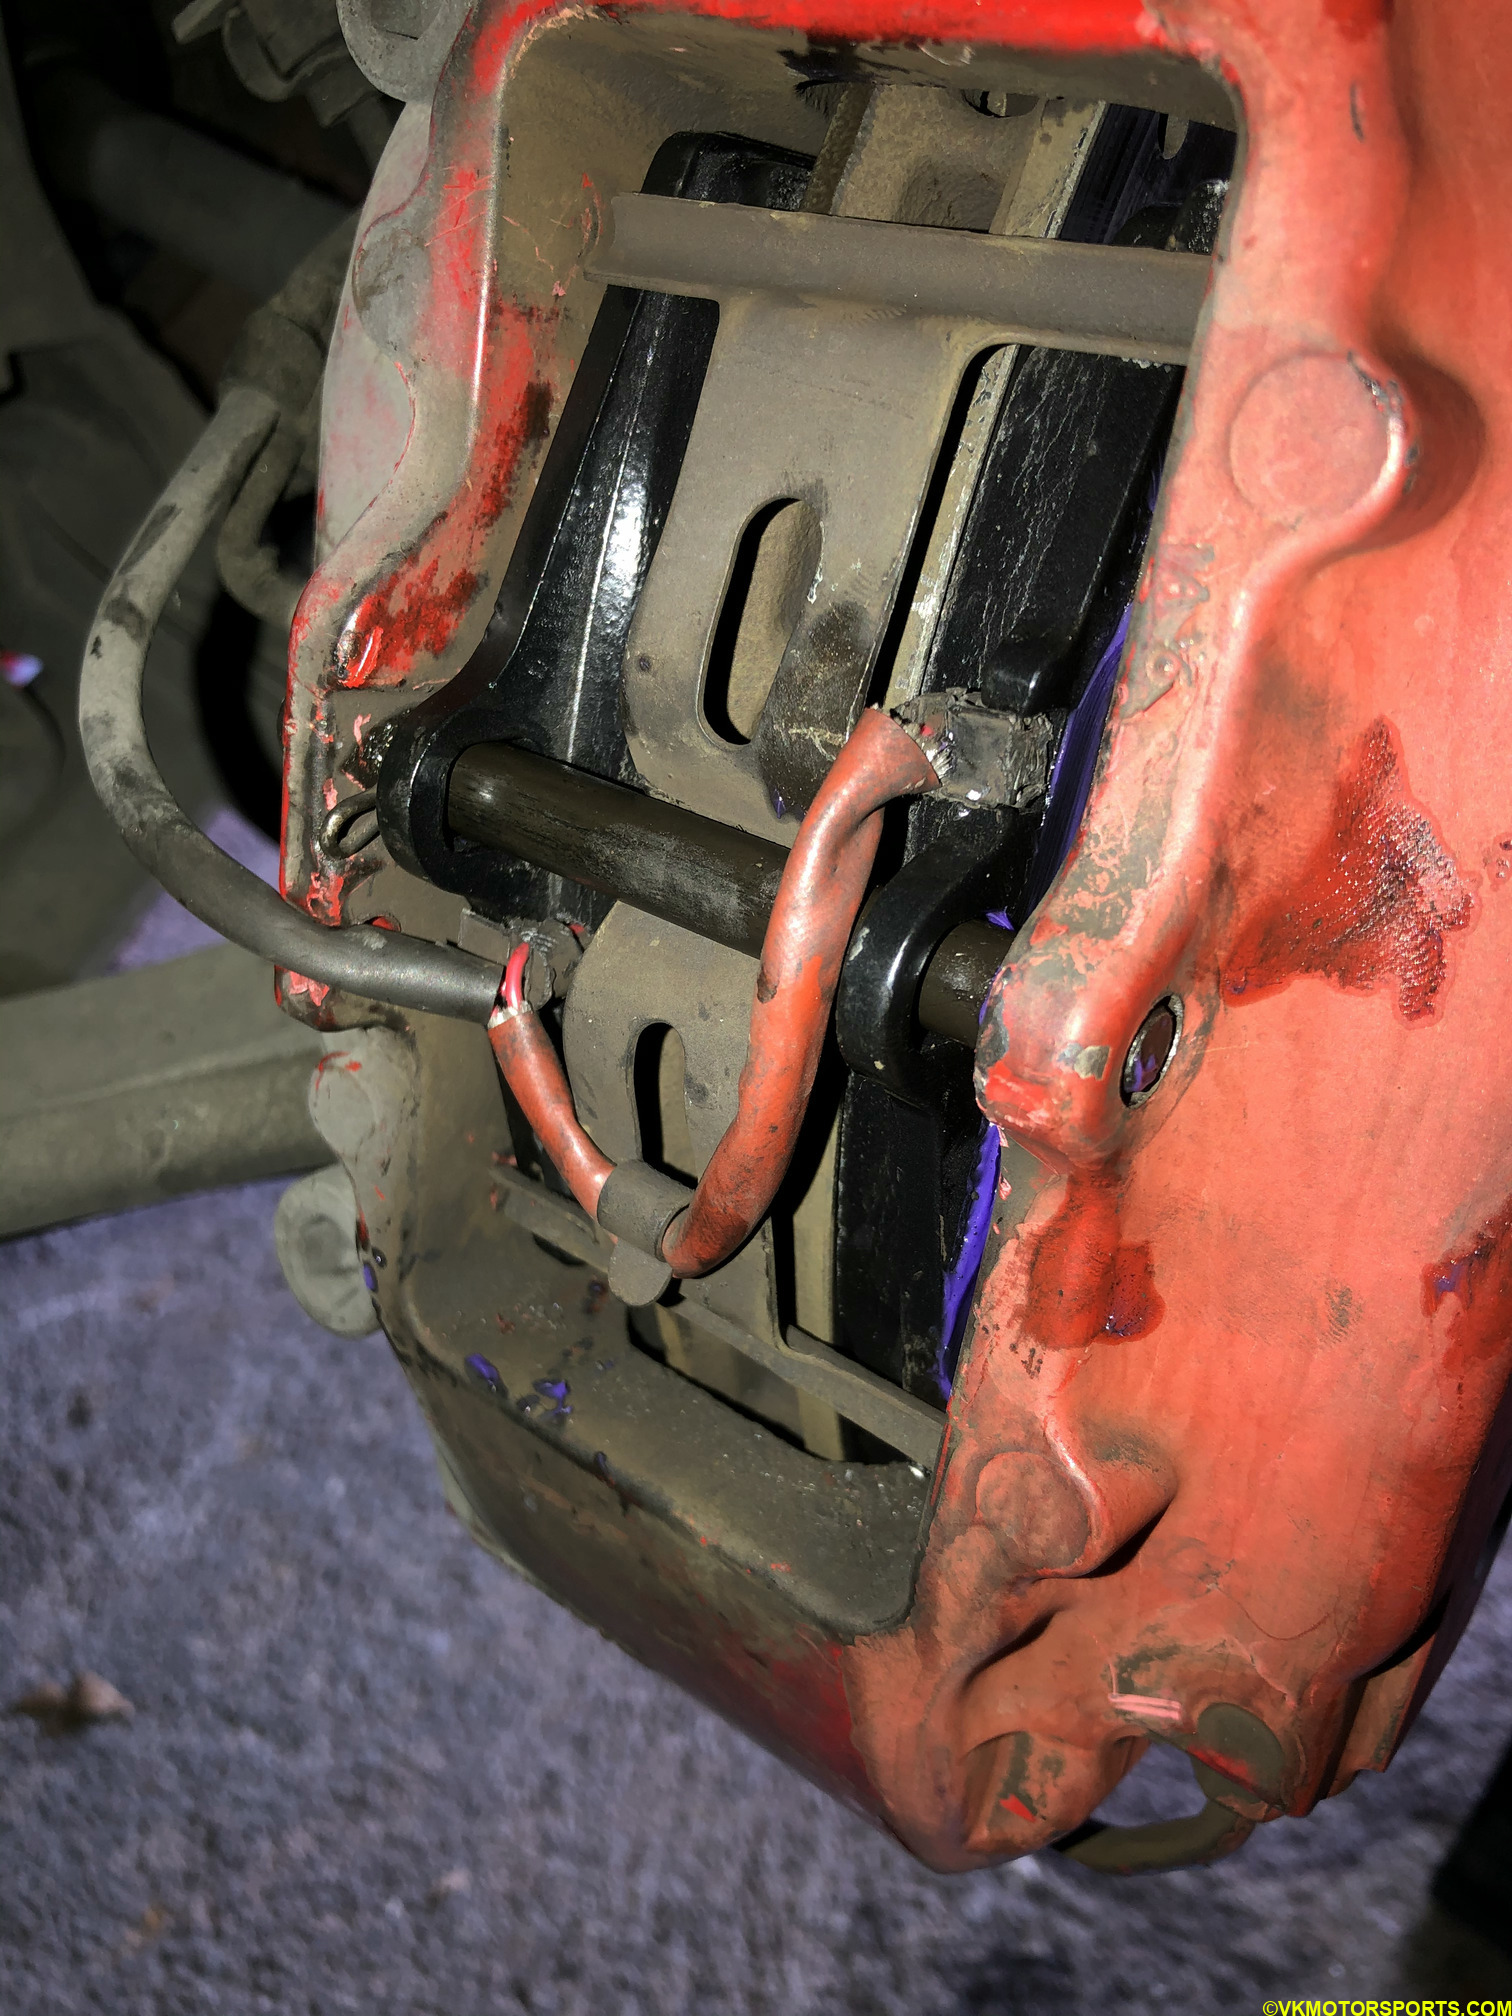 Figure 15. Insert brake pad sensors into new pads
Step 14: Now you have completed the step of installing the brake pads fully and can install the wheels back on. Remember to torque the wheel lug nuts to 96 lb-ft.
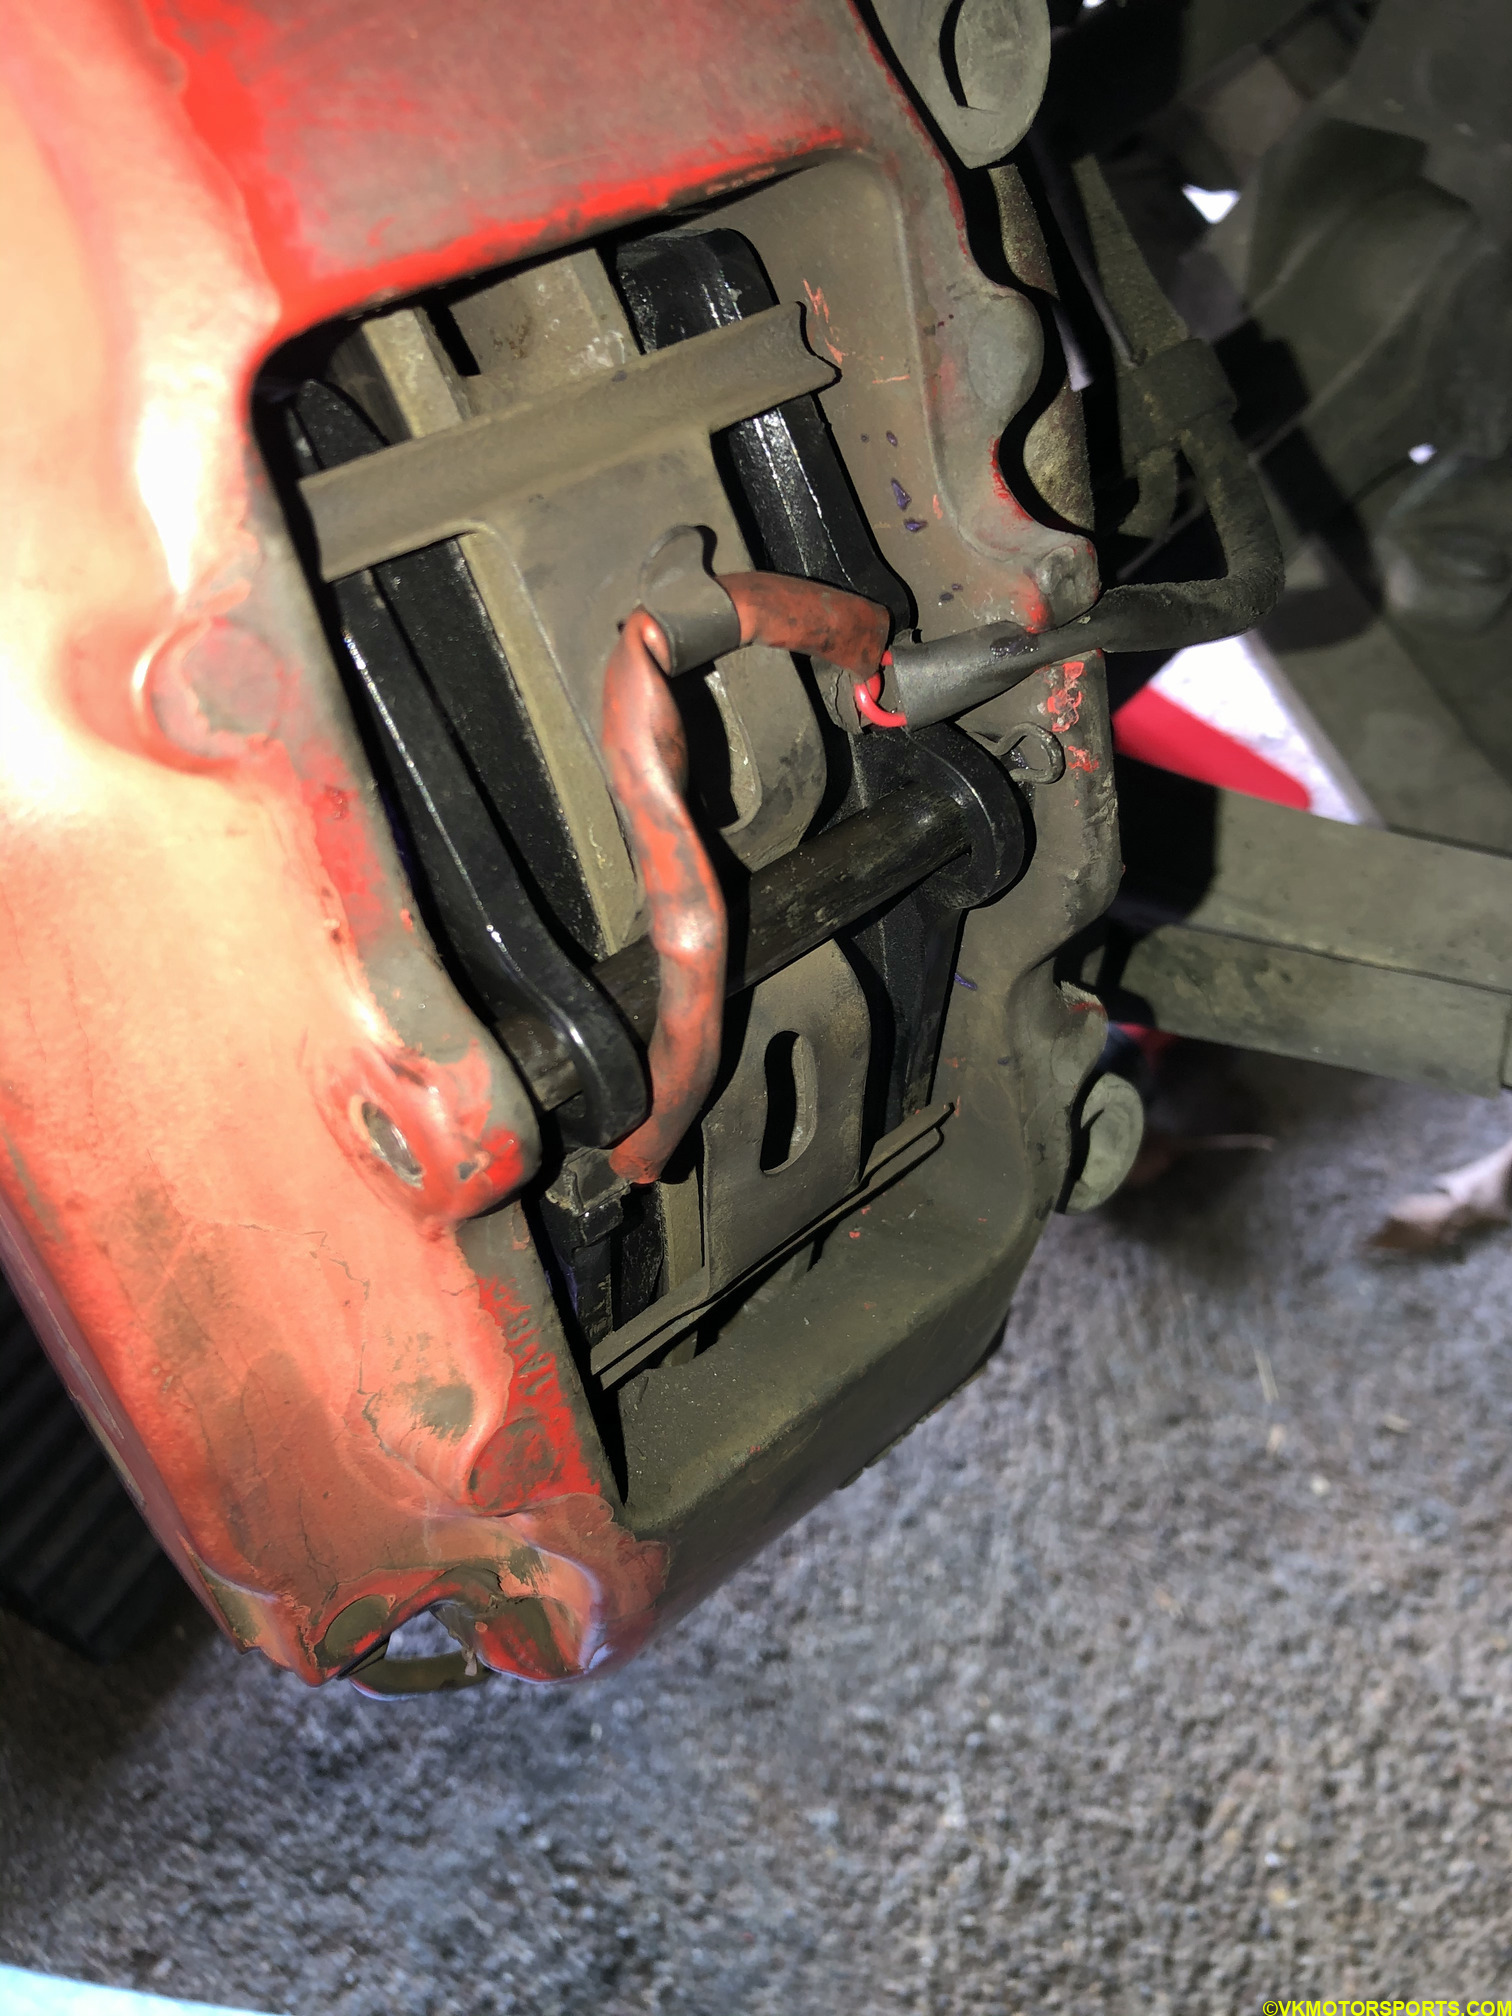 Figure 16. Finished look of a brake pad upgrade